https://github.com/ai-winter/ros_motion_planning?tab=readme-ov-file
패스플래닝 알고리즘 구현해 보기
development environment(using Docker)
ubuntu : 20.04
ROS : noetic
1. Install
- Git 설치.
sudo apt install git- 종속성 설치
- OSQP
"Operator Splitting Quadratic Program"의 약자로, 주로 최적화 문제를 해결하기 위해 사용되는 오픈 소스 소프트웨어
git clone -b release-0.6.3 --recursive https://github.com/oxfordcontrol/osqp
cd osqp && mkdir build && cd build
cmake .. -DBUILD_SHARED_LIBS=ON
make -j6
sudo make install
sudo cp /usr/local/include/osqp/* /usr/local/include- OSQP-Eigen
OSQP 를 C++에서 Eigen 라이브러리와 통합하여 더욱 쉽게 사용할 수 있게 해주는 래퍼
git clone https://github.com/robotology/osqp-eigen.git
cd osqp-eigen && mkdir build && cd build
cmake ..
make
sudo make install- Other dependence.(all copy)
 sudo apt install python-is-python3 \
 ros-noetic-amcl \
 ros-noetic-base-local-planner \
 ros-noetic-map-server \
 ros-noetic-move-base \
ros-noetic-navfn- Clone the reposity.
git clone https://github.com/ai-winter/ros_motion_planning.git- 코드 컴파일
    cd ros_motion_planning/
    catkin_make
    # or catkin build
# you may need to install it by: sudo apt install python-catkin-tools- 코드 실행.
    cd scripts/
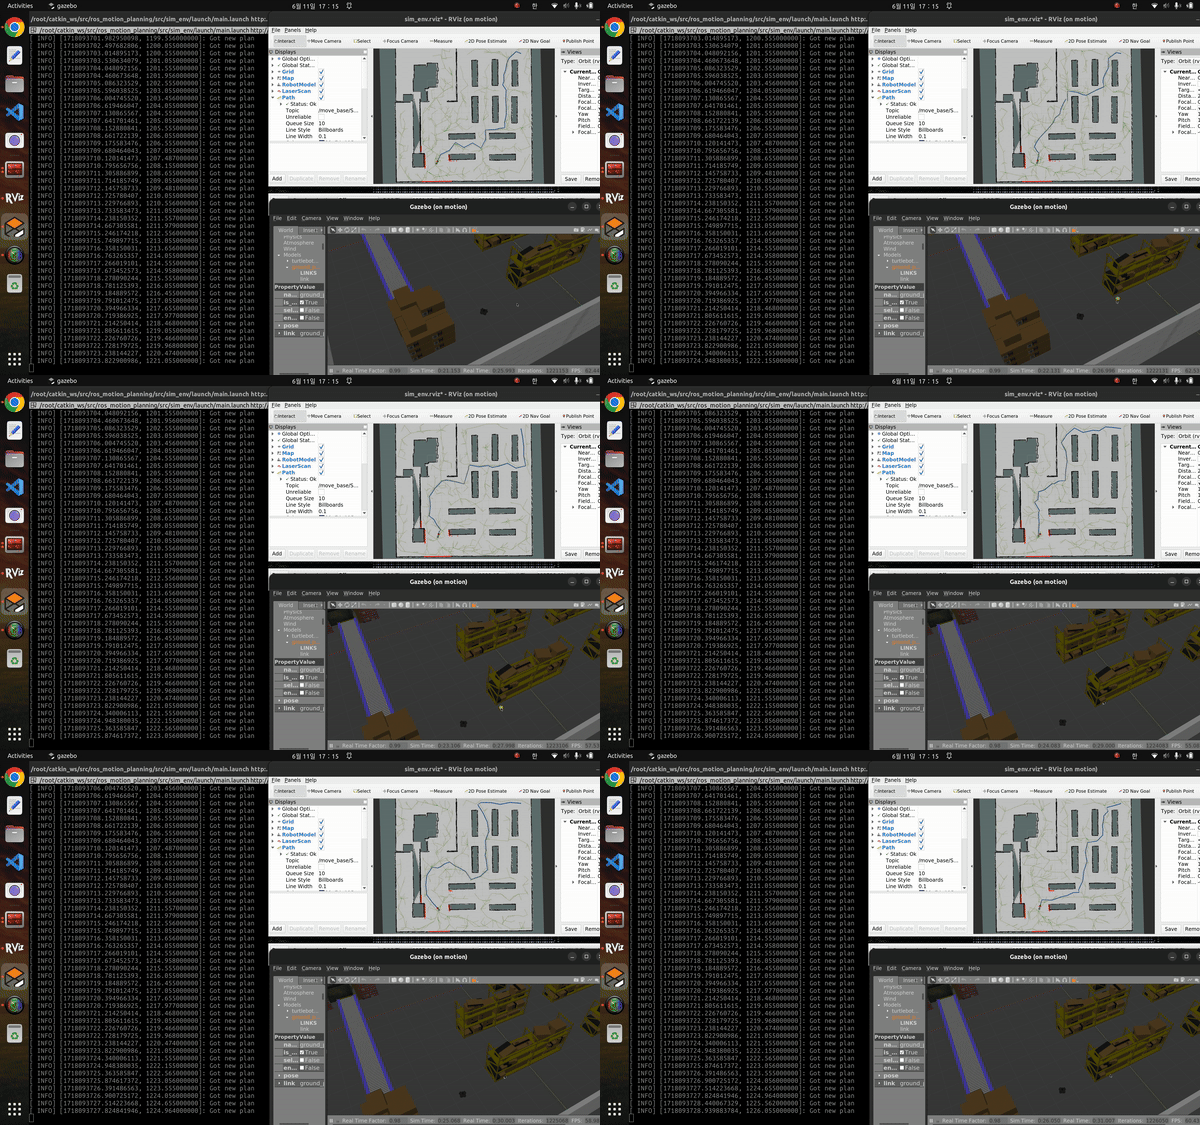
./main.sh- 결과
2. Environmental Construction
소프트웨어와 의존성 설치를 무리 없이 마쳤다면, 이제 가제보(Gazebo) 환경설정을 변경할 수 있다. 여기서는 장애물의 종류와 특성, 그리고 배경 환경을 결정해야 한다.
해당 경로로 이동하여 'user_config.yaml' 파일을 열어 환경설정을 바꿔 줄 수 있다.
    cd ros_motion_planning/src/user_config
    gedit user_config.yaml
map: "warehouse"
world: "warehouse"
rviz_file: "sim_env.rviz"
robots_config:
- robot1_type: "turtlebot3_waffle"
robot1_global_planner: "theta_star"
robot1_local_planner: "lqr"
robot1_x_pos: "0.0"
robot1_y_pos: "0.0"
robot1_z_pos: "0.0"
robot1_yaw: "0.0"
# * global planner
# * graph_planner
# * a_star
# * jps
# * gbfs
# * dijkstra
# * d_star
# * lpa_star
# * voronoi
# * d_star_lite
# * theta_star
# * lazy_theta_star
# * hybrid_a_star
#
# * sample_planner
# * rrt
# * rrt_star
# * informed_rrt
# * rrt_connect
#
# * evolutionary_planner
# * aco
# * pso
# * ga
#
# * local planner
# * dwa
# * pid
# * apf
# * rpp
# * lqr
# * static
plugins:
# pedestrians: "pedestrian_config.yaml"
# obstacles: "obstacles_config.yaml"
map_layers: "map_layers_config.yaml"
많은 설정 옵션 중에서 본인이 원하는 맵, 로봇 등을 사용하면 된다.
3. Practice
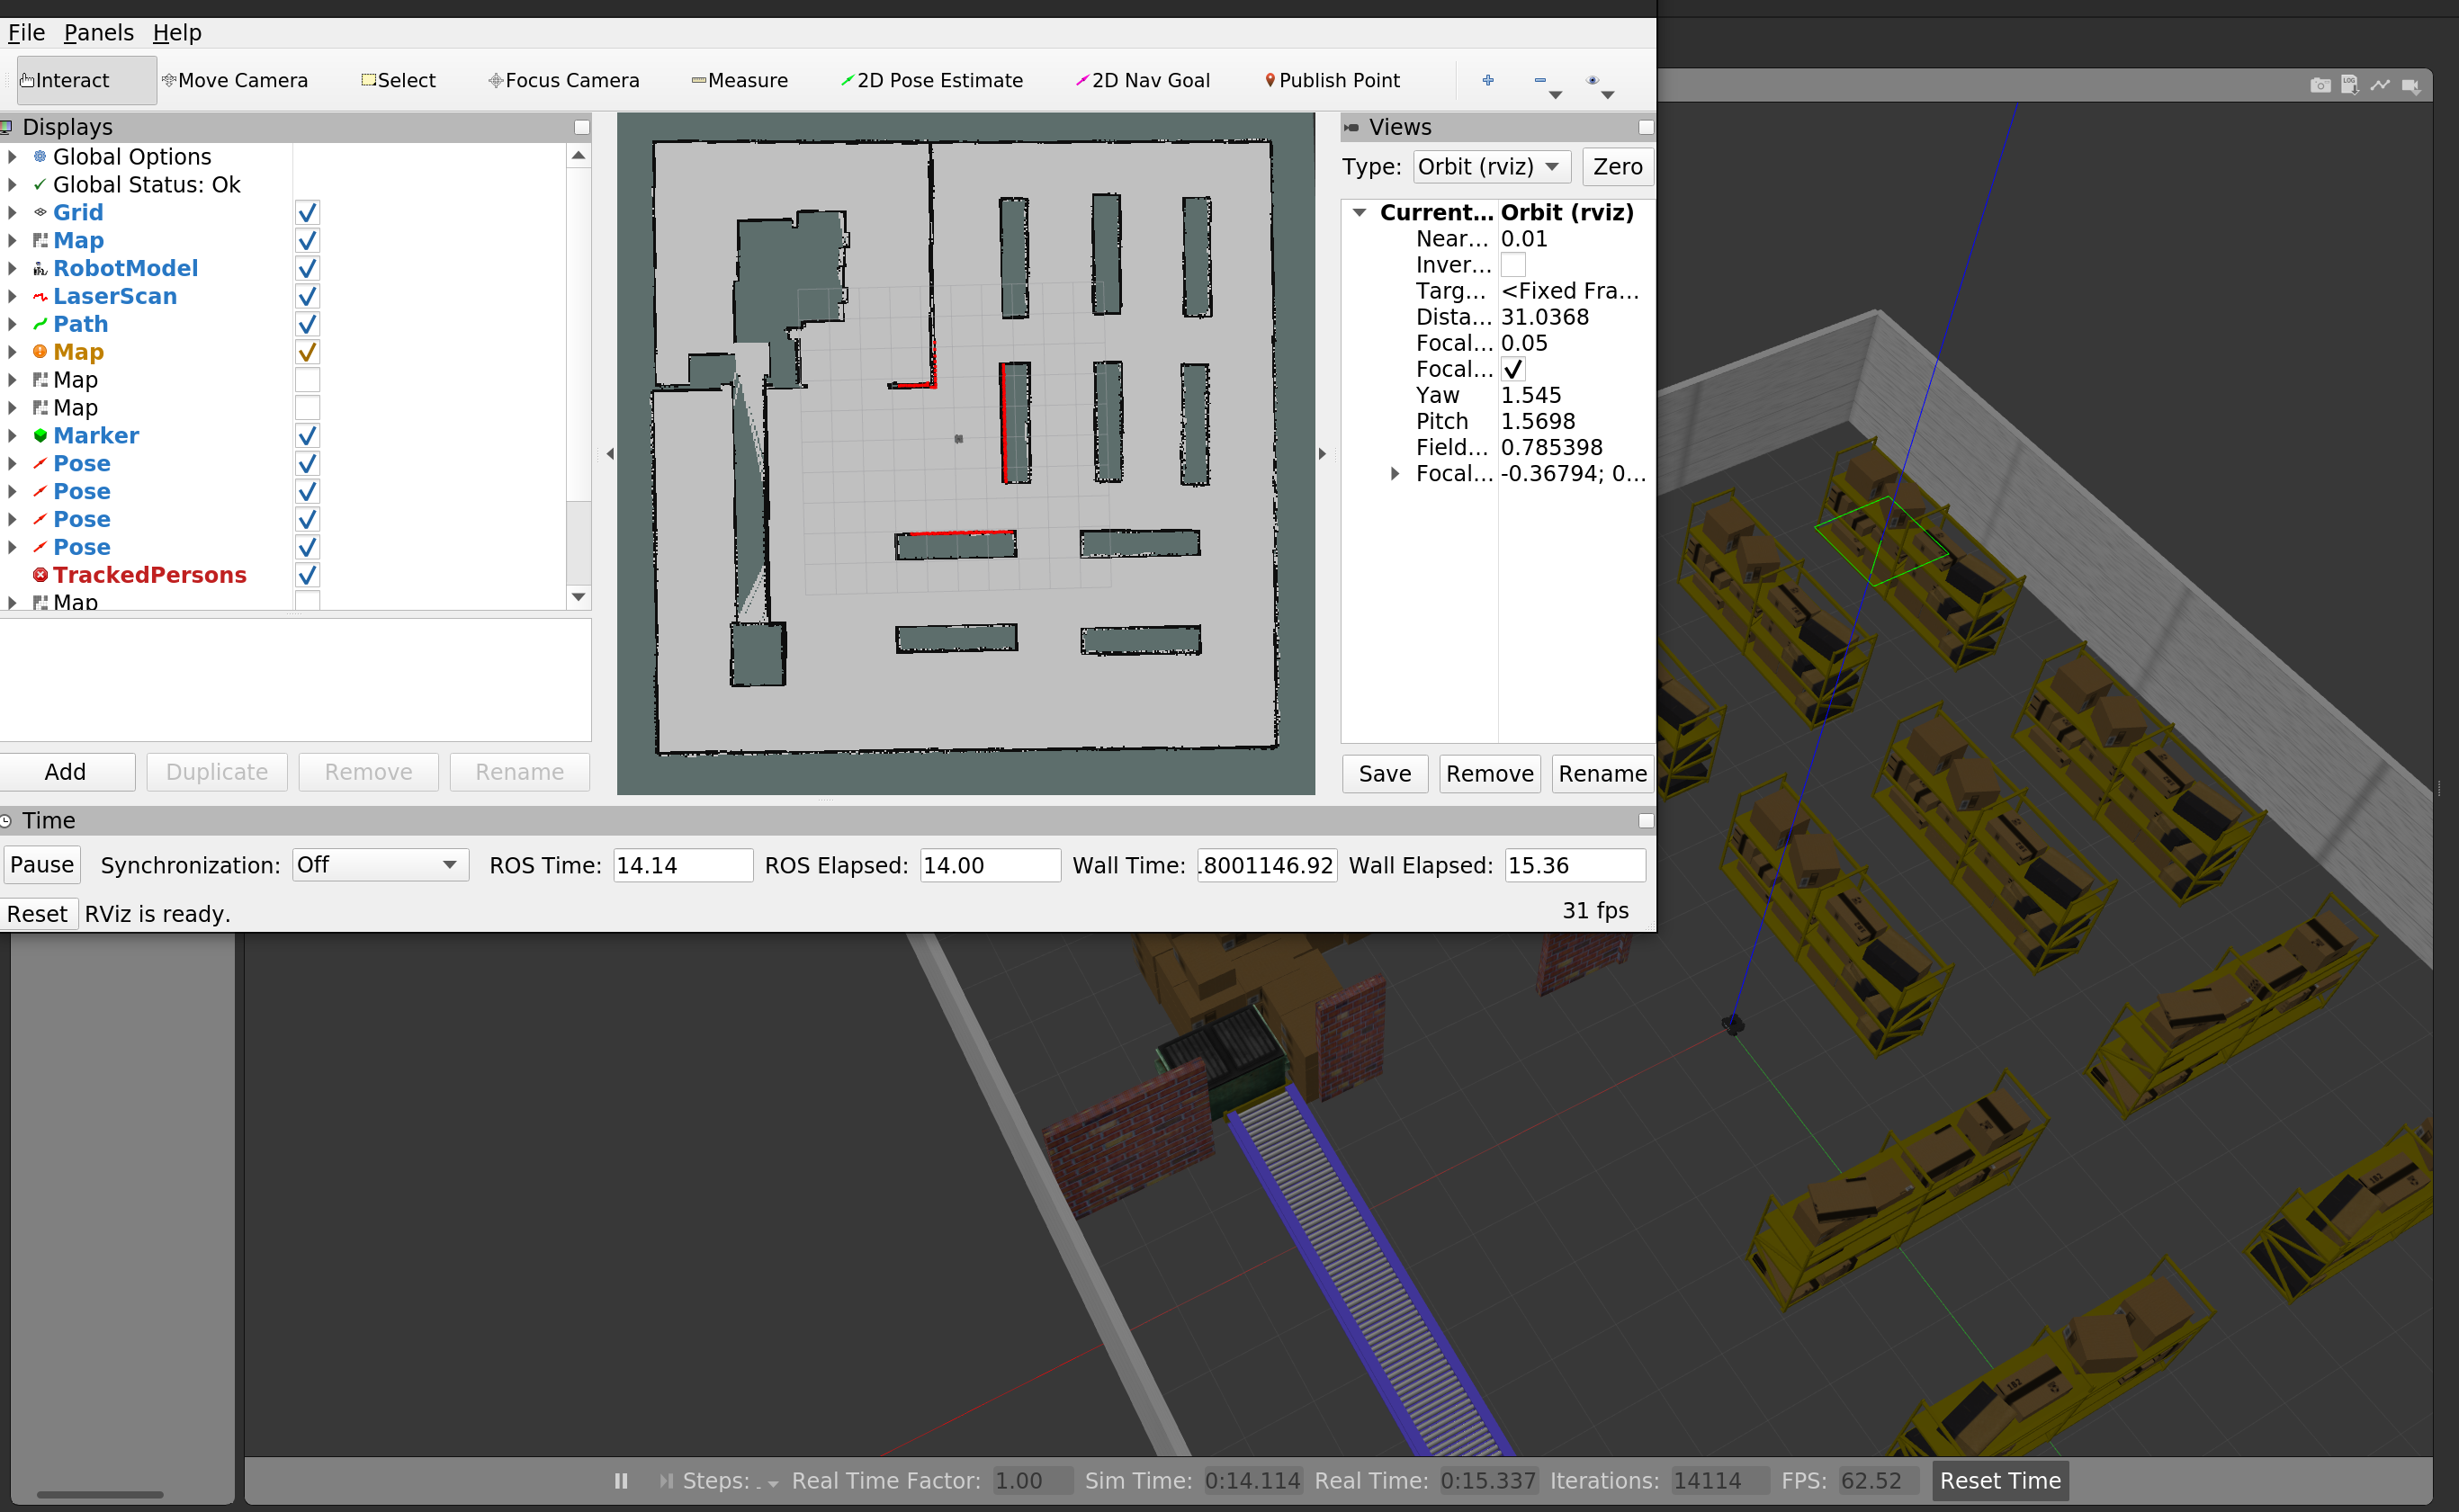
RViz에서 "2D Nav Goal" 도구를 사용하여 로봇의 목표 지점을 설정한다. 이 단계에서 패스 플래닝 알고리즘이 실행되어 로봇이 목표 지점까지 이동하는 경로를 계산한다
실행결과.