
[github]
[reference]
-
https://aboutreact.com/react-native-scan-qr-code/
→ 스캔 데이터에 URL이면, 해당 URL을 열어주는 예제인데 나는 인식된
바코드의 숫자만 필요해서 생략하였다. -
https://medium.com/@adie0423/자신의-아이폰에-테스트-앱-올리기-54e07e17d3f7
Installation of Dependency
react-native-camera-kit 라이브러리 설치
npm install react-native-camera-kit --save

cd ios
pod install
cd ..
카메라 권한 허용
1. 안드로이드
veganVapp > android > app > src > main > AndroidManifest.xml
다음과 같은 경로로 AndroidManifest.xml 파일을 열어준다.
아래 코드 추가
<uses-permission android:name="android.permission.CAMERA"/>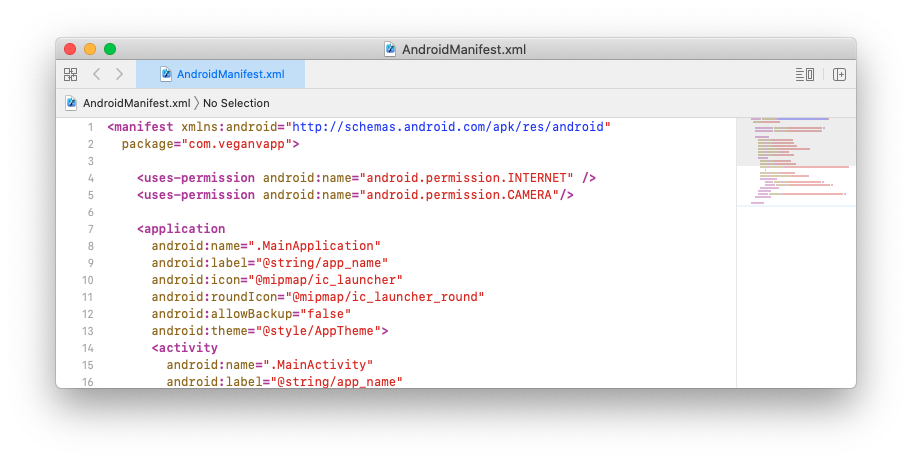
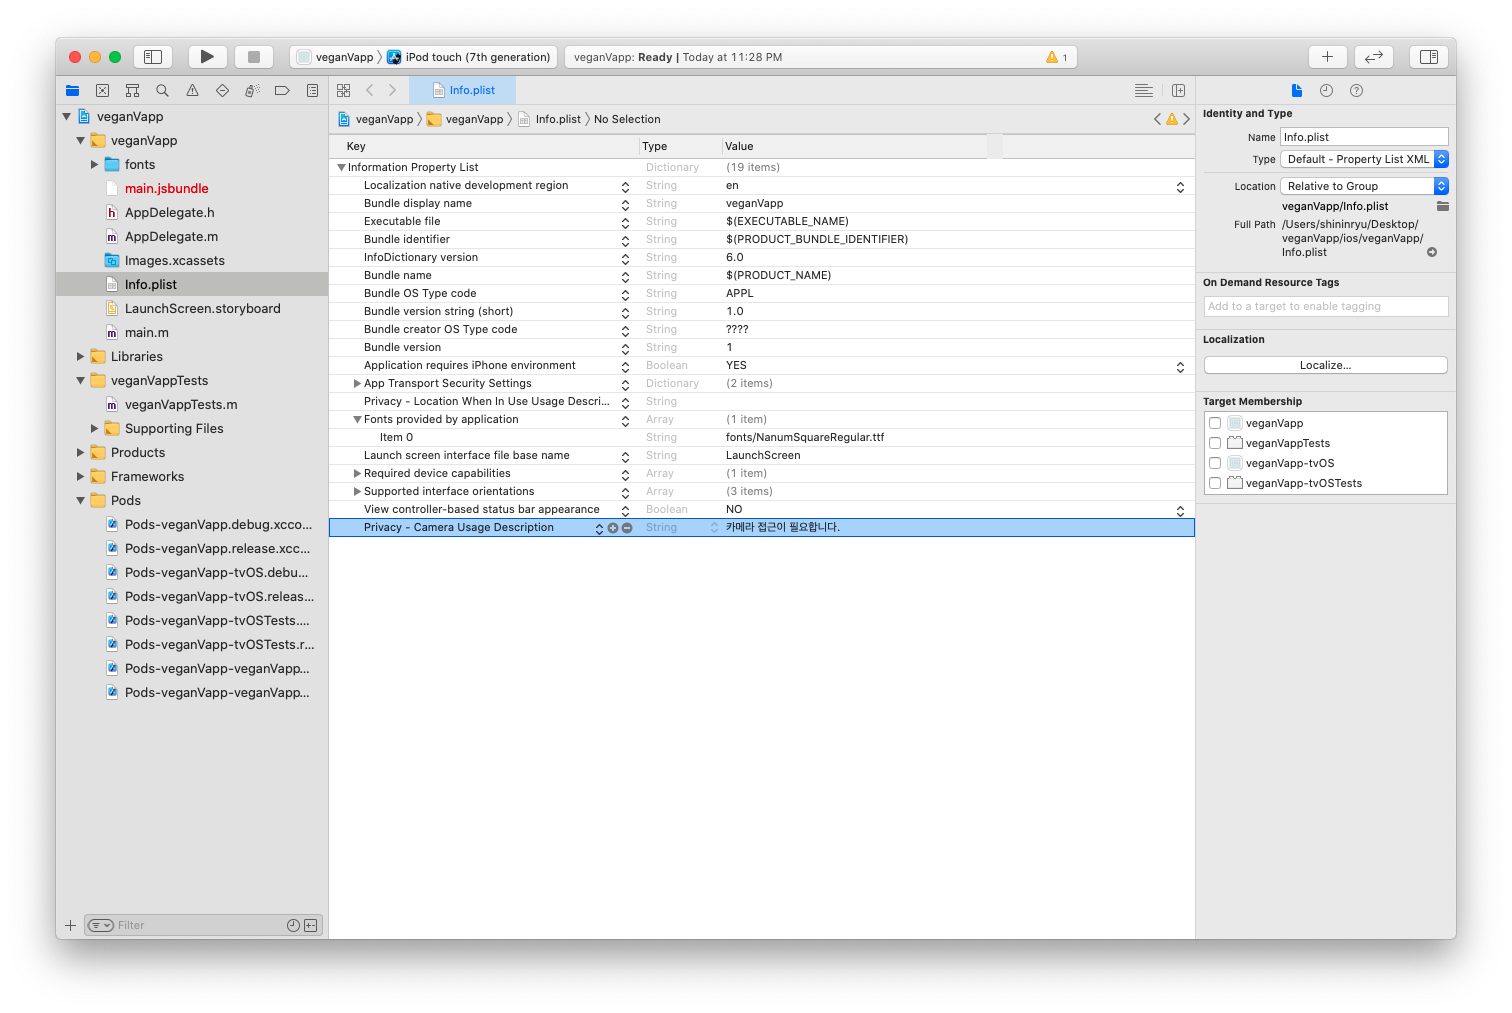
2. ios
ios > vegaVapp.xcodeproj > info.plist
Privacy - Camera Usage Description key 추가
구현 코드
SelectButton.js
import React, {useState} from 'react';
import {
widthPercentageToDP as wp,
heightPercentageToDP as hp,
} from 'react-native-responsive-screen';
import {
StyleSheet,
View,
Text,
Image,
SafeAreaView,
TouchableOpacity,
PermissionsAndroid,
Platform,
} from 'react-native';
import {CameraKitCameraScreen} from 'react-native-camera-kit';
function SelectButton({navigation}) {
const [qrvalue, setQrvalue] = useState('');
const [opneScanner, setOpneScanner] = useState(false);
const onBarcodeScan = (qrvalue) => {
// Called after te successful scanning of QRCode/Barcode
setQrvalue(qrvalue);
//여기서 api로 연결해야하나?
setOpneScanner(false);
alert(qrvalue);
};
const onOpneScanner = () => {
// To Start Scanning
if (Platform.OS === 'android') {
async function requestCameraPermission() {
try {
const granted = await PermissionsAndroid.request(
PermissionsAndroid.PERMISSIONS.CAMERA,
{
title: 'Camera Permission',
message: 'App needs permission for camera access',
},
);
if (granted === PermissionsAndroid.RESULTS.GRANTED) {
// If CAMERA Permission is granted
setQrvalue('');
setOpneScanner(true);
} else {
alert('CAMERA permission denied');
}
} catch (err) {
alert('Camera permission err', err);
console.warn(err);
}
}
// Calling the camera permission function
requestCameraPermission();
} else {
setQrvalue('');
setOpneScanner(true);
}
};
return (
<SafeAreaView style={{flex: 1}}>
{opneScanner ? (
<View style={{flex: 1}}>
<CameraKitCameraScreen
showFrame={false}
// Show/hide scan frame
scanBarcode={true}
// Can restrict for the QR Code only
laserColor={'blue'}
// Color can be of your choice
frameColor={'yellow'}
// If frame is visible then frame color
colorForScannerFrame={'black'}
// Scanner Frame color
onReadCode={(event) =>
onBarcodeScan(event.nativeEvent.codeStringValue)
}
/>
</View>
) : (
<View style={styles.container}>
<View style={{flex: 1}} />
<View style={{flex: 2}}>
<View style={styles.logoArea}>
<Image
source={require('../assets/logo.png')}
style={{width: wp(20), resizeMode: 'contain'}}
/>
</View>
<View style={styles.btnArea}>
<TouchableOpacity style={styles.btn} onPress={onOpneScanner}>
<Text
style={{
color: 'white',
fontSize: 17,
fontFamily: 'NanumSquareR',
}}>
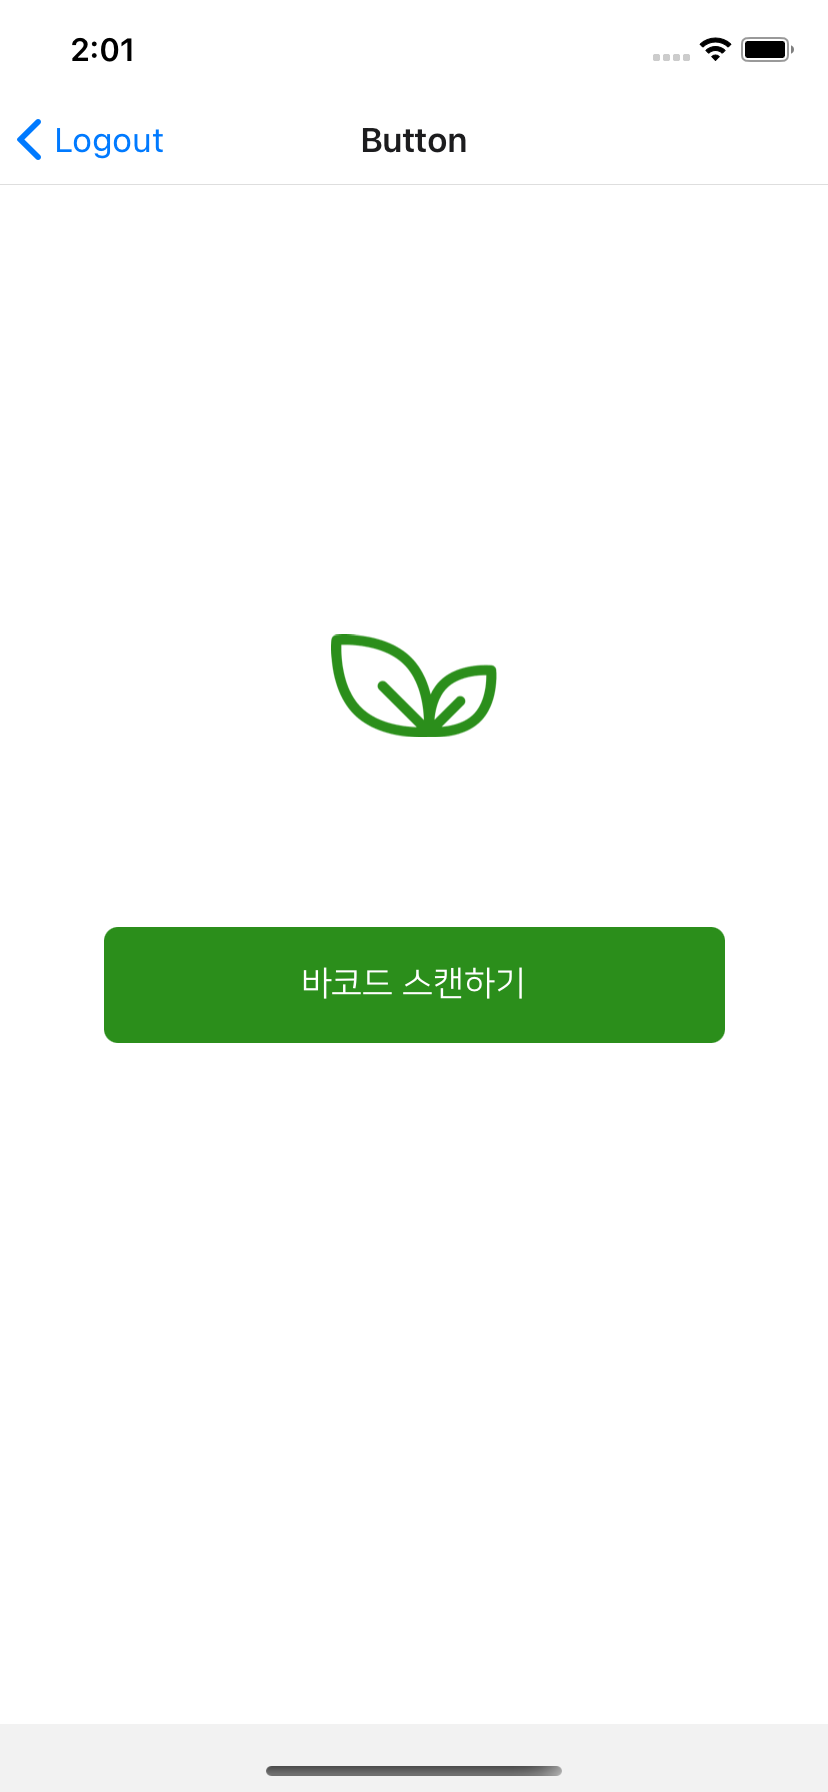
바코드 스캔하기
</Text>
</TouchableOpacity>
</View>
</View>
<View style={{flex: 1}} />
</View>
)}
</SafeAreaView>
);
}
const styles = StyleSheet.create({
container: {
flex: 1, //전체의 공간을 차지한다는 의미
flexDirection: 'column',
backgroundColor: 'white',
},
logoArea: {
height: hp(20),
justifyContent: 'center',
alignItems: 'center',
// backgroundColor: 'red',
paddingBottom: wp(15),
},
btnArea: {
height: hp(8),
// backgroundColor: 'orange',
justifyContent: 'center',
alignItems: 'center',
paddingBottom: hp(1.5),
},
btn: {
flex: 1,
width: wp(75),
borderRadius: 7,
justifyContent: 'center',
alignItems: 'center',
backgroundColor: '#2B8E1B',
},
btnoutline: {
flex: 1,
width: wp(75),
borderRadius: 5,
justifyContent: 'center',
alignItems: 'center',
backgroundColor: 'white',
borderWidth: 1,
borderColor: '#2B8E1B',
},
});
export default SelectButton;
리퍼런스 사이트를 많이 참고하였다!
카메라를 사용해 바코드를 인식해야 하기때문에 에뮬레이터 대신 내 아이폰에 테스트 앱을 설치하여야했다.
https://medium.com/@adie0423/자신의-아이폰에-테스트-앱-올리기-54e07e17d3f7
이 블로그를 참고해서 내 아이폰에서 테스트해보았다.

바코드 번호가 성공적으로 인식되었다. 이제 오픈 API를 사용해서 품목제조번호와 원재료명을 알아내야한다. 끗

👩🏻💻
QRcode 스캐너 구현 할 일이 생겼는데, 도움이 많이 되었어요
좋은 글 감사합니다!!😃
오탈자있어서 알려드립니다!
AndroidMnifest.xml -> AndroidManifest.xml