
1. MQTT 브로커 설치
1.1. Mosquitto 설치
Mosquitto는 Windows에서도 설치할 수 있는 대표적인 MQTT 브로커입니다.
- Mosquitto 다운로드 및 설치:
- Mosquitto의 공식 웹사이트(https://mosquitto.org/download/)에서 Windows용 설치 파일을 다운로드합니다.
- 다운로드한 설치 파일을 실행하여 Mosquitto를 설치합니다.
- Mosquitto 설정:
- 기본 설치 경로는
C:\Program Files\mosquitto입니다. mosquitto.conf설정 파일을 편집하여 필요에 따라 설정을 변경할 수 있습니다.- 예를 들어, 기본 포트(1883)를 변경하거나 인증 설정을 추가할 수 있습니다.
- 기본 설치 경로는
- Mosquitto 실행:
- Command Prompt(명령 프롬프트)를 열고 Mosquitto 실행 명령을 입력합니다.
"C:\Program Files\mosquitto\mosquitto.exe" -v v옵션은 verbose 모드로 실행하여, 브로커의 상태를 실시간으로 확인할 수 있습니다.
- Command Prompt(명령 프롬프트)를 열고 Mosquitto 실행 명령을 입력합니다.
- 결과

2. MQTT 클라이언트 설치 및 사용
2.1. Python 클라이언트 설치
Python을 사용하여 MQTT 클라이언트를 쉽게 구현할 수 있습니다. 이를 위해 Paho MQTT 라이브러리를 사용합니다.
- Python 및 Paho MQTT 설치:
- Python이 설치되어 있지 않다면 Python 공식 웹사이트(https://www.python.org/downloads/)에서%EC%97%90%EC%84%9C) Python을 설치합니다.
- Paho MQTT 라이브러리를 설치합니다.
pip install paho-mqtt
2.2. 간단한 발행/구독 예제
아래 예제 코드는 Python을 사용하여 MQTT 브로커에 메시지를 발행하고 구독하는 간단한 클라이언트를 구현한 것입니다.
💡 VS Code에서 실행 > C:\project\MQTTProject 경로에 아래 2 파일 생성 - publisher.py - subscriber.py-
구독자 (subscriber.py):
import paho.mqtt.client as mqtt broker = "localhost" topic = "sensors/temperature" def on_message(client, userdata, message): print(f"Received message: {message.payload.decode()} on topic {message.topic}") client = mqtt.Client() client.on_message = on_message client.connect(broker) client.subscribe(topic) client.loop_forever() -
발행자 (publisher.py):
import paho.mqtt.client as mqtt import time import random broker = "localhost" topic = "sensors/temperature" client = mqtt.Client() client.connect(broker) while True: temperature = 25.0 + (5.0 * random.random()) print(f"Publishing temperature: {temperature}") client.publish(topic, temperature) time.sleep(5) -
Python 스크립트 실행
- publisher.py 실행:
- VS Code에서 터미널을 열고(
Ctrl + ~),C:\project\MQTTProject폴더로 이동합니다.cd C:\project\MQTTProject - 다음 명령어를 입력하여
publisher.py를 실행합니다.python publisher.py
- VS Code에서 터미널을 열고(
- subscriber.py 실행:
- 새로운 터미널을 열고(
+버튼을 눌러 새로운 터미널 창 열기), 동일한 폴더로 이동합니다.cd C:\project\MQTTProject - 다음 명령어를 입력하여
subscriber.py를 실행합니다.python subscriber.py
- 새로운 터미널을 열고(
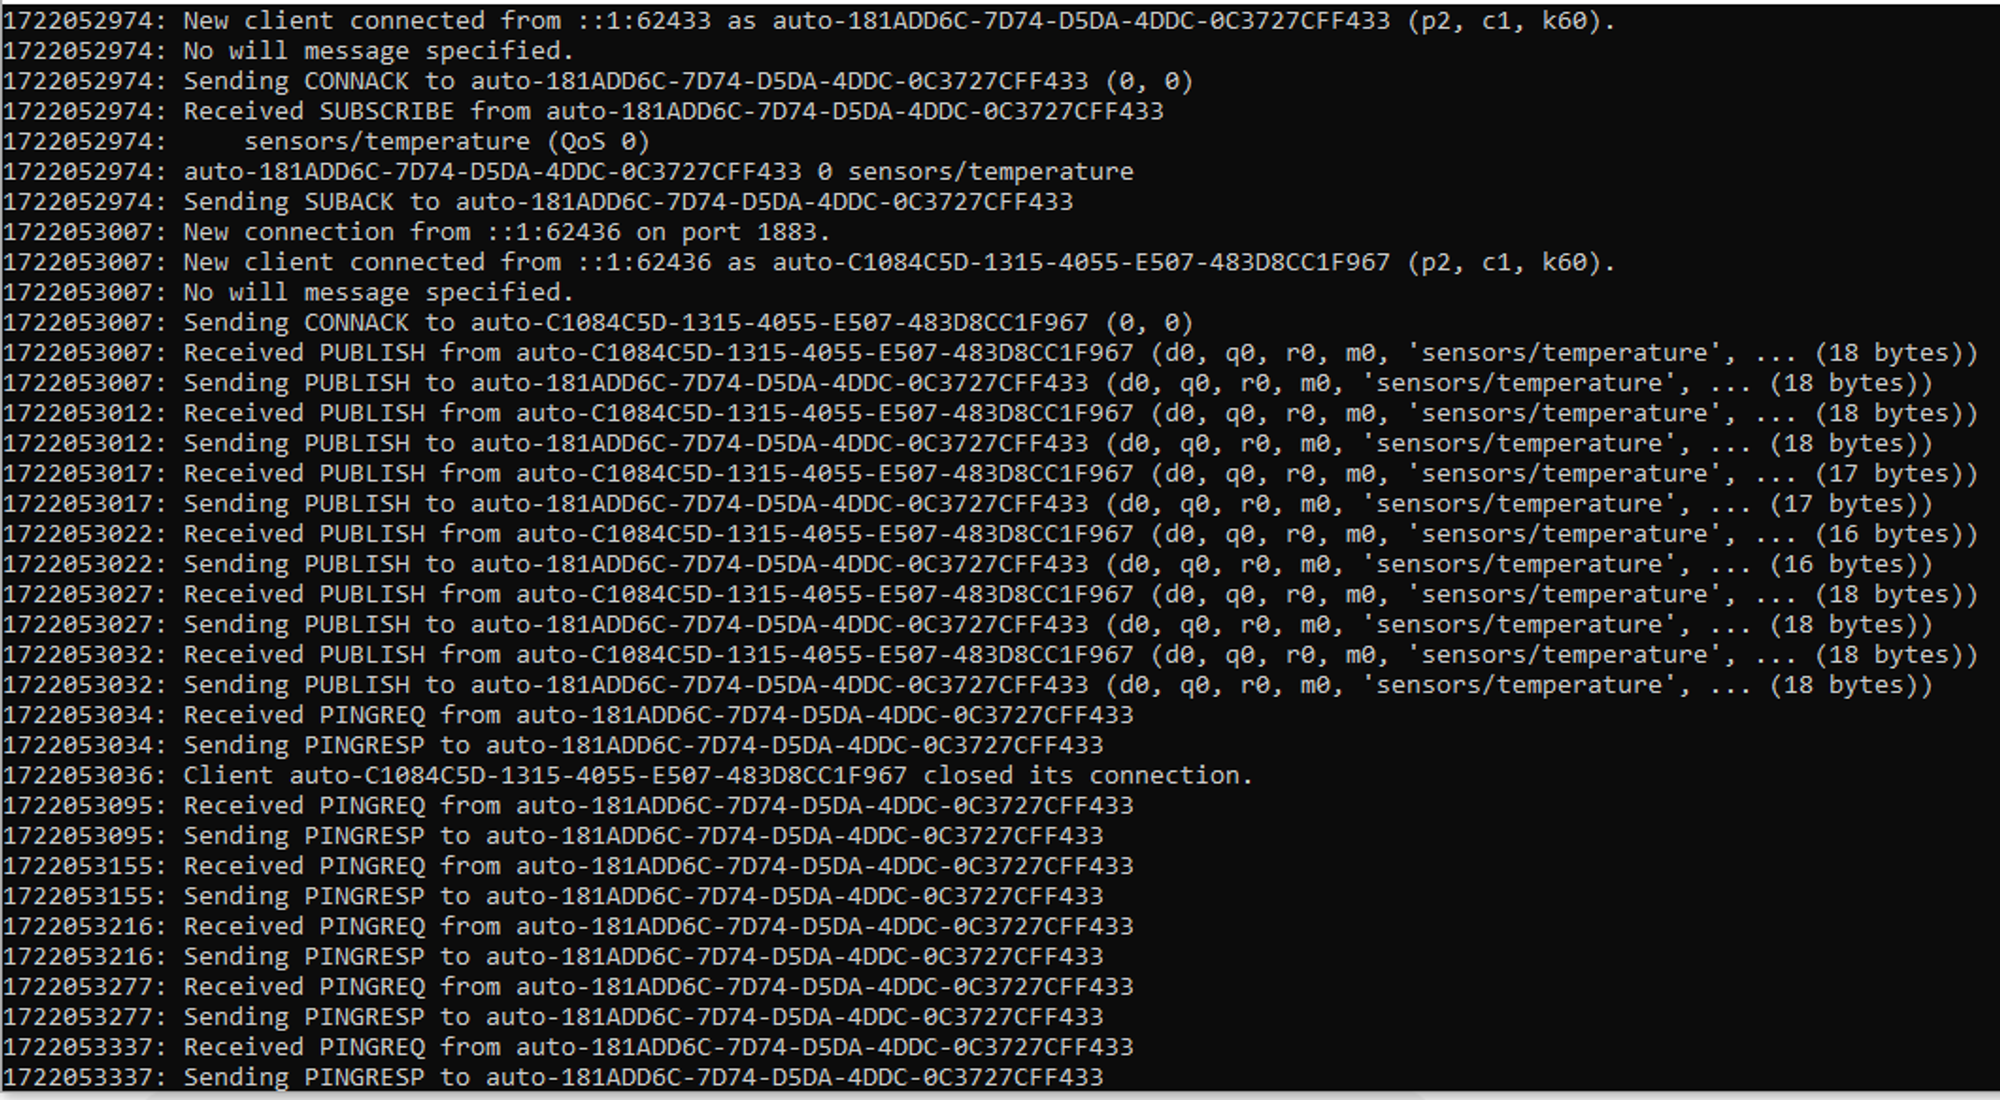
- 결과
→ subscriber.py 터미널

→ publisher.py 터미널

→ cmd
3. 고급 기능 실습
3.1. 지속 세션과 유지 메시지
브로커의 지속 세션 기능과 유지 메시지 기능을 사용하여 클라이언트가 오프라인일 때도 메시지를 저장하고 전달하는 기능을 실습해보세요.
-
발행자에서 유지 메시지 설정:
client.publish(topic, temperature, retain=True) -
지속 세션 설정:
client = mqtt.Client(client_id="unique_client_id", clean_session=False)
3.2. 보안 설정
브로커와 클라이언트 간의 통신을 암호화하고, 인증을 추가하는 방법을 실습해보세요.
- TLS 설정:
- Mosquitto 설정 파일(
mosquitto.conf)에서 TLS 설정을 추가합니다.listener 8883 cafile C:\path\to\ca.crt certfile C:\path\to\server.crt keyfile C:\path\to\server.key - 클라이언트에서 TLS 설정을 추가합니다.
client.tls_set(ca_certs="C:/path/to/ca.crt", certfile="C:/path/to/client.crt", keyfile="C:/path/to/client.key")
- Mosquitto 설정 파일(
- 사용자 인증 설정:
- Mosquitto 설정 파일에서 사용자 인증을 설정합니다.
password_file C:\path\to\passwordfile - 클라이언트에서 사용자 인증을 추가합니다.
client.username_pw_set(username="user", password="password")
- Mosquitto 설정 파일에서 사용자 인증을 설정합니다.
참고

#Software Engineer #IRISH