
폴더 및 파일 분할하여 vanilla JS 웹 구축해보기
- 학습일자 : 2024.04.11
어차피 나중에 React에서 이렇게 구성해서 정말 웹사이트처럼 만들 거라, vanilla JS에서도 한 번 해보면 좋겠다고 생각해서 진행한다.
참고로, 이전에 vaniia JS에서는 안해봤던 것이라, vanilla JS 보완 겸 한다고 하니 설렌다 ㅎㅎ
head에는 기본 정보를 담고 / body에는 navigation 및 footer를 넣고 / 저번 실습에서 했던 form 및 script를 넣는다.
참고로, navigation과 footer는 다른 화면으로 이동되도 자주 나오기 때문에 별도의 html / css / js를 생성한 후 main html(이번 실습 기준으로는 app.html)에 삽입한다.
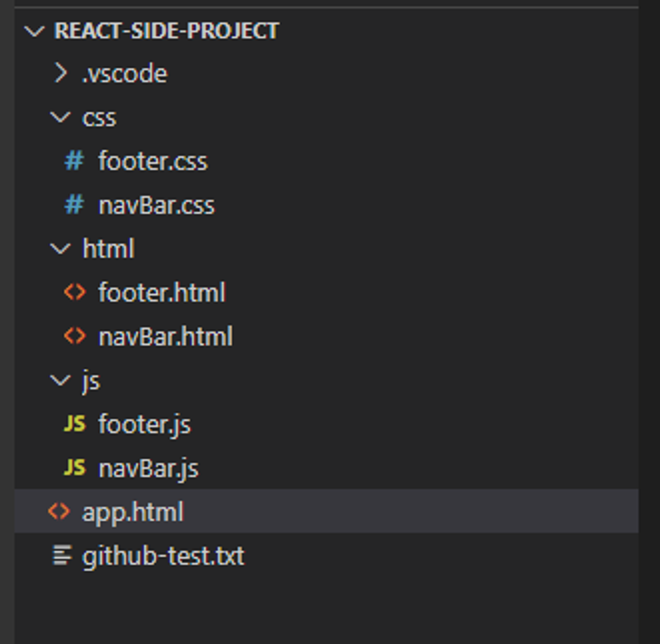
폴더 구조
소스 코드
⇒ css/navBar.css
/* 참고 : https://velog.io/@dpdnjs402/kqgzpx7l */

* {
  padding: 0;
  margin: 0;
}
ul,
ol {
  list-style: none;
}
a {
  text-decoration: none;
  color: #fff;
  font-size: 15px;
}
nav {
  width: 80%;
  overflow: hidden;
  height: 80px;
  background-color: #1b2035;
  margin: 50px auto;
}

/* 가운데 배치된 형태의 네비게이션 */
#nav1 {
  text-align: center;
}
#nav1 > ul {
  display: inline-block;
}
#nav1 > ul li {
  float: left;
  padding: 0 30px;
  line-height: 80px;
}

/* 로고는 왼쪽에 메뉴바는 오른쪽에 배치된 형태의 네비게이션 */
#nav2 > a {
  display: block; /* a태그는 글자성격 = inline */
  float: left;
  font-size: 30px;
  font-weight: 900;
  line-height: 80px;
  padding: 0 30px;
}
#nav2 > ul {
  float: right;
}
#nav2 > ul li {
  float: left;
  padding: 0 30px;
  line-height: 80px;
}

/* 로고는 좌측, 메뉴바는 센터, 그 외적인 것은 우측에 배치된 형태의 네비게이션  */
#nav3 {
  width: 100%;
  position: relative;
  text-align: center;
}
#nav3 > a {
  line-height: 80px;
  display: block;
  font-size: 30px;
  font-weight: 900;
  position: absolute;
  left: 30px;
}
#nav3 > select {
  padding: 0 20px;
  height: 30px;
  background-color: #1b2035;
  color: #fff;
  position: absolute;
  right: 30px;
  top: 50%;
  transform: translateY(-15px);
  border: 2px solid #fff;
  border-radius: 30px;
}
#nav3 > ul {
  display: inline-block;
}
#nav3 > ul li {
  float: left;
  line-height: 80px;
  padding: 0 30px;
}
⇒ js/navBar.js
function loadNavbar() {
  fetch("../html/navBar.html")
    .then((response) => response.text())
    .then((data) => {
      document.getElementById("nav3-container").innerHTML = data;
    })
    .catch((error) => console.error("Error loading the navbar:", error));
}

// Call the function when the window loads
window.onload = function () {
  loadNavbar();
};
fetch("../html/navBar.html")
fetchAPI를 사용하여 상대 경로"../html/navBar.html"에 위치한navBar.html파일에 대한 HTTP GET 요청을 비동기적으로 수행합니다. 이 경로는 현재 파일의 위치에서 상대적으로html폴더 내에 있는navBar.html파일을 가리킵니다.fetch함수는 프로미스(Promise)를 반환합니다. 프로미스는 비동기 작업의 최종 성공 또는 실패를 나타내는 객체입니다.
.then((응답) => response.text())
fetch요청이 성공적으로 완료되면, 응답(Response 객체)을 처리하기 위한 첫 번째.then()콜백 함수가 호출됩니다.response.text()메서드는 응답 본문을 텍스트로 읽고, 그 결과를 포함하는 새로운 프로미스를 반환합니다. 이 메서드는navBar.html파일의 HTML 마크업을 문자열로 변환하는 데 사용됩니다.
.then((data) => { ... })
response.text()에 의해 반환된 프로미스가 이행되면, 즉navBar.html의 내용이 성공적으로 텍스트로 변환되면, 두 번째.then()콜백 함수가 호출됩니다. 이 함수의 매개변수data는navBar.html파일의 전체 내용을 문자열 형태로 담고 있습니다.document.getElementById("nav3-container").innerHTML = data;코드는id가"nav3-container"인 HTML 요소를 찾고, 그 요소의innerHTML속성을data문자열로 설정합니다. 이는nav3-container요소 내에navBar.html의 HTML 내용을 동적으로 삽입하는 효과를 만들어냅니다.
.catch((error) => console.error("navbar 로딩 오류:", error));
fetch요청 과정에서 오류가 발생하거나,response.text()메서드에서 오류가 발생하는 경우.catch()블록이 실행됩니다. 이는 네트워크 문제, 파일을 찾을 수 없는 문제 등 비동기 요청과 관련된 예외를 처리하기 위해 사용됩니다.console.error("Error loading the navbar:", error);코드는 오류 메시지를 콘솔에 기록합니다. 이를 통해 개발자는 비동기 요청 중 발생한 문제를 쉽게 식별하고 디버깅할 수 있습니다.
⇒ html/navBar.html
<nav id="nav3">
  <a href="#">IrishNoah</a>
  <ul>
    <li><a href="#">영화 리뷰</a></li>
    <li><a href="#">고객 문의</a></li>
    <li><a href="#">menu3</a></li>
    <li><a href="#">menu4</a></li>
    <li><a href="#">menu5</a></li>
  </ul>

  <select>
    <option>=test=</option>
    <option>=test=</option>
    <option>=test=</option>
  </select>
</nav>
⇒ css/footer.css
footer {
  background-color: #1b2035; /* background color */
  color: #fff; /* font color */
  text-align: center;
  padding: 20px;
  position: fixed;
  left: 0;
  bottom: 0;
  width: 100%;
  font-family: Arial, sans-serif;
}
⇒ js/footer.js
// footer.js
function loadFooter() {
  fetch("../html/footer.html") // Adjust the path as necessary
    .then((response) => response.text())
    .then((html) => {
      document.getElementById("footer-container").innerHTML = html;
    })
    .catch((error) => {
      console.error("Error loading the footer:", error);
    });
}

// 페이지 로드 시 footer를 불러오도록 설정
document.addEventListener("DOMContentLoaded", function () {
  loadFooter();
});
- js/navBar.js 의 동작 원리와 비슷
- DOMContentLoaded
- 돔트리 분석이 끝나면 발생
- 즉, 돔트리가 다 만들어진 후에 돔에 접근이 가능하기때문에, 돔이 생성되기전 돔을 조작하는 자바스크립트 코드가 실행되어 원하지 않는 결과를 내는것을 막을 수 있다.
⇒ html/footer.html
<footer id="footer">
<p>Copyright © 2024 irishNoah. All rights reserved.</p>
<p>Contact us at <a href="https://github.com/irishNoah">irishNoah</a>.</p>
</footer>
⇒ app.html
<!DOCTYPE html>
<html>
  <head>
    <title>StudyVanillaJS</title>
    <meta name="viewport" content="width=device-width, initial-scale=1.0" />
    <link rel="stylesheet" href="css/navBar.css" />
    <link rel="stylesheet" href="css/footer.css" />
  </head>

  <body>
    <div id="nav3-container"><!-- 네비게이션바 영역 --></div>

    <h1>This is Irish Web Page...</h1>

    <form>
      <span id="msg">Your clicked Number is 0...</span>
      <button id="btn">Click!</button>
    </form>

    <div id="footer-container"><!-- 푸터 영역 --></div>
  </body>

  <!-- 버튼 누를 때마다 값 증가 -->
  <script>
    let counter = 0;
    const msg = document.getElementById("msg");
    const btn = document.getElementById("btn");

    const controlBtnEvent = () => {
      counter += 1;
      console.log("You clicked the Button!");
      msg.innerText = `Your clicked Number is ${counter}...`;
    };

    btn.addEventListener(
      "click",
      () => (event.preventDefault(), controlBtnEvent())
    );
  </script>

  <!-- navBar 관련 -->
  <script src="js/navBar.js"></script>
  <!-- footer 관련-->
  <script src="js/footer.js"></script>
</html>
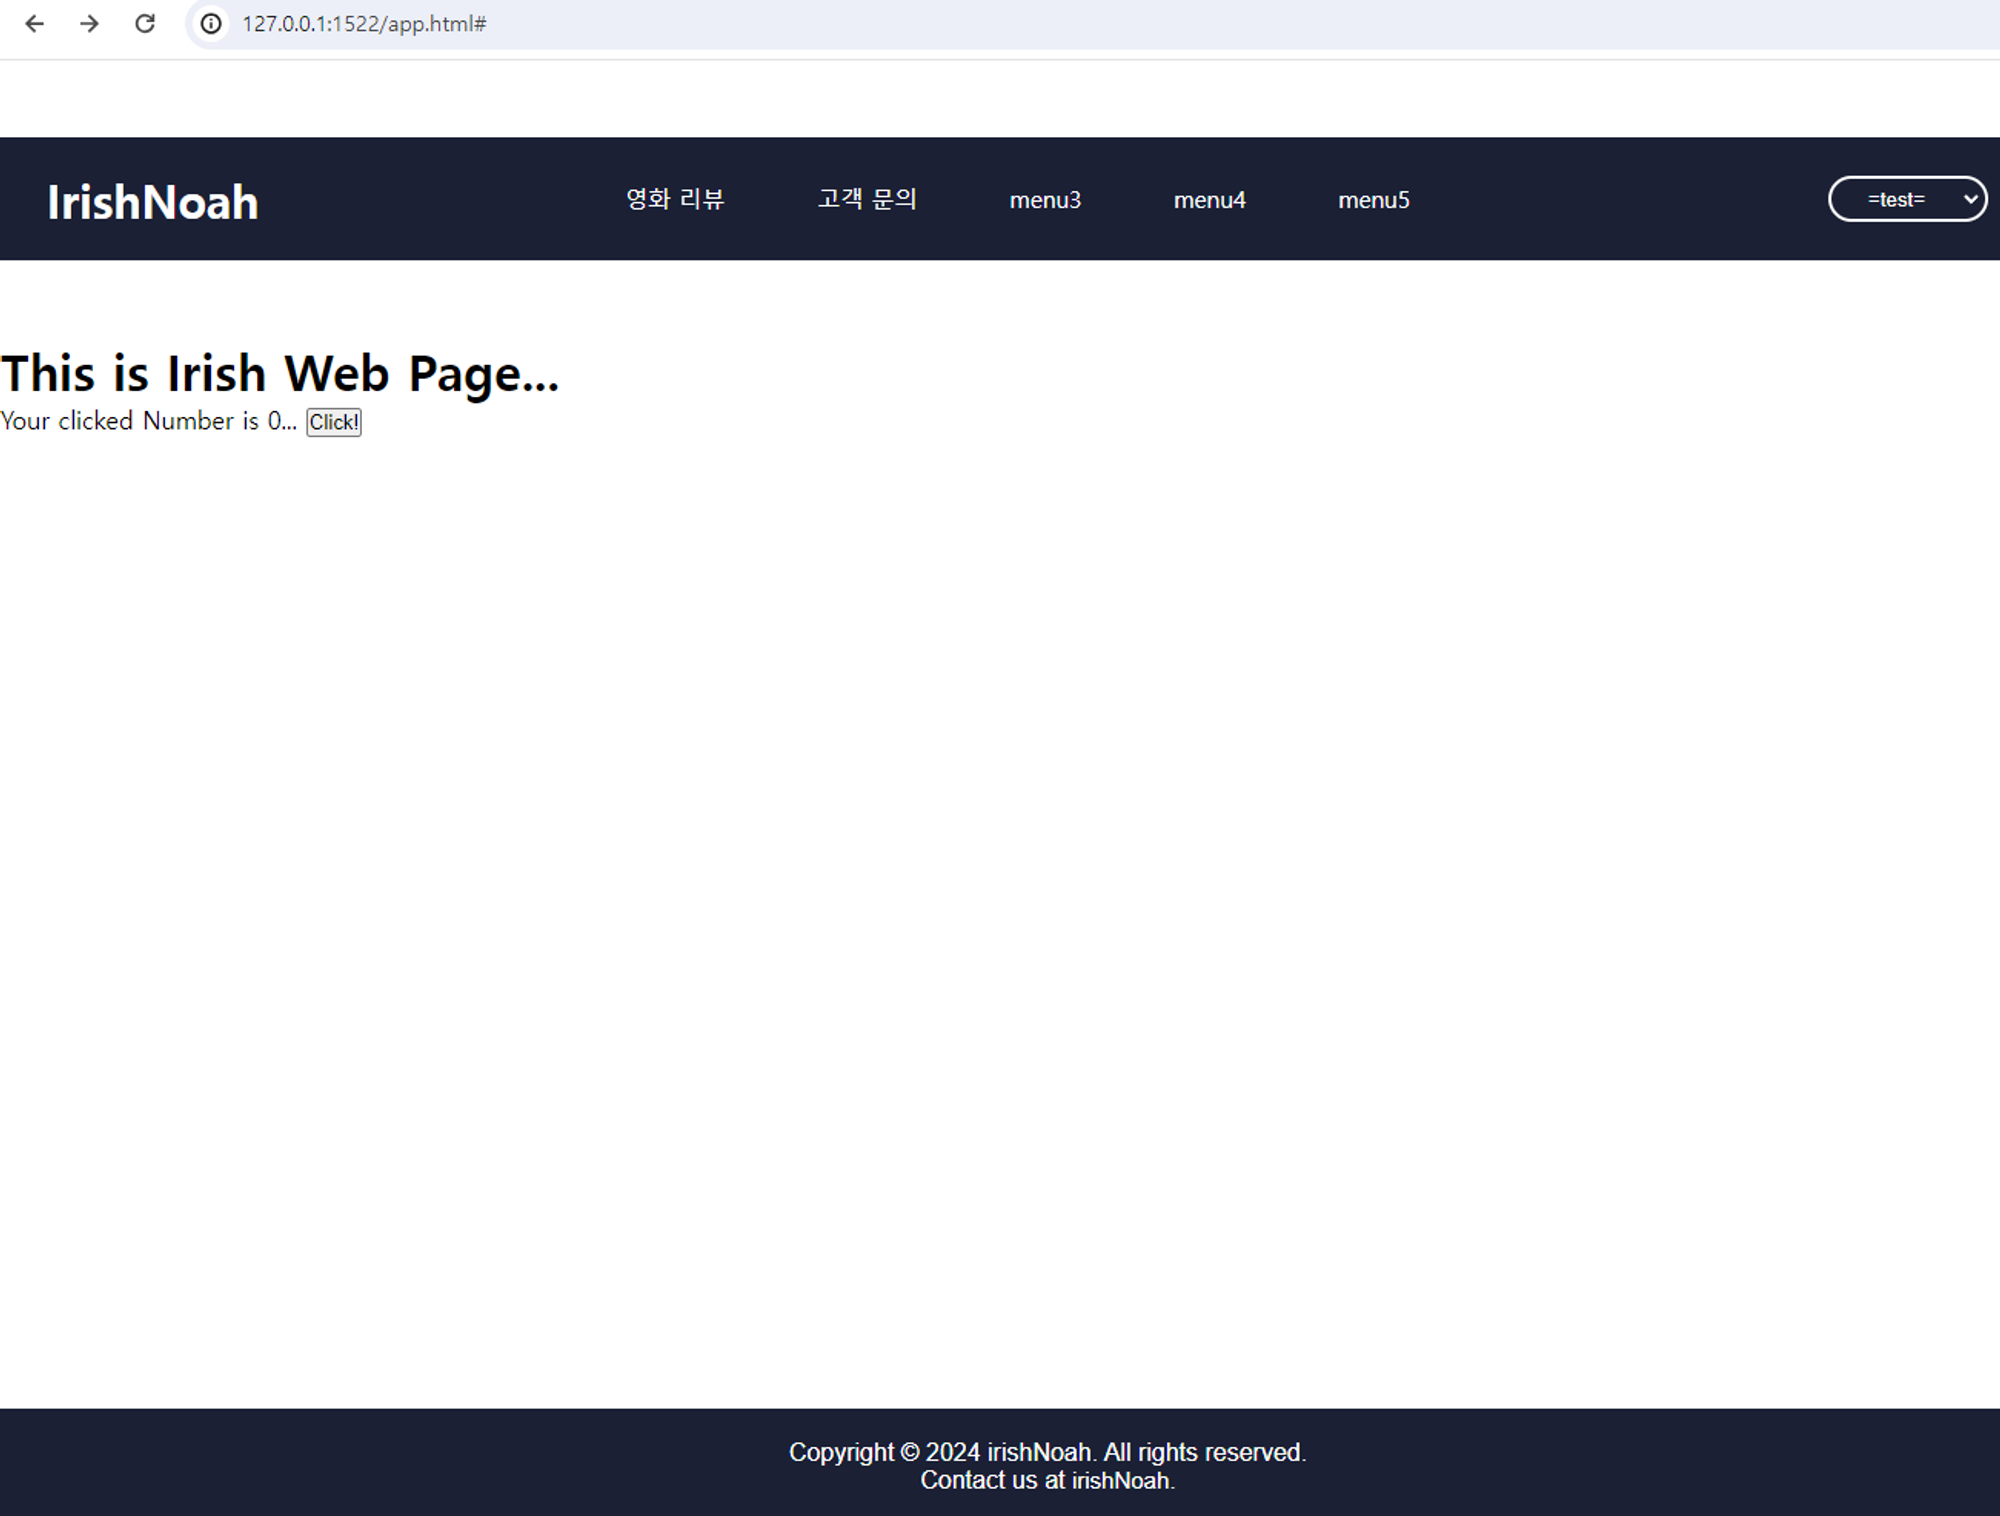
- js/navBar.js 와 js/footer.js 에서 html/navBar.html, html/footer.html 을 넣은 것을 불러온다.
화면
트러블 슈팅
⇒ 문제
app.html에서 아래와 같이 소스코드 작성
<html>
	다른 소스코드 ~~~

	<!-- navBar 관련 -->
  <script src="/html/navBar.html"></script>
  <script src="js/navBar.js"></script>
</html>
이렇게 하니까, 아래와 같은 에러가 발생하네?

Uncaught SyntaxError: Unexpected token '<' 에러가 발생해부렸다!
이유는? 내가 app.html에서 navBar.html을 부를 때 HTML 파일을 JavaScript 파일처럼 로드하려고 했기 때문이다!
어차피, 에서 navBar.html을 긁어오기 때문에 그냥 이거를 없애면 된다!
⇒ 해결
<html>
	다른 소스코드 ~~~

	<!-- navBar 관련 -->
  <script src="js/navBar.js"></script>
</html>
느낀점
실무를 경험하면서 느낀 것인데, 업무에서 중요하게 여기는 것 중에 하나가 프로젝트의 폴더 및 파일 구조를 어떻게 할 것이냐다.
이 구조를 어떻게 구성했는가에 따라 개발할 때에도, 더 나아가 유지보수를 할 때에도 더 편히 가느냐 아니면 불편하게 가느냐에 영향을 생각보다 크게 미친다는 것을 실무를 하며 느끼게 됐다.
그래서, 이 프로젝트에도 폴더 구조를 나눠서 해보면 좋을 것 같다는 생각이 들었다.
일단, vanilla JS로 하니깐 이것을 기준으로 하면 크게 html / css / js 폴더로 나누고 main html 파일을 제외하고는 각 폴더 이름에 맞게 파일을 배치하면 좋겠다는 생각이 들었다.
그래서, 해보니깐 좀… 좋았다(?) 라고 해야 하남???
사실… 에러도 나와서 당황도 하고, 웹을 이렇게 직접 분할해서 처음 해보니까 익숙치가 않아 애 좀 먹었다!
그래도, 끝난게 어디야!!! 이제 자러 가야징…
참고
- HTML - head란?
- [HTML, CSS] 다양한 네비게이션 설계하기
- 태그의 rel 속성 - https://www.tcpschool.com/html-tag-attrs/link-rel
- [자바스크립트] DOMContentLoaded 이벤트