
🌼 GitHub 시작
- GitHub.com 사이트에서 회원가입 (이메일, 비밀번호, github에서 사용할 아이디 등록)
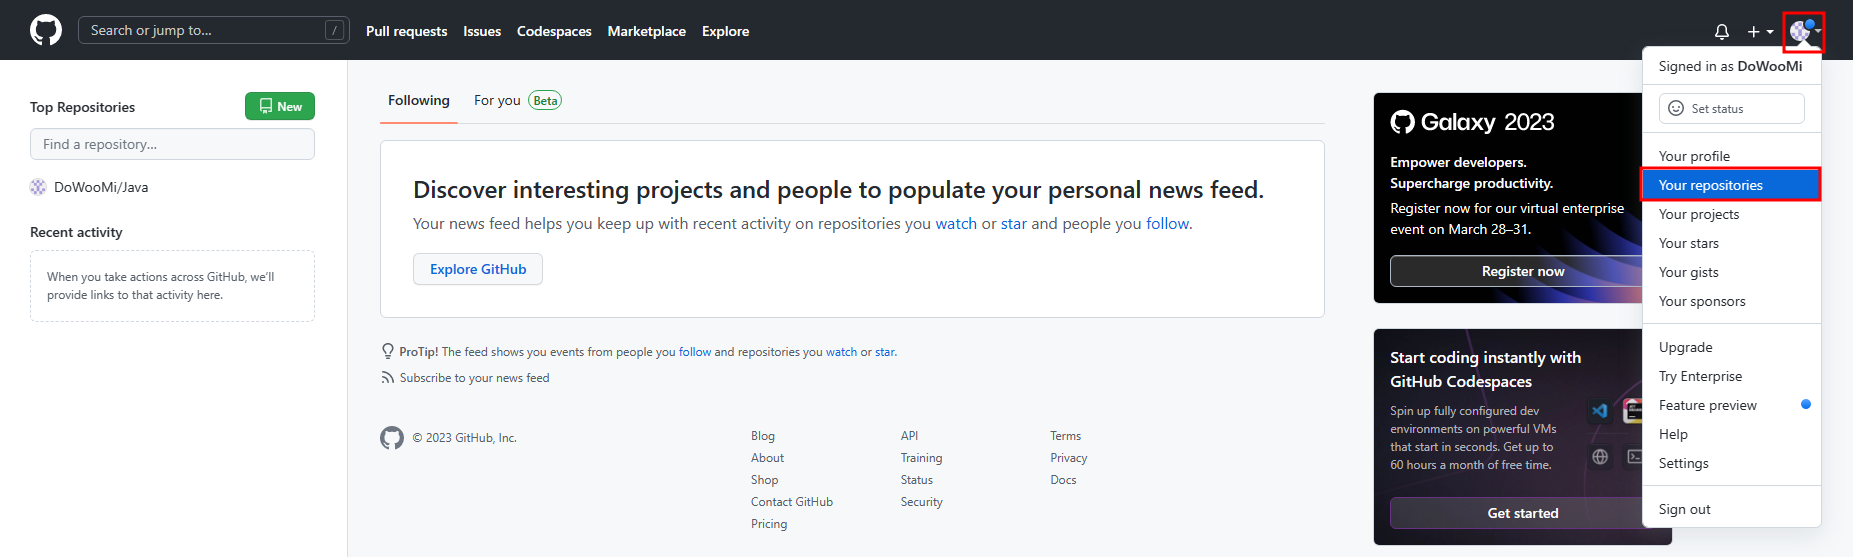
- your repository 클릭하여 나의 저장소 확인 가능
- repository(저장소) 생성 (repository 하나당 하나의 프로젝트 구현)
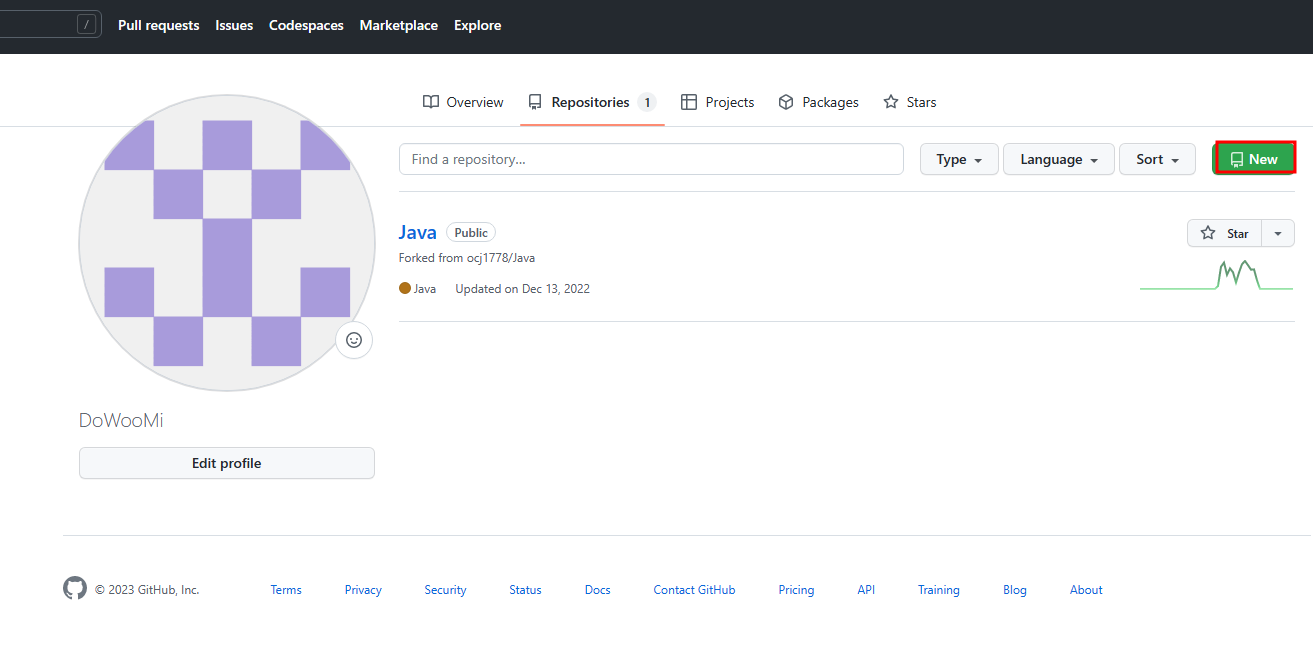
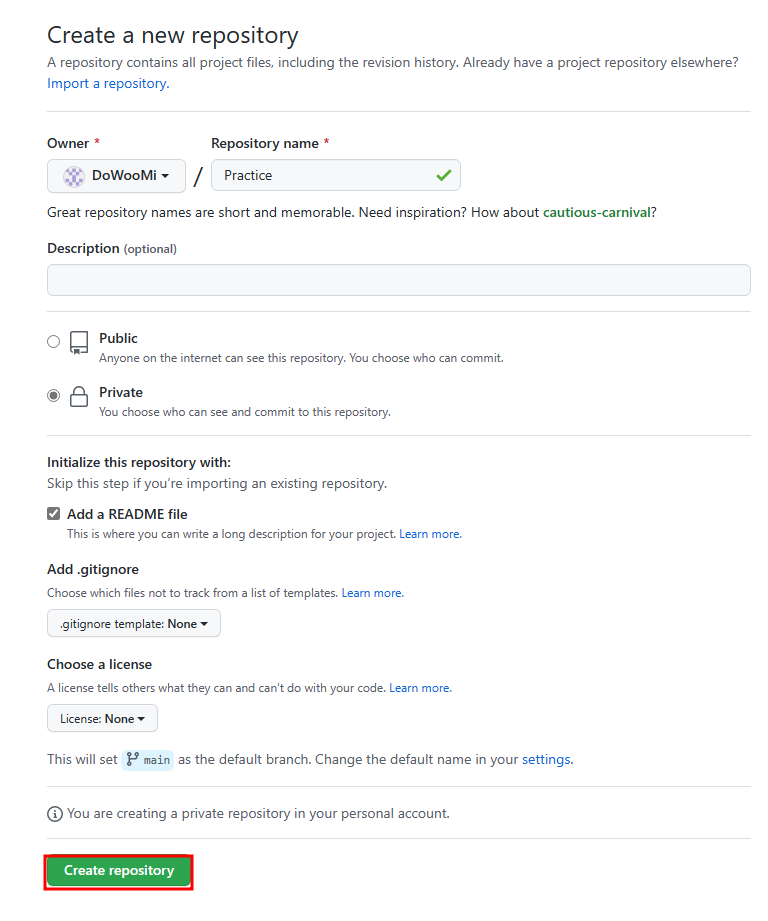
- new → Create a new repository → form 작성 후 create repository
- repository name 작성 (description은 repository에 대한 설명으로 선택)
- public : 나의 코드를 공개해서 공유하겠다 (open source)
- private : 은닉화 시켜 나와 내가 허락한 사람만 확인 가능
- readme file : 프로젝트에 대한 목적, 버전 등 과 같은 정보를 제공
- ignore template : 프로젝트가 가지고 있는 파일을 저장하지 않도록 설정
- eclipse 에서 import
- eclipse 실행
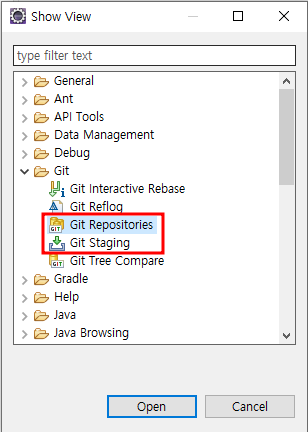
- window → show view → other..
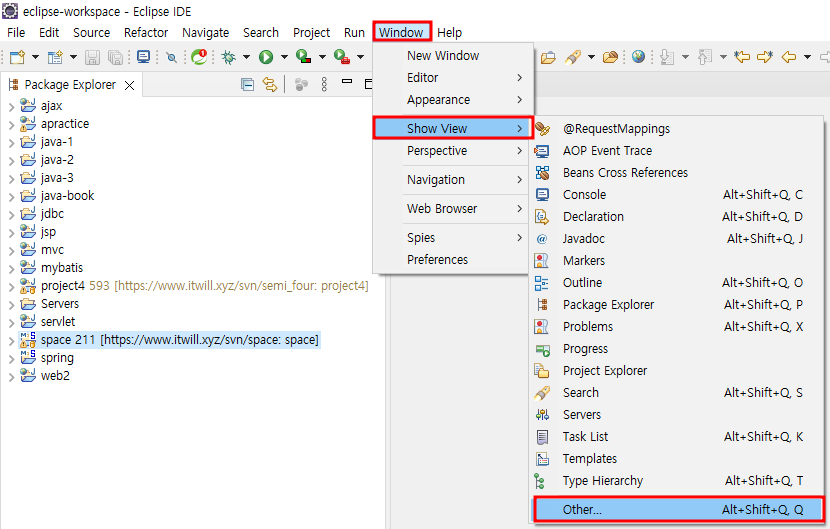
- Git repositories, Git Staging Open
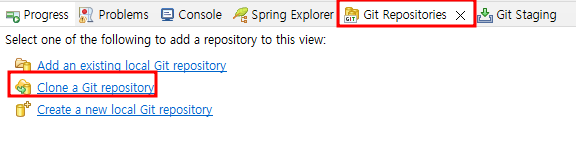
- 하단 확인 후 Clone a Git repository click
- source git Repository 작성 후 Next

📕 source git Repository 정보 확인
-
URI : github의 import할 프로젝트 접속 → <> Code 클릭 → HTTPS의 uri 주소 복사 해서 붙여넣기 (붙여넣기 하면 URI, Host, Repository path 자동 입력됨)

-
Authentication의 User: Github id
-
Authentication의 Password
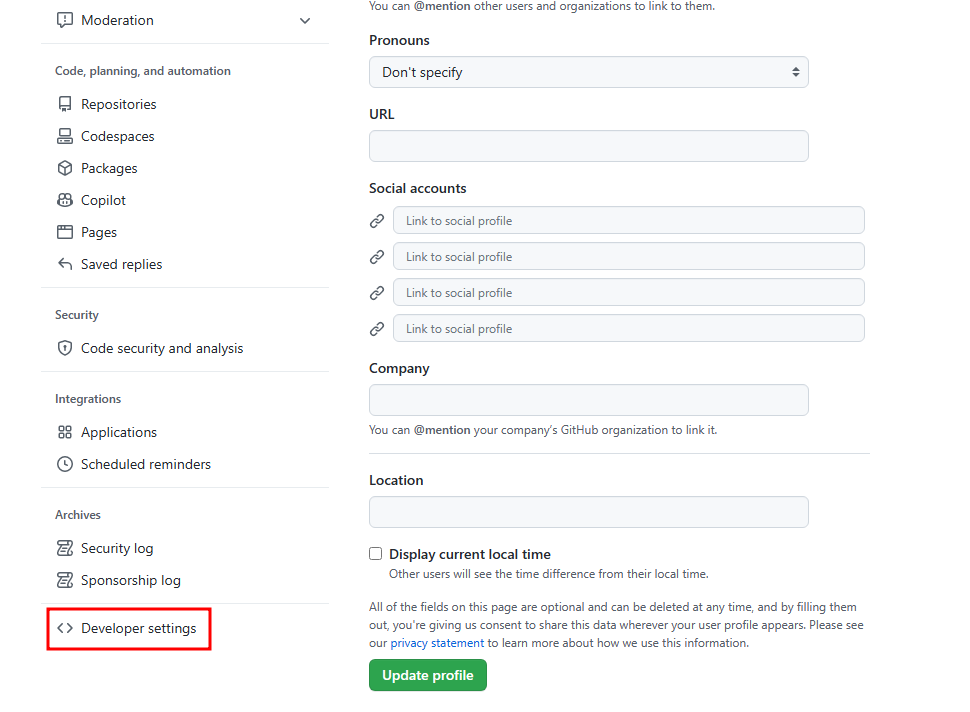
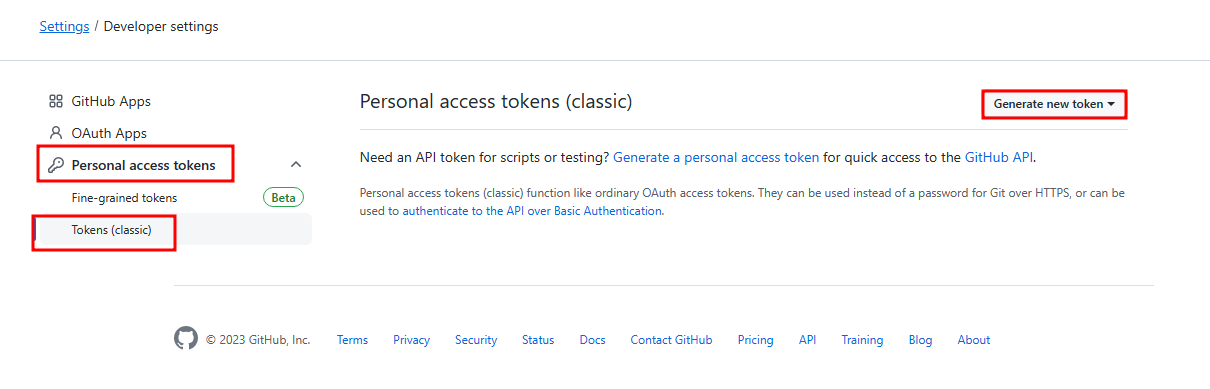
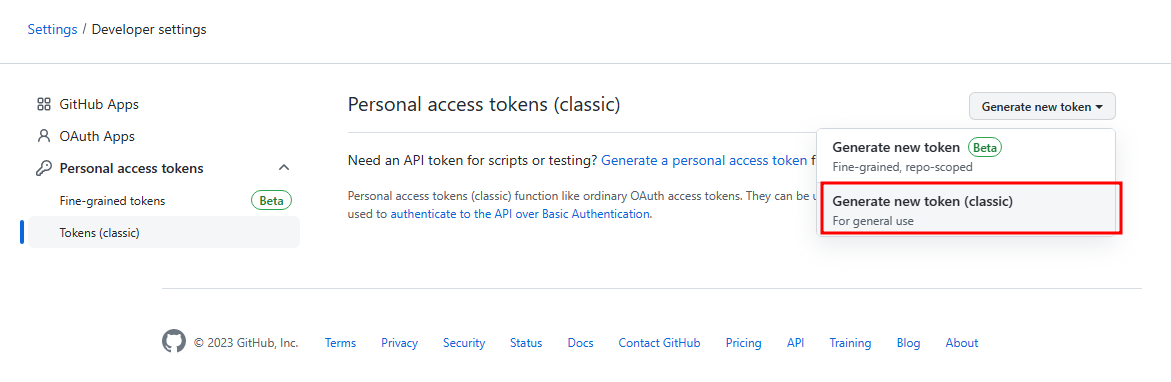
- Password 생성 : settings → Development settings → Personal access tokens → Tokens(classic) → Generate new token → Generate new token(classic)

- Note : 비밀번호 설정
- Expiration : 비밀번호 만료 기간
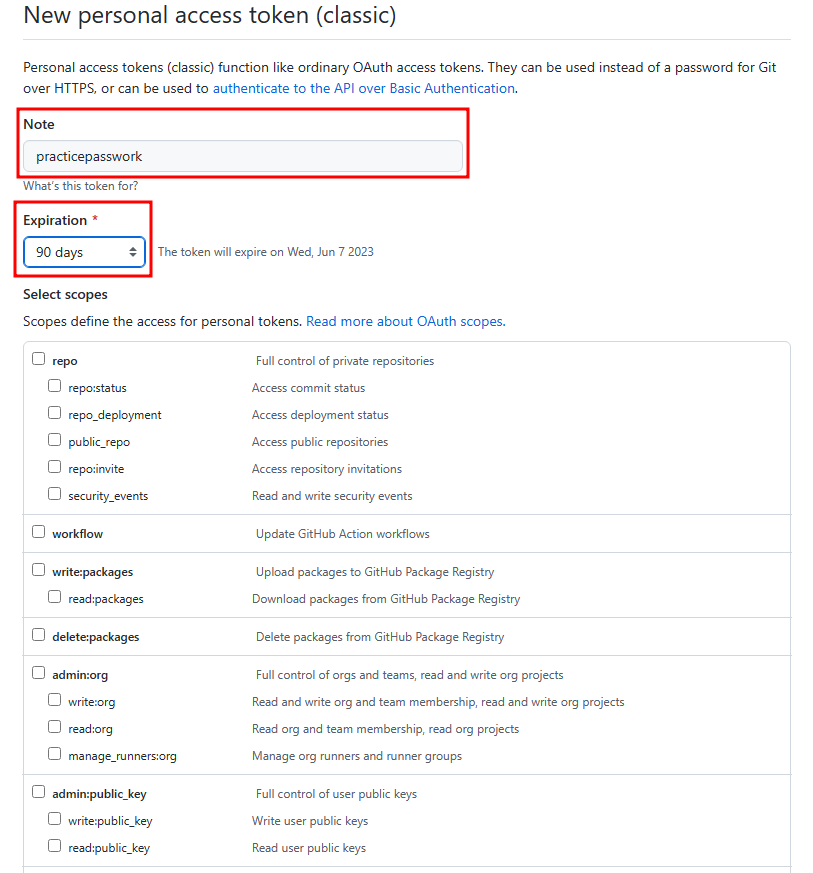
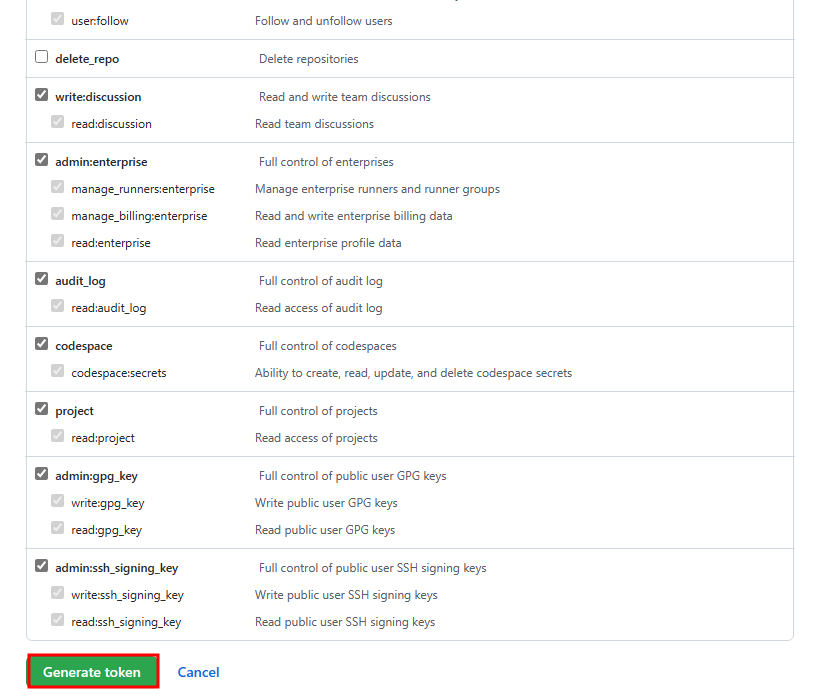
- 옵션 선택 후 Generate token 클릭

- Personal access tokens에서 비밀번호 복사해서 이클립스에 붙여넣기
- Password 생성 : settings → Development settings → Personal access tokens → Tokens(classic) → Generate new token → Generate new token(classic)
-
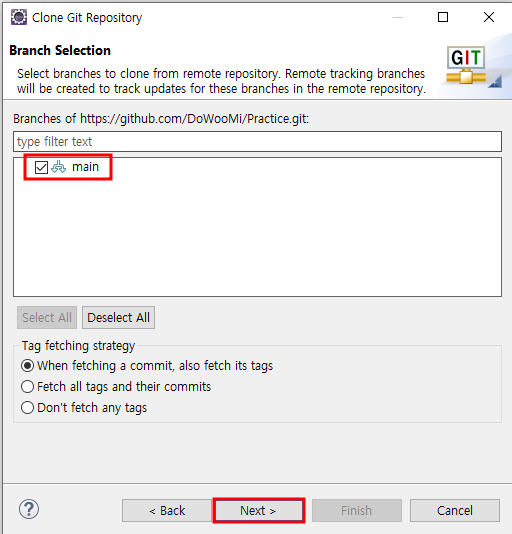
import할 branch선택 후 next → 경로 설정 후 Finish

-
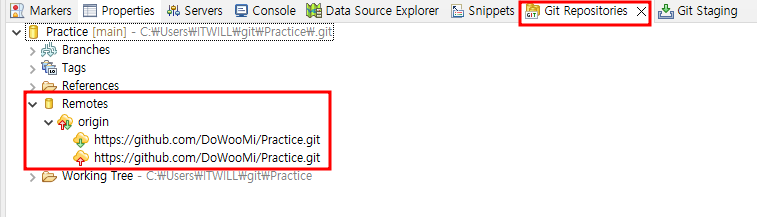
완료되면 Git Repositories에서 확인 가능
- eclipse 에서 프로젝트 생성하여 Git과 연결
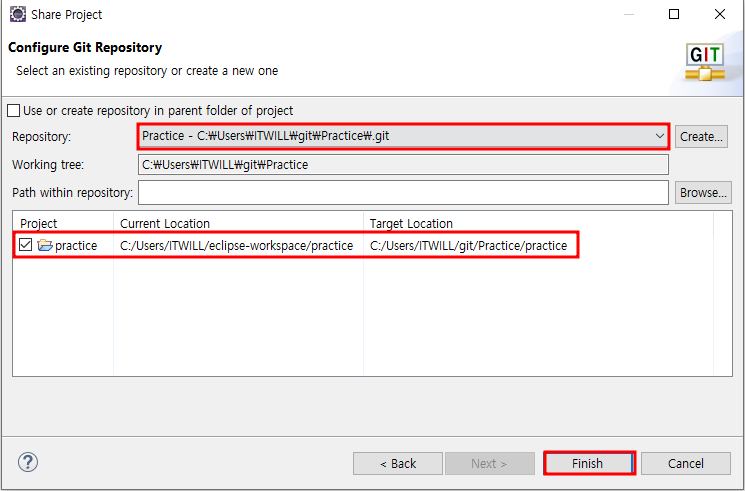
- 프로젝트 생성 후 마우스 오른쪽 버튼 클릭 → team → share project → Git 선택 후 next

- 선택 가능한 Repository 선택 → import할 프로젝트 선택 → Finish
- eclipse 에서 Commit (commit할 코드 작성)
- commit : eclipse에서 local repository에 upload
- push : local repository에 있는 것을 git hup upload
-
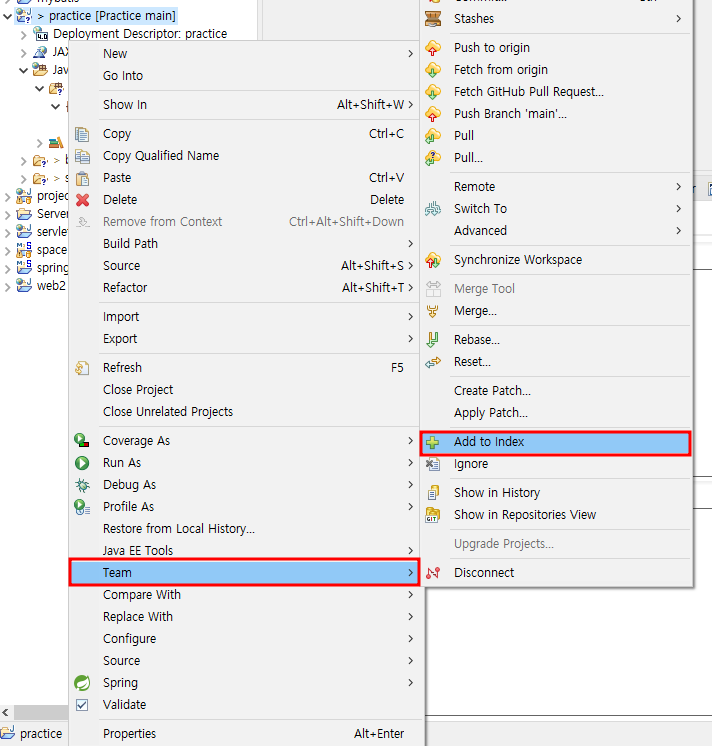
첫번째 방법 : 프로젝트 마우스 오른쪽 버튼 → Team → Add to Index (local repository에 upload)
-
프로젝트 마우스 오른쪽 버튼 → Team → Commit (local repository에 있는 것을 git hup upload)

-
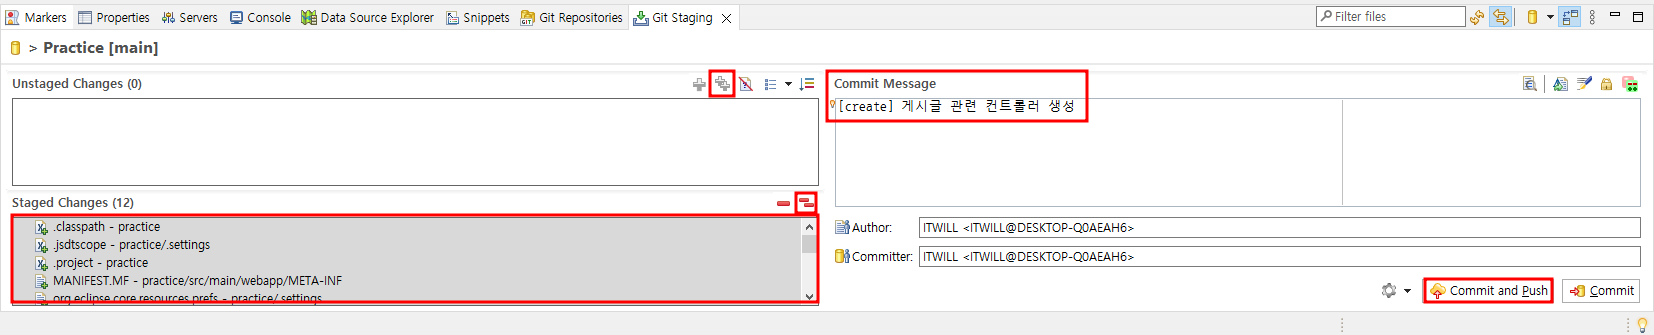
두번째 방법 : Git Staging에서 아이콘을 클릭하여 Staged Changes로 이동 → Commit Message 작성 후 Commit and Push or Commit(협업 할 경우에는 commit만 했다가 한번에 push하는 것을 권장)
- eclipse 에서 update
- 프로젝트 마우스 오른쪽 버튼 → Team → Pull

📙 repository 공유하여 협업
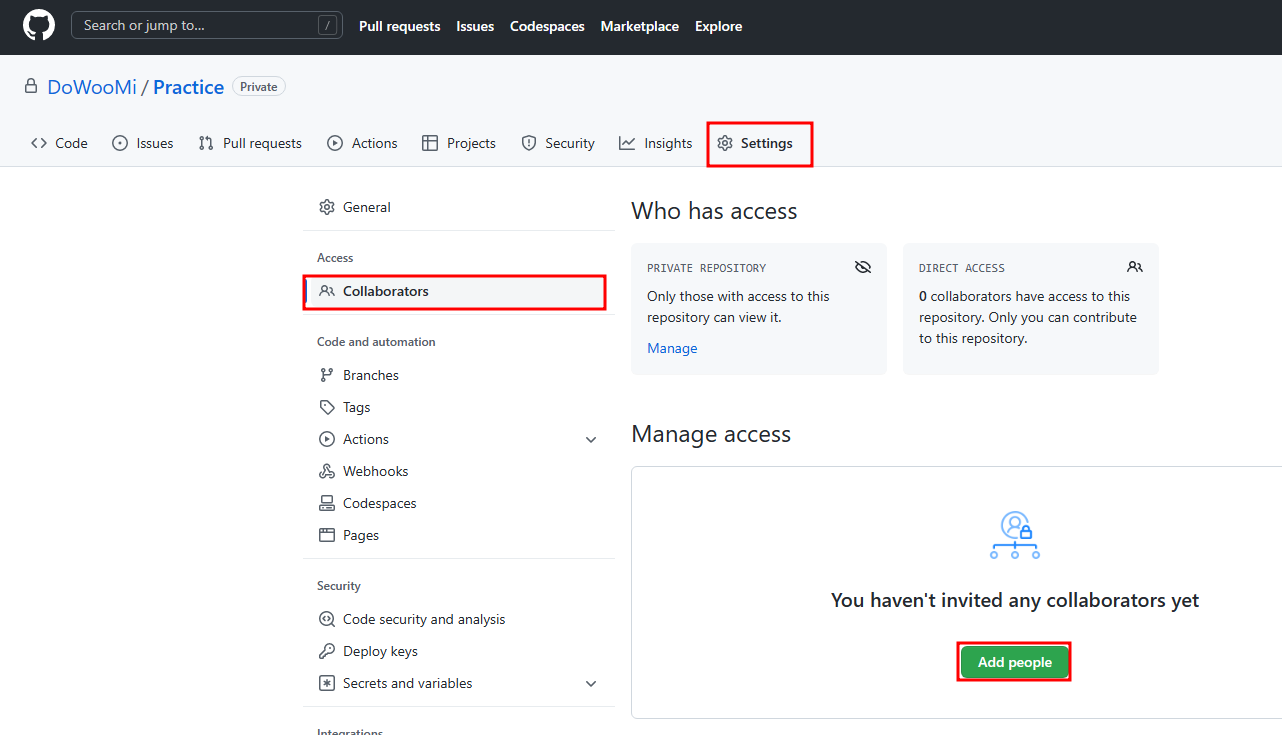
초대하는 방법
- Github → Settings → Collaborators → Add people을 클릭하여 추가할 팀원의 아이디 or 이메일을 작성하여 초대 가능

초대받는 방법
-
초대받으면 알림으로 확인 가능 → 허락하면 프로젝트 파일 공유 가능
-
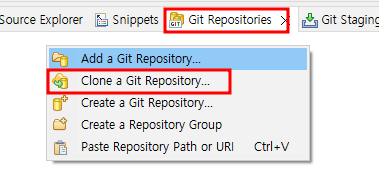
공유된 repository 등록 방법 : Git Repositories → Clone a Git Repository... 클릭 → repository 정보 등록 후 사용 가능
- clone repository → url 복사 붙여넣기 → 초대받은사람의 user password 입력 → finish → repository의 프로젝트 오른쪽 버튼 → import projects → github에 있는 프로젝트에서 repository로 가져올 파일 클릭 후 생성
📒 branch 추가
- 일반적으로 main branch는 release 버전에서 완성된 것만 저장하고 개발 시에는 branch 여러개 생성
- ex. branch 1.0 에서 계속 수정
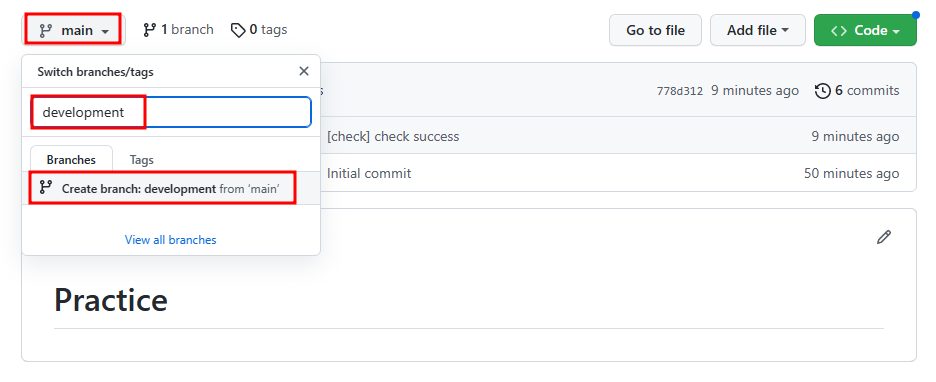
- new branch 생성 방법
- 프로젝트의 main 클릭 → new branch 이름 설정 후 create branch : development from main 클릭 하면 새로운 branch 생성 확인 가능
- 프로젝트의 main 클릭 → new branch 이름 설정 후 create branch : development from main 클릭 하면 새로운 branch 생성 확인 가능
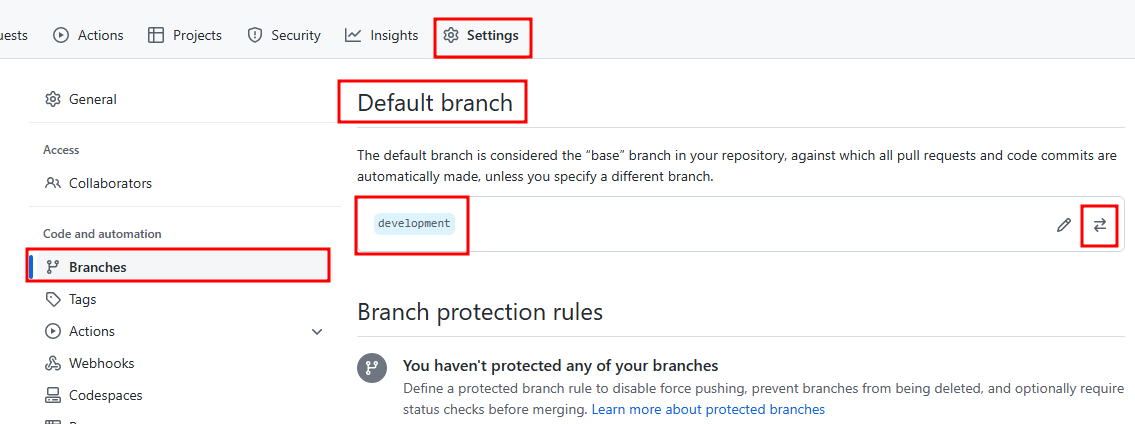
📌 default branch 변경 방법
- settings → Branches → 변경 클릭하여 default branch update 가능

📌 개인 branch 생성하여 허락 받는 방법
- 개인적으로 사용한 branch 생성 후 Pull requests → New pull request 클릭하면 프로젝트 관리자가 허용여부 확인

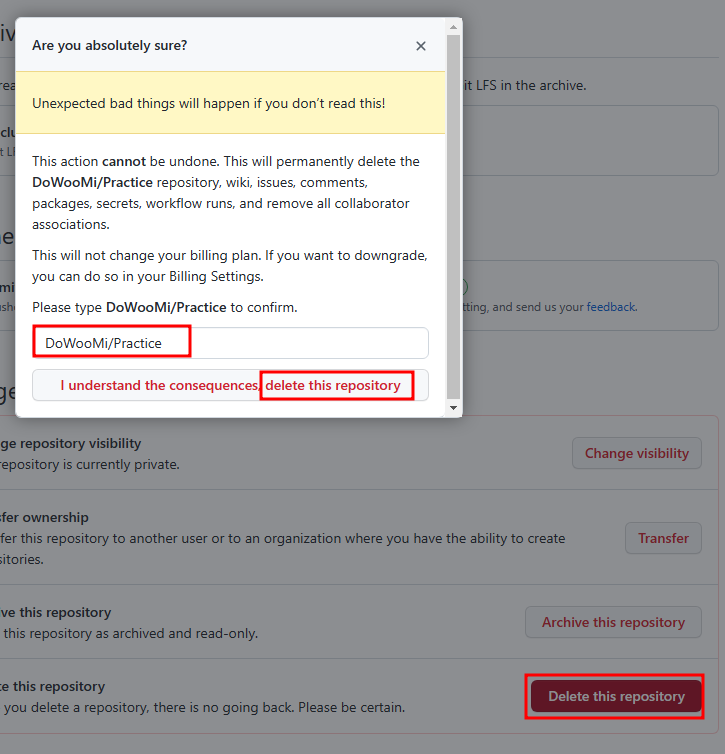
📗 repository 삭제
- settings → 하단 Delete this repository 클릭 → 삭제할 repository 작성 후 delete this repository 클릭
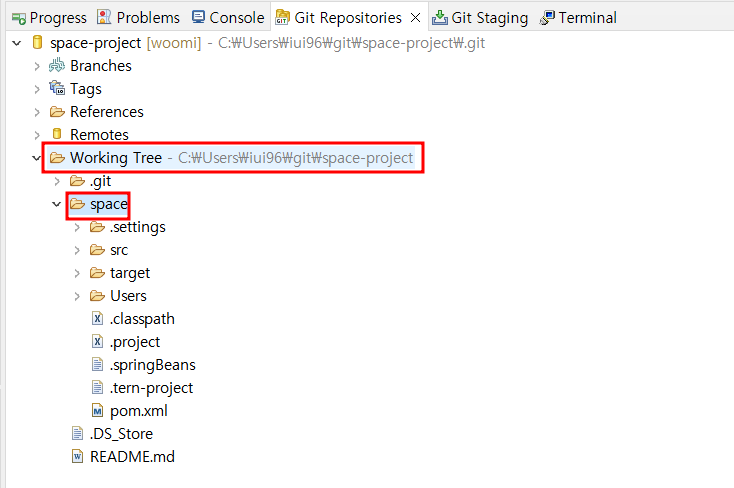
🎀 STS에서 github project import
- git repositories에서 clone a git repository후 working tree에 있는 프로젝트 오른쪽 버튼 클릭하여 import projects

Study Log 📂