
How to use Timer and onReceive in SwiftUI | Continued Learning #24
Timer & onReceive
구현 목표
- 타이머의 값을 확인, 실시간으로 변동된 시간에 따라 다른 UI를 보여줄 수 있음
- 특정 시간까지 카운트다운 타이머
- 시간에 따른 반복 애니메이션 구현
- 시간에 따른 탭뷰 자동 넘기기 구현
구현 태스크
- 타이머: 특정 시간 주기로 작업을 실행하는 퍼블리셔 구현. UI 관련 이벤트이므로 메인 스레드 등록하기
- 목표 시간까지 남은 시간 실시간 비교
- 특정 주기 1초마다 값이 바뀌는 로딩 애니메이션
- 특정 주기 1초마다 탭 페이지가 바뀌는 애니메이션
핵심 코드
let timer = Timer.publish(every: 1, on: .main, in: .common).autoconnect()- 타이머 구현.
publish
.onReceive(timer) { value in
            withAnimation(.default) {
                count = count == 5 ? 1 : count + 1
            }
            updateTimeRemaining()
}- 타이머 값 변동을 받는
onReceive
소스 코드
import SwiftUI
struct TimerBootCamp: View {
let timer = Timer.publish(every: 1, on: .main, in: .common).autoconnect()
@State private var count: Int = 1
@State private var finishedText: String? = nil
@State private var timeRemaining = ""
let futureData: Date = Calendar.current.date(byAdding: .hour, value: 1, to: Date()) ?? Date()
func updateTimeRemaining() {
let remaining = Calendar.current.dateComponents([.minute, .second], from: Date(), to: futureData)
let minute = remaining.minute ?? 0
let second = remaining.second ?? 0
timeRemaining = "\(minute) minutes \(second) seconds"
}
var body: some View {
ZStack {
RadialGradient(gradient: Gradient(colors: [.purple, .indigo]), center: .center, startRadius: 5, endRadius: 500).ignoresSafeArea()
VStack {
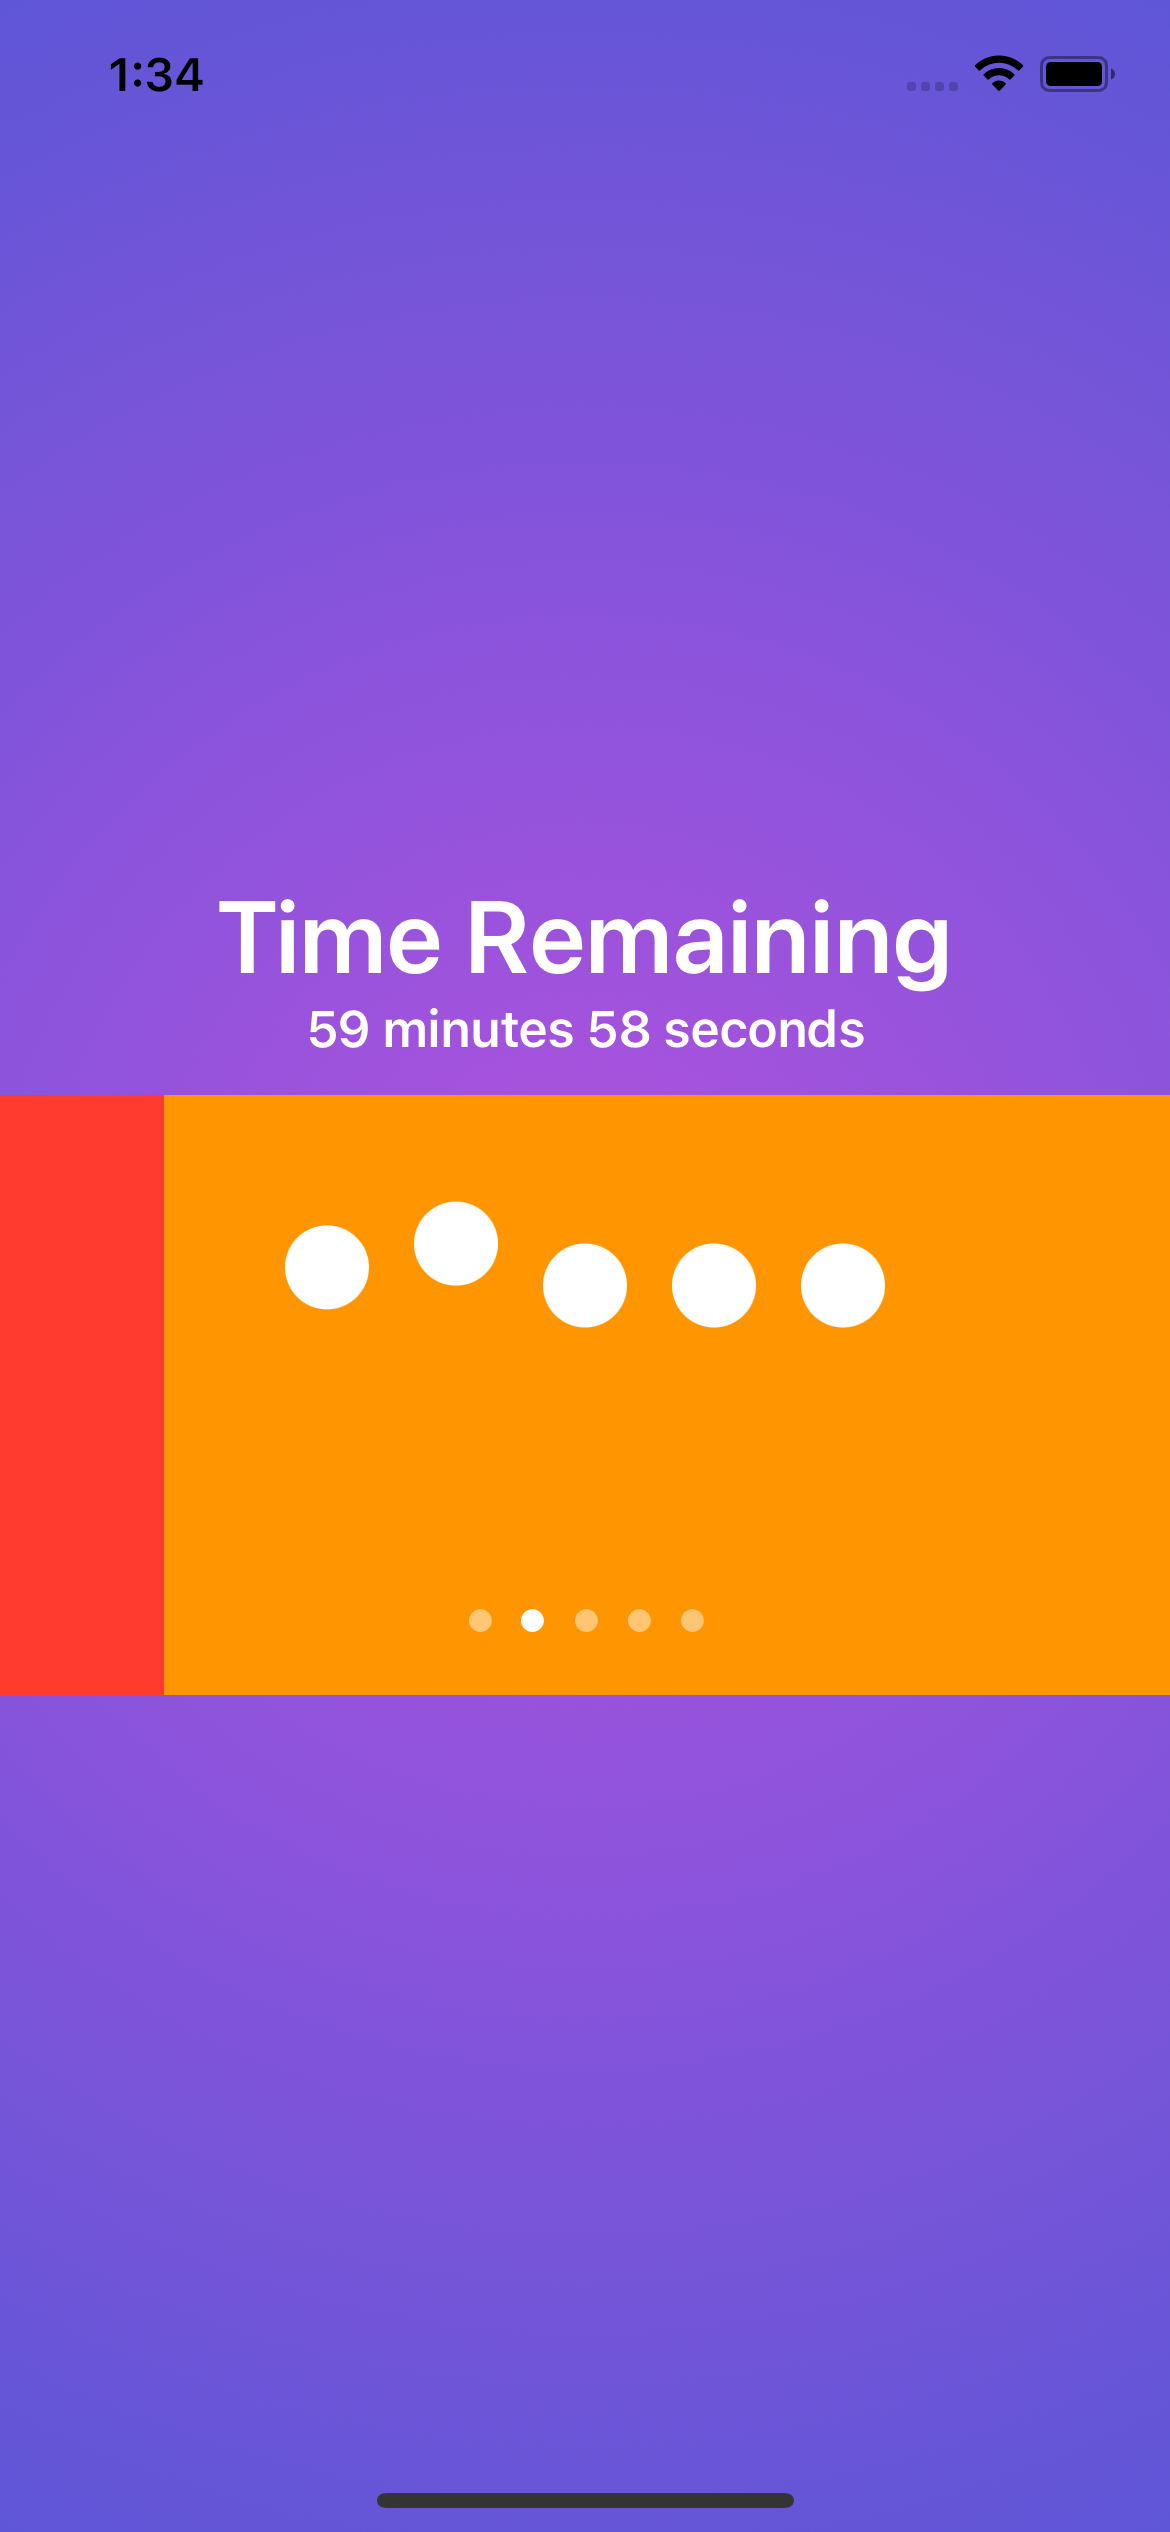
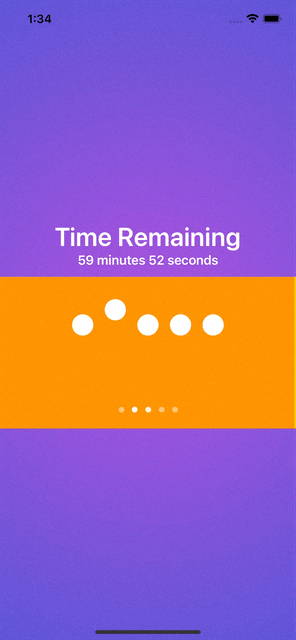
Text("Time Remaining")
.font(.largeTitle)
.fontWeight(.semibold)
.foregroundColor(.white)
.lineLimit(1)
.minimumScaleFactor(0.1)
Text(timeRemaining)
.font(.headline)
.fontWeight(.semibold)
.foregroundColor(.white)
.lineLimit(1)
.minimumScaleFactor(0.1)
TabView(selection: $count) {
Rectangle()
.foregroundColor(.red)
.tag(1)
Rectangle()
.foregroundColor(.orange)
.tag(2)
Rectangle()
.foregroundColor(.yellow)
.tag(3)
Rectangle()
.foregroundColor(.green)
.tag(4)
Rectangle()
.foregroundColor(.blue)
.tag(5)
}
.frame(height: 200)
.tabViewStyle(.page)
}
HStack(spacing: 15) {
Circle()
.offset(y: count == 1 ? -20 : 0)
Circle()
.offset(y: count == 2 ? -20 : 0)
Circle()
.offset(y: count == 3 ? -20 : 0)
Circle()
.offset(y: count == 4 ? -20 : 0)
Circle()
.offset(y: count == 5 ? -20 : 0)
}
.frame(width: 200)
.foregroundColor(.white)
}
.onAppear {
updateTimeRemaining()
}
.onReceive(timer) { value in
withAnimation(.default) {
count = count == 5 ? 1 : count + 1
}
updateTimeRemaining()
}
}
}
구현 화면

JUST DO IT