
Diffable Data Source (Swift 5, Xcode 12, TableView) - iOS 2020
UITableView: Diffable Data Source
구현 목표
Diffable Data Source를 사용한 테이블 뷰 구현
구현 태스크
- 커스텀
Diffable Data Source클래스 구현 - 뷰 모델 바인딩
핵심 코드
dataSource = CustomDataSource(tableView: tableView, cellProvider: { [weak self] tableView, indexPath, model -> UITableViewCell? in
            guard let cell = tableView.dequeueReusableCell(withIdentifier: CustomTableViewCell.identifier, for: indexPath) as? CustomTableViewCell else { return nil }
            if let model = self? .fruitModels.value[indexPath.row] {
                cell.configure(with: model)
            }
            return cell
})- 기존의 테이블 뷰 데이터 소스 함수에서 셀을 리턴하는 것과 마찬가지의 역할
- 데이터 소스 클래스를 커스텀하였으므로
CustomDataSource!로 선언해놓은 데이터 소스에 실제 값을 입력하는 부분
private func updateDatasource(items: [FruitModel]) {
        var snapshot = NSDiffableDataSourceSnapshot<TableViewSection, FruitModel>()
        self.snapshot = snapshot
        snapshot.appendSections(TableViewSection.allCases)
        snapshot.appendItems(items)
        apply(snapshot, animatingDifferences: true, completion: nil)
}- 변경된 데이터만을 감지하는
Diffable Data Source의 특징인 스냅샷을 리턴하는 함수 - 실제로 변경된 데이터를 감지하는 스냅샷이
Hashable한 데이터를 감지하기 때문에apply를 통해 자연스러운 변경 가능
import Foundation

struct FruitModel: Hashable {
    let title: String
    let id = UUID().uuidString

    func hash(into hasher: inout Hasher) {
        hasher.combine(id)
    }
}
Diffable Data Source의 스냅샷이 감지할 데이터는 서로 다름이 보장되어야 하기 때문에Hashable프로토콜을 따름hash함수를 통해 서로 다름을 보장 가능
소스 코드
mport Foundation
import Combine
import UIKit

enum CustomDataSourceInput {
    case delete(indexPath: IndexPath)
}

class CustomDataSource: UITableViewDiffableDataSource<TableViewSection, FruitModel> {
    private var snapshot: NSDiffableDataSourceSnapshot<TableViewSection, FruitModel>!
    private var cancellables = Set<AnyCancellable>()
    let input: PassthroughSubject<CustomDataSourceInput, Never> = .init()

    override func tableView(_ tableView: UITableView, commit editingStyle: UITableViewCell.EditingStyle, forRowAt indexPath: IndexPath) {
        if editingStyle == .delete {
            input.send(.delete(indexPath: indexPath))
        }
    }

    override func tableView(_ tableView: UITableView, canEditRowAt indexPath: IndexPath) -> Bool {
        return true
    }

    private func updateDatasource(items: [FruitModel]) {
        var snapshot = NSDiffableDataSourceSnapshot<TableViewSection, FruitModel>()
        self.snapshot = snapshot
        snapshot.appendSections(TableViewSection.allCases)
        snapshot.appendItems(items)
        apply(snapshot, animatingDifferences: true, completion: nil)
    }

    func bind(publisher: AnyPublisher<[FruitModel], Never>) {
        publisher
            .receive(on: DispatchQueue.main)
            .sink { [weak self] models in
                self?.updateDatasource(items: models)
            }
            .store(in: &cancellables)
    }
}- 커스텀
Diffable Data Source클래스 - 실제 데이터를 저장한 뷰 모델의 데이터를 통해 현재 스냅샷 그리기
- 뷰 모델에게 테이블 뷰가 감지한 이벤트를 보내주기 위한 컴바인 바인딩
import Foundation
import UIKit
import Combine

enum TableViewSection: CaseIterable {
    case first
}

enum TableViewModelOutput {
    case delete
}

class TableViewModel {

    let fruitModels: CurrentValueSubject<[FruitModel], Never> = .init([])
    var dataSource: CustomDataSource!
    private var cancellables = Set<AnyCancellable>()

    func addFruit(with model: FruitModel) {
        fruitModels.send(fruitModels.value + [model])
    }

    private func transform(input: AnyPublisher<CustomDataSourceInput, Never>) {
        input
            .sink { [weak self] value in
                switch value {
                case .delete(let indexPath):
                    guard let self = self else { return }
                    var deletedItems = self.fruitModels.value
                    deletedItems.remove(at: indexPath.row)
                    self.fruitModels.send(deletedItems)
                }
            }
            .store(in: &cancellables)
    }

    func bind(tableView: UITableView) {
        dataSource = CustomDataSource(tableView: tableView, cellProvider: { [weak self] tableView, indexPath, model -> UITableViewCell? in
            guard let cell = tableView.dequeueReusableCell(withIdentifier: CustomTableViewCell.identifier, for: indexPath) as? CustomTableViewCell else { return nil }
            if let model = self? .fruitModels.value[indexPath.row] {
                cell.configure(with: model)
            }
            return cell
        })
        transform(input: dataSource.input.eraseToAnyPublisher())
        dataSource.bind(publisher: fruitModels.eraseToAnyPublisher())
    }
}- 뷰 컨트롤러의 테이블 뷰가 그릴 데이터 소스와 해당 스냅샷을 가지고 있는 장소
- 뷰 컨트롤러로부터 테이블 뷰를 건네받아 해당 데이터 소스와 바인딩
- 데이터 소스가 뷰 모델의 데이터를 그릴 수 있도록 퍼블리셔를 사용한 컴바인 바인딩
- 데이터 소스가 감지한 테이블 뷰
row삭제 등 이벤트를 감지할 수 있도록 컴바인 바인딩
import UIKit

class TableViewController: UIViewController {

    private let tableView: UITableView = {
        let tableView = UITableView()
        tableView.register(CustomTableViewCell.self, forCellReuseIdentifier: CustomTableViewCell.identifier)
        return tableView
    }()
    private let viewModel = TableViewModel()

    override func viewDidLoad() {
        super.viewDidLoad()
        setUI()
    }

    override func viewDidLayoutSubviews() {
        super.viewDidLayoutSubviews()
        tableView.frame = view.bounds
    }

    private func setUI() {
        setNavigationBar()
        view.backgroundColor = .systemBackground
        view.addSubview(tableView)
        viewModel.bind(tableView: tableView)
    }

    private func setNavigationBar() {
        title = "My Fruits"
        navigationItem.rightBarButtonItem = UIBarButtonItem(image: UIImage(systemName: "plus"), style: .done, target: self, action: #selector(didTapAdd))
    }

    @objc private func didTapAdd() {
        let actionSheet = UIAlertController(title: "Select Fruit", message: nil, preferredStyle: .actionSheet)
        for index in 0..<100 {
            actionSheet.addAction(UIAlertAction(title: "Fruit \(index + 1)", style: .default, handler: { [weak self] _ in
                let fruit = FruitModel(title: "Fruit \(index + 1)")
                self?.viewModel.addFruit(with: fruit)
            }))
        }
        actionSheet.addAction(UIAlertAction(title: "Cancel", style: .cancel, handler: nil))
        present(actionSheet, animated: true)
    }
}- 테이블 뷰 UI를 구현한 뷰 컨트롤러
- 플러스 버튼 클릭 시 데이터 추가 가능
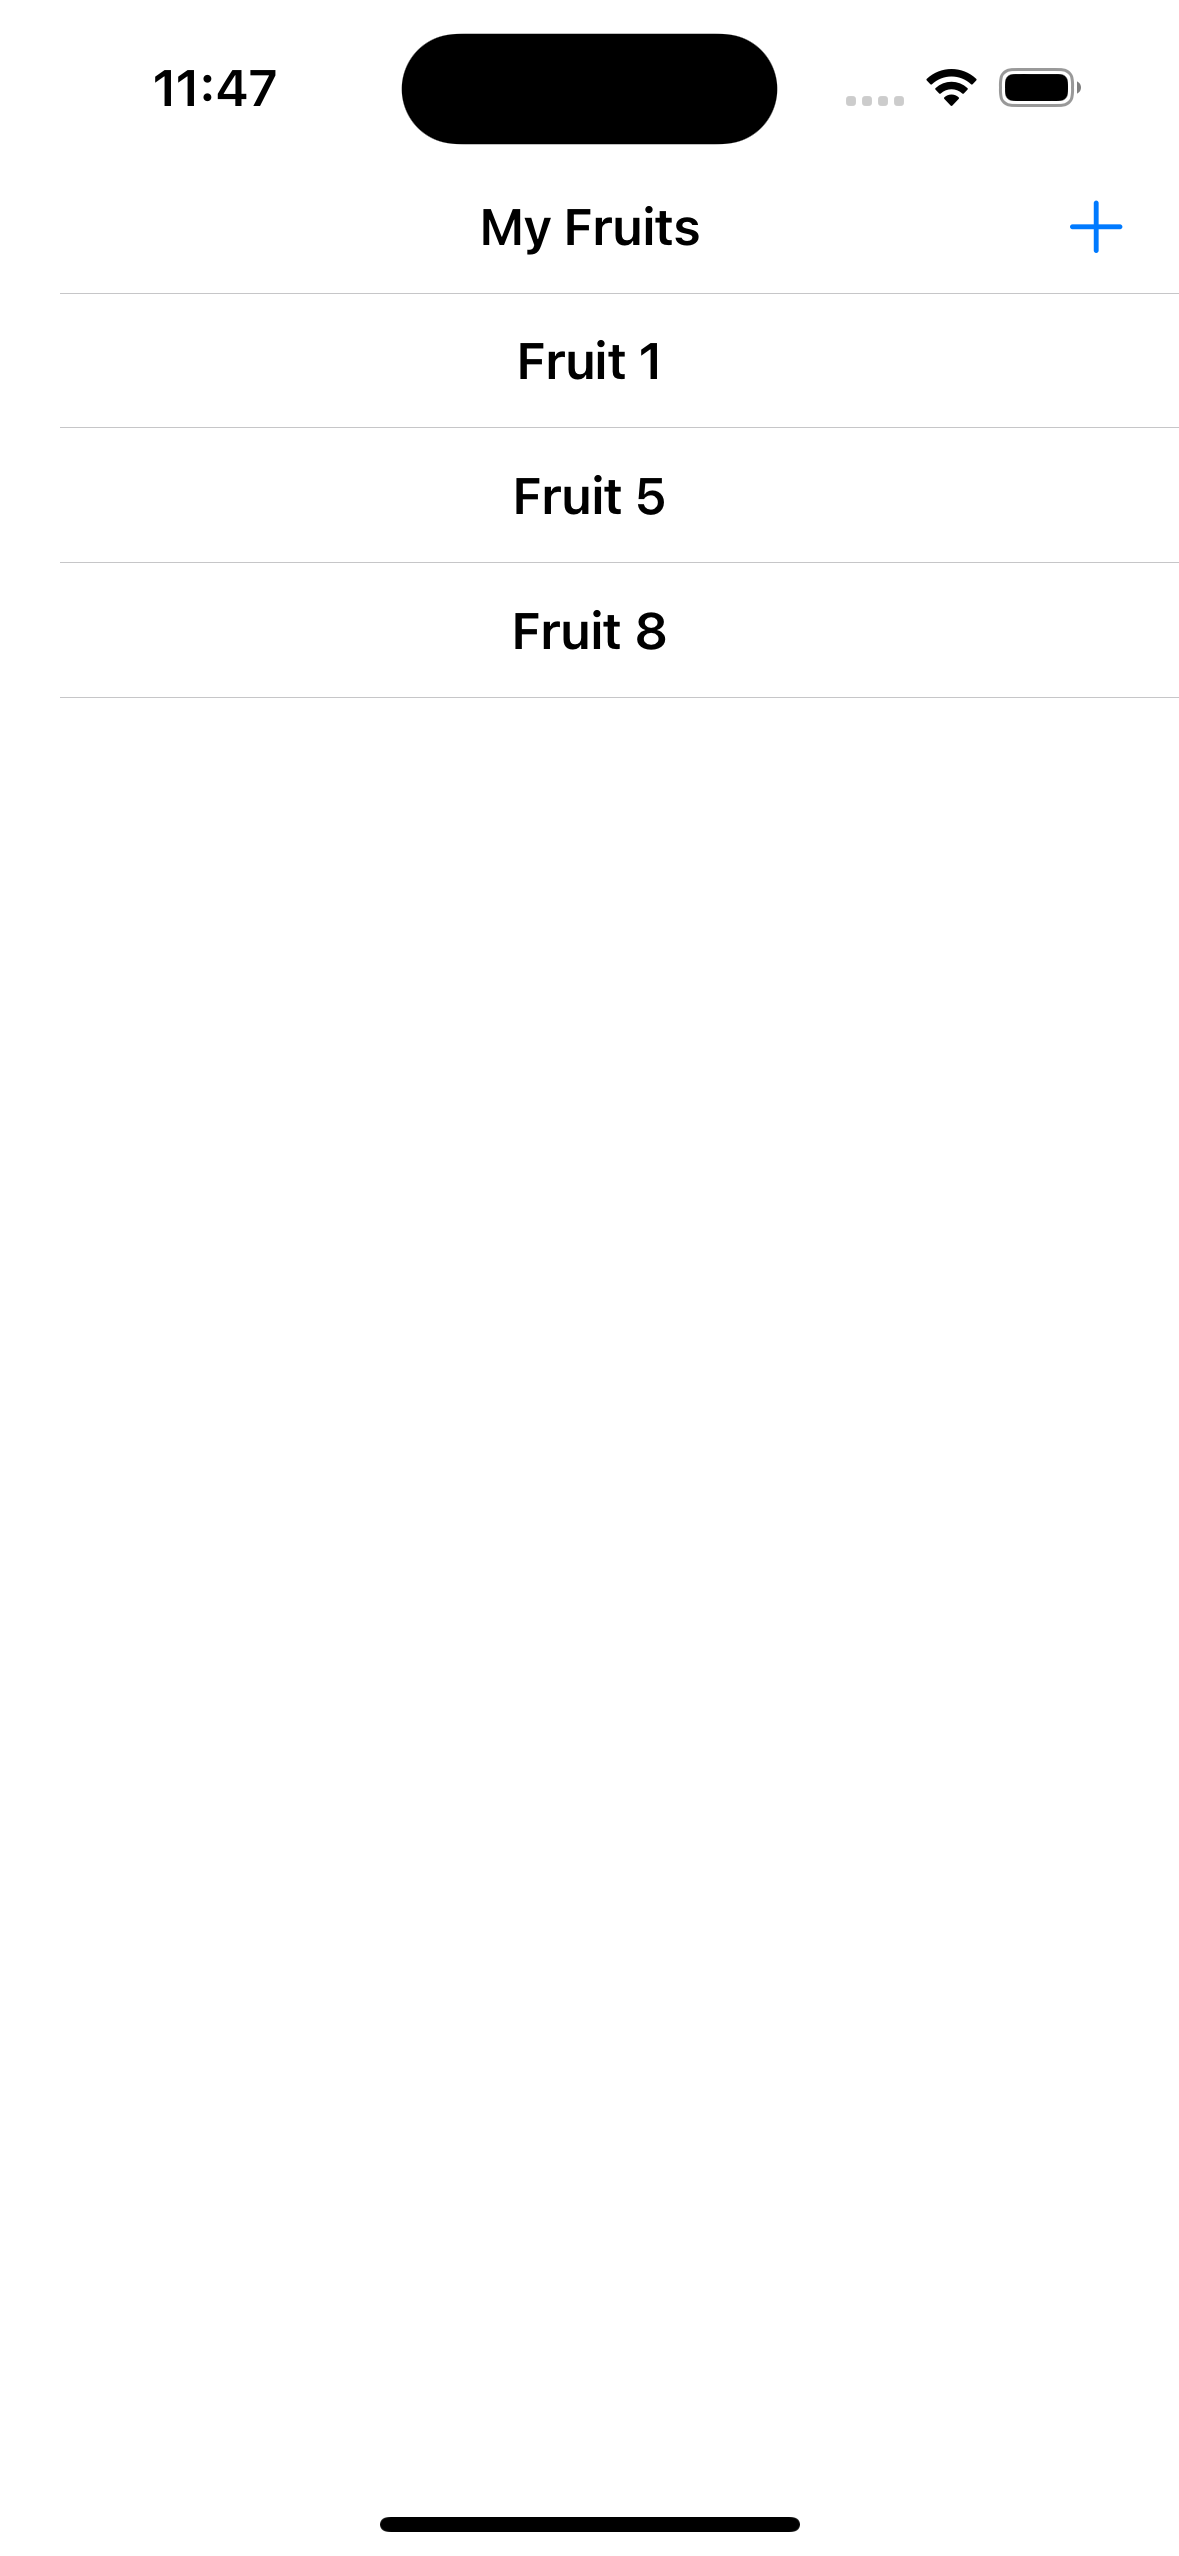
구현 화면

현재 MVVM 스타일대로라면 뷰 모델에서 데이터 소스를 들고 있어야 하는데, 데이터 소스와 뷰 모델 간의 바인딩을 거의 억지로 컴바인을 통해
input-output변환을 통해 얻어내고 있다는 게 생각해 볼 점이다.Diffable Data Source관련 강의를 들으면서 일반적으로 어떻게 코드를 작성하는지 공부해보자!

JUST DO IT