
앱 기본 UI
구현 목표
- SwiftUI 프레임워크 사용 → UIKit보다 빠른 속도로 부분 앱에 걸맞은 스켈레톤 프로젝트 생성 용이
- MVVM 디자인 패턴 → 감성 분석 NLP를 사용하는 별도의 데이터 서비스 클래스 분리하기에 적절
- 프로토콜 → 데이터 서비스 클래스의 프로토콜화를 통한 (1) 네이버 클로바 API (2). 커스텀 분석 API 사용 조작이 간단
- 데이터 의존성 → 데이터 서비스 클래스의 싱글턴 패턴을 경계, 뷰 로딩 시 직접적으로 서비스 클래스를 주입하는 DI
구현 과정
MVVM
- MVVM 디자인에 따라 뷰, 뷰 모델, 모델 + 별도의 유틸리티 구별했다.
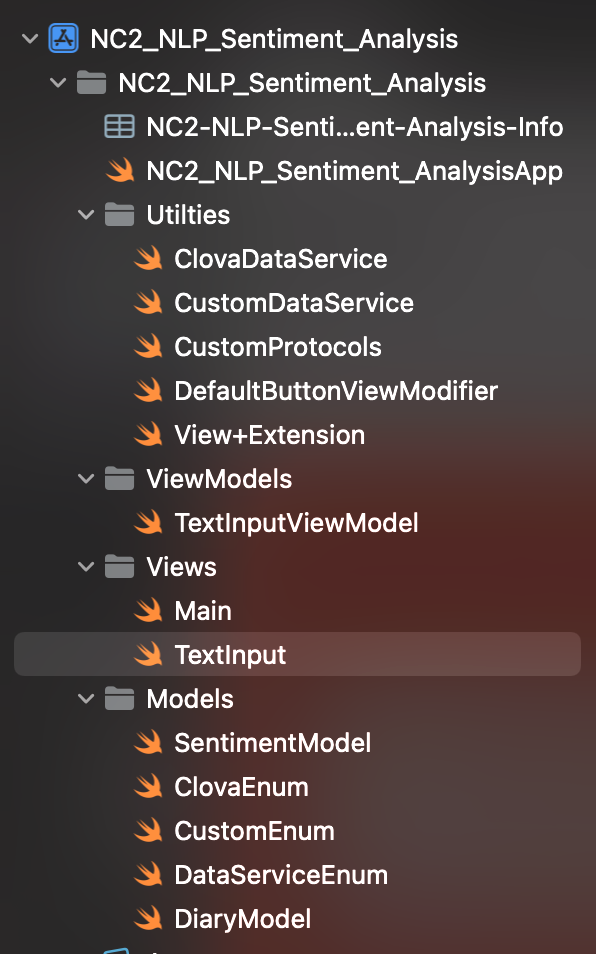
- 기본 UI를 그릴 떄에는 뷰 모티파이어 이외의 데이터 서비스 클래스, 프로토콜 등은 유틸리티 디렉토리에 작성하지 않은 상태였다.
- 데이터 모델 또한 감정 모델의 이름을
SentimentModel로 설정한 것 이외에는 코드를 작성하지 않은 상태였다.
메인 뷰
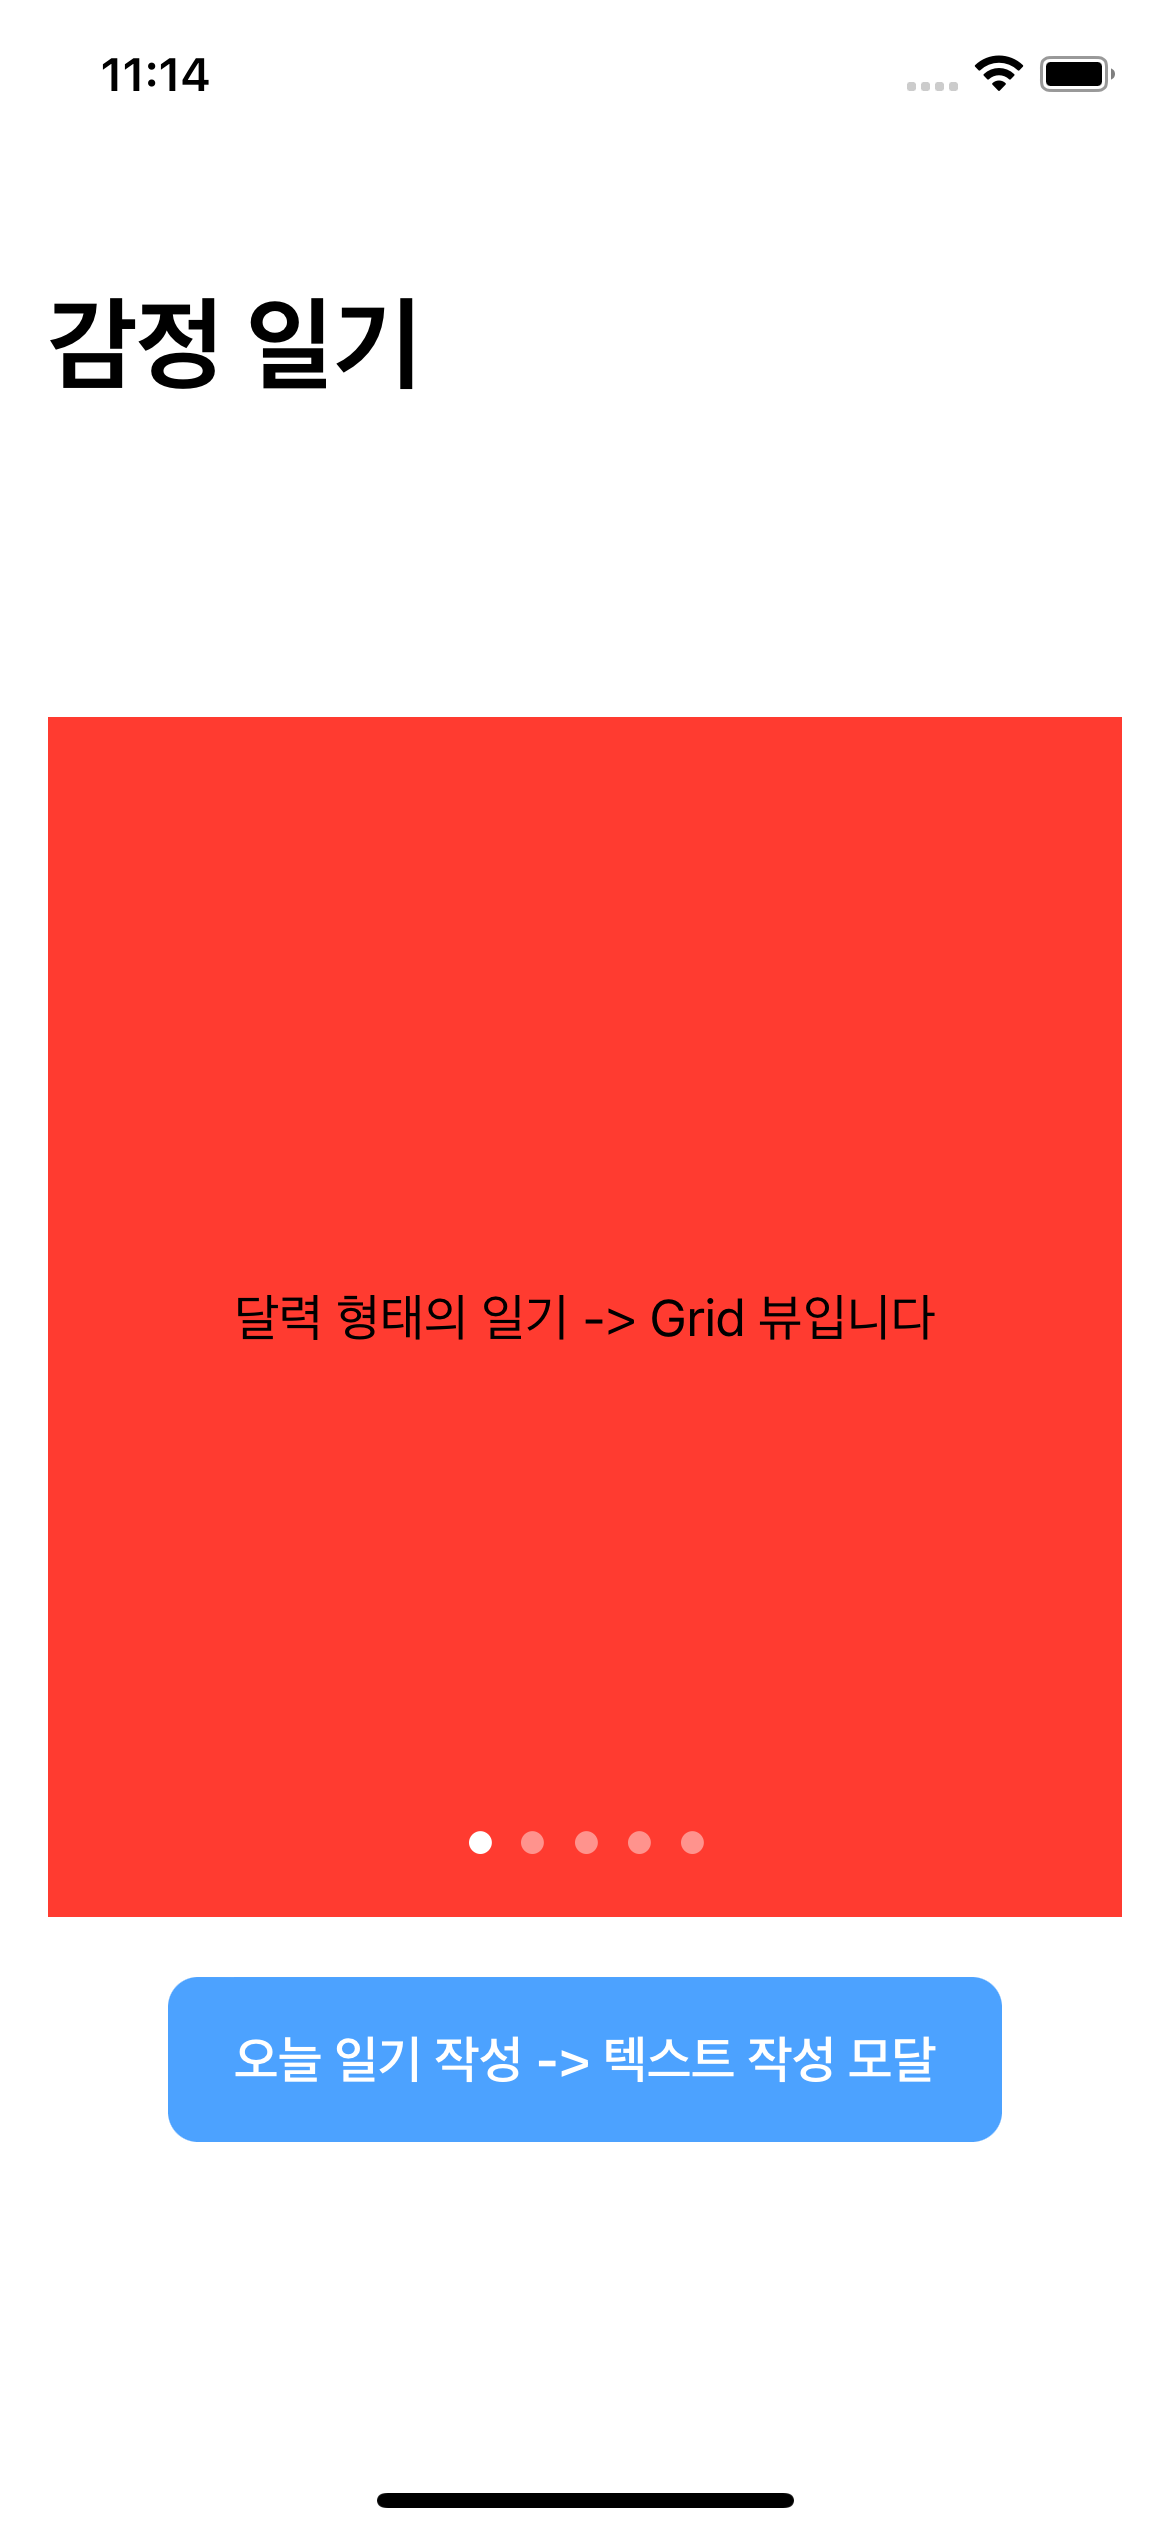
- Lo-Fi에 따라 달력이 넘어가는 형태의 탭뷰
- 텍스트 입력 칸으로 넘어가는 버튼 구현
- 감성 그래프 작성은 추후 데이터 모델에 따라 어떻게 구현할 것인지 고려하기로 결정, 현재 단계에서는 구현 X
import SwiftUI

struct Main: View {
    @State private var showSheet: Bool = false
    @State private var tabSelection: Int = 1
    var body: some View {
        NavigationView {
            VStack(alignment: .center, spacing: 20) {
                calendarTabView
                writeButton
            }
            .navigationTitle("감정 일기")
            .padding()
        }
    }
}

extension Main {
    private var calendarTabView: some View {
        ZStack {
            TabView(selection: $tabSelection) {
                Rectangle()
                    .foregroundColor(.red)
                    .tag(1)
                Rectangle()
                    .foregroundColor(.orange)
                    .tag(2)
                Rectangle()
                    .foregroundColor(.yellow)
                    .tag(3)
                Rectangle()
                    .foregroundColor(.green)
                    .tag(4)
                Rectangle()
                    .foregroundColor(.blue)
                    .tag(5)
            }
            .frame(height: 400)
            .tabViewStyle(.page)
            Text("달력 형태의 일기 -> Grid 뷰입니다")
        }
    }

    private var writeButton: some View {
        Button {
            showSheet.toggle()
        } label: {
            Text("오늘 일기 작성 -> 텍스트 작성 모달")
                .font(.headline)
                .fontWeight(.semibold)
                .withDefaultViewModifier()
        }
        .sheet(isPresented: $showSheet) {
            TextInput(dataServiceEnum: .ClovaSentimentDataService)
        }
    }
}- 달력 뷰를 담당할 탭 뷰와 텍스트 입력 뷰로 이동할 버튼으로 구성된 매우 간단한 형태의 UI
import SwiftUI

struct DefaultButtonViewModifier: ViewModifier {
    let backgroundColor: Color
    func body(content: Content) -> some View {
        content
            .foregroundColor(.white)
            .frame(height: 55)
            .frame(maxWidth: .infinity)
            .background(backgroundColor)
            .cornerRadius(10)
            .padding(.horizontal, 40)
    }
}

extension View {
    func withDefaultViewModifier(_ backgroundColor: Color = Color.blue.opacity(0.7)) -> some View {
        modifier(DefaultButtonViewModifier(backgroundColor: backgroundColor))
    }
}- 버튼 라벨을 커스텀하는 뷰 모디파이어 및 익스텐션 적용 함수는 이후에도 사용할 것 같다는 생각에 별도의 함수화
TextInput
- 텍스트 입력을 받기 위한 텍스트 에디터 컴포넌트
- 입력 완료 뒤 감성 분석 서비스를 호출하는 버튼
import SwiftUI

struct TextInput: View {
    @StateObject private var viewModel: TextInputViewModel
    init(dataServiceEnum: DataServiceEnum) {
        _viewModel = StateObject(wrappedValue: TextInputViewModel(dataService: dataServiceEnum.dataService))
        UITextView.appearance().backgroundColor = .clear
    }
    var body: some View {
        VStack {
            TextEditor(text: $viewModel.inputText)
                .background(Color.gray.opacity(0.2))
                .font(.title)
                .cornerRadius(10)
                .padding()
            // Sentiment Label -> Text and Image
            if let sentimentAnalysis = viewModel.sentimentAnalysis {
                if let document = sentimentAnalysis.document {
                    Text(document.sentiment)
                        .font(.headline)
                        .fontWeight(.semibold)
                        .withDefaultViewModifier()
                }
                Image(sentimentAnalysis.labelImageString)
                    .resizable()
                    .scaledToFit()
                    .frame(width: 200, height: 200)
                Text(sentimentAnalysis.labelString)
                    .font(.headline)
                    .fontWeight(.semibold)
            }
            Button {
                viewModel.fetchSentimentAnalysis()
            } label: {
                Text("GET DATA!")
                    .font(.headline)
                    .fontWeight(.semibold)
                    .withDefaultViewModifier()
                    .padding(.bottom, 10)
            }
        }
    }
}ObservableClass인TextInputViewModel을StateObject로 받기 때문에 뷰 모델의 변화값을 계속해서 관찰 가능inputText에 텍스트를 기록 가능 →Published되어 있는sentimentAnalysis데이터의 변화를 구독하고 있기 때문에 곧바로 패치받은 결과값을 UI에 그리기- 현재 감성 분석은 커스텀 NLP 분석 이외에도 네이버 클로바 API를 사용하기로도 결정 → 여러 종류의 데이터 서비스 클래스를 별도의 코드를 손보는 일 없이 구현하려는 목적으로 프로토콜화 → 의존성 주입을 통해 이니셜라이저 단에서 각 데이터 서비스를 사용 가능
TextInputViewModel
import SwiftUI
import Combine

class TextInputViewModel: ObservableObject {
    @Published var sentimentAnalysis: SentimentModel? = nil
    @Published var inputText: String = ""
    let dataService: DataService
    var cancellables = Set<AnyCancellable>()

    init(dataService: DataService) {
        self.dataService = dataService
        addSubscribe()
    }

    private func addSubscribe() {
        dataService.sentimentAnalysisPublisher
            .sink { [weak self] returnedData in
            guard let self = self else { return }
                DispatchQueue.main.async {
                    self.sentimentAnalysis = returnedData
                }
            }
            .store(in: &cancellables)
    }

    func fetchSentimentAnalysis() {
        guard inputText.count > 0 && inputText.count <= 1000 else { return }
        dataService.fetchSentimentAnalysis(inputText)
    }
}- 텍스트 입력 뷰의 데이터 변화를 감지, '어떤 뷰'를 그릴지 데이터를 통해 가르쳐주는 뷰 모델 클래스 → ObservableClass를 통해 구현
- 이니셜라이저 단에서 뷰가 뷰 모델을 호출할 때 주입되는 데이터 서비스 클래스를 사용
- 생성 시 곧바로 데이터 서비스의
Published된 값을 구독하는 함수 → 비동기 데이터를 다루기 때문에 약한 참조 및 디스패치 메인 큐에서 작성 - 비동기 데이터 바인딩은
Combine프레임워크 사용 - 텍스트 값을 뷰 모델의
inputText를 통해 전달 및 사용하고 있기 때문에 별도의Binding으로 넘겨줄 필요 없음
구현 화면
데이터 의존성 주입을 통해 뷰 모델을 생성할 때 주입한 종류의 데이터 서비스를 사용할 수 있도록 한 게 본 구현의 포인트. 특히 데이터 서비스 클래스가 다양하기 때문에 프로토콜을 따르게 함으로써 다양한 조율의 서비스 클래스를 사용 가능하다!

JUST DO IT