Docker 에 Redis 환경 구축
Docker 로 Redis 다운
터미널에서
docker pull redisredis 다운
docker images리스트가 추가된다.
도커로 컨테이너 생성
docker run --name {원하는 이름} -p 6379:6379 -d redis로 컨테이너에 올린다.
그 후
docker ps
하면 도커 위에 올라간 컨테이너 목록이 보인다.

docker exec -it {설정한 컨테이너 이름} /bin/bash 명령어로 redis 환경으로 들어간다.
그 후에 redis-cli를 치면 client 환경에 접속하게 된다.

Redis-cli 명령어 알아보기
Keys * 현재의 키값들을 확인할 수 있다.
set key / value 형태로 저장하기
get "key name" 으로 value 조회하기
del로 값 삭제하기 1이면 성공 0이면 실패
flushall - 모든 데이터 삭제
Email 인증 번호 요청, 인증 기능 구현
앱 비밀번호 발급 후 원하는 이메일을 SMTP 설정을 해준다.
gmail 로 이메일 보내기
application properties 또는 yaml 설정
# redis
spring.data.redis.host=localhost
spring.data.redis.port=6379


# Email Send Configuration_SMTP
spring.mail.host=smtp.gmail.com
spring.mail.port=587
spring.mail.username=${mail.username}
spring.mail.password=${mail.password}
spring.mail.properties.mail.smtp.auth=true
spring.mail.properties.mail.smtp.starttls.enable=true
spring.mail.properties.mail.smtp.starttls.required=true
Controller
    @PostMapping("/email") // 이메일 요청
    public ResponseEntity<Void> authEmail(@RequestBody @Valid EmailRequest request) {
        userService.authEmail(request);
        return ResponseEntity.ok().build();
    }

    @PostMapping("/email/verify") // 이메일 인증
    public ApiResponse<String> verifyEmail(@RequestBody @Valid VerifiRequest request) {
        return userService.verifyEmail(request);
    }
Dto
@Data
public class EmailRequest {
    @Email
    @NotBlank
    private String email;
}
@Data
public class VerifiRequest {
@Email
@NotBlank
private String email;
@NotBlank
private String authKey;
public String getAuthKey() {
return authKey;
}
public void setAuthKey(String authKey) {
this.authKey = authKey;
}
}Service
@Transactional
public void authEmail(EmailRequest request) {
// 임의의 authKey 생성
try {
if (redisUtil.getData(request.getEmail()) != null) {
throw new CustomException(ErrorCode.DUPLICATE_VERIFI_CODE);
}
} catch (NullPointerException e) {
log.info("email : " + request.getEmail());
}
Random random = new Random();
String authKey = String.valueOf(random.nextInt(888888) + 111111);// 범위 : 111111 ~ 999999
log.info("authKey : " + authKey);
// 이메일 발송
sendAuthEmail(request.getEmail(), authKey);
log.info("email : " + request.getEmail());
log.info("status : " + HttpStatus.OK);
}
private void sendAuthEmail(String email, String authKey) {
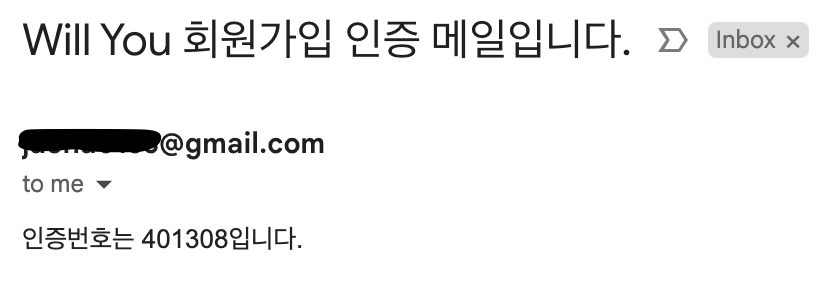
String subject = "Will You 회원가입 인증 메일입니다.";
String text = "인증번호는 " + authKey + "입니다. <br/>";
try {
MimeMessage mimeMessage = javaMailSender.createMimeMessage();
MimeMessageHelper helper = new MimeMessageHelper(mimeMessage, true, "utf-8");
helper.setTo(email);
helper.setSubject(subject);
helper.setText(text, true); //포함된 텍스트가 HTML이라는 의미로 true.
javaMailSender.send(mimeMessage);
} catch (MessagingException e) {
e.printStackTrace();
}
// 유효 시간(3분)동안 {email, authKey} 저장
redisUtil.setDataExpire(email, authKey, 3 * 60 * 1L);
}
// 이메일 인증
public ApiResponse<String> verifyEmail(VerifiRequest request) {
String email = request.getEmail();
String authKey = request.getAuthKey();
String redisAuthKey = redisUtil.getData(email);
if (redisAuthKey == null) {
throw new CustomException(ErrorCode.NOT_FOUND_VERIFI_CODE);
}
if (!redisAuthKey.equals(authKey)) {
throw new CustomException(ErrorCode.WRONG_VERIFI_CODE);
}
redisUtil.deleteData(email);
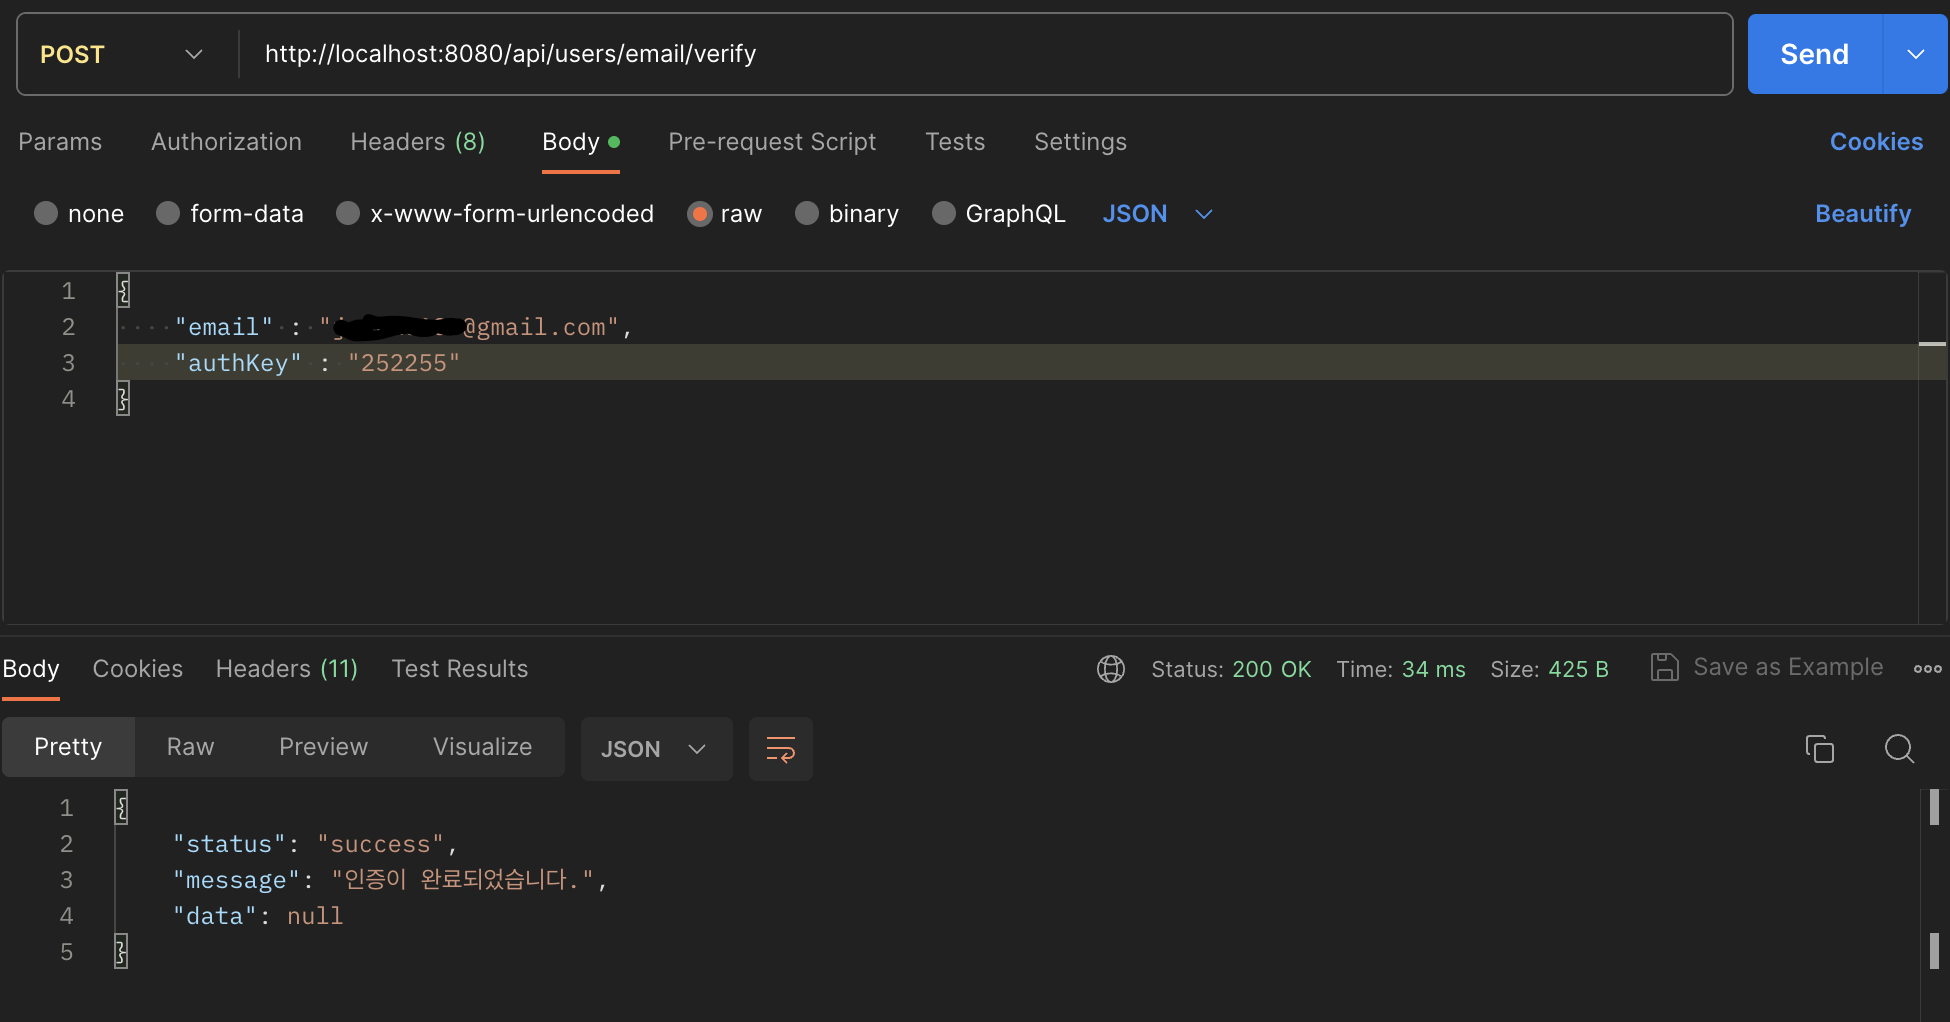
return ApiResponse.successMessage("인증이 완료되었습니다.");
}Custom Exception 처리를 했기 때문에 다른 프로젝트에서는 이 부분을 감안 하고 수정해야한다.
Redis Config
@Configuration
public class RedisConfig {

    @Value("${spring.data.redis.host}")
    private String host;

    @Value("${spring.data.redis.port}")
    private int port;

    @Bean
    public RedisConnectionFactory redisConnectionFactory() {
        return new LettuceConnectionFactory(host, port);
    }

    @Bean
    public RedisTemplate<String, Object> redisTemplate() {
        RedisTemplate<String, Object> redisTemplate = new RedisTemplate<>();
        redisTemplate.setConnectionFactory(redisConnectionFactory());

        // 일반적인 key:value의 경우 시리얼라이저
        redisTemplate.setKeySerializer(new StringRedisSerializer());
        redisTemplate.setValueSerializer(new StringRedisSerializer());

        // Hash를 사용할 경우 시리얼라이저
        redisTemplate.setHashKeySerializer(new StringRedisSerializer());
        redisTemplate.setHashValueSerializer(new StringRedisSerializer());

        // 모든 경우
        redisTemplate.setDefaultSerializer(new StringRedisSerializer());

        return redisTemplate;
    }
}
Redis Util
@Service
@RequiredArgsConstructor
public class RedisUtil {

    private final StringRedisTemplate redisTemplate;

    // key를 통해 value 리턴
    public String getData(String key) {
        ValueOperations<String, String> valueOperations = redisTemplate.opsForValue();
        return valueOperations.get(key);
    }

    public void setData(String key, String value) {
        ValueOperations<String, String> valueOperations = redisTemplate.opsForValue();
        valueOperations.set(key, value);
    }

    // 유효 시간 동안 (key, value) 저장
    public void setDataExpire(String key, String value, long duration) {
        ValueOperations<String, String> valueOperations = redisTemplate.opsForValue();
        Duration expireDuration = Duration.ofSeconds(duration);
        valueOperations.set(key, value, expireDuration);
    }

    // 삭제
    public void deleteData(String key) {
        redisTemplate.delete(key);
    }
}
Build.Gradle
Dependencies 추가를 해준다.
    // Redis
    implementation 'org.springframework.boot:spring-boot-starter-data-redis'

    // mail
    implementation 'org.springframework.boot:spring-boot-starter-mail'
PostMan 에서 확인하기
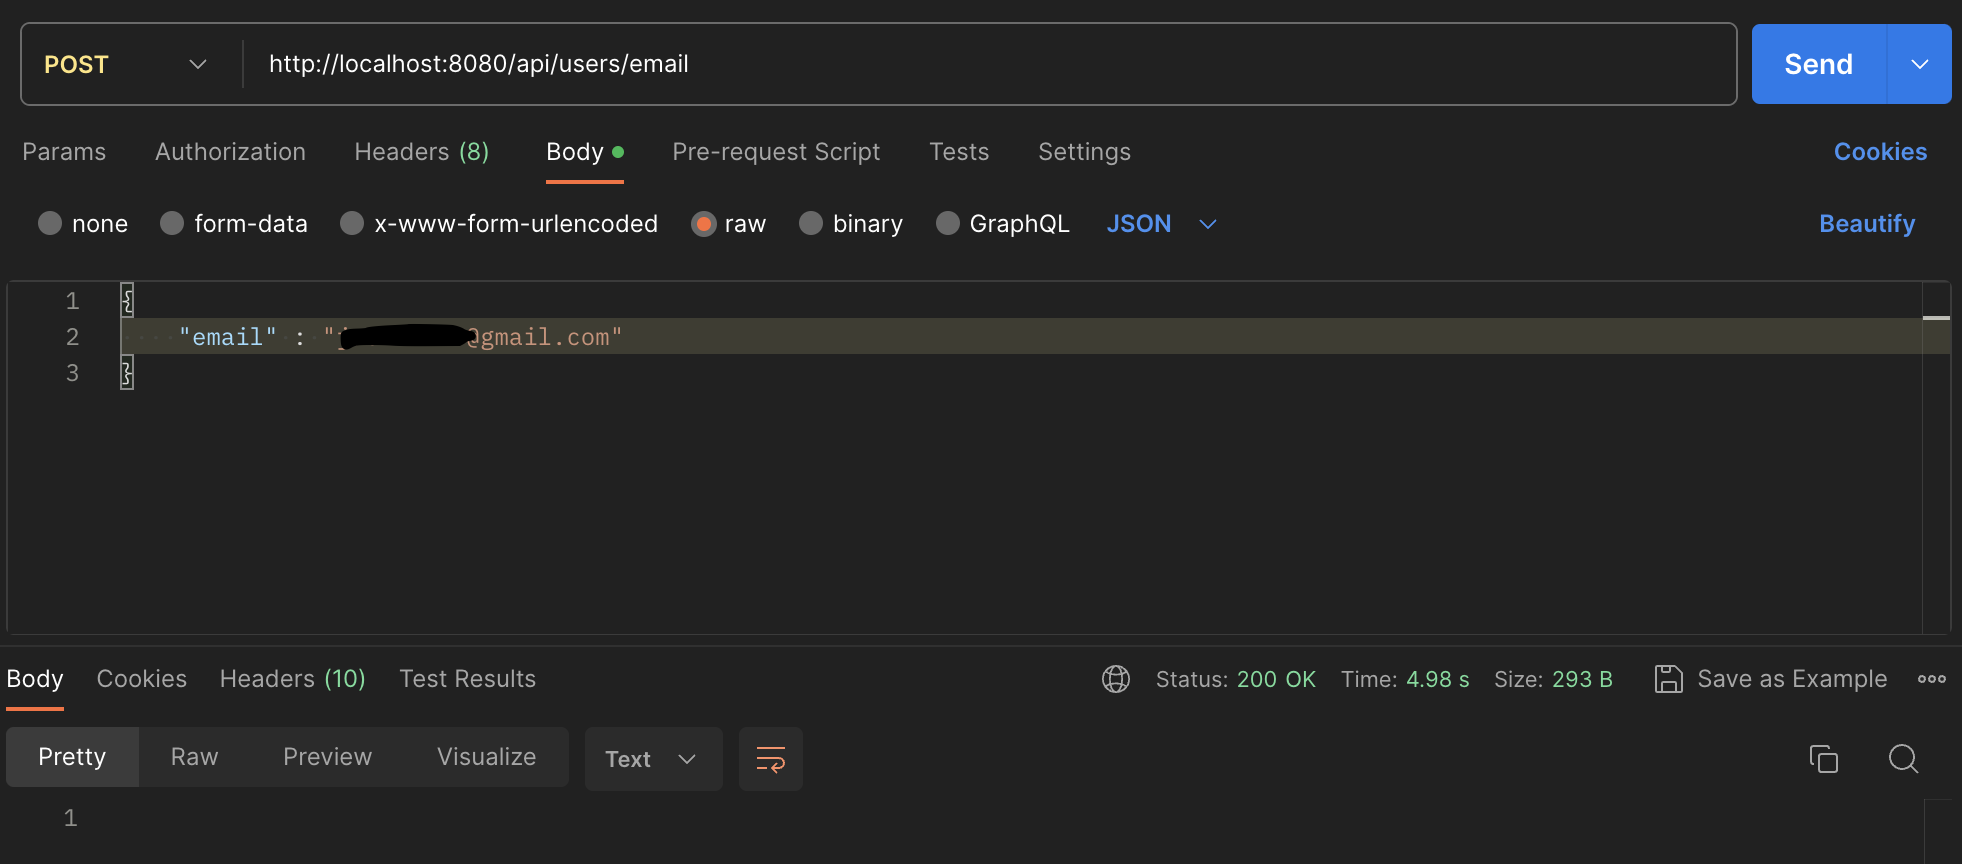
유효시간 3분이 지나서 다시 인증 요청을 보냈다.
Redis 명령어로 터미널에서 email 과 authKey를 확인할 수 있다.
