Mock-up API (devServer.onBeforeSetupMiddleware)
Mock-up API란 실제 데이터가 아직 완성되지 않았을 때, 가짜 데이터로 화면을 구성해보는 것이다.
webpack-dev-server에 API 설정하기
  devServer: {
    client: {
      overlay: true,
      logging: "error",
    },
    onBeforeSetupMiddleware: (devServer) => {
      devServer.app.get("/api/users", (req, res) => {
        res.json([
          {
            id: 1,
            name: "Alice",
          },
          {
            id: 2,
            name: "bek",
          },
          {
            id: 3,
            name: "christ",
          },
        ]);
      });
    },
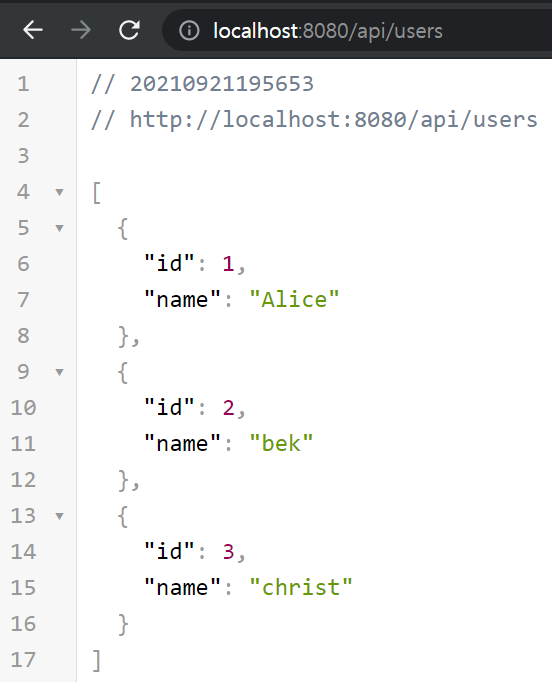
},webpack-dev-server에서 expressjs의 서버 인스턴스를 devServer.app이라는 이름으로 넣어준다. 단순히 위와 같이 작성함으로써, 가짜 API를 하나 만들어낸 것이다. /api/users에 가면 위에서 정의한 JSON을 반환할 것이다.
API 설정 실행 결과

테스트용 API가 잘 만들어졌다.
프론트에서 테스트 API 불러보기
axios 패키지 설치
npm install axiosapp.js에서 axios를 이용해 API 호출하기
import "./app.css";
import axios from "axios";

document.addEventListener("DOMContentLoaded", async () => {
  const res = await axios.get("/api/users");

  console.log("response", res);
});
결과

데이터 출력해보기
app.js
import "./app.css";
import axios from "axios";

document.addEventListener("DOMContentLoaded", async () => {
  const res = await axios.get("/api/users");

  document.body.innerHTML = (res.data || [])
    .map((user) => {
      return `<div>${user.id}: ${user.name}</div>`;
    })
    .join("");
});
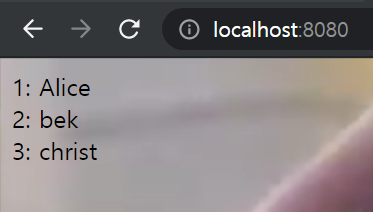
API로 불러온 데이터들이 잘 나온다.

위는 API에서 불러왔던 데이터 정보를 크롬 개발자모드 네트워크 탭으로 본 것이다.
Mock-up API (connect-api-mocker)
connect-api-mocker는 목업 API 작업이 많을 때 사용하는 패키지이다. 특정 목업 폴더를 만들어 api 응답을 담은 파일을 저장한 뒤에, 이 폴더를 api로 제공해주는 기능을 한다.
설치
npm install connect-api-mockerAPI 응답 값을 파일로 관리하기

API 경로로 사용하고 싶은 경로를 디렉토리 형태로 만들어놓으면 된다. 이를테면 mocks 디렉토리 밑에 api/users/GET.json과 같은 형식이다.
GET.json 파일 내부에는 결과로 나타나게 될 JSON을 넣어놓으면 된다.
[
  {
    "id": 1,
    "name": "Alice"
  },
  {
    "id": 2,
    "name": "bek"
  },
  {
    "id": 3,
    "name": "christ"
  }
]
webpack.config.js에 connect-api-mocker 적용하기
const apiMocker = require("connect-api-mocker");

module.exports = {
  devServer: {
    client: {
      overlay: true,
      logging: "error",
    },
    onBeforeSetupMiddleware: (devServer) => {
      devServer.app.use(apiMocker("/api", "mocks/api"));
    },
  },
};
이번에는 express에서 middleware를 다룰 때 사용하는 것과 같이 .use()에 불러온 apiMocker()를 넣어주었다. 인자는 각각 URL 경로, JSON 결과가 존재하는 디렉토리 경로이다.
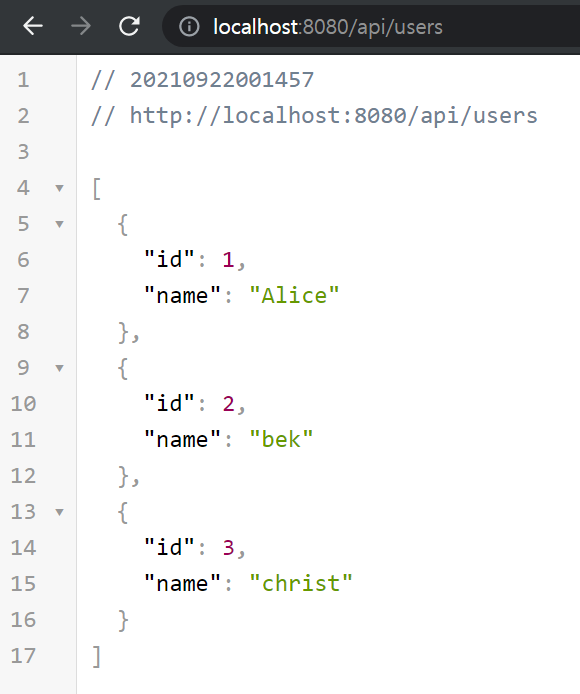
결과 확인

이전과 동작은 똑같다.
실제 API를 연동하기
프론트엔드 프록시 적용하기
module.exports = {
  devServer: {
    proxy: {
      '/api': 'http://localhost:8081' // 프록시
    }
  }
}
프록시를 이용해서 CORS 문제를 해결할 수 있다. 위와 같이 설정하면 모든 /api 관련 경로는 전부 8081포트로 요청하게 된다.
