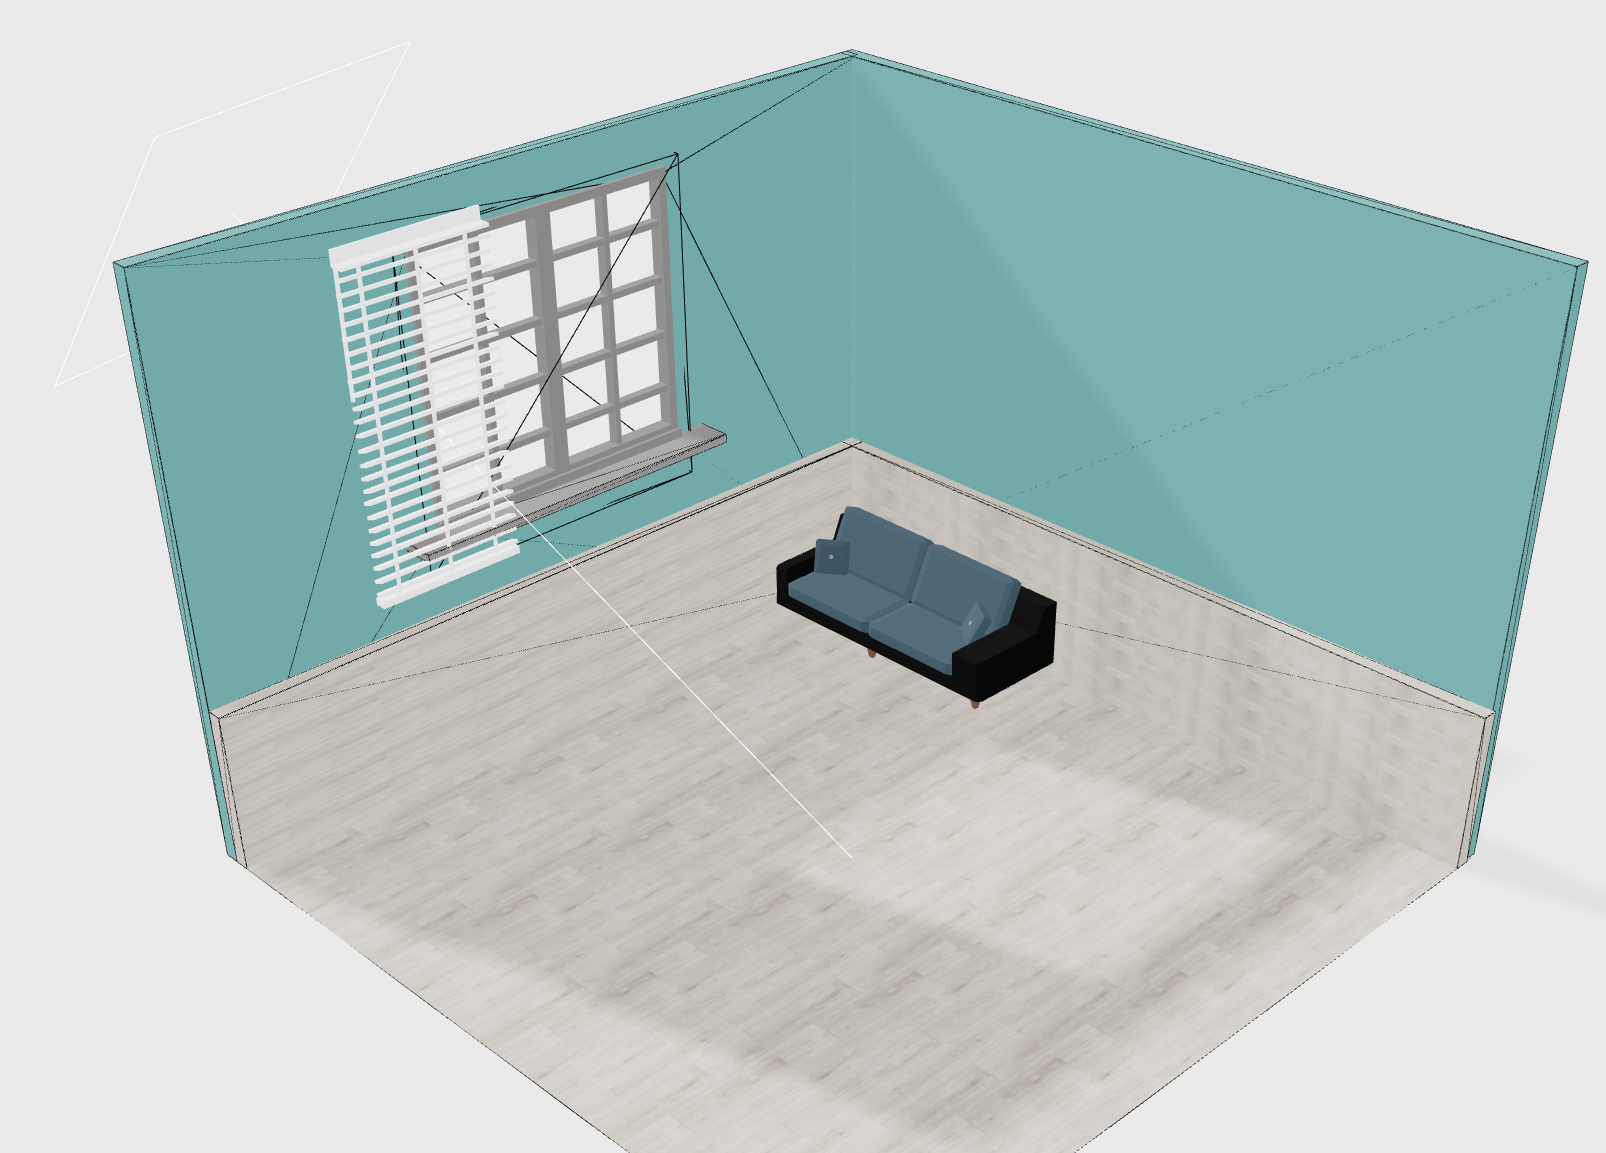
창문 구현하기
창문을 통해 빛이 들어와야 하므로 사각형 벽에 창문 크기의 구멍을 뚫어주어야 한다
🎯 목표
Step 1. 정사각형 벽에 어떻게 구멍을 내야하는가
Step 2. 구멍이 뚫린 부분을 제외한 벽에 물리엔진을 어떻게 부여할까
Step 1
정사각형 벽에 구멍을 뚫기위해서는 Shape 로 직접 선을 그어주면서 2D 도형을 완성시켜야한다
const wallShape = new Shape();
wallShape.moveTo(-5, 5);
wallShape.lineTo(5, 5);
wallShape.lineTo(5, -2);
wallShape.lineTo(-5, -2);
wallShape.lineTo(-5, 5);

const holePath = new Shape();
holePath.moveTo(-1.8, 4.3);
holePath.lineTo(1.8, 4.3);
holePath.lineTo(1.8, 1);
holePath.lineTo(-1.8, 1);
holePath.lineTo(-1.8, 1);
완성된 도형에 구멍을 뚫어준다
wallShape.holes.push(holePath);이제 구멍이 뚫린 2D 도형을 3D 로 변환시켜주어야 한다
이 때 사용하는것이 ExtrudeGeometry
const geometry = new ExtrudeGeometry(wallShape, {
   // 조금 더 볼록하게 여부
   bevelEnabled: false,
   // 깊이감 (두께)
   depth: 1,
});
이것으로 정사각형 벽에 구멍을 뚫는것은 완료되었다
Step 2
비교적 간단한 도형에 물리엔진을 줄 것이기 때문에 useConvexPolyhedron 을 선택하였다
const args = useMemo(() => CannonUtils.toConvexPolyhedronProps(geometry), []);

const [ref, _] = useConvexPolyhedron(() => ({
    type: "Static",
    args,
    rotation,
    position,
    mass: 1,
}));

return (
    <group ref={ref}>
      <mesh geometry={geometry} receiveShadow castShadow>
        <meshStandardMaterial color={color} />
      </mesh>
    </group>
);
안녕하세요