이 글은 생활코딩 WEB2 - OAuth 2.0를 보고 공부한 내용을 정리하는 용도로 작성되었습니다.
OAuth 2.0
목적
- access token을 발급하는 것
역할
- resource owner: 자원의 소유주 (서비스 사용자)
- client: 리소스 서버에 접속해서 정보를 가져가는 클라이언트 (우리가 만든 서비스)
- resource server: 우리가 제어하고자 하는 자원을 가지고 있는 서버(Google, Facebook 등) → API를 통해 리소스를 제공한다.
- authorization server: 인증과 관련된 처리를 전담하는 서버 → 인증 담당으로 access token을 client 에게 보내준다.
등록
- 리소스 이용을 위해서는 사전에 리소스 서버의 승인을 받아야 한다.
- client id: 만들고 있는 애플리케이션의 식별자
- client secret: id에 대한 비밀번호 (외부에 절대로 노출되면 안 된다.)
- authorized redirect URIs: 리소스 서버가 권한을 부여하는 과정에서 authorized code를 전달하는 주소
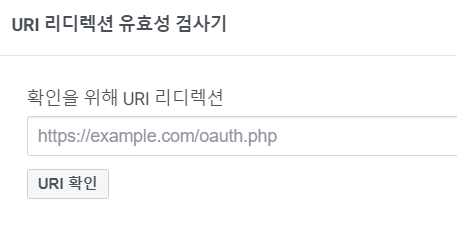
- 내 앱 > 앱 만들기 > facebook 로그인 > web > 제품 > Facebook 로그인 > 설정 > URI 리디렉션 유횩성 검사기에 주소를 입력하고 저장한 뒤 설정으로 오면 App ID와 App Secret을 확인할 수 있다.
- google cloud platform에서도 비슷하게 등록할 수 있다.
Resource Owner의 승인
- resource owner가 애플리케이션에 접속, 구글 캘린더에 일정을 적고 싶어한다.
- client가 login with google과 같은 화면을 보여준다.
(버튼을 눌렀을 때https://resource.server/?client_id=1&scope=B,C&redirect_uri=https://client/callback과 같은 주소로 이동) - resource owner가 해당 주소로 접속하면 resource server가 로그인 여부를 판단하고, 로그인이 되어있지 않다면 로그인을 하라는 화면을 보여준다. 로그인에 성공했다면 resource server가 url의 client id와 같은 id값이 있는지 확인한다.
- 만약 요청 redirect url의 id와 일치하지 않는다면 작업을 종료하고, 같다면 scope에 해당하는 권한을 client에게 부여할 것인지 물어본다.
- 유저가 권한을 확인하고 허용 버튼을 누르면 resource server가 user id 1번은 scope b,c에 해당하는 권한을 승인하였다고 저장한다.
(만약 resource 서버가 a, b, c, d라는 기능을 갖고 있는데 client가 b, c의 기능이 필요하다면 이 기능에 대한 허용 여부를 결정하는 access token만을 발급한다.)
Resource Server의 승인
- authorization code를 resource owner에게 전송한다. resource server가 resource owner의 웹 브라우저에게
Location: https://client/callback?code=3이라는 주소로 이동하라고 헤더에 포함해서 전달 - 웹 브라우저는 해당 주소로 이동하고, client는
authorization code:3이라는 정보를 획득한다. - client는
https://resource.server/token?grant_type=authorization_code&code=3&redirect_uri=https://client/callback&client_id=1&client_secret=2로 접속(authorization code와 secret 정보를 전송) - resource server는 authorization code가 일치하는지 확인하고 client id와 client secret, redirect uri의 값이 모두 일치하는지 확인한 뒤 authorization code 값을 지운다.
- resource server는 accessToken을 발급한 뒤 클라이언트에게 전송한다.
- 클라이언트는 내부 db 등에 accessToken을 저장한다. → 클라이언트가 해당 acess token으로 접근할 때 resource server는 access token을 확인하고 user와 권한을 확인할 수 있다.
API 호출
- API란 응용 프로그램에서 사용할 수 있도록, 운영 체제나 프로그래밍 언어가 제공하는 기능을 제어할 수 있게 만든 인터페이스이다.
- 응용 프로그램: 내가 만든 프로그램
- 운영 체제나 프로그래밍 언어가 제공하는 기능: 구글 캘린더
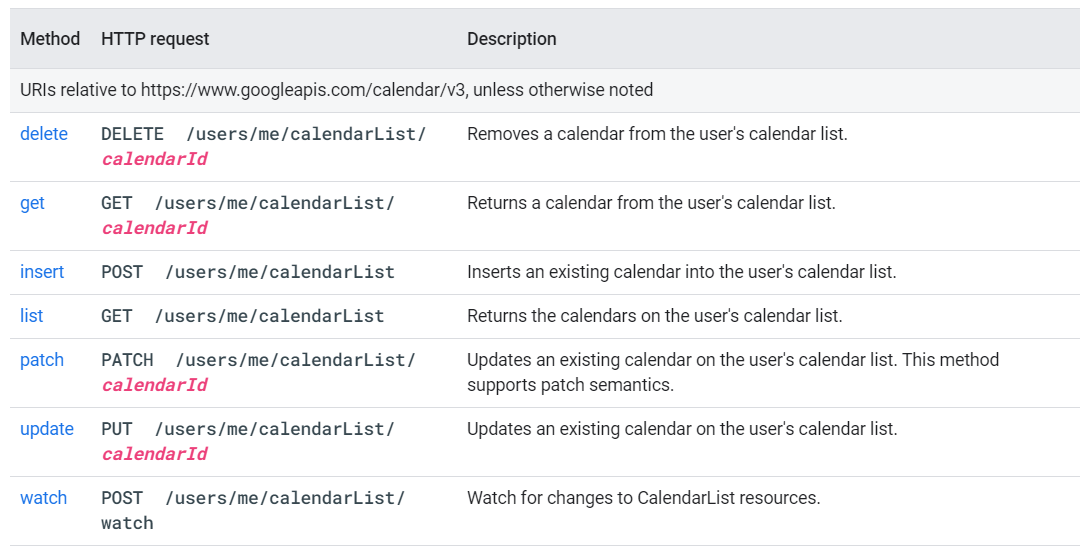
- google calendar api 문서
- Using OAuth 2.0 to Access Google APIs에서 Calling Google API 섹션을 확인하면, access token 값을 보내는 방법이 나온다. 쿼리 파라미터로 넘기는 것보다는 Authorization header에 담아 보내는 것이 더 좋다고 한다.
쿼리 파라미터
GET https://www.googleapis.com/drive/v2/files?access_token=access_tokenAuthorization header
GET /drive/v2/files HTTP/1.1
Host: www.googleapis.com
Authorization: Bearer access_token
아래 명령어를 실행하면 Bearer 인증 방법으로 access token이 헤더에 담겨 전송된다.
curl -H "Authorization: Bearer access_token" https://www.googleapis.com/drive/v2/filesRefresh token
- access token은 수명이 존재하고, 수명이 끝나면 api가 데이터를 전송해주지 않는다.
- 수명이 끝났을 때 access token을 새로 발급받기 위해 사용하는 것이 refresh token이다.
만약 아래와 같은 포스트 요청을 보내고 사용자가 애플리케이션에 부여된 권한을 철회하지 않았다면
POST /token HTTP/1.1
Host: oauth2.googleapis.com
Content-Type: application/x-www-form-urlencoded

client_id=your_client_id&
client_secret=your_client_secret&
refresh_token=refresh_token&
grant_type=refresh_token
토큰 서버는 새로운 access token 값을 지닌 json 데이터를 반환해준다.
{
  "access_token": "1/fFAGRNJru1FTz70BzhT3Zg",
  "expires_in": 3920,
  "scope": "https://www.googleapis.com/auth/drive.metadata.readonly",
  "token_type": "Bearer"
}
참고
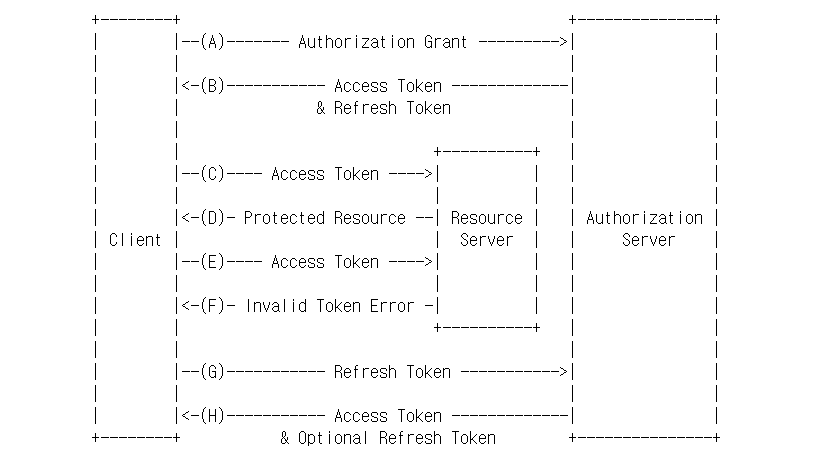
   (A)  The client requests an access token by authenticating with the
        authorization server and presenting an authorization grant.

   (B)  The authorization server authenticates the client and validates
        the authorization grant, and if valid, issues an access token
        and a refresh token.

   (C)  The client makes a protected resource request to the resource
        server by presenting the access token.

   (D)  The resource server validates the access token, and if valid,
        serves the request.

   (E)  Steps (C) and (D) repeat until the access token expires.  If the
        client knows the access token expired, it skips to step (G);
        otherwise, it makes another protected resource request.

   (F)  Since the access token is invalid, the resource server returns
        an invalid token error.
Source
