TodoInsert 생성
텍스트 입력창(TextInput)과 추가 버튼이 들어가는
TodoInsert를 만들 것이다.
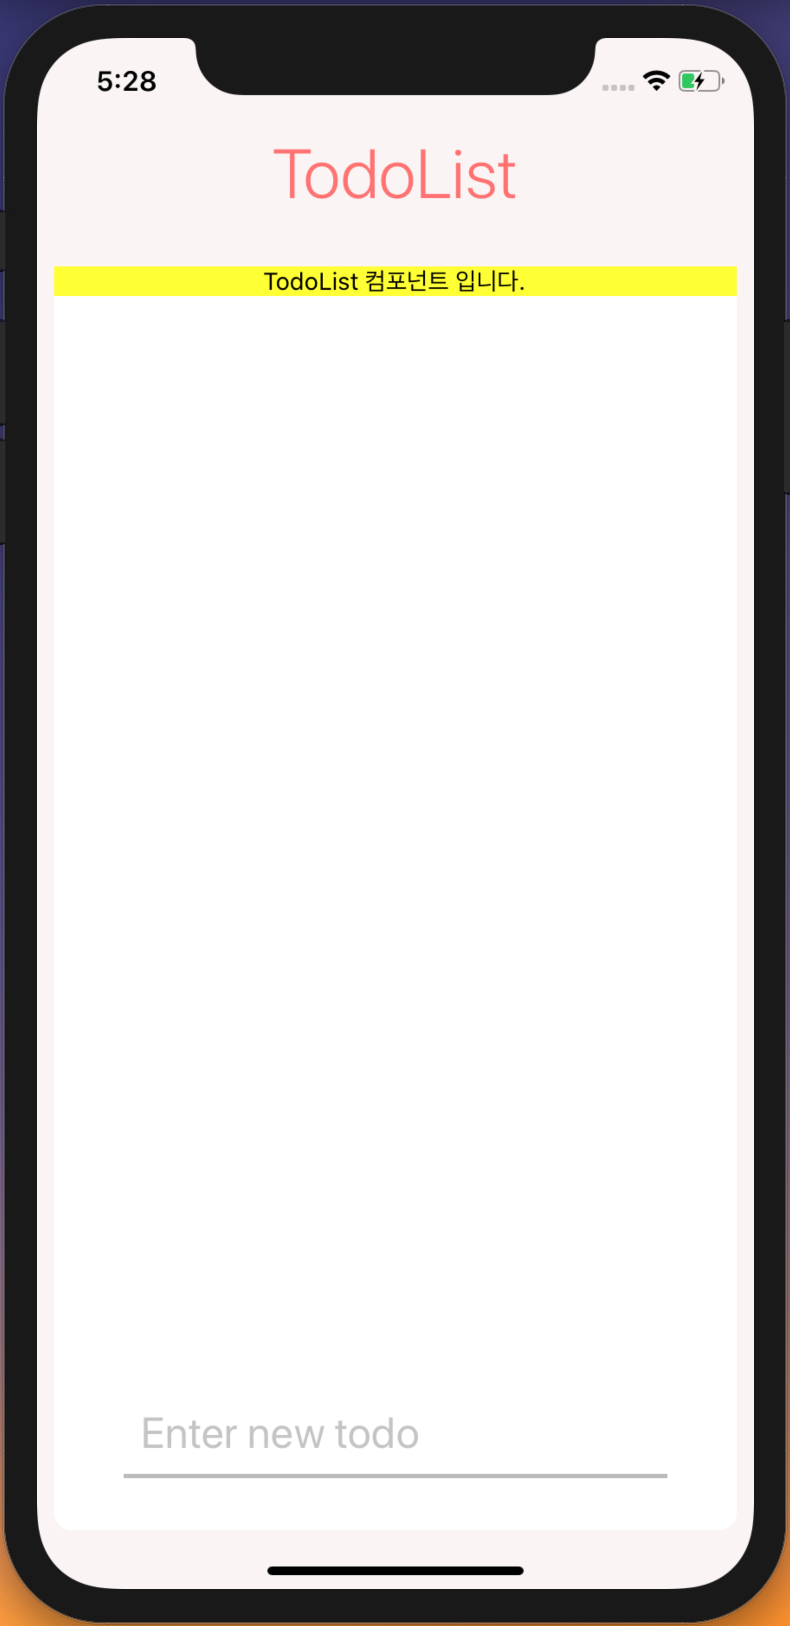
#1 TextInput 만들기
import React from "react";
import styled from "styled-components";

export default function TodoInsert() {
  return (
    <Container>
      <InputContainer>
        <StyledTextInput placeholder="Enter new todo" />
      </InputContainer>
    </Container>
  );
}

const Container = styled.View`
  margin: 0 40px 30px 40px;
`;

const InputContainer = styled.View`
  flex-direction: row;
  align-items: center;
  justify-content: space-between;
  background-color: transparent;
  border-bottom-width: 2.3px;
  border-bottom-color: #bbb;
  height: 50px;
  padding-left: 10px;
`;

const StyledTextInput = styled.TextInput`
  flex: 1;
  font-size: 25px;
`;

#2 추가 버튼 넣기
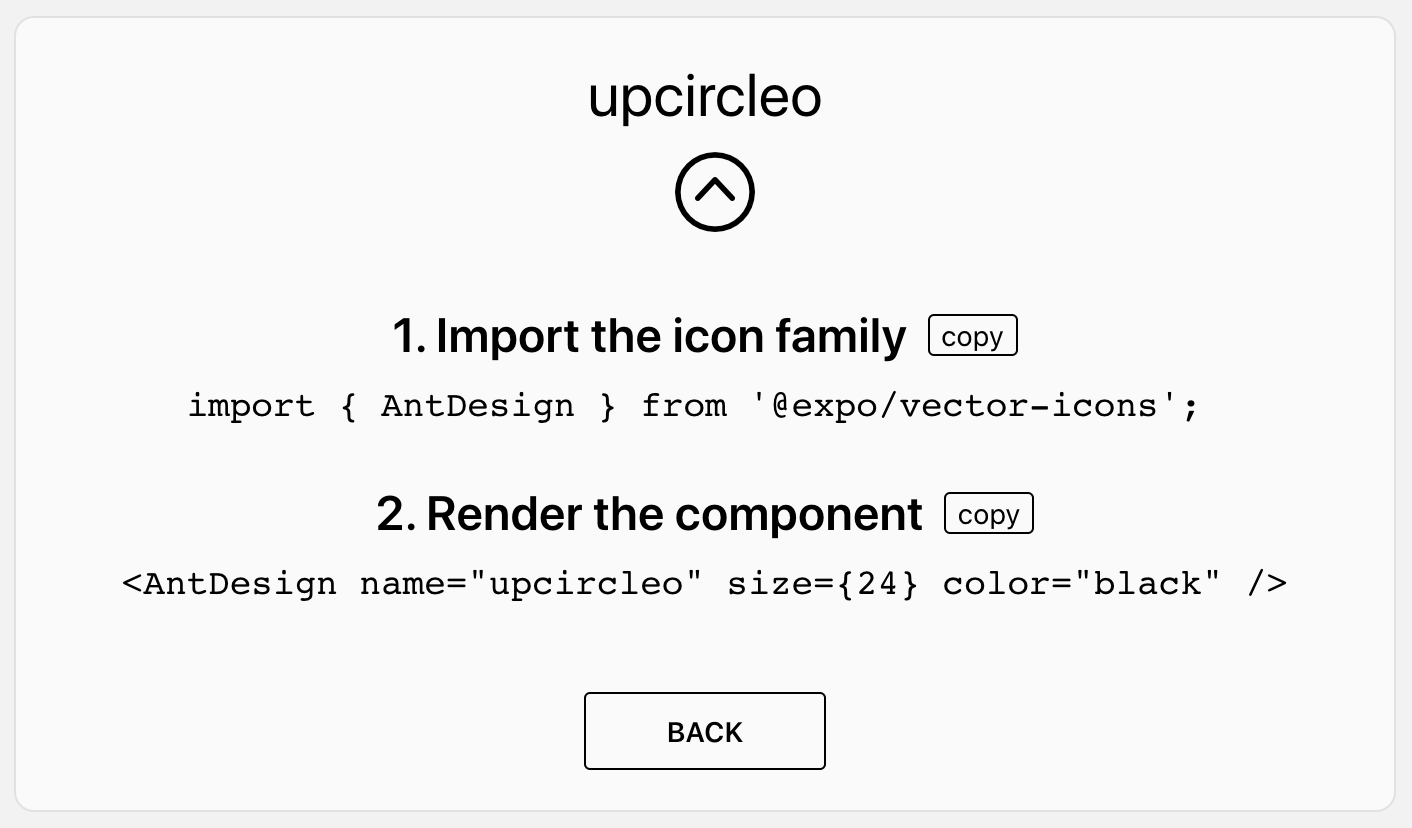
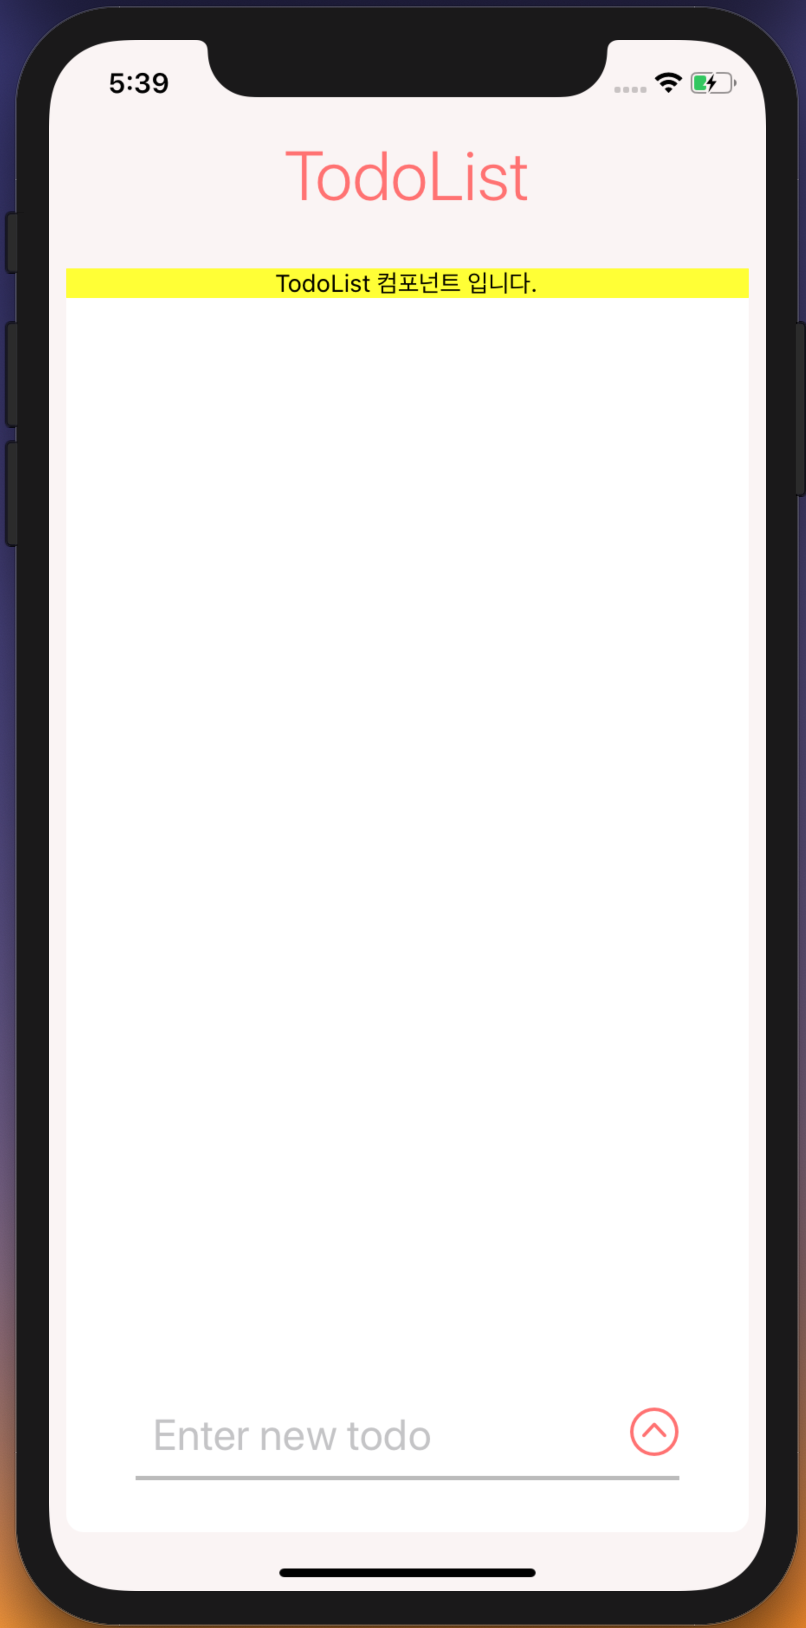
추가 버튼은 expo/vector-icons 를 이용하면 간편하게 버튼을 넣을 수가 있다.
사용하고 싶은 아이콘을 클릭 후
- TodoInsert 컴포넌트에 import 한 후,
import { AntDesign } from "@expo/vector-icons";- 원하는 곳에 컴포넌트를 넣고 원하는 크기와 색상을 주면 된다.
<AntDesign name="upcircleo" size={28}color="#ff7272" />- 그리고 아이콘은 button 대신 TouchableOpacity로 감싸준다.
import {TouchableOpacity} from "react-native";
.
.
.
<TouchableOpacity>
<AntDesign name="upcircleo" size={28}color="#ff7272" />
</TouchableOpacity>
#3 KeyboardAvoidingView 사용
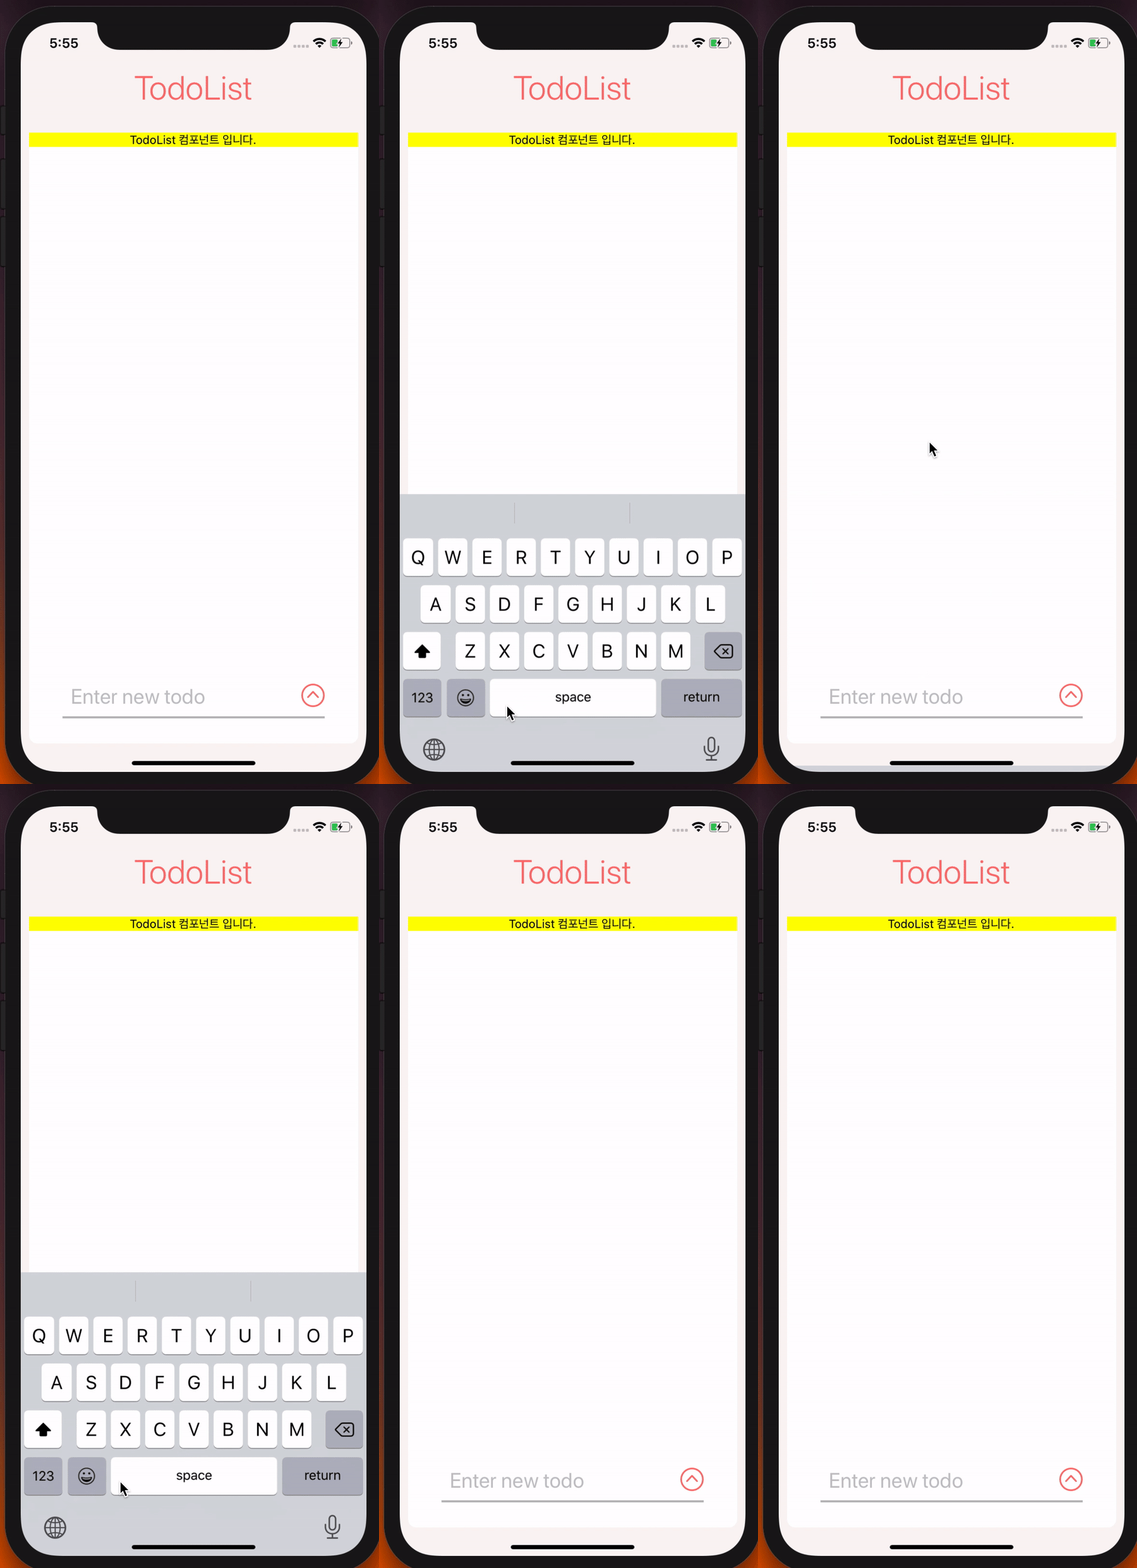
텍스트 입력창을 완성하였으나,
텍스트 입력창을 누르면 키보드에 가려져
내가 무엇을 입력하는 지 볼 수 없다.

이럴 땐! KeyboardAvoidingView를 사용하면 된다.
- KeyboardAvoidingView를 import 한 후,
- Containe로 감쌌던 컴포넌트에 감싸준다.
import {KeyboardAvoidingView} from "react-native";
.
.
<KeyboardAvoidingView behavior="padding" keyboardVerticalOffset={120}>
  <Container>
  .
  .
  </Container>
</KeyboardAvoidingView>;
behavior props를 이용하여 padding만큼 자동으로 이동하게 해주고,
keyboardVerticalOffset props를 이용하여 키보드 높이 조절를 해주면,
안 보였던 텍스트 입력창이 보일 것이다.
.gif)

