전에 EFK 스택을 구축해놓았는데, DB에 접근하는 쿼리만 logging 되었었다.
그래서 이번엔 winston으로 api에 접근할 때 다양한 정보를 로그로 남기려고 한다.
우선 winston을 설치하자
npm i nest-winston winston
그리고 winston을 사용하기 위한 config 파일을 만들어보자.
// winston.config.ts
import { utilities, WinstonModule } from 'nest-winston';
import * as winston from 'winston';

const env = process.env.NODE_ENV;

// error: 0, warn: 1, info: 2, http: 3, verbose: 4, debug: 5, silly: 6
export const winstonLogger = WinstonModule.createLogger({
  transports: [
    new winston.transports.Console({
      level: env === 'production' ? 'http' : 'silly',
      format:
        env === 'production'
          ? winston.format.simple()
          : winston.format.combine(
              winston.format.timestamp(),
              utilities.format.nestLike('프로젝트이름', {
                prettyPrint: true, // 로그 가독성을 높여줌
              }),
            ),
    }),
  ],
});
이제 main.ts에 winstonLogger를 추가하자
// main.ts
import { NestFactory } from '@nestjs/core';
import { winstonLogger } from './utils/winston.util';

async function bootstrap() {
  const app = await NestFactory.create(AppModule, {
    logger: winstonLogger,
  });

  await app.listen(process.env.PORT || 3000);
}
bootstrap();
이렇게만 해두면 nestjs의 로그들이 winston에 설정한 형식으로 표현이 되는데..
api에 접근해서 접근에 성공하거나 실패했을 때에도 로그 기록이 되도록 해줄 것이다.
미들웨어를 사용할 건데 아래처럼 작성해주자.
// logger.middleware.ts
import {
    Inject,
    Injectable,
    Logger,
    LoggerService,
    NestMiddleware,
  } from '@nestjs/common';
  import { Request, Response, NextFunction } from 'express';

  @Injectable()
  export class LoggerMiddleware implements NestMiddleware {
    constructor(@Inject(Logger) private readonly logger: LoggerService) {}

    use(req: Request, res: Response, next: NextFunction) {
      // 요청 객체로부터 ip, http method, url, user agent를 받는다.
      const { ip, method, originalUrl } = req;
      const userAgent = req.get('user-agent');

      // 응답이 끝나는 이벤트가 발생하면 로그를 찍는다.
      res.on('finish', () => {
        const { statusCode } = res;
        this.logger.log(
          `${method} ${originalUrl} ${statusCode} ${ip} ${userAgent}`,
        );
      });

      next();
    }
  }
Middleware를 NestJS 에서 구현하기 위해서는 Interface를 implements 하여 구현해야 한다.
AppModule에 아래처럼 추가해주자
// app.module.ts
export class AppModule implements NestModule {
  configure(consumer: MiddlewareConsumer) {
      consumer.apply(LoggerMiddleware).forRoutes('*');
  }
}
이제 전역 api 요청에 대해 로그가 남겨지며
로그의 내용은 http method, url, 응답 코드, ip, user-agent가 되겠다.
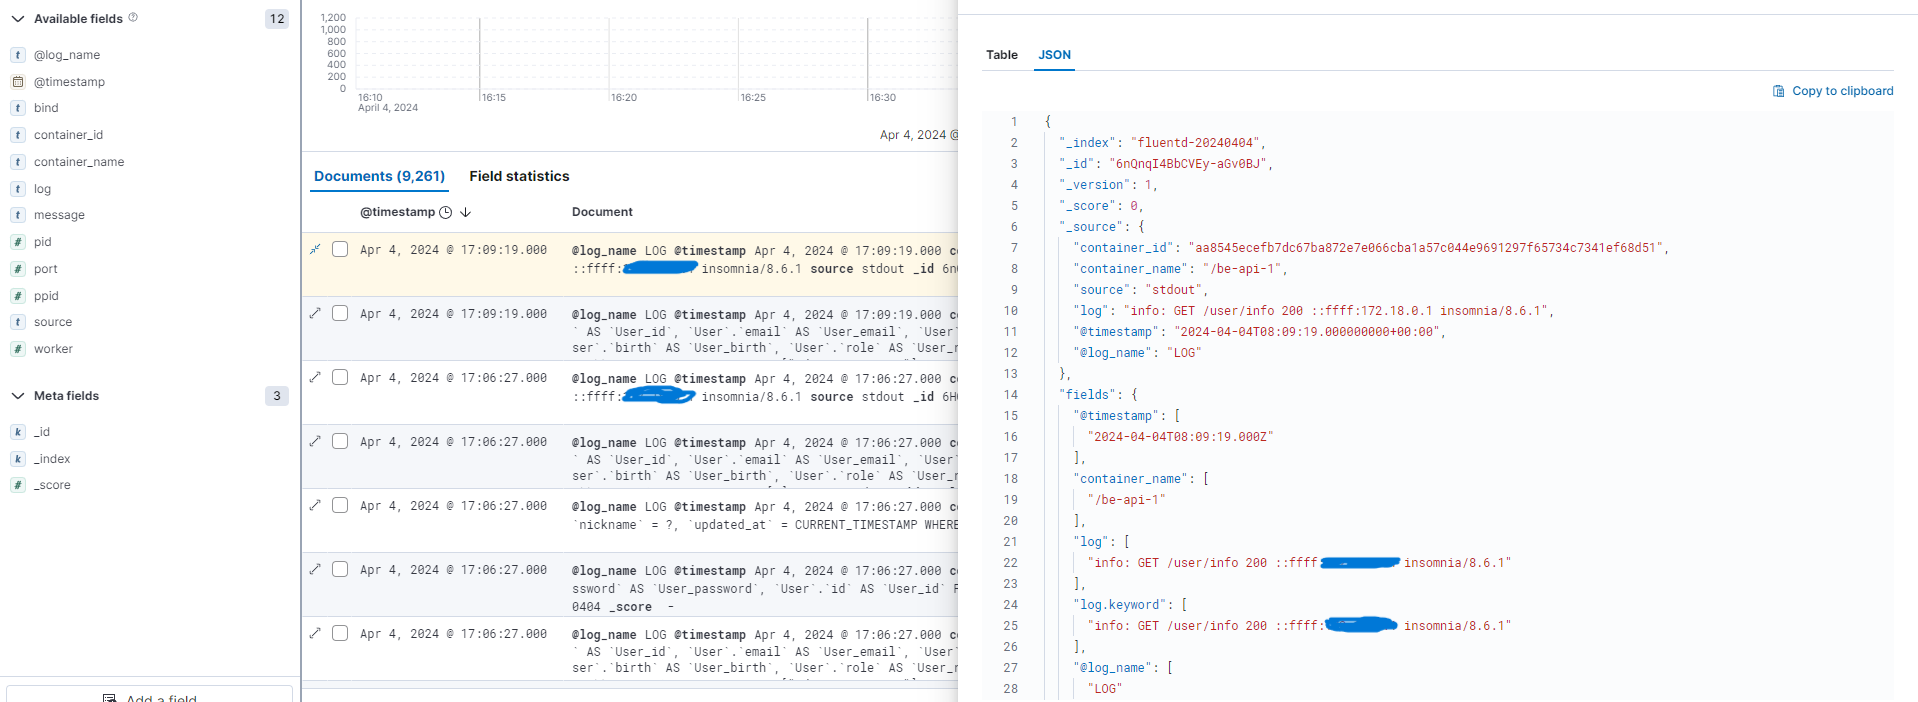
그리고 이전에 EFK 스택을 만들어 놓아서 이 로그들은 fluentd로 수집되고 엘라스틱 서치를 통해 kibana로 전송되어 시각화된다.
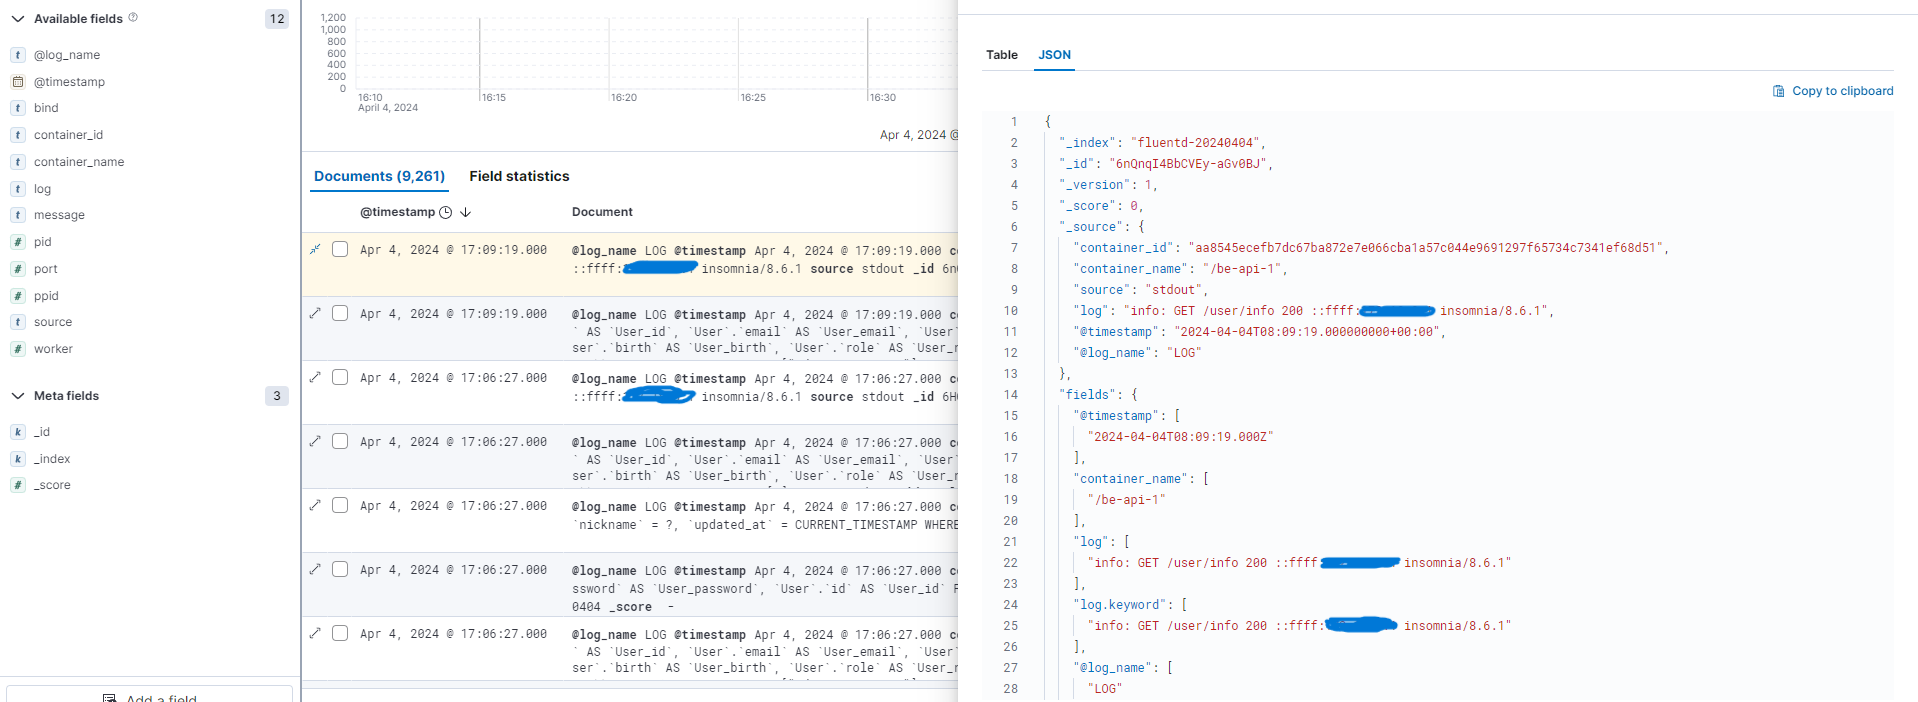
요런 느낌
끗.