
리덕스를 사용하는 프로세스 정리
리액트를 공부하던 중 리덕스를 사용하기 위해 정형적인 프로젝트 속에서 Action과 State를 사용하는 법을 정리해 놓으면 좋을 것 같아서 정리하는 글임당.
구체적인 과정이 필요없고 CookBock처럼 사용하려면 핵심 내용만 요약한 글 여기를 참고하면 될 것 같다.
프로젝트 구조
리덕스 사용해 프로젝트를 수정해가는 과정을 차례차례 적을 것인데 따라하면서 연습을 해보고싶다면
$ yarn create react-app react-redux-blog
$ cd react-redux-blog
$ yarn add redux react-redux
를 통해 프로젝트를 생성하자.
그리고 폴더 구조를 아래처럼 만들어 준다.
- components : 화면에 실제로 그려지는 컴포넌트를 담는 폴더
- containers : 리덕스 스토어와 컴포넌트를 이어주는 매개체를 담는 폴더
- modules : 리덕스의 State, Reducer를 정의한 파일들을 담는 폴더
우선은 전체적인 구조를 알기 위해서 Counter를 먼저 만들어 보자.
components/Counter.js
import React from "react";

const Counter = () => {
  return (
    <div>
      <h1>여기엔 숫자를 담자</h1>
      <button>+ 1</button>
      <button>- 1</button>
    </div>
  );
};

export default Counter;
App.js
import React from "react";
import Counter from "./components/Counter";

function App() {
  return (
    <div>
      <Counter />
    </div>
  );
}

export default App;
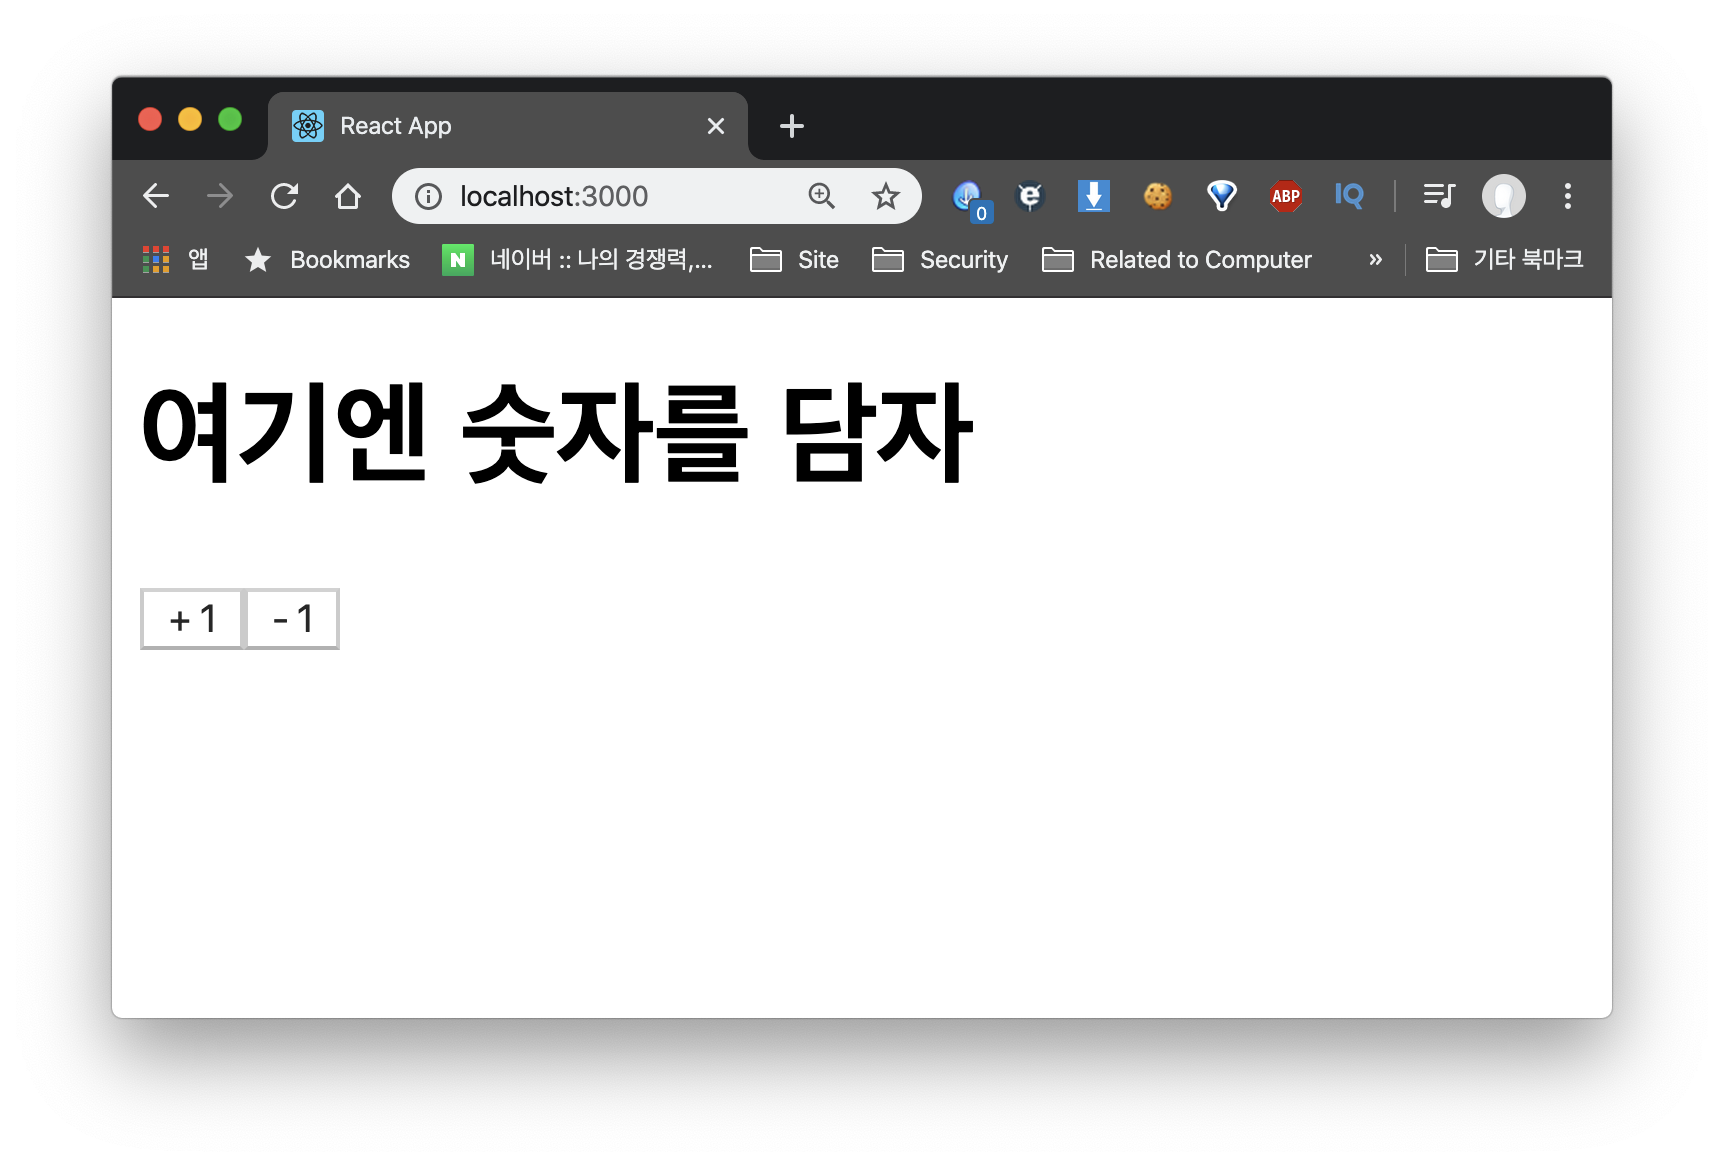
그럼 다음과 같은 화면이 보일거다. 이제 우리가 저장하고 싶은 값과 액션을 정의하자!
프로젝트에 리덕스 입히기
우리 프로젝트에 리덕스를 사용하기 위한 프로세스는 아래처럼 나눌 수 있다.
1. moduels 폴더에 값, 그리고 액션 정의하기
2. modules/index.js에서 combineReducers 사용해서 rootReducer 만들어주기
3. containers 폴더에서 Container 만들고 connect 함수 사용해서 컴포넌트와 리덕스 연동하기
자 그럼 모듈부터 만들어 보자!
Counter를 위한 State, Action 정의하기
우리가 Module 함수에서 해야하는 일은 크게 아래와 같다.
1. Action Type 정의하기
2. Action Type 반환하는 함수 만들어주기
3. 초기 상태 작성하기
4. Reducer 함수 만들기
우리가 Counter에서 필요한 상태는 카운터의 값인 number일 것이며 함수는increase, decrease일 것이다.
Action Type 정의하기
modules/counter.js
const INCREASE = "counter/INCREASE";
const DECREASE = "counter/DECREASE";
우리가 원하는 함수의 타입 이름을 정의해주면 된다. 액션 타입은 대문자로 작성하고 문자열 내용은 모듈의 이름 / 액션 이름과 같은 형식으로 작성해주면 된다.
이는 나중에 여러 컴포넌트를 다룰 때 타입 이름이 중복되지 않기 위함이다.
Action Type 반환하는 함수 만들어주기
modules/counter.js
const INCREASE = "counter/INCREASE";
const DECREASE = "counter/DECREASE";

export const increase = () => ({ type: INCREASE });
export const decrease = () => ({ type: DECREASE });
export 함수를 통해서 해당 타입을 반환하는 함수를 만들어주면 된다.
다만 액션의 종류가 많아진다면 위와 같은 작성이 귀찮아질 수도 있다.
이럴 때는 redux-acitons 라이브러리를 사용하면 된다.
$ yarn add redux-actions그리고 이를 import 해준다.
import {createAction} from 'redux-actions'이후 createAction 메소드를 사용해 Action 타입을 반환하는 함수를 만들어준다.
export const increase = createAction(INCREASE);
export const decrease = createAction(DECREASE);
훨씬 깔끔하고 간단하게 작성할 수 있다ㅎ
만약 파라미터를 전달해줘야한다고 하면 payload를 사용하면 된다.
export const changeInput = createAction(CHANGE_INPUT, input => input);이란 코드를 작성하면
{
	type : CHANGE_INPUT,
    payload : input
}
이런 식으로 payload에 값이 들어가게 된다.
이를 사용하는 방법은 아래에서 새로운 기능을 추가할 때를 참고하자
초기 상태 작성하기
useState에서 초기값을 지정해주던 것처럼 초기값을 정해주면 된다!
modules/counter.js
(...)
const initialState = {
    number : 0
}
Reducer 함수 만들기
이제 우리의 State와 우리가 정의한 Action Type을 가지고 Reducer 함수를 만들어주면 된다.
Reducer 함수는 꼭 순수 함수로 만들어야 한다. 이는 아래 4가지 조건을 만족하면 된다.
- Reducer 함수는 이전 상태와 액션 객체를 파라미터로 받는다
- 파라미터 외의 값에는 의존하면 안된다
- 이전 상태는 절대로 건드리지 않고, 변화를 준 새로운 상태 객체를 만들어서 반환한다
- 똑같은 파라미터로 호출된 리듀서 함수는 언제나 똑같은 결과 값을 반환해야 한다
자 위 내용을 주의하면서 우리의 Reducer 함수를 만들어 보자!
우리는 State에 number라는 값을 가지고 있으며 INCREASE와 DECREASE를 받는다!
modules/counter.js
(...)
function counter(state = initialState, action) {
  switch (action.type) {
    case INCREASE:
      return {
        number: state.number + 1
      };
    case DECREASE:
      return {
        number: state.number - 1
      };
    default:
      return state;
  }
}
export default counter;
다음처럼 Action Type에 따라서 State를 변형한 새로운 State를 반환해주면 된다.
이 때 절대로 기존 State를 수정해서는 안된다.
2가지 Action만 해도 위처럼 코드가 매우 길어지는 것을 볼 수 있다.
마찬가지로 redux-actions 라이브러리를 사용하면 switch-case 문으로부터 벗어날 수 있다.
import { createAction, handleActions } from "redux-actions";handleActions를 불러온 후에 첫 번째 인자로는 각 액션 타입에 대한 함수가 담긴 객체를, 두 번째 인자로는 초기값을 전해주면 된다.
const counter = handleActions(
  {
    [INCREASE]: (state, action) => ({
      number: state.number + 1
    }),
    [DECREASE]: (state, action) => ({
      number: state.number - 1
    })
  },
  initialState
);createAction에서 payload를 넣어줬다면 아래와 같이 사용하면 된다.
handleActions(
  {
    [CHANGE_INPUT] : (state, action) => ({
      ...state,
      input : action.payload
    })
  },
  initialState
);
다만 이렇게 사용하면 payload에 어떤 값을 넣어줬는지 헷갈리므로
handleActions(
  {
    [CHANGE_INPUT] : (state, { payload : input }) => ({
      ...state,
      input : input
    })
  },
  initialState
);
이런 식으로 작성하면 가독성이 좋아진다.
우리가 만든 모듈을 rootReducer에 연결하기
현재 우리는 counter라는 Reducer 하나만 가지고 있지만 실제로 modules 폴더에는 수많은 Reducer가 존재할 것이다. 하지만 리덕스 스토어에는 하나의 Reducer만 연결되어야 하므로 이를 통합해야 한다.
이를 위해 우리는 redux의 combineReducers라는 함수를 사용할 것이다.
modules/index.js
import { combineReducers } from "redux";
import counter from "./counter";

const rootReducer = combineReducers({
  counter
});

export default rootReducer;
사용법은 간단하다. combineReducers 메소드 안에 객체 형태로 우리가 만든 Reducer를 넣어주면 된다.
예를 들면 아래처럼
const rootReducer = combineReducers({
	counter1,
	counter2,
	counter3
});
Container 만들고 connect 함수 사용해서 연동하기
리액트와 리덕스 연동하기
Container를 만들기 전에 만약 우리의 React 프로젝트에 Redux를 적용시키지 않았다면 아래 과정부터 해주자!
src/index.js
import React from "react";
import ReactDOM from "react-dom";
import { createStore } from "redux"; // 추가
import { Provider } from "react-redux"; // 추가
import rootReducer from "./modules"; // 추가
import App from "./App";

const store = createStore(rootReducer); // 추가

ReactDOM.render(
  <Provider store={store}> // Provier로 감싸준다
    <App />
  </Provider>,
  document.getElementById("root")
);
만약에 Redux DevTools와 연동시키고 싶다면
$ yarn add redux-devtools-extension을 설치한 후에
(...)
import { composeWithDevTools } from "redux-devtools-extension";
(...)
const store = createStore(rootReducer, composeWithDevTools());
로 사용하면 된다.
정말로 Container 만들기
containers/CounterContainer.js
import React from "react";
import Counter from "../components/Counter";

const CounterContainer = () => {
  return <Counter />;
};

export default CounterContainer;
우선 위 코드처럼 CounterContainer를 만들어 주자.
이 컴포넌트를 Redux와 연동하기 위해서는 connect 함수를 사용해야 한다.
connect(mapStateToProps, mapDispatchToProps)(연동하고싶은 컴포넌트)mapStateToProps는 Store에 담긴 값을 받아서 Props로 변환시켜주는 역할을, mapDispatchToProps는 Action을 Props에 담는 역할을 한다.
우리는 Store에 담긴 number를 받아서 Counter에 counterNum이라는 props로 전달해준다 해보자.
const mapStateToProps = state => ({
  counterNum: state.counter.number
});
다음과 같은 형태로 state에서 원하는 값을 가져와 counterNum이라는 Props에 넣어줬다.
그럼 이 Props을 CounterContainer가 받도록 해보자.
const CounterContainer = ({counterNum}) => {
	return <Counter number={counterNum}/>
};
이제 액션을 props로 전해주는 함수를 만들어 보자.
import { increase, decrease } from "../modules/counter";우선 우리가 만든 Action을 modules로부터 불러온 후에
const mapDispatchToProps = dispatch => ({
  increase: () => dispatch(increase()),
  decrease: () => dispatch(decrease())
});
dispatch 안에 넣어주면 된다
이제 이 두 함수를 connect 함수 안에서 연결해주면 된다.
export default connect(mapStateToProps, mapDispatchToProps)(CounterContainer);매번 dispatch 안에 넣어주는 것이 귀찮다면 bindActionCreators를 이용하면 된다.
(...)
import {bindActionCreators} from 'redux'
(...)
const mapDispatchToProps = dispatch =>
  bindActionCreators(
    {
      increase,
      decrease
    },
    dispatch
  );
bindActionCreators 안에 객체 형태로 전달해주면 된다.
이제 props 안에 액션을 넣어주자
const CounterContainer = ({ counterNum, increase, decrease }) => {
  return (
    <Counter number={counterNum} onIncrease={increase} onDecrease={decrease} />
  );
};
이제 실제 컴포넌트에서 해당 props를 받도록 해보자
components/Counter.js
const Counter = ({ number, onIncrease, onDecrease }) => {
  return (
    <div>
      <h1>{number}</h1>
      <button onClick={onIncrease}>+ 1</button>
      <button onClick={onDecrease}>- 1</button>
    </div>
  );
};
이제 App.js에서 Container를 렌더링 해주자
App.js
import CounterContainer from "./containers/CounterContainer";

function App() {
  return (
    <div>
      <CounterContainer />
    </div>
  );
}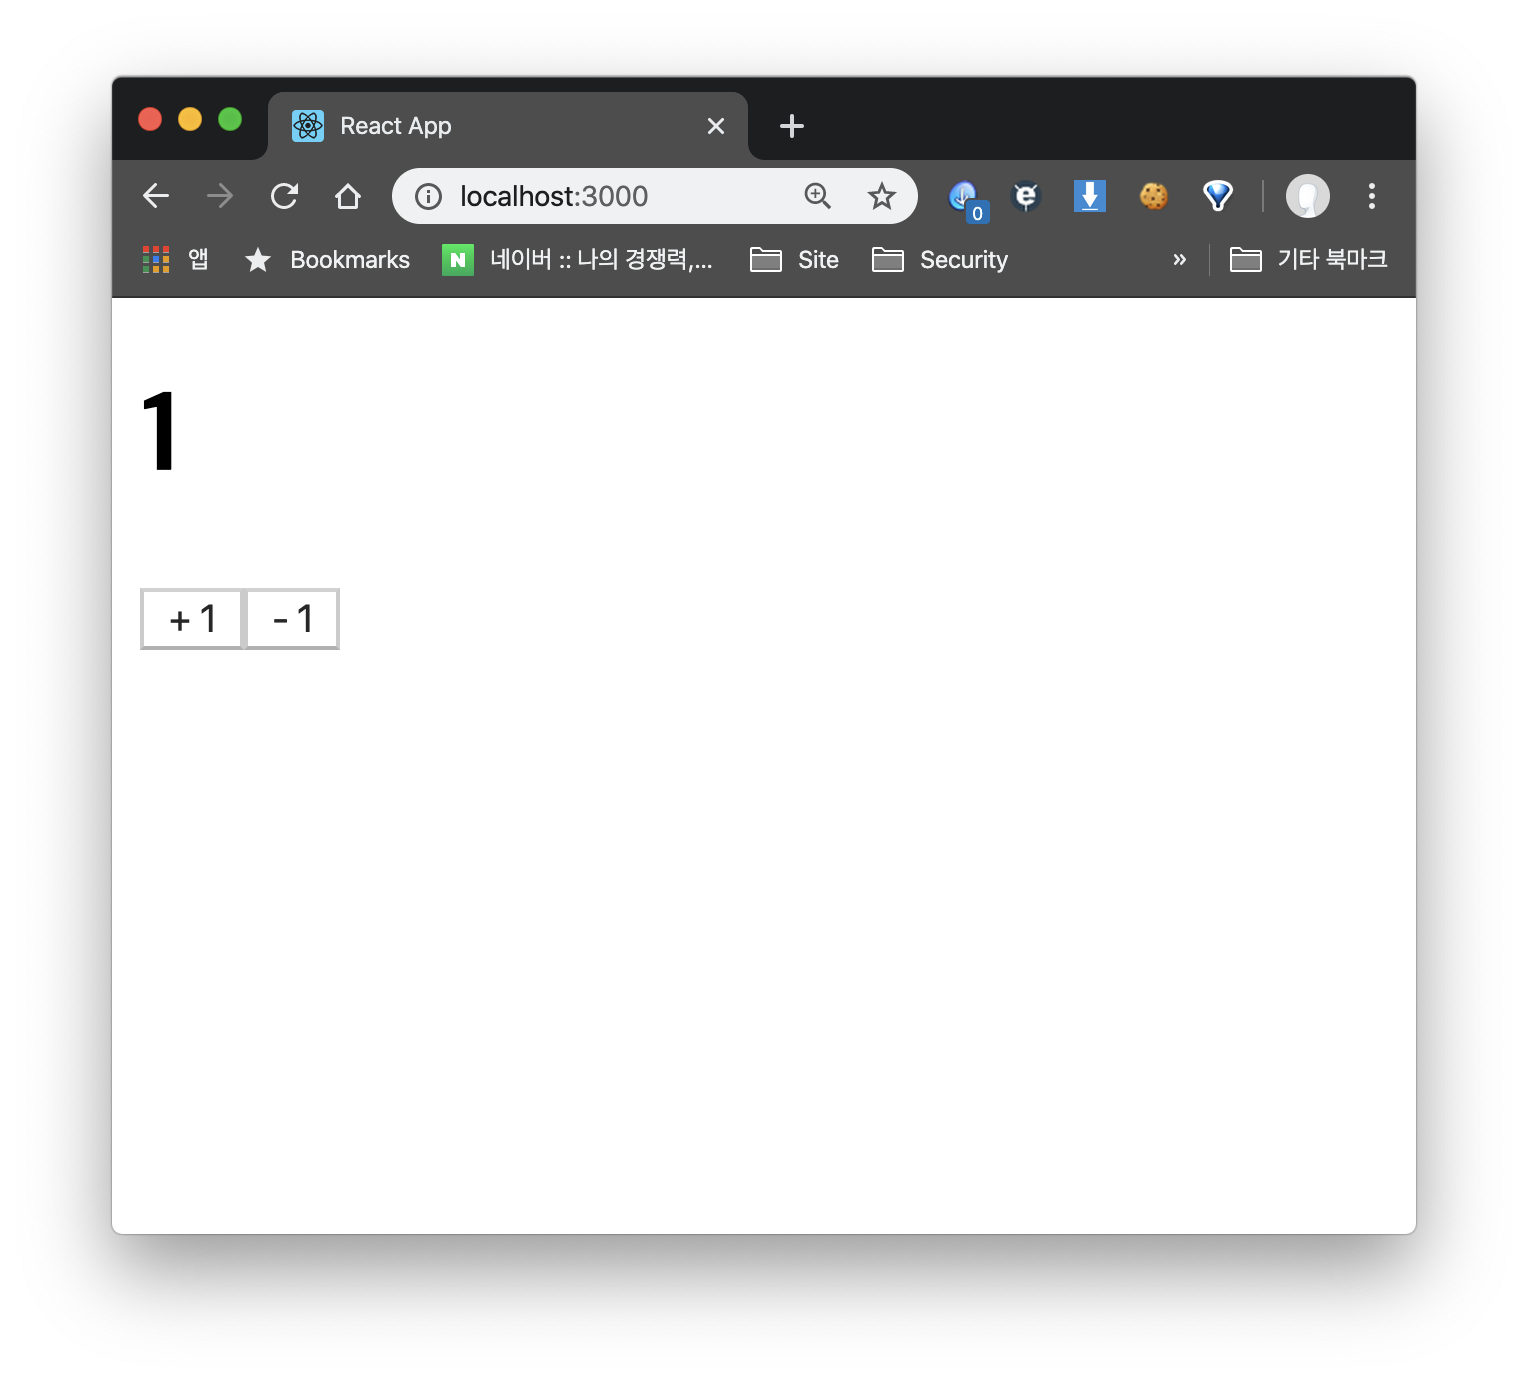
다음처럼 잘 작동하는 것을 확인할 수 있다!
Hooks 사용해서 간단하게 Redux 이용하기
useSelector 사용하기
useSelector를 이용하면 connect 함수 없이 Redux를 조회할 수 있다.
const result = useSelector(상태 선택 함수);따라서 number를 아래 코드처럼 간단하게 사용할 수 있다.
import {useSelector} from 'react-redux';
(...)
const CounterContainer = () => {
    const counterNum = useSelector(state => state.counter.number)
  return (
    <Counter number={counterNum}/>
  );
};
mapStateToProps 함수를 작성할 필요가 없어진다
useDispatch를 사용해서 액션 디스패치 하기
const dispatch = useDispatch();를 이용해서 dispatch를 얻어준 후에 우리가 modules에서 얻은 함수를 넣어주면 된다.
import {useSelector, useDispatch} from 'react-redux';
(...)
const CounterContainer = () => {
    const counterNum = useSelector(state => state.counter.number)
    const dispatch = useDispatch();
  return (
    <Counter number={counterNum} onIncrease={() => dispatch(increase())} onDecrease={() => dispatch(decrease())} />
  );
};
하지만 위처럼 코드를 작성하면 숫자가 바뀔 때마다 컴포넌트가 리렌더링 되어서 매번 함수를 새로 만드므로 useCallback으로 감싸주는 것이 좋다.
import React, {useCallback} from "react";
(...)
 const CounterContainer = () => {
  const counterNum = useSelector(state => state.counter.number);
  const dispatch = useDispatch();
  const onIncrease = useCallback(() => dispatch(increase()), [dispatch]);
  const onDecrease = useCallback(() => dispatch(decrease()), [dispatch]);
  return (
    <Counter
      number={counterNum}
      onIncrease={onIncrease}
      onDecrease={onDecrease}
    />
  );
};
주의점
Hooks를 사용하든 connect 함수를 사용하든 개인의 자유지만 useSelector를 사용하여 Redux의 상태를 조회하는 경우 최적화 작업이 자동으로 이루어지지 않으므로 React.memo를 이용하는 것이 좋다.
export default React.memo(CounterContainer);다만 React.memo를 항상 사용하는 것이 능사는 아니다. React.memo를 사용해야 하는 경우는 다음과 같은 경우다.
1. 순수 함수 컴포넌트
2. 자주 렌더링을 해야하는 함수
3. 같은 props로 자주 리 렌더링 되는 함수
4. 컴포넌트가 props 비교를 필요로 하는 많은 UI 요소를 가지고 있는 경우
만약 props가 자주 변동되는 환경이라면 React.memo를 사용한다고 해도 컴포넌트를 다시 렌더링 해야하므로 불필요한 비교 과정만 추가하는 꼴이다! 현명하게 사용하자.
새로운 기능을 추가할 때는?
자 그럼 우리가 이미 만든 컴포넌트에 새로운 기능을 추가한다고 가정하고 작업해보자.
그냥 연습을 위해 Input을 하나 만들고 버튼을 누르면 Counter의 이름을 바꾼다고 생각해보자.
components/Counter.js
import React from "react";

const Counter = ({
  name,
  number,
  inputName,
  onIncrease,
  onDecrease,
  onChange,
  onChangeName
}) => {
  const onClick = () => {
    console.log("Clicked!");
  };

  const onInputChange = e => onChange(e.target.value);

  return (
    <div>
      <h1>{name}</h1>
      <div>
        <h1>{number}</h1>
        <button onClick={onIncrease}>+ 1</button>
        <button onClick={onDecrease}>- 1</button>
      </div>
      <input
        onChange={onInputChange}
        value={inputName}
        placeholder="Counter 이름을 입력하세요"
      ></input>
      <button onClick={onClick}>등록</button>
    </div>
  );
};

export default Counter;
아래 처럼 간단하게 컴포넌트를 수정해주고 미리 props를 할당해 주었다.

그럼 아래와 같은 화면이 나올 것이다.
자 우리가 리덕스를 사용하는 프로세스는 위에서 말한 것처럼 아래와 같다.
1. moduels 폴더에 값, 그리고 액션 정의하기
2. modules/index.js에서 combineReducers 사용해서 rootReducer 만들어주기
3. containers 폴더에서 Container 만들고 connect 함수 사용해서 컴포넌트와 리덕스 연동하기
우선 modules부터 수정해야 한다.
modules 수정
modules를 수정하는 프로세스는 다음과 같다.
1. Action Type 정의하기
2. Action Type 반환하는 함수 만들어주기
3. 초기 상태 작성하기
4. Reducer 함수 만들기
Actioin Type 정의하기
modules/counter.js
const INCREASE = "counter/INCREASE";
const DECREASE = "counter/DECREASE";
const INPUT_CHANGE = "counter/INPUT_CHANGE";
const CHANGE_NAME = "counter/CHANGE_NAME";
다음과 같이 액션을 추가해주자!
Action Type 반환하는 함수 만들어주기
export const increase = createAction(INCREASE);
export const decrease = createAction(DECREASE);
export const inputChange = createAction(INPUT_CHANGE, input => input);
export const changeName = createAction(CHANGE_NAME, name => name);
간단하게 하기 위해서 createAction 메소드를 사용했다.
초기 상태 작성하기
const initialState = {
  number: 0,
  name: "평범한 카운터",
  inputName: ""
};
Reducer 함수 만들기
const counter = handleActions(
  {
    [INCREASE]: (state, action) => ({
      ...state,
      number: state.number + 1
    }),
    [DECREASE]: (state, action) => ({
      ...state,
      number: state.number - 1
    }),
    [INPUT_CHANGE]: (state, { payload: input }) => ({
      ...state,
      inputName: input
    }),

    [CHANGE_NAME]: (state, { payload: name }) => ({
      ...state,
      name: name
    })
  },
  initialState
);
Root Reducer 수정
우리가 새로운 모듈을 추가한 것이 아니므로 수정하지 않아도 된다.
Container 수정
import {
  increase,
  decrease,
  inputChange,
  changeName
} from "../modules/counter";
(...)
  const { counterNum, name, inputName } = useSelector(({ counter }) => ({
    counterNum: counter.number,
    name: counter.name,
    inputName: counter.inputName
  }));
  const dispatch = useDispatch();
  const onIncrease = useCallback(() => dispatch(increase()), [dispatch]);
  const onDecrease = useCallback(() => dispatch(decrease()), [dispatch]);
  const onInputChange = useCallback(input => dispatch(inputChange(input)), [
    dispatch
  ]);
  const onChangeName = useCallback(name => dispatch(changeName(name)), [
    dispatch
  ]);
  return (
    <Counter
      name={name}
      inputName={inputName}
      number={counterNum}
      onIncrease={onIncrease}
      onDecrease={onDecrease}
      onChange={onInputChange}
      onChangeName={onChangeName}
    />
  );
};
export default React.memo(CounterContainer);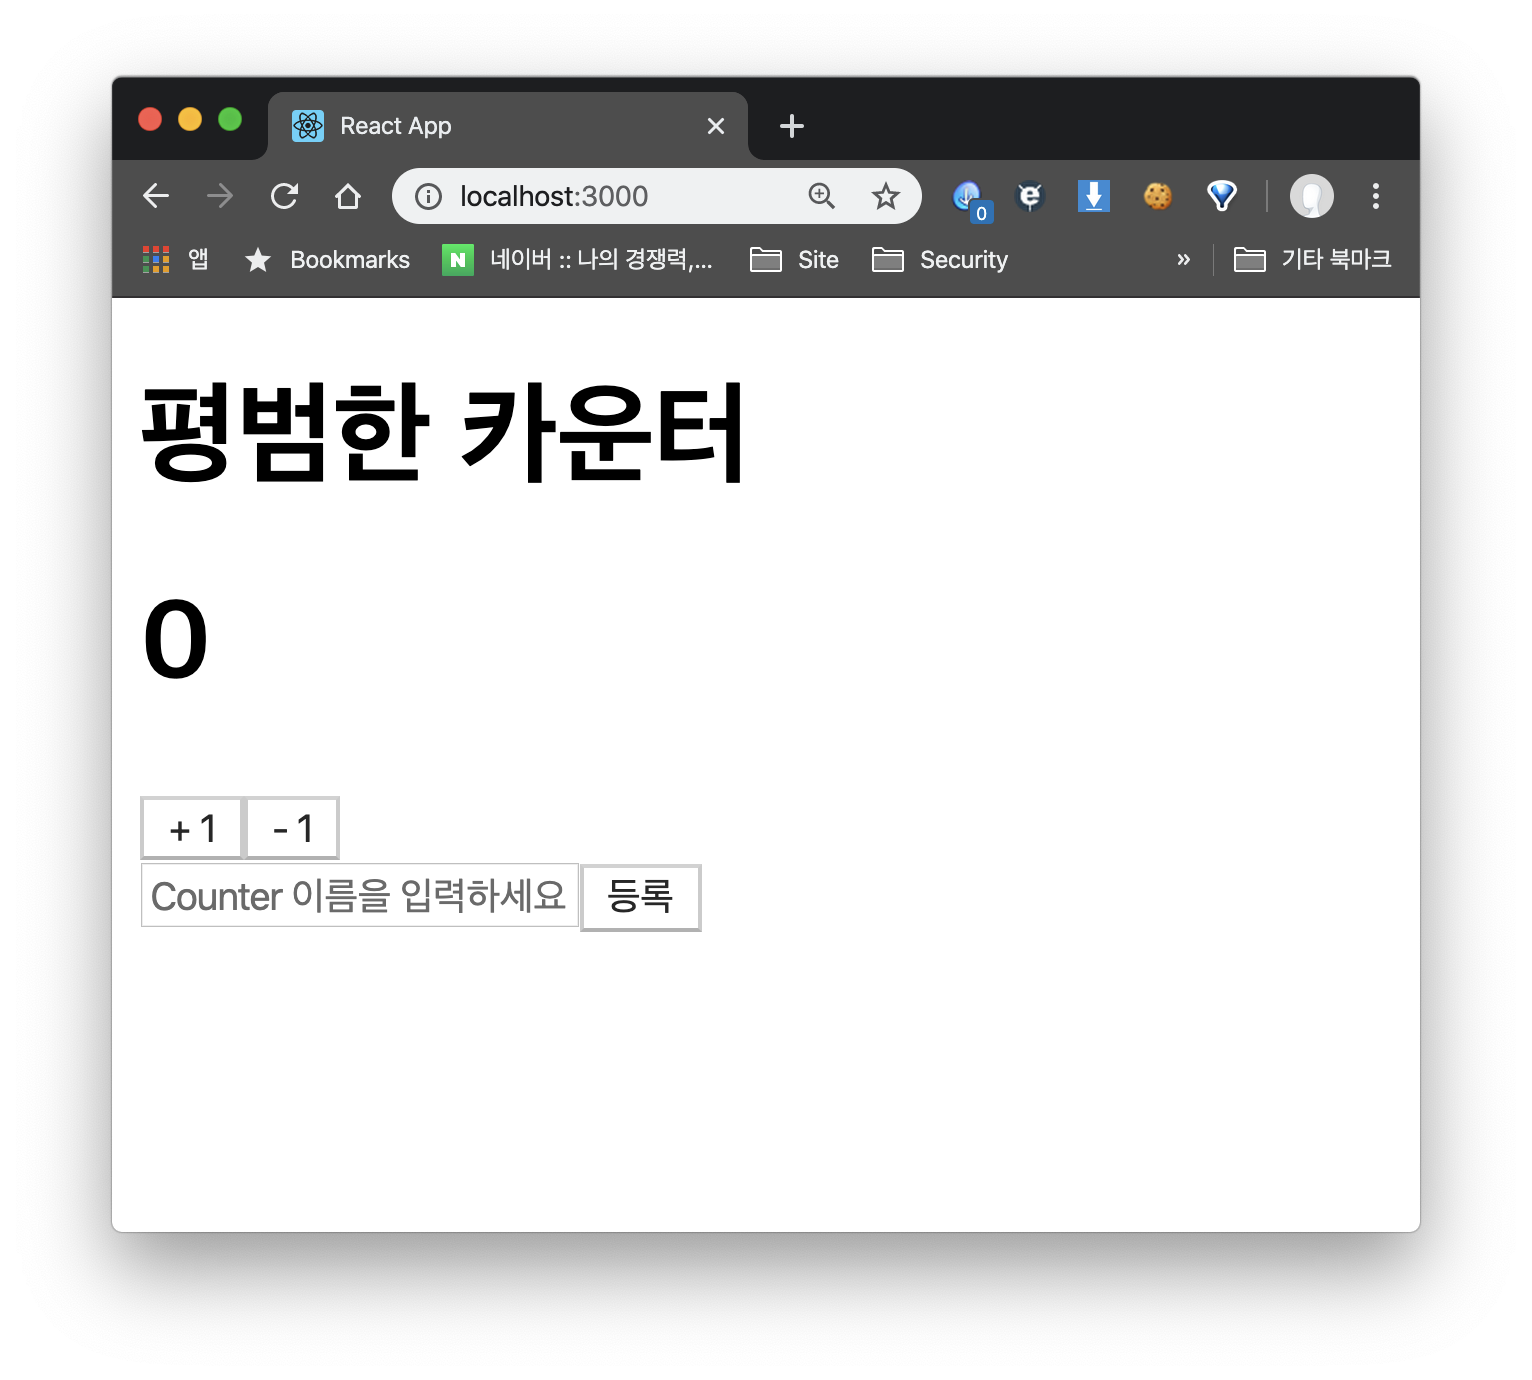
잘 나오는 것을 확인 할 수 있다.
이제 버튼을 누르면 이름이 바뀌도록만 해보자.
components/Counter.js
(...)
const onClick = () => {
  onChangeName(inputName);
  onChange("");
};
onChangeName 메소드를 통해 Redux에 담긴 이름을 수정해주고 input을 비우기 위해서 onChange를 호출해준다.
마무리
생각보다 리덕스를 사용하는 과정이 복잡하고 아직은 낯설다. 핵심 내용만 요약한 글이 여기에 있으니 CookBock처럼 사용하고 싶은 사람은 링크를 참고해보자.

2개의 댓글

글 정리가 좋아 참고하기 편했습니다.
혹시 디렉토리 구조를 container, component, module 로 나눈 이유가 있을까요?
저는 react native를 먼저 접해 그 당시 container, component, action, reducer 로 분류 했는데
counter js 에서 action reducer 를 묶어서 사용하는 것에 소소한 이유가 있는지 알고 싶습니다.
정리 진짜 잘해놓으셨네요ㅠㅠ 잘 읽구 갑니다!!