
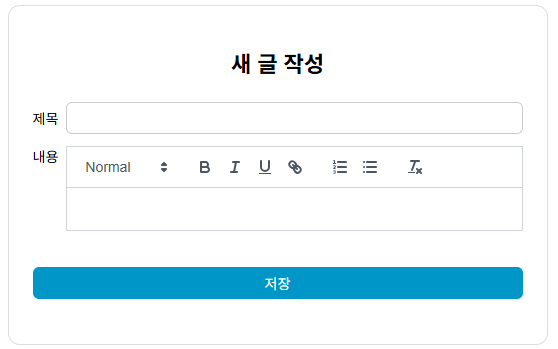
지금까지는 간단하게 textarea에 텍스트가 입력되도록 구현하였습니다.
더욱 실제 게시판스러운(?) 기능을 갖추기 위해 이미지 추가, 문단 개행 등 다양한 기능을 지원하는 에디터를 추가해야겠습니당,,
Vue 에디터 라이브러리 비교 블로그 포스팅을 참고하여, 여러 에디터 라이브러리 중 Quill Editor를 사용해보겠습니다.
Quill 라이브러리 설치
npm install @vueup/vue-quill quillUsage
공식문서의 예제를 따라 editor.vue파일을 생성합니다.
Nuxt SSR 환경에서는 window 객체가 없어 Quill 렌더링이 실패하므로, 클라이언트 사이드에서만 렌더링되도록 로 감싸줍니다.
// components/Editor.vue

<template>
	<client-only>
		<QuillEditor theme="snow" />
	</client-only>
</template>

<script setup>
	import { QuillEditor } from '@vueup/vue-quill';
	import '@vueup/vue-quill/dist/vue-quill.snow.css';
</script>
어딘가 엉성하지만 나름 에디터의 모습이 잘 출력되네요
- Quill은
snow와bubble두가지 테마를 제공합니다. - 툴바의 종류도
essentialminimalfull그리고""으로 none을 선택 해서 툴바를 사용하지 않을수도 있어요. 또는 커스터마이징도 가능합니다.
자세한 내용은 DEMO 사이트에서 확인해보세욥
Props 설정, 화면 수정
이제 에디터에 v-model을 적용할 수 있도록 modelValue props와 update:modelValue 이벤트를 추가합니다.
에디터 컴포넌트 수정
<!-- components/editor.vue -->

<template>
	<client-only>
		<QuillEditor
			:modelValue="modelValue"
			contentType="html"
			theme="snow"
			toolbar="full"
			placeholder="내용을 입력하세요"
			style="height: 300px"
			@update:modelValue="(value) => emit('update:modelValue', value)" <!-- 양방향 바인딩 구현 -->
		/>
	</client-only>
</template>

<script setup>
	const props = defineProps({
		modelValue: {
			type: String,
			default: '',
		},
	});

	const emit = defineEmits(['update:modelValue']);
</script>
각 페이지에 적용
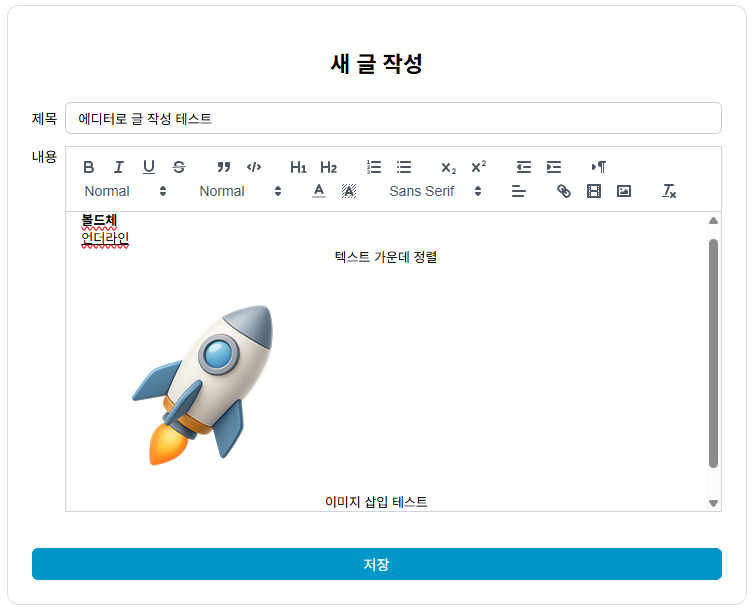
게시글 작성화면 (create.vue)
기존 <textarea>를 Editor컴포넌트로 바꿔줍니다
// pages/create.vue

<template>
	<label for="content">내용</label>
    <Editor v-model="content" />
</template>
create.vue 화면에 에디터가 잘 출력되고 있습니다
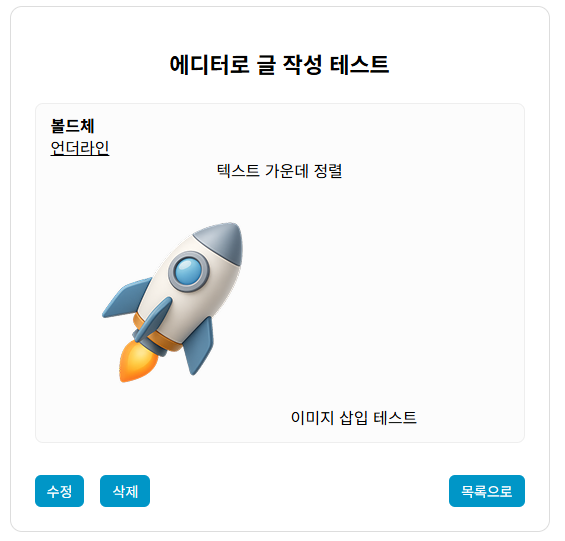
게시글 상세화면
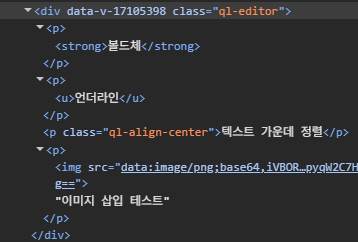
html 포멧으로 화면에 띄우기 위해 v-html을 사용합니다.
// pages/post-[id]/index.vue

<div class="ql-editor" v-html="post.content"></div>
에디터에서 작성한 내용이 html태그로 잘 출력되고있습니다
게시글 수정화면
create.vue와 동일하게 수정할때도 에디터를 띄웁니다
// pages/post-[id]/edit.vue

<template>
	<label for="content">내용</label>
    <Editor v-model="content" />
</template>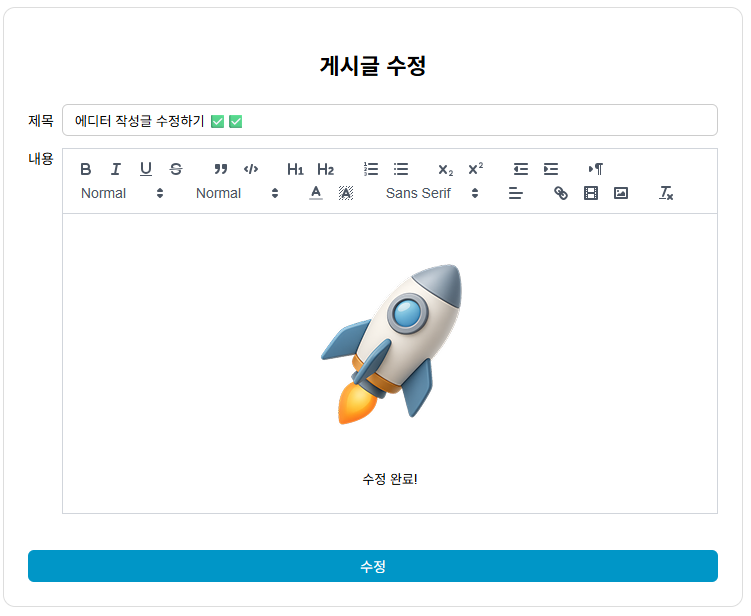


Hawaiian pizza with extra pineapples please! 🥤