
키워드
- Fetch API 란
- Promise
- ReableStream
- Unicode
- CORS 란
최종 목표
간단한 서버를 만들고, custom hook 을 사용하여 서버에서 데이터를 받아올 수 있다.
현재 목표
Fetch API에 대해 알아보자. 그리고 사용하며 발생하는 문제(CORS)를 해결해보자.
🎯 Fetch API
Fetch API를 쓰는 이유는?
저번 글에서 노드를 이용해서 백엔드를 만들었다. 이제 프론트엔드랑 연결을 해줄 것이다.
이때 Fetch API를 사용한다. Fetch API는 웹 브라우저에서 쓰는 것이다.
Fetch API란?
fetch 라는 함수를 쓴다.
이 정도만 알면 되고 자세한 내용은 문서를 참고 하라고 하셨다.
Fetch API를 콘솔에서 사용해보기
Fetch 함수 사용 해보기 (연습)
Promise를 return 한다.
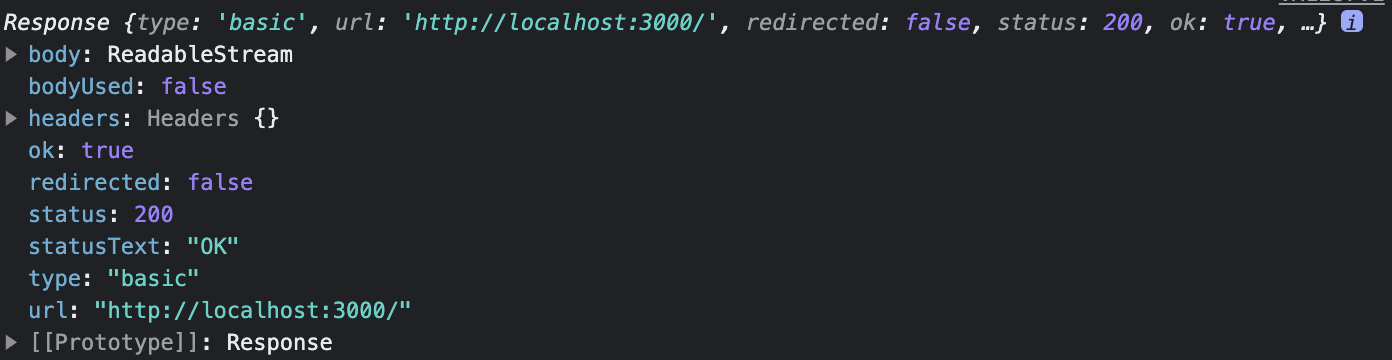
fetch('http://localhost:3000/');then 혹은 await으로 확인해보자. Response가 나온다.
fetch('http://localhost:3000/').then((x) => console.log(x));await fetch('http://localhost:3000/');body의 내용을 보려고 하니 ReadableStream 이라고 되어 있고, 자세히 알 수가 없다.
ReadableStream 내용 확인 해보기 (연습)
변수를 하나 잡는다. 변수에는 response가 담긴다. response.body는 ReadableStream이다.
const response = await fetch('http://localhost:3000/');getReader 로 reader를 얻는다.
const reader = response.body.getReader();read 의 결과를 보자.
Uint8Array(5)가 보인다. 이게 5byte 데이터라는 것을 의미한다. (≠ 5byte 문자)
const chunk = await reader.read();
한 번 더 read 를 해보자. done이 true로 바뀐다.
왜냐하면 데이터가 크면 한 번에 읽히지 않는다.
그래서 done이 true가 될 때까지 계속 read를 한다.
const chunk = await reader.read();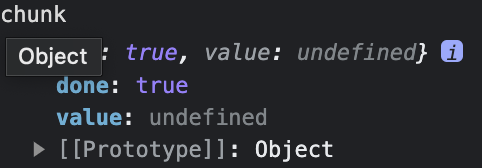
decoder 이용해서 chunk의 value 가져오기 (연습)
내가 쓰는 데이터를 작으니까 read 를 반복하지 말고 한 방에 끝내자.
여기까지는 똑같다.
const response = await fetch('http://localhost:3000/');
const reader = response.body.getReader();
const chunk = await reader.read();
chunk.value 로 값을 얻을 수 있다. byte 값을 얻게 된다.
이걸 decoder를 이용해서 string 값으로 바꾼다.
new TextDecoder().decode(chunk.value);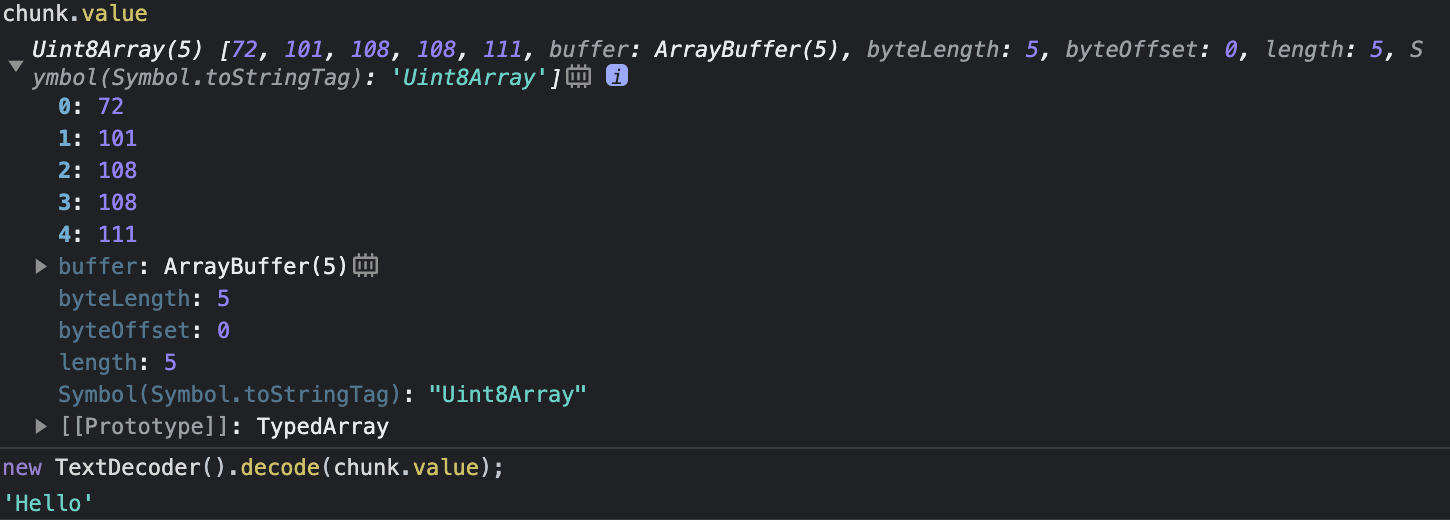
만약 값이 객체라면 JSON.Parse 를 하면 된다.
JSON.parse(new TextDecoder().decode(chunk.value));'Hello' 를 값으로 얻었기 때문에 JSON.parse를 할 필요가 없었다. 만약 Products 객체를 값으로 얻었다면 JSON.parse 까지 해야 한다.
지금까지 수행한게 복잡하다는 생각이 든다면? (실전)
기본적으로 JSON을 지원한다. 그래서 객체를 값으로 얻는다면 다음과 같이 한다.
const response = await fetch('http://localhost:3000/products');
const data = await response.json();
다른 HTTP Method를 쓰고 싶다면?
fetch 함수의 두 번째 인자로 option을 넣어준다.
const response = await fetch(url, {
  method: 'POST',
});
method 뿐만 아니라 headers, body 등 여러가지 option을 넣을 수 있다.
Fetch API를 main.tsx에서 사용해보기
프론트에서 main.tsx에 다음과 같이 넣는다.
import ReactDOM from 'react-dom/client';

import App from './App';

async function main() {
	// Fetch
	const url = 'http://localhost:3000/products';
	const response = await fetch(url);
	const {products} = await response.json();
	console.log(products);

	const container = document.getElementById('root');
	if (!container) {
		return;
	}

	const root = ReactDOM.createRoot(container);
	root.render(<App />);
}

main();
동일 출처 정책
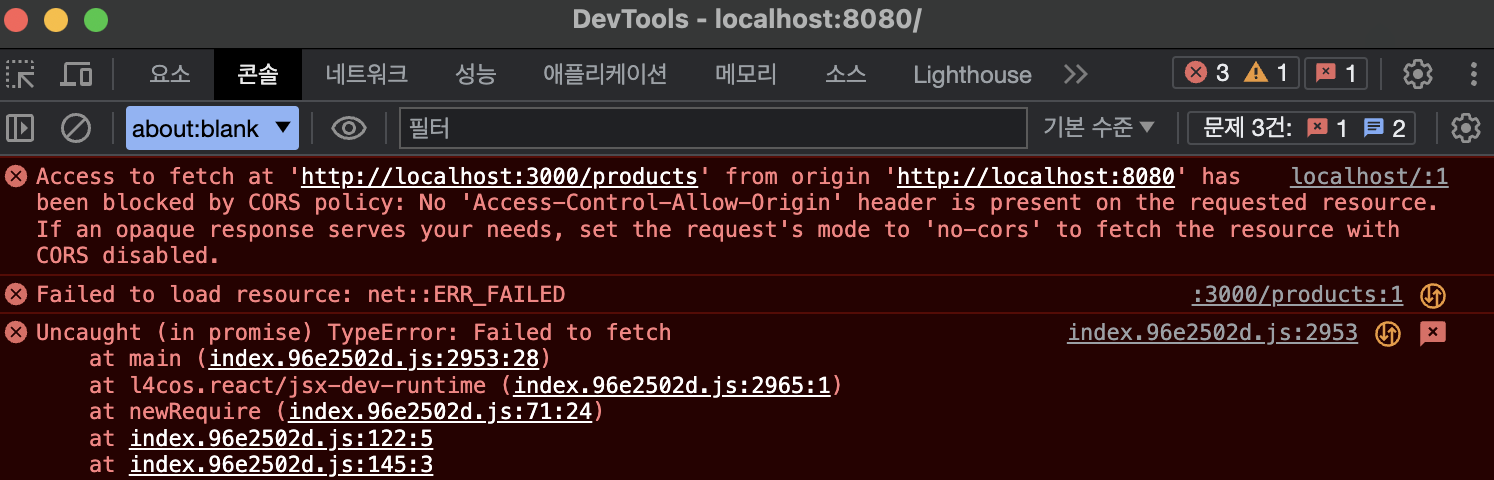
그러면 동일 출처 정책에 의해 에러가 발생한다.
Access to fetch at 'http://localhost:3000/products' from origin 'http://localhost:8080' has been blocked by CORS policy: No 'Access-Control-Allow-Origin' header is present on the requested resource. If an opaque response serves your needs, set the request's mode to 'no-cors' to fetch the resource with CORS disabled.
🎯 CORS
동일 출처 정책이란?
웹 브라우저가 가지고 있는 기본 보안 정책 이다.
웹 브라우저는 동일 출처 정책에 따라서 웹 페이지와 리소스를 요청한 곳(지금은 REST API 서버)이 다른 출처(포트까지 포함)일 때, 서버에서 얻은 결과를 사용할 수 없게 막는다.
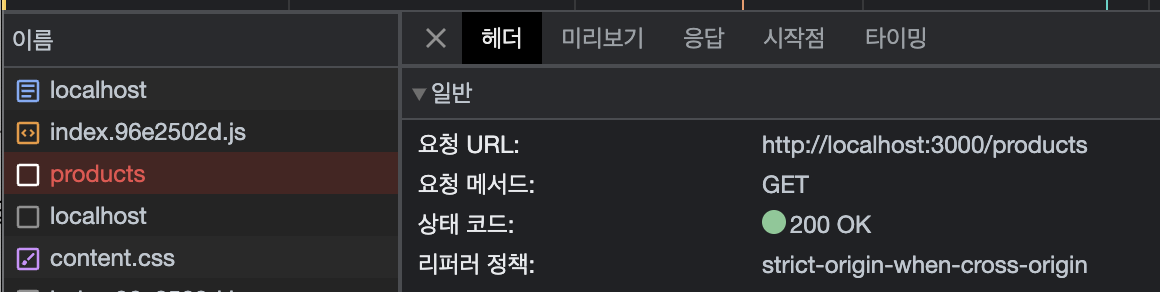
하지만 서버에 요청하고 응답을 받아오는 것까지는 이미 진행이 다 된 상황이다. 브라우저에서 사용할 수 없게 막고 있을 뿐이다.
네트워크를 보면 서버에서 products 데이터를 얻어왔다 (200 OK)
동일 출처 정책을 해결하는 방법, CORS란?
동일 출처 정책 과 반대이다. CORS는 교차 출처 리소스 공유 라는 뜻이다.
CORS 처리하기
브라우저에게 리소스를 공유하게 해줘 괜찮아 라고 하는 것이다.
REST API 서버에서 Headers에 Access-Control-Allow-Origin 속성을 추가하면 된다.
브라우저는 Headers를 보고 처리한다.
더 디테일하게 잡아줄 수 있는데 그렇게 하면 백엔드가 된다고 한다.
Express에서는 아래처럼 CORS를 간단하게 잡을 수 있다고 한다.
Express에서는 CORS를 간단하게 처리할 수 있다
Express에서는 그냥 CORS 미들웨어를 설치해서 사용하면 된다.
npm i cors
npm i -D @types/cors
그리고 백엔드 app.ts 에서 cors를 추가해준다.
import cors from 'cors';

const app = express();

app.use(cors());
아래는 전체코드이다.
import express from 'express';
import cors from 'cors';

const port = 3000;

const app = express();

app.use(cors());

app.get('/', (req, res) => {
	res.send('Hello');
});

app.get('/products', (req, res) => {
	const products = [
		{
			category: 'Fruits', price: '$1', stocked: true, name: 'Apple',
		},
		{
			category: 'Fruits', price: '$1', stocked: true, name: 'Dragonfruit',
		},
		{
			category: 'Fruits', price: '$2', stocked: false, name: 'Passionfruit',
		},
		{
			category: 'Vegetables', price: '$2', stocked: true, name: 'Spinach',
		},
		{
			category: 'Vegetables', price: '$4', stocked: false, name: 'Pumpkin',
		},
		{
			category: 'Vegetables', price: '$1', stocked: true, name: 'Peas',
		},
	];

	res.send({products});
});

app.listen(port, () => {
	console.log(`Server running at http://localhost:${port}`);
});
🎯 참고
🎯 다음에는?
매번 이렇게 써줄 수 없다.
	const url = 'http://localhost:3000/products';
	const response = await fetch(url);
	const {products} = await response.json();
	console.log(products);
다음에는 훅을 통해서 처리해보자.
다음 글