
Incoming Webhook
특정 슬랙 채널에 메세지를 전송 할 수 있도록 슬랙에서 제공하는 API
- 고유한 Webhook url을 통해 원하는 형태의 메세지를 특정 채널에 보낼 수 있다.
활용
- 사내 메신저로 슬랙 사용 시, 주기적으로 전달받아야 하는 개발 관련 업데이트 내역이 있을 때 Webhook 활용 하여 업무적인 효율을 극대화 할 수 있다.
Slack node SDK
Webhook + Node.js
- Node.js는 로컬 HTTP 서버 라이브러리를 포함하고 있어 웹 서버에서 아파치 등의 별도 소프트웨어 없이 동작하는 것이 가능하다.
- npm(node package manager)에서 기본적으로 슬랙 관련 패키지(slack node sdk)를 제공하기 때문에 효율적이다.
→ 따라서, Node.js의 slack-node-sdk를 사용하여 슬랙 채널에 메세지를 전송해보자.
Node.js의 slack-node-sdk를 사용하여 슬랙 채널에 웹훅 전송
먼저 slack-node 패키지를 설치한다.
npm install slack-nodeSteps
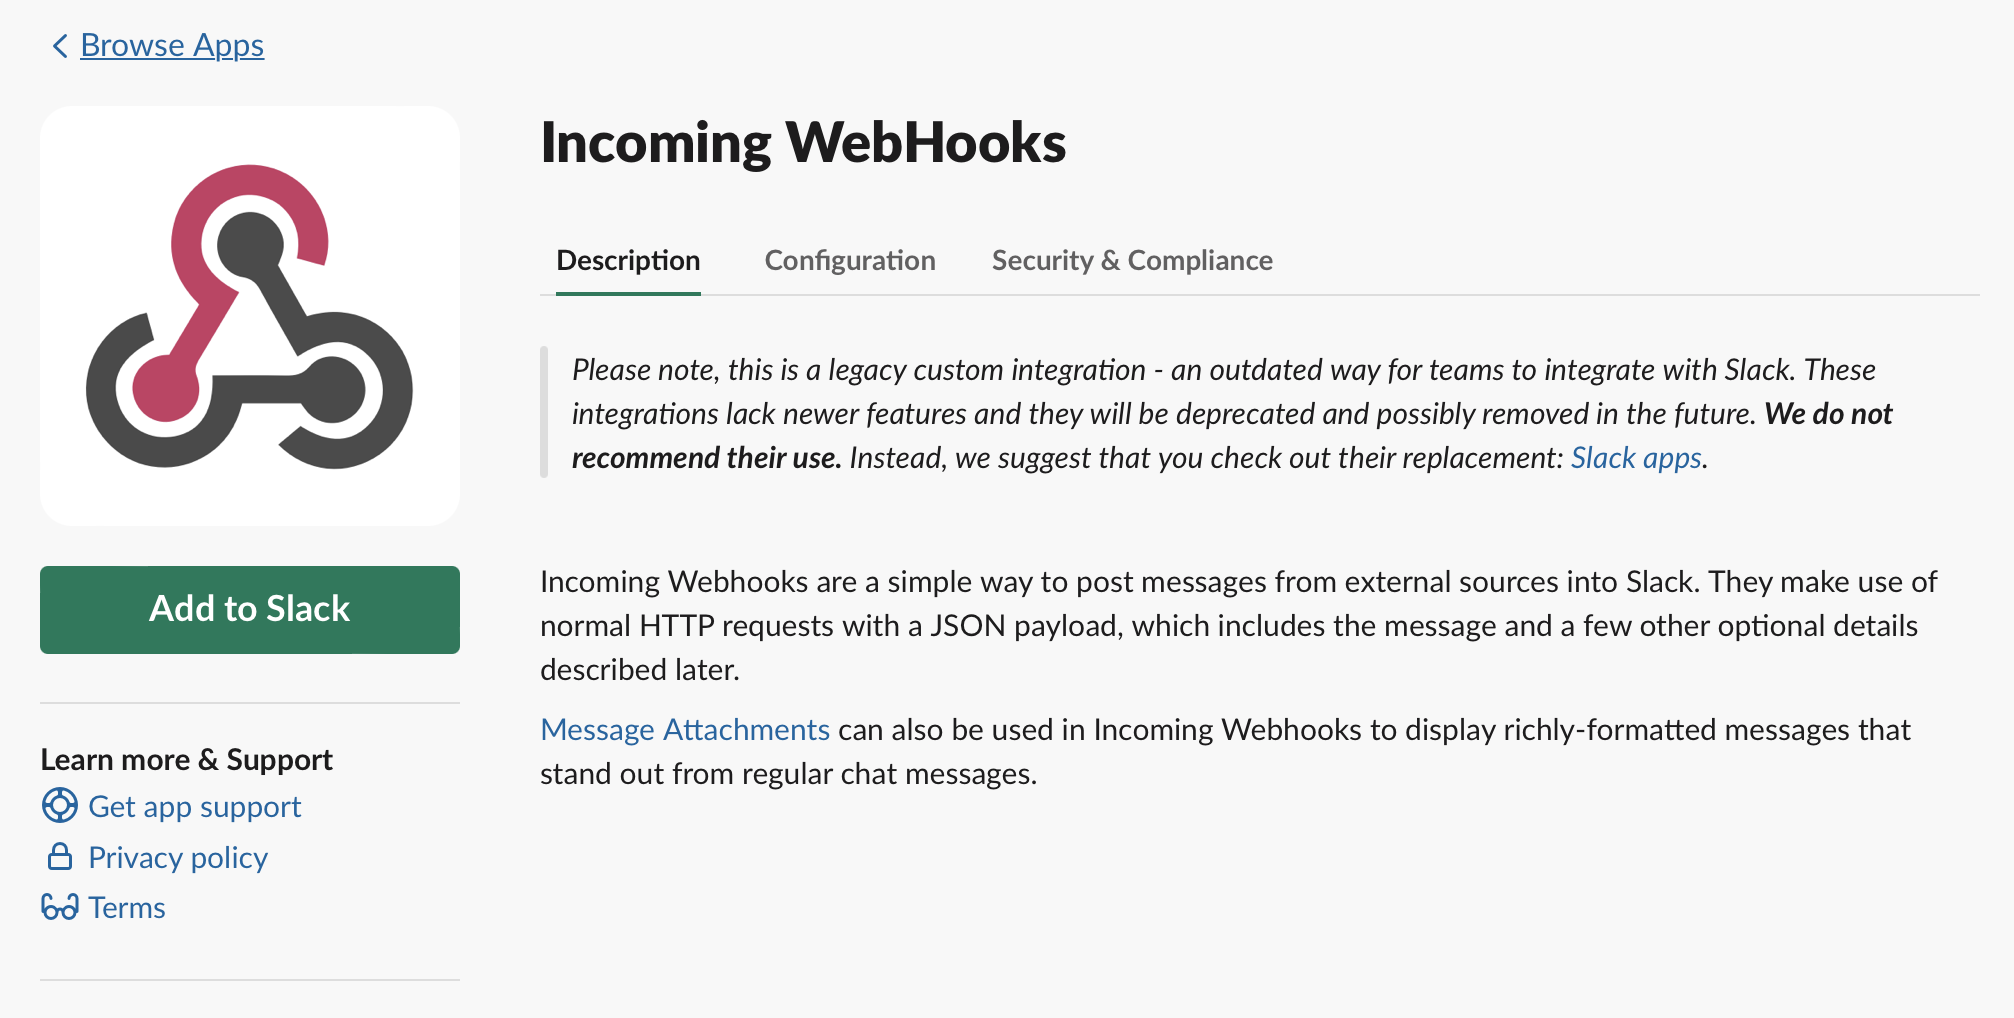
1 슬랙 채널 - Apps에서 Incoming Webhooks를 검색한 다음, Add를 클릭한다.

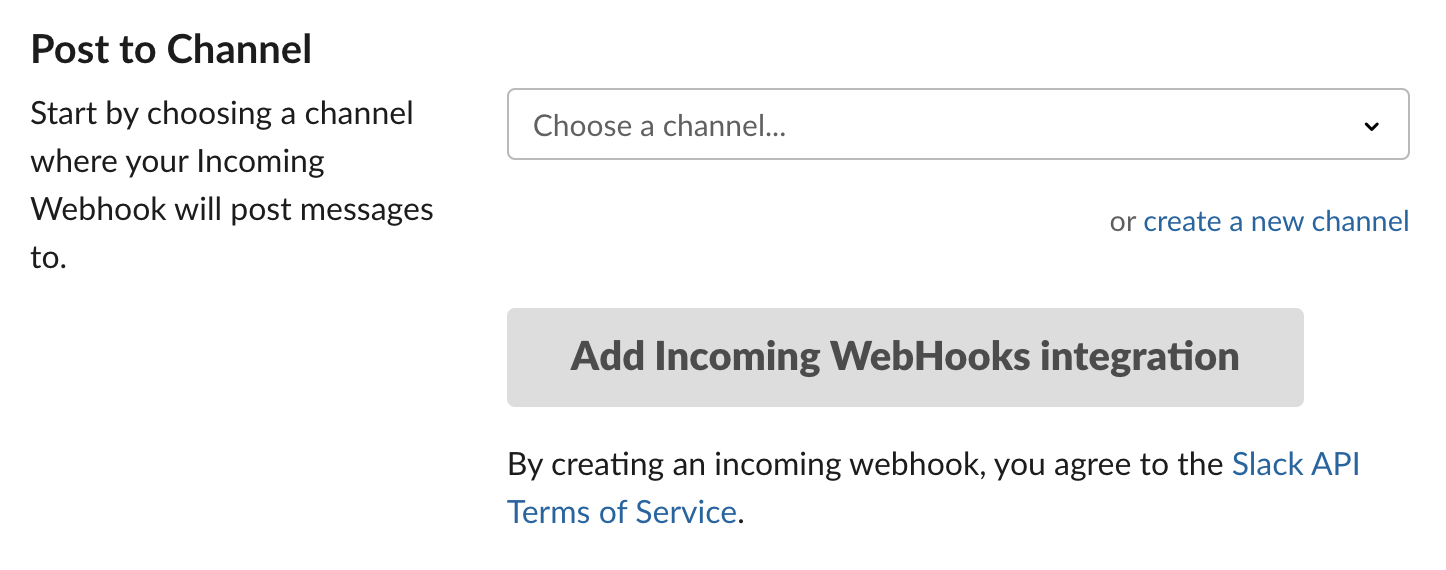
2. 웹훅을 사용하고자 하는 채널을 설정한다.
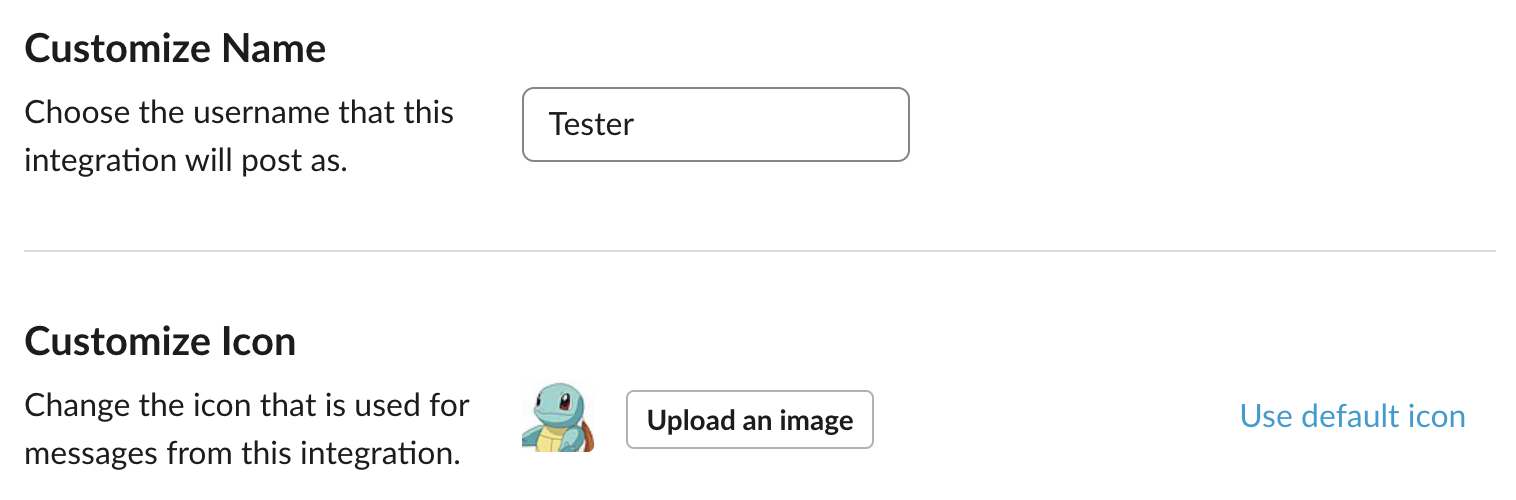
3. 설정 후 Integration Settings 페이지에서 웹훅 URL 주소를 확인할 수 있다. 메세지를 보내고자 할 때 이 주소를 사용해야 하며, 또한 웹훅 봇의 이름과 아이콘을 원하는대로 지정할 수 있다.
Setup Instructions
웹훅 페이지에서 Setup Instructions 페이지를 펼치면 기본적인 메세지 전송 방법을 알 수 있다. curl을 이용하여 터미널 환경에서도 메세지를 보낼 수 있는데, 이 기본 포맷을 사용하여 터미널에서 간단하게 메세지를 보내볼 수 있다.
curl -X POST --data-urlencode "payload={\"channel\": \"#webhook_test\", \"username\": \"webhookbot\", \"text\": \"This is posted to #webhook_test and comes from a bot named webhookbot.\", \"icon_emoji\": \":ghost:\"}" https://hooks.slack.com/services/...
커스텀한 이미지와 닉네임을 사용하고 싶다면 username 항목과 icon_emoji 항목을 지우고 보내면 된다.

Source code
const slackModule = require('slack-node');
const webhookUrl = 'MY_CHANNEL_URL';
const slack = new slackModule();
slack.setWebhook(webhookUrl);

const send = async() => {
    slack.webhook({
        text : "Welcome!",
        attachments:[
            {
              color:"#87CEEB",
              fields:[
                {
                  title: "Hi, This is the test message :)",
                  value: "2023.1.26",
                  short: false
                }
              ]
            }
          ]
    }, function(err, response) {
        if(err) throw err;
    });
}

(async () => {
    await send();
})();
Result

Composing messages
Reference: Secondary message attachments
References
https://api.slack.com/messaging/webhooks
https://labs.brandi.co.kr/2019/01/30/kwakjs.html
https://adjh54.tistory.com/44

Mobile Software Engineer