position 속성을 이용하여 아래와 같이 배치하기

1. HTML
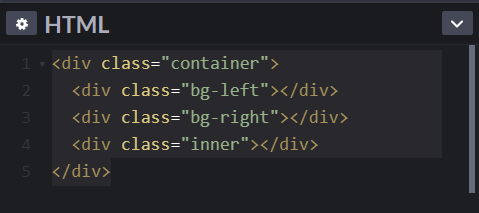
2. CSS
.container {
position: relative;
}
.container .bg-left {
width: 50%;
height: 100%;
background-color: salmon;
position: absolute;
top: 0;
left: 0;
}
.container .bg-right {
width: 50%;
height: 100%;
background-color: royalblue;
position: absolute;
top: 0;
right: 0;
}
.container .inner {
position: relative;
margin: 0 auto;
width: 250px;
height: 150px;
background-color: orange;
}
Swiper 슬라이더
기본 구조
- swiper-container > swiper-wrapper > swiper-slide
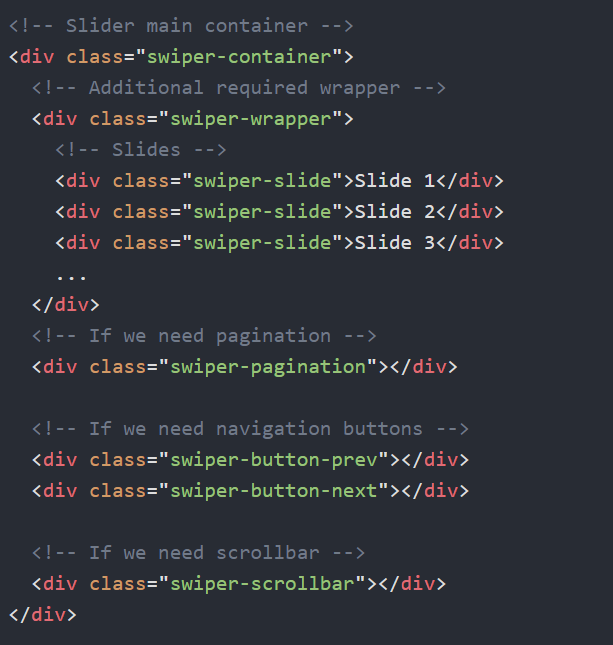
출처) https://swiperjs.com/
옵션
-
옵션은 객체데이터를 사용하여 입력
-
direction : 방향 설정
- 값: horizontal(기본값 - 수평), vertical(수직)
-
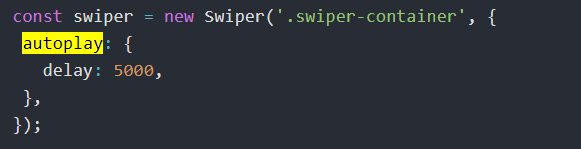
autoplay: 자동재생 여부
- 불린 데이터로 입력(true or false)
- autoplay에 세부옵션 지정 가능
- delay: 지연시간 설정
- 기본값: 3000(3초)
-
loop: 반복재생 설정
- 불린 데이터로 입력, 기본값: false
-
SlidesPerView: 한번에 보여줄 슬라이드 개수 지정
- 기본값: 1
-
spaceBetween: 슬라이드 사이의 거리(px)
- 기본값: 0
-
centeredSlides: active(활성) 슬라이드 중앙 배치 설정
- 불린 데이터로 입력, 기본값: false
-
pagination: 페이지번호 설정
-
navigation: 탐색버튼 설정
<예시>

// new Swiper(선택자, 옵션)
new Swiper('.notice-line .swiper-container', {
direction: 'vertical',
autoplay: true,
loop: true
});
new Swiper('.promotion .swiper-container', {
slidesPerView: 3, //한번에 보여줄 슬라이드 개수
spaceBetween: 10, //슬라이드 사이 여백
centeredSlides: true, //1번 슬라이드가 가운데 보이기
loop: true,
// autoplay: {
// delay: 5000 //기본값:3000(3초)
// },
pagination: {
el: '.promotion .swiper-pagination', //페이지 번호 요소 선택자
clickable: true //사용자의 페이지 번호 요소 제어 가능 여부
},
navigation: {
prevEl: '.promotion .swiper-prev',
nextEl: '.promotion .swiper-next'
}
});
