네이버 로그인 구현하기
1. OPEN API 신청
-
네이버 개발자 센터 <링크
-
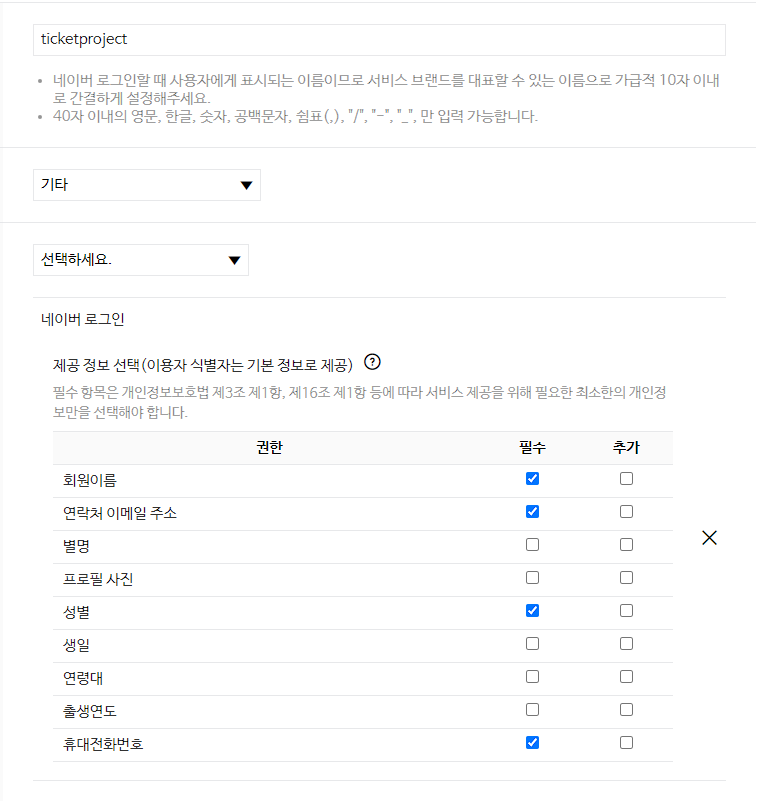
애플리케이션 등록을 한다.
-
서비스에 필요한 권한들을 체크 한다.
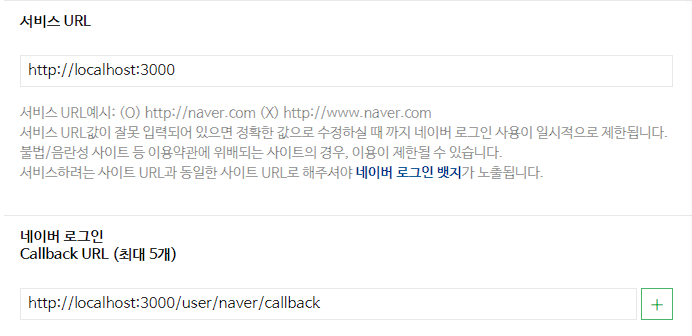
로그인 오픈API 서비스 환경을 설정 한다.
서비스URL 도메인 환경이 준비되어 있지 않다면 개발 중인 localhost 주소 사용 가능
callbackURL 로그인 후 네이버로부터 결과를 받을 URL을 기입.
2. Strategy 설정
// src/auth/naver.strategy.ts

import { Injectable } from '@nestjs/common';
import { ConfigService } from '@nestjs/config';
import { PassportStrategy } from '@nestjs/passport';
import { Strategy } from 'passport-naver-v2';
import { AuthService } from './auth.service';
import { JwtService } from '@nestjs/jwt';

@Injectable()
export class JwtNaverStrategy extends PassportStrategy(Strategy, 'naver') {
  constructor(
    private authService: AuthService,
    private jwtService: JwtService,
    private readonly configService: ConfigService,
  ) {
    super({
      clientID: configService.get('CLIENT_ID'),
      clientSecret: configService.get('CLIENT_SECRET'),
      callbackURL: configService.get('CALLBACK_URL'),
    });
  }

  async validate(
    accessToken: string,
    refreshToken: string,
    profile: any,
    done: any,
  ): Promise<any> {
    console.log(profile);
    const id = profile.id;
    const email = profile.email;
    const name = profile.name;
    const gender = profile.gender;
    const phone = profile.mobile;
    const user = {
      id,
      email,
      name,
      gender,
      phone,
    };

    return user;
  }
}
3. Guard 설정
// src/auth/naver.auth.guard.ts

import { AuthGuard } from '@nestjs/passport';
import { Injectable } from '@nestjs/common';

@Injectable()
export class NaverAuthGuard extends AuthGuard('naver') {}- 가드를 구현해두면
nest.js에서 자동으로 naver 가드를 적용해서 전략파일을 거친다.
4. .env 설정
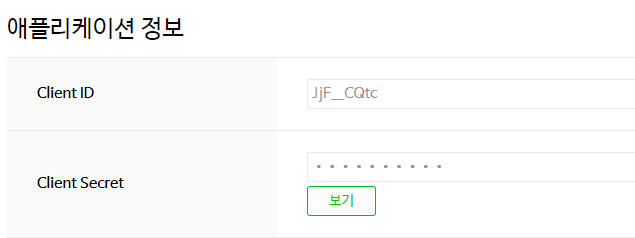
CLIENT_ID="Client ID key"
CLIENT_SECRET="Client Secret key"
CALLBACK_URL="http://localhost:3000/user/naver/callback"
5. Provider 설정
// src/auth/auth.module.ts

import { Module } from '@nestjs/common';
import { ConfigService } from '@nestjs/config';
import { JwtModule } from '@nestjs/jwt';
import { PassportModule } from '@nestjs/passport';
import { JwtStrategy } from './jwt.strategy';
import { UserModule } from 'src/user/user.module';
import { JwtNaverStrategy } from './naver.strategy';
import { AuthService } from './auth.service';
import { PerformanceModule } from 'src/performance/performance.module';
import { NaverAuthGuard } from './naver.auth.guard';

@Module({
  imports: [
    PassportModule.register({ defaultStrategy: 'jwt', session: false }),
    JwtModule.registerAsync({
      useFactory: (config: ConfigService) => ({
        secret: config.get<string>('JWT_SECRET_KEY'),
        signOptions: {
          expiresIn: config.get<string>('JWT_EXPIRE'),
        },
      }),
      inject: [ConfigService],
    }),
    UserModule,
    PerformanceModule,
  ],
  // JwtNaverStartegy파일과 NaverAuthGaurd 추가
  providers: [AuthService, JwtStrategy, JwtNaverStrategy, NaverAuthGuard],
  exports: [AuthService, JwtModule, PassportModule],
})
export class AuthModule {}
6. Controller 설정
// src/user/user.controller.ts

  @UseGuards(AuthGuard('naver'))
  @Get('login/naver')
  async loginNaver() {
    return;
  }

  @UseGuards(AuthGuard('naver'))
  @Get('naver/callback')
  async callback(
    @Req() req: Request,
    @Res({ passthrough: true }) res: Response,
  ): Promise<any> {
    console.log(req.user);
    try {
      return await this.userService.OAuthLogin({ req, res });
    } catch (error) {
      console.error('Error in loginNaver', error);
    }
  }
7. Service 설정
//src/user/user.service.ts

// 네이버 로그인
  async OAuthLogin({ req, res }) {
    console.log('네이버 유저 서비스 진입 성공!', req);
    // 1. 회원조회
    let user = await this.userRepository.findOne({
      where: { email: req.user.email },
    });
    // 2. 회원가입이 안되어 있다면, 자동회원 가입
    const hashedPassword = await hash(req.user.id, 12);
    if (!user) {
      await this.userRepository.save({
        email: req.user.email,
        password: hashedPassword,
        name: req.user.name,
        phone: req.user.phone,
        sex: req.user.gender,
      });
      const { email } = req.user;
      const payload = { email };
      const accessToken = await this.jwtService.signAsync(payload);

      return { message: '네이버 로그인 성공!', accessToken };
    }
    // 3. 회원가입이 되어 있다면, 로그인
    const { email } = req.user;
    const payload = { email };
    const accessToken = await this.jwtService.signAsync(payload);

    return { message: '네이버 로그인 성공!', accessToken };
  }
결과
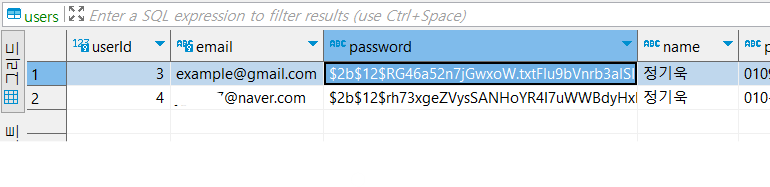
굿

감금 당하고 개발만 하고 싶어요