메인페이지 화면을 제작한다.
전의 계획자료에 나온 화면 디자인을 참고로 제작한다. 사용자가 원하는 디저트의 종류를 고르면 거기에 연관된 특성이 나타난다. 특성을 고른 뒤에 하단의 "DeSsert" 버튼을 누르면 조건을 만족하는 디저트 목록중 하나를 무작위로 출력하는 모달창이 나타난다.
메인 화면
<div class="title">나는 원한다</div>
    <div class="content">

        <div class="container">
            <input type="radio"
                   name="size"
                   id="bread"
                   value="1">

            <label for="bread"> 빵</label>

            <input type="radio"
                   name="size"
                   id="drink"
                   value="2">

            <label for="drink"> 음료수</label>

            <input type="radio"
                   name="size"
                   id="icecream"
                   value="3">

            <label for="icecream"> 아이스크림</label>

            <input type="radio"
                   name="size"
                   id="snack"
                   value="4">

            <label for="snack"> 과자</label>

        </div>
스타일
  <style>
        /** {*/
        /*    !*폰트는 나눔명조를 사용한다*!*/
        /*    font-family: 'Nanum Myeongjo', serif;*/
        /*}*/

        body {
            padding: 0;
            margin: 0;
        }

        .wrapper {
            max-width: 700px;
            margin: 100px auto 0px auto;
            height: 600px;

        }

        .title {
            font-size: 60px;
        }

        .content {
            width: 100%;
            height: 400px;
            border: 1px solid black;
            background: antiquewhite;


        }

        .button_wrap {
            display: flex;
            justify-content: flex-end;
            font-size: 55px;
        }

        .sub_btn {
            font-size: 55px;
            outline: none;
            border-radius: 40%;
            transition: 0.5s;
        }

        .sub_btn:hover {
            background: blue;
            transition: 0.5s;
        }
        </style>
현재 화면
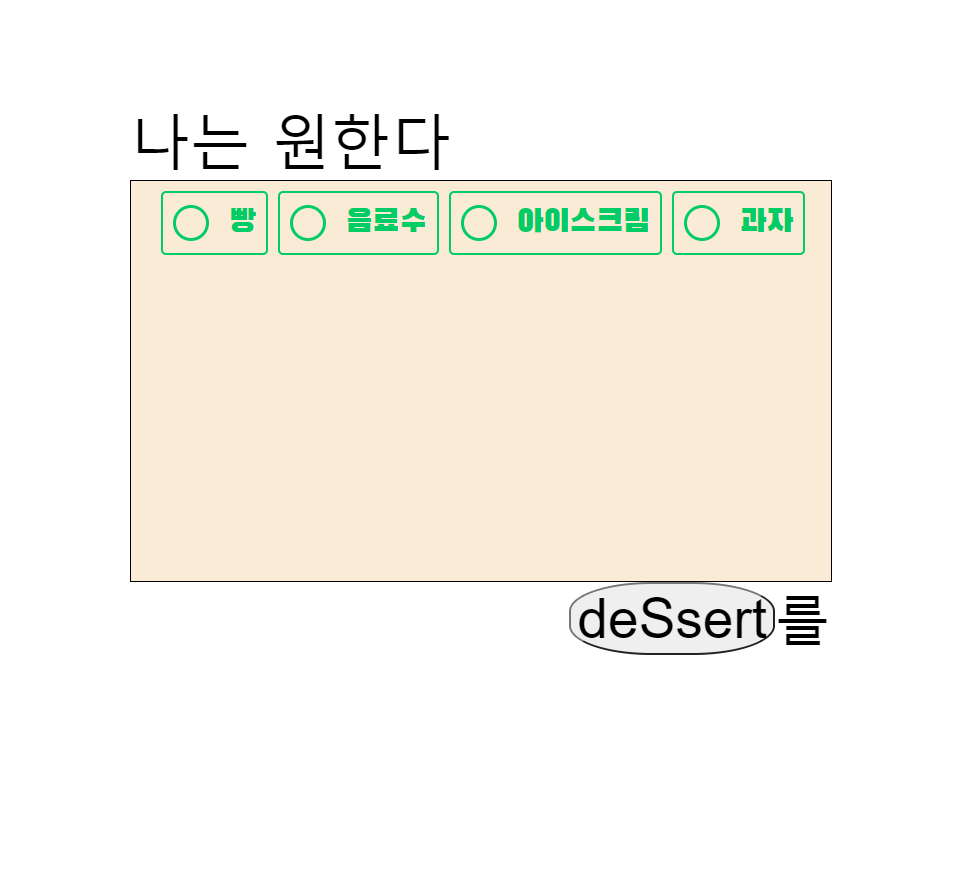
항목 체크후 특성 선택 창 출력
해당 라디오 버튼중 하나를 체크하면 그에 따른 조건을 나타내기 위한 div가 출력되어야 한다.
-
index에 연습용으로 div를 생성한다.
<div class="box 1"><h2>빵을 고르셨습니다.</h2></div> <div class="box 2"><h2>음료수을 고르셨습니다.</h2></div> <div class="box 3"><h2>아이스크림을 고르셨습니다.</h2></div> <div class="box 4"><h2>과자를 고르셨습니다.</h2></div> -
선택된 항목의 value 값을 불러오고 해당 class 의 이름이 더해진 class 이름을 불러오는 변수를 선언한다
var inputValue = $(this).attr("value") var targetBox =$("." + inputValue); -
그 변수를 제외한 나머지 div를 전부 숨기고, 선택한 항목만 보여주게 한다.
$(".box").not(targetBox).hide();
$(targetBox).show()
-이 모든 작업은 페이지가 로딩 되는 순간 실행된다.
 $(document).ready(function(){
        $('input[type="radio"]').click(function(){
            var inputValue = $(this).attr("value")
            var targetBox =$("." + inputValue);
            $(".box").not(targetBox).hide();
            $(targetBox).show()
        });
    })
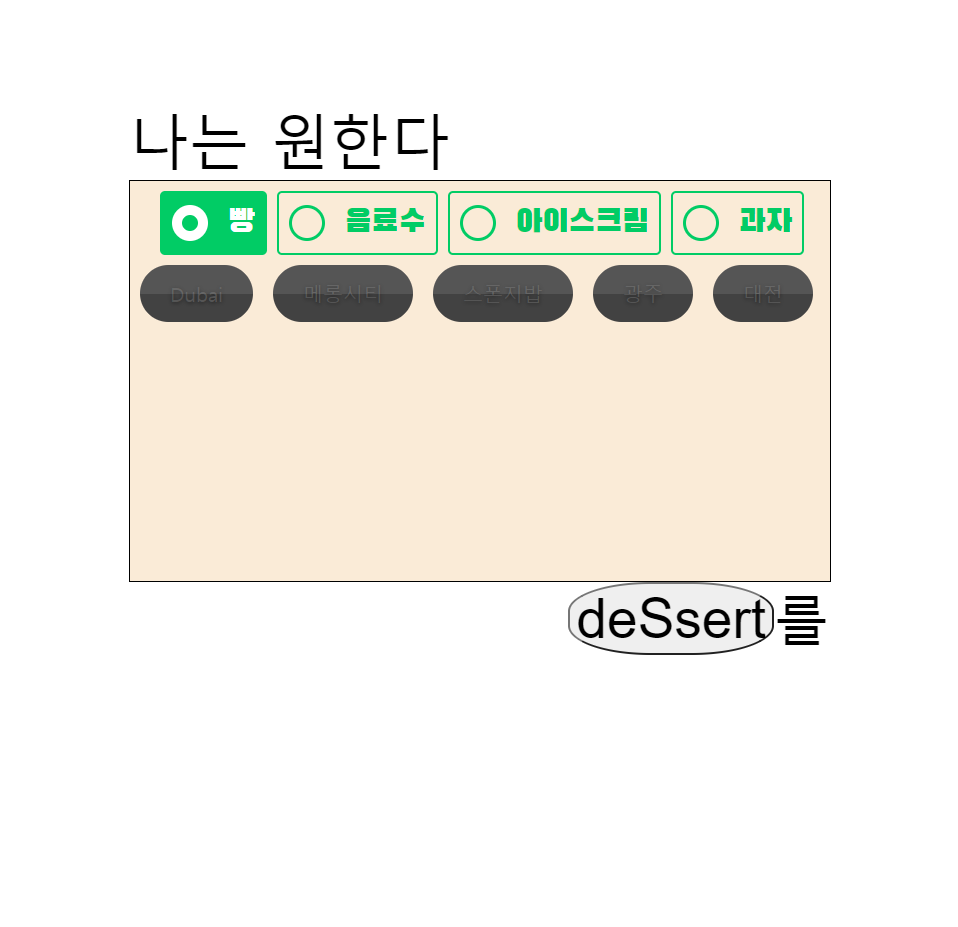
현재 상황
다음엔 각각의 항목에 대한 특성들이 적힌 버튼을 생성한다.
항목을 체크할때 텍스트 대신 체크박스들이 출력되게 한다.
 <div class="box 1">// 빵을 선택했을때
            <div class="container_two">
                <div>
                    <label class="check_obj">
                        <input  class="dessert_check"type="checkbox" >
                        <span>Dubai</span>
                    </label>
                </div>
                <div>
                    <label class="check_obj">
                        <input class="dessert_check" type="checkbox" name="">
                        <span>메롱시티</span>
                    </label>
                </div>
                <div>
                    <label class="check_obj">
                        <input class="dessert_check" type="checkbox" name="">
                        <span>스폰지밥</span>
                    </label>
                </div>
                <div>
                    <label class="check_obj">
                        <input class="dessert_check" type="checkbox" name="">
                        <span>광주</span>
                    </label>
                </div>
                <div>
                    <label class="check_obj">
                        <input class="dessert_check" type="checkbox" name="">
                        <span>대전</span>
                    </label>
                </div>

            </div>
체크박스의 스타일도 따로 작성한다.
        .container_two {

            max-width: 700px;
            margin: 0 auto;
            display: flex;
            flex-wrap: wrap;
        }

        .container_two div {
            margin: 10px;

        }

        .check_obj {
            cursor: pointer;
        }

        .check_obj input[type="checkbox"] {
            display: none;
        }

        .check_obj span {
            position: relative;
            display: inline-block;
            background: #424242;
            padding: 15px 30px;
            color: #555;
            text-shadow: 0 1px 4px rgba(0, 0, 0, .5);
            border-radius: 30px;
            font-size: 20px;
            transition: 0.5s;
            user-select: none;
            overflow: hidden;
        }

        .check_obj span:before {
            content: '';
            position: absolute;
            top: 0;
            left: 0;
            width: 100%;
            height: 50%;
            background: rgba(255, 255, 255, .1);
        }


        .check_obj input[type="checkbox"]:checked ~ span {
            background: #0f0;
            color: #fff;
            box-shadow: 0 2px 20px #0f0;
        }
다른 항목 선택시 checkbox 초기화
사용자가 항목과 체크박스를 선택할때, 해당 항목의 체크박스를 체크한뒤, 다른 항목의 radiobutton을 눌렀다면, 초기화 되는 작업을 진행한다. 한가지 항목의 checkbox값을 기준으로 데이터베이스에서 원하는 값을 보여는것이 목적인데, 다른 항목의 체크값들까지 추가되어있으면 안돼기 때문이다.
- radioButton을 체크할 때마다 나머지의
checkbox의checked값을 초기화한다.
따라서 이전에 작성했던$(document).ready에서checkbox가 나타나는 것뿐만아니라 해당 체크박스들의 값을 전부false로 변경하게 코드를 작성했다.
   $(document).ready(function () {
        $('input[type="radio"]').click(function () {
            var inputValue = $(this).attr("value")
            var targetBox = $("." + inputValue);
            $(".box").not(targetBox).hide();
            $(targetBox).show()
            var obj = document.getElementsByClassName('dessert_check');
            for (var i = 0; i< obj.length; i++){
                obj[i].checked = false;
            }

        });
}).gif)
수정사항
배경화면에 영상을 넣고싶어서 배경화면을 수정했다. `body-wrapper` 클래스와 `video_bg`클래스를 생성하여 배경화면을 영상파일로 대체했다.<div class="body_wrapper">
<div class="video_bg">
<video muted autoplay loop>
<source src="../static/video/dessert.mp4" type="video/mp4">
</video>
</div>
<div class="content_wrapper" ...>
</div>
해당 css 속성을 작성하고 외부로 돌려서 css파일을 참조하게 했다.
`static/index.css
body {
box-sizing: border-box;
padding: 0;
margin: 0;
background: #0c0c0c;
}
.body_wrapper{
background:#0c0c0c;
display: flex;
justify-content: center;
align-items: center;
max-width: 1200px;
height: 1000px;
margin: 0 auto;
position: relative;
z-index:1;
}
.video_bg{
position: absolute;
top: 0;
right: 0;
bottom: 0;
left: 0;
width: 100%;
height: 100%;
overflow: hidden;
}
video {
width: 100%;
height: 100%;
object-fit: cover;
-o-object-fit: cover;
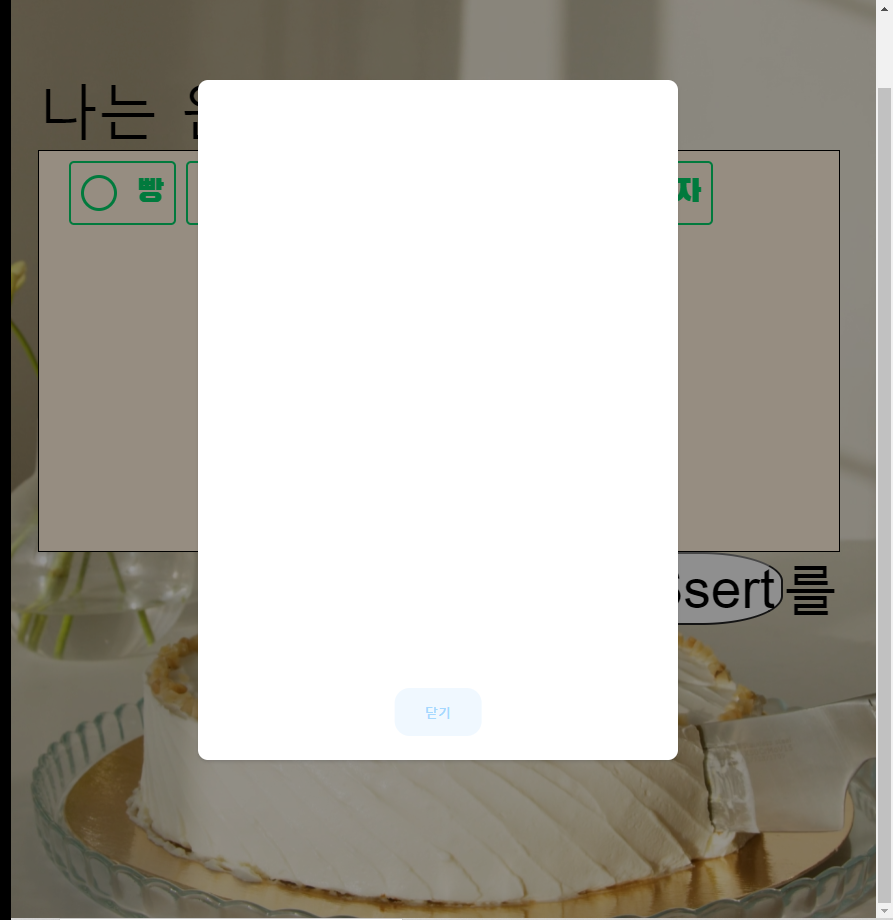
}deSsert 버튼을 누른뒤 나타나는 모달 구현
사용자가 항목과 체크버튼을 선택하고 deSsert버튼을 누르면 해당 조건을 만족하는 메뉴중에 랜덤으로 하나를 보여주는 모달창을 출력하게 된다.
</div>
    <div class="modal">
        <div class="modal_body">

             <button class="close_btn">닫기</button>
        </div>

    </div>
</div>
index.css
.modal {
    position: absolute;
    top: 0;
    left: 0;
    width: 100%;
    height: 100%;
    display: none;
    background-color: rgba(0,0,0,0.4);
    z-index: 5;

}


.modal_body{
    position: absolute;
    top: 50%;
    left: 50%;
    width: 400px;
    height: 600px;
    padding: 40px;
    background-color :rgb(255,255,255);
    border-radius: 10px;
    box-shadow: 0 2px 3px 0 rgba( 34, 36, 38 , 0.15);
    transform: translateX(-50%) translateY(-50%);
}

.close_btn{

    position: absolute;
    bottom:0;
    left: 50%;
    transform: translateX(-50%)  translateY(-50%);
    border: none;
    padding: 15px 30px;
    border-radius: 15px;
    text-decoration: none;
    font-weight: 600;
    transition: 0.25s;
    background-color: aliceblue;
    color:#a5d8ff;
}

.close_btn:hover{
    letter-spacing: 2px;
    transform: scale(1.2) translateX(-50%)  translateY(-50%); ;


    cursor: pointer;
}
현재상황