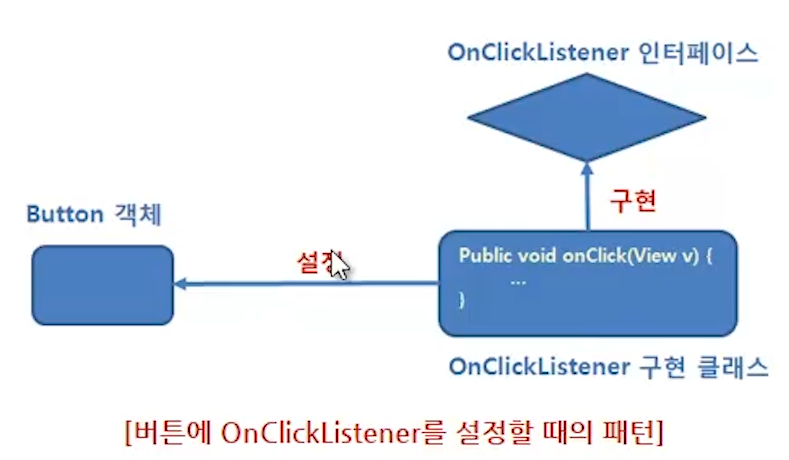
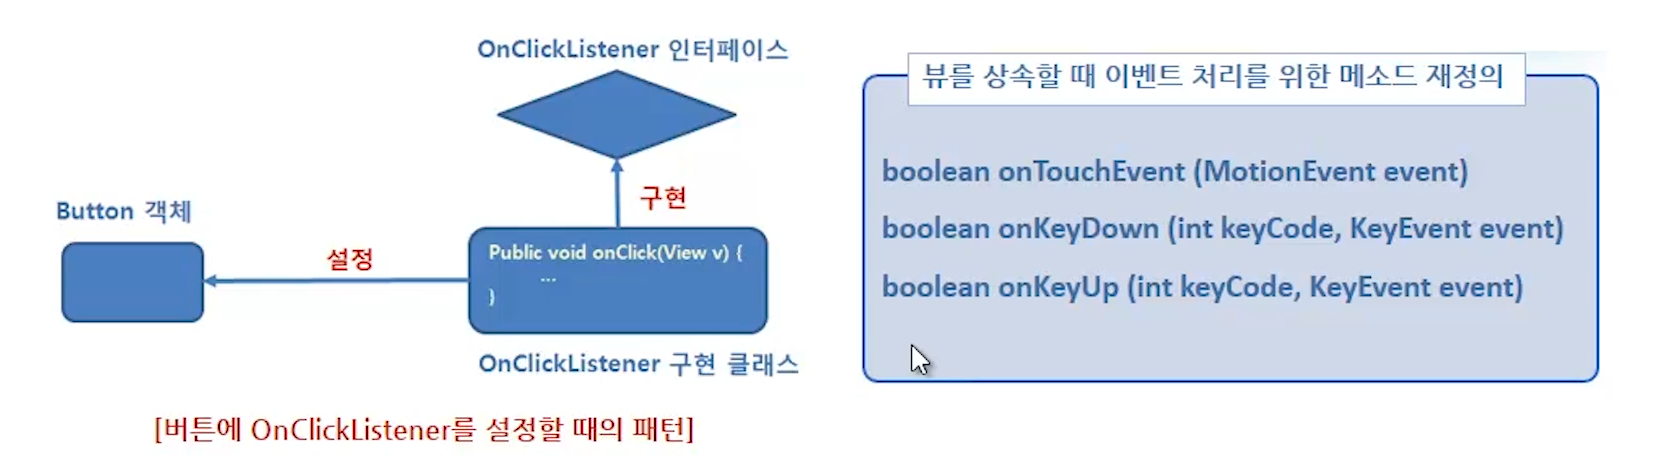
뷰의 이벤트 처리하기
<?xml version="1.0" encoding="utf-8"?>
<LinearLayout xmlns:android="http://schemas.android.com/apk/res/android"
    android:orientation="vertical"
    android:layout_width="match_parent"
    android:layout_height="match_parent"
    >

    <View
        android:id="@+id/view1"
        android:layout_width="match_parent"
        android:layout_height="0dp"
        android:layout_weight="1"
        />
    <View
        android:id="@+id/view2"
        android:layout_width="match_parent"
        android:layout_height="0dp"
        android:layout_weight="1"
        />

    <ScrollView
        android:layout_width="match_parent"
        android:layout_height="0dp"
        android:layout_weight="1"
        >

        <TextView

            android:id="@+id/textView"
            android:layout_width="match_parent"
            android:layout_height="match_parent"


            />


    </ScrollView>

</LinearLayout>
먼저 LinearLayout을 만들고 View 2개와 ScrollView 1개로 화면을 세로로 3분할한다.
3분할하기 위해 height를 0dp로 주고 layout_weight를 1로 줘서 각각 비율을 1:1:1로 가져간다.
또한 id 속성을 이용해서 각각 id를 설정해줬다. java 파일에서 사용하기 위함
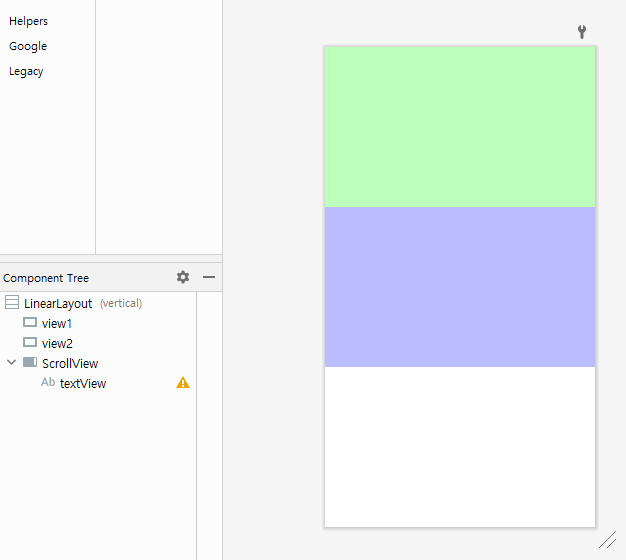
2개의 View와 textView로 화면 구성해놓은 모습
textView.append()
MainActivity.java의 내용을 수정해서 동적인 내용을 만든다.
package com.example.event;

import androidx.appcompat.app.AppCompatActivity;

import android.os.Bundle;
import android.widget.TextView;

public class MainActivity extends AppCompatActivity {

    TextView textView;

    @Override
    protected void onCreate(Bundle savedInstanceState) {
        super.onCreate(savedInstanceState);
        setContentView(R.layout.activity_main);

        textView=(TextView)findViewById(R.id.textView);
    }

    public void println(String data){
        textView.append(data+"\n");
    }
}
textView에는 원하는 문자열을 표시해줄거다
따라서 먼저 textView 객체를 만들고 findViewById로 찾아오고
println이란 메소드를 정의해준다.
textView.append를 이용해서 println에 인자로 전달하는 스트링이 표시되도록 한다.
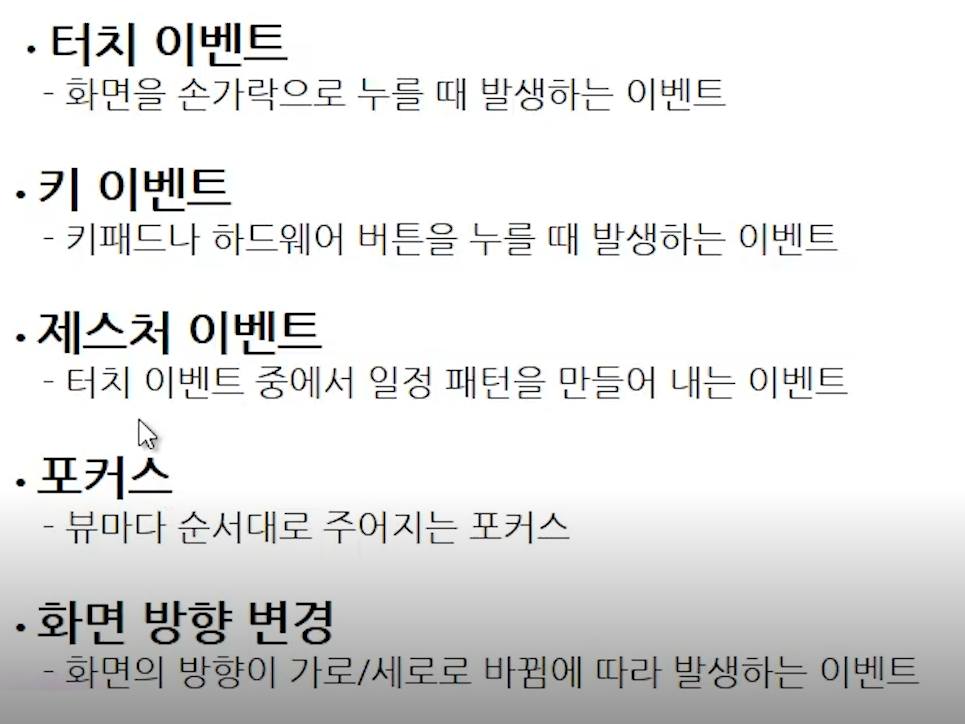
onTouch 메소드
뷰 객체를 먼저 id로 가져오고
setOnTouchListener메소드로 터치 리스너를 등록한다
터치 리스너의 onTouch 메소드를 오버라이딩 해서 정의해준다.
즉 뷰를 터치하면 onTouch 메소드가 호출된다.
onTouch 메소드는 손가락을 눌렀을 때, 뗏을 때, 누른 상태로 움직이는 순간에 계~속 호출된다.
이러한 액션의 종류가 많은데 이걸 구분하기 위해 getAction메소드를 이용한다.
int 형으로 액션을 구분할 수 있다.
        view.setOnTouchListener(new View.OnTouchListener() {
            @Override
            public boolean onTouch(View view, MotionEvent motionEvent) {
                int action = motionEvent.getAction();

                float curX = motionEvent.getX();
                float curY = motionEvent.getY();

                if (action==MotionEvent.ACTION_DOWN){
                    println("손가락 눌렸음 : "+"("+curX+","+curY+")");

                }else if(action==MotionEvent.ACTION_MOVE){
                    println("손가락 움직임 : "+"("+curX+","+curY+")");

                }else if (action==MotionEvent.ACTION_UP){
                    println("손가락 뗌 : "+"("+curX+","+curY+")");
                }

                return true;
            }
        });
getAction 메소드를 이용해 액션 종류를 구분한다.
MotionEvent. 상수로 구분한다.
DOWN은 눌렀을 때 MOVE는 누른 채로 움직일 때 UP은 뗏을 때 이다.
그리고 누른 좌표정보를 이벤트객체를 통해 얻을 수 있다. getX와 getY 메소드로 float로 얻어서 println으로 textView에 표시해준다.
true를 리턴하는건 이 메소드를 정상적으로 정의했다 이런뜻임
애뮬레이터에서 실행해보면
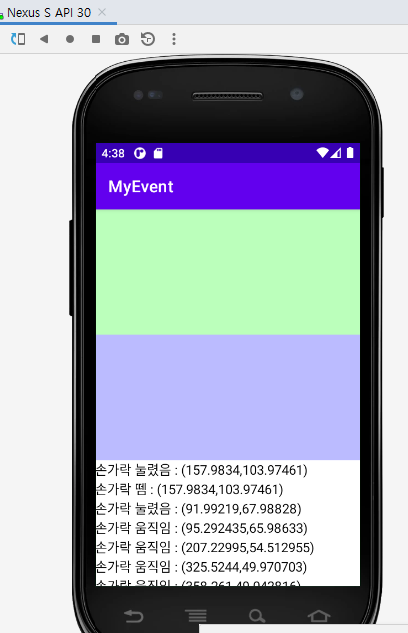
이런 식으로 표시된다!!
Gesture
    detector = new GestureDetector(this, new GestureDetector.OnGestureListener() {
            @Override
            public boolean onDown(MotionEvent motionEvent) {
                println("onDown 호출됨 ");
                return true;
            }

            @Override
            public void onShowPress(MotionEvent motionEvent) {
                println("onShowPress 호출됨");
            }

            @Override
            public boolean onSingleTapUp(MotionEvent motionEvent) {
                println("onSingleTapUp 호출됨");
                return false;
            }

            @Override
            public boolean onScroll(MotionEvent motionEvent, MotionEvent motionEvent1, float v, float v1) {
                println("onScroll 호출됨 : "+v+","+v1);
                return true;
            }

            @Override
            public void onLongPress(MotionEvent motionEvent) {
                println("onLongPress 호출됨");

            }

            @Override
            public boolean onFling(MotionEvent motionEvent, MotionEvent motionEvent1, float v, float v1) {
                println("onFling 호출됨 : "+v+","+v1);
                return true;
            }
        });
GestureDetector 객체를 만든다
생성자로 만들고 인자로 this, onGestureListener 를 전달한다.
touch 이벤트의 정보를 이용해서 터치한채로 이동하는 속도 등 정보를 자동으로 넘겨줌
강의에서랑 지금 내가 만든거랑 둘다 자동완성 된건데 메소드들이 매개변수가 좀 다르다.
이제 3분할 영역중에 두번째 뷰에 리스너를 등록해주자.
  detector = new GestureDetector(this, new GestureDetector.OnGestureListener() {
            @Override
            public boolean onDown(MotionEvent motionEvent) {
                println("onDown 호출됨 ");
                return true;
            }

            @Override
            public void onShowPress(MotionEvent motionEvent) {
                println("onShowPress 호출됨");
            }

            @Override
            public boolean onSingleTapUp(MotionEvent motionEvent) {
                println("onSingleTapUp 호출됨");
                return false;
            }

            @Override
            public boolean onScroll(MotionEvent motionEvent, MotionEvent motionEvent1, float v, float v1) {
                println("onScroll 호출됨 : "+v+","+v1);
                return true;
            }

            @Override
            public void onLongPress(MotionEvent motionEvent) {
                println("onLongPress 호출됨");

            }

            @Override
            public boolean onFling(MotionEvent motionEvent, MotionEvent motionEvent1, float v, float v1) {
                println("onFling 호출됨 : "+v+","+v1);
                return true;
            }
        });


        View view2 = findViewById(R.id.view2);
        view2.setOnTouchListener(new View.OnTouchListener(){
            @Override
            public boolean onTouch(View v, MotionEvent event){
                detector.onTouchEvent(event);
                return true;
            }
        });
이런 식으로 view2 객체를 얻어와서
setTouchListener로 리스너를 등록해준다.
리스너는 위에서 만든 detector 객체를 이용한다.
리스너의 메소드의 매개변수인 event를 인자로 전달하면 디텍터 객체에서 처리해준다.
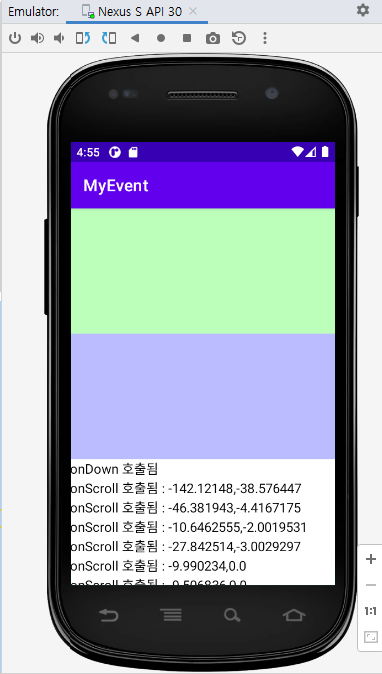
이런 식으로 두번째 영역에서 onDown 그다음에 onScroll 마지막에 onFling이 호출된다.
나중에 이런 기능을 이용하면 훨씬 쉽게 여러가지 구현 가능하다.