video.js란?
- video.js는 HTML5 환경에서 웹 비디오 플레이어를 쉽게 생성할 수 있도록 도와주는 라이브러리이다.
- HTML5, 스트리밍 형식의 영상, 유튜브, vimeo, Flash 형식을 지원한다.(Falsh는 플러그인 추가 설정 필요)
- 데스크탑, 모바일 모두 사용 가능하며, 수많은 플랫폼들이 사용 중이다.
왜 video.js인가?
video.js 공식 문서를 살펴보면 크게 다음과 같이 4가지 특징을 가진다.
- Plays anything
- Easy to style
- 100s of plugins
- Supported everywhere
첫 번째 특징부터 살펴보자.
Plays “traditional” file formats such as MP4 and WebM, but also supports adaptive streaming formats such as HLS and DASH. There’s even a special UI for live streams!
Mp4, WebM 과 같은 형식을 지원하면서 HLS, DASH와 같이 다른 영상 형식도 지원이 된다고 한다.
그 다음으로는
Video.js is designed to be a reliable and consistent base to build on top of. The player looks great out of the box, but can be easily styled with a little bit of extra CSS.
같은 영상 플레이어라도 스타일링은 개발하기 나름이라 제각각이다. 이 라이브러리를 이용하여 스타일링도 간편하게 가능하다.
When you need to add additional functionality, a well-documented plugin architecture has your back. The community has already built hundreds of skins and plugins that you can install, such as Chromecast, IMA, even VR.
추가적인 기능을 100 여가지의 플러그인을 이용하여 사용이 가능하다. 이를 위한 문서 또한 준비가 되어있으며, video.js 커뮤니티가 만든 스킨들과 플러그인들도 이용이 가능하다. CromeCast, IMA, VR 에서의 기능도 플러그인을 이용하면 기능 추가가 가능한 것으로 보인다.
Your video should work everywhere your app does. The team makes an effort to support every modern browser we can, including desktop and mobile.
생성한 비디오는 앱이 동작되는 곳이라면 데스크탑, 모바일에 관계없이 어느 환경이던 상관없이 재생이 가능하다.
React.js 에서 영상 구현
이번에 비디오, pdf, e-pub 관련 Js 라이브러리들을 학습하기 위해 React 프로젝트를 만들었다.
구현
https://videojs.com/guides/react/
video.js에서 제공하는 react 내 구현 가이드 문서를 읽으며 차례 차례 구현해보았다.
먼저 아래 코드를 터미널에 입력하여 설치부터 진행하자.
npm i video.js그 뒤, 아래와 같이 영상 재생을 위한 리엑트 컴포넌트를 생성하여 아래 모듈들을 import한다.
import videojs from 'video.js';
import 'video.js/dist/video-js.css';
공식문서에도 나와있지만, 두 번째 줄을 절대 잊지 말라고 한다.
해당 코드를 입력하지 않으면 스타일링이 정상적으로 되지 않을 것이다.
그 뒤, video, player에 대한 dom을 참조하기 위해 ref를 생성한다.
 const videoRef = useRef(null);
 const playerRef = useRef(null);
그 뒤 비디오 플레이어가 생성되도록 아래와 같이 코드를 작성한다.
이미 플레이어가 존재할 시에는 실행되지 않도록 조건도 설정하도록 한다.
else 구문 아래로는 주석 설명에도 나와있지만, 영상 플레이어의 특징을 업데이트 할 수 있는 코드 작성이 가능하다.
    // Make sure Video.js player is only initialized once
    // 비디오 플레이어가 오직 한 번만 초기화 됨을 선언한다.
    if (!playerRef.current) {
      // The Video.js player needs to be _inside_ the component el for React 18 Strict Mode.
      const videoElement = document.createElement('video-js');

      videoElement.classList.add('vjs-big-play-centered');
      videoRef.current.appendChild(videoElement);

      const player = (playerRef.current = videojs(videoElement, options, () => {
        videojs.log('player is ready');
        setVideoState('동영상 재생이 준비되었습니다.');
        onReady && onReady(player);
      }));

      // You could update an existing player in the `else` block here
      // on prop change, for example:
    } else {
      const player = playerRef.current;

      player.autoplay(options.autoplay);
      player.src(options.sources);
    }
그리고 작성한 위 코드를, 컴포넌트가 렌더링 될 때마다 실행이 되게 해야 하므로 useEffect 내에 작성하자.
  useEffect(() => {
    // Make sure Video.js player is only initialized once
    // 비디오 플레이어가 오직 한 번만 초기화 됨을 선언한다.
	//... 위 코드입력
  }, []);
그 뒤, 컴포넌트가 마운드되며 생성된 영상 플레이어는, 언마운트될 시에 제거해줘야한다. 아래와 같이 작성하자.
  // Dispose the Video.js player when the functional component unmounts
  // 컴포넌트 언마운트 시 플레이어 삭제
  useEffect(() => {
    const player = playerRef.current;

    return () => {
      if (player && !player.isDisposed()) {
        player.dispose();
        playerRef.current = null;
      }
    };
  }, [playerRef]);
useEffect 내에 뒷정리 함수를 이용하여 플레이어 삭제를 구현한 것을 확인 가능하다.
그리고 생성된 플레이어를 참조하고있는 videoRef를 이용하여 아래와 같이 렌더링하자.
  return (
    <div data-vjs-player>
      <div ref={videoRef} />
    </div>
  );
비디오 플레이어 컴포넌트 전체코드
import { useEffect, useRef } from 'react';
import videojs from 'video.js';
import 'video.js/dist/video-js.css';

export const VideoComponent = ({ options, onReady, setVideoState }) => {
  const videoRef = useRef(null);
  const playerRef = useRef(null);

  useEffect(() => {
    // Make sure Video.js player is only initialized once
    // 비디오 플레이어가 오직 한 번만 초기화 됨을 선언한다.
    if (!playerRef.current) {
      // The Video.js player needs to be _inside_ the component el for React 18 Strict Mode.
      const videoElement = document.createElement('video-js');

      videoElement.classList.add('vjs-big-play-centered');
      videoRef.current.appendChild(videoElement);

      const player = (playerRef.current = videojs(videoElement, options, () => {
        videojs.log('player is ready');
        setVideoState('동영상 재생이 준비되었습니다.');
        onReady && onReady(player);
      }));

      // You could update an existing player in the `else` block here
      // on prop change, for example:
    } else {
      const player = playerRef.current;

      player.autoplay(options.autoplay);
      player.src(options.sources);
    }
  }, []);

  // Dispose the Video.js player when the functional component unmounts
  // 컴포넌트 언마운트 시 플레이어 삭제
  useEffect(() => {
    const player = playerRef.current;

    return () => {
      if (player && !player.isDisposed()) {
        player.dispose();
        playerRef.current = null;
      }
    };
  }, [playerRef]);

  return (
    <div data-vjs-player>
      <div ref={videoRef} />
    </div>
  );
};

export default VideoComponent;
페이지에서 컴포넌트 사용
이제 위에서 만든 영상 컴포넌트를 페이지에서 직접 렌더링해보자.
그 이전에, 비디오 플레이어의 옵션을 설정해준다.
const videoOptions = {
    autoplay: true,
    controls: true,
    responsive: true,
    fluid: true,
    sources: [
      {
        src: 'http://vjs.zencdn.net/v/oceans.mp4',
        type: 'video/mp4',
      },
    ],
  };
위 객체에서 확인할 수 있는 것처럼, video.js는 영상 플레이어의 옵션과 파일 경로를 설정할 수 있다. 수많은 옵션이 존재한다. 아래 링크를 참고하자. 나는 비디오 크기를 브라우저 크기에 맞춰지도록 fluid 속성을 이용하였다. 비디오 플레이어를 담고 담고 있는 container에 플레이어 크기를 맞출 수 있는 속성이다.
https://videojs.com/guides/options/#videojs-specific-options
그리고 사용자가 플레이어를 컨트롤할 때 발생시킬 이벤트를 지정할 수 있다.
const handlePlayerReady = (player) => {
playerRef.current = player;
// You can handle player events here, for example:
player.on('waiting', () => {
videojs.log('player is waiting');
setVideoState('동영상이 대기 중입니다.');
});
player.on('playing', () => {
videojs.log('player is going now');
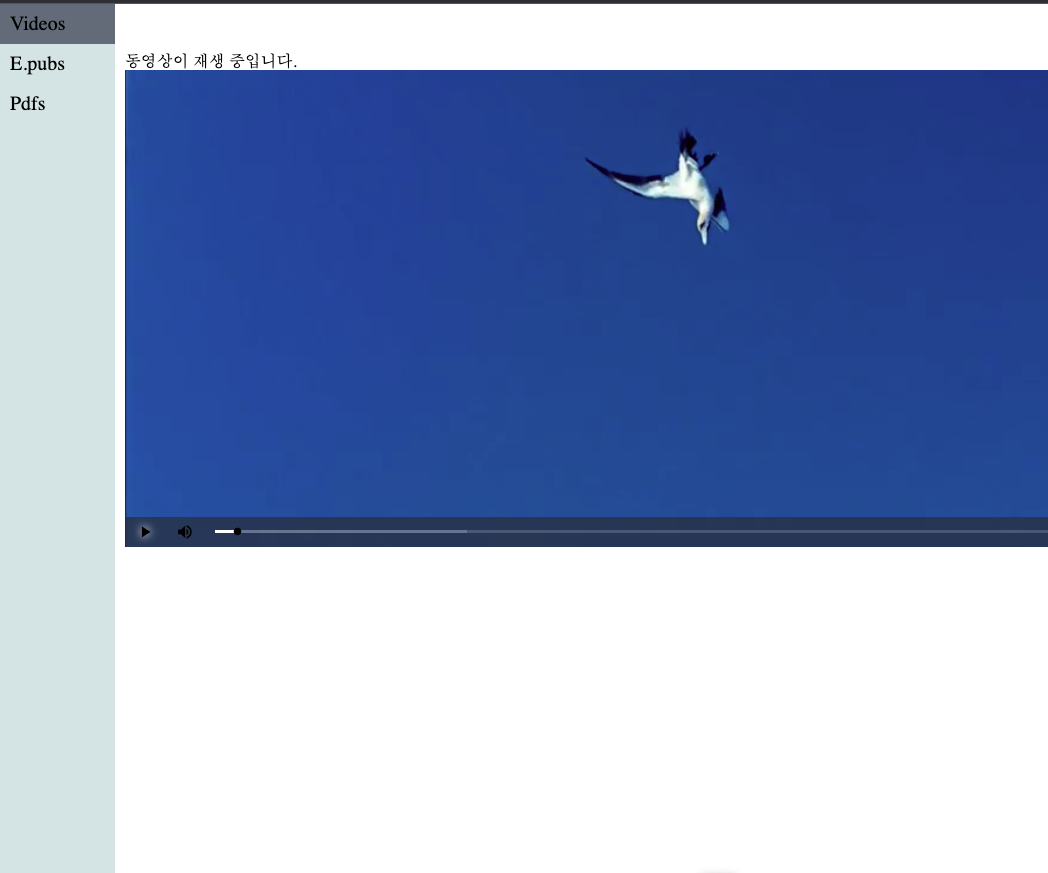
setVideoState('동영상이 재생 중입니다.');
});
player.on('dispose', () => {
videojs.log('player will dispose');
});
};마지막으로, 컴포넌트를 아래구문처럼 작성하여 페이지에 렌더링하자.
  return (
    <ContentsLayout>
      <div>{videoState}</div>
      <Style.VideoPlayerBox>
        <VideoComponent
          options={videoOptions}
          onReady={handlePlayerReady}
          videoState={videoState}
          setVideoState={setVideoState}
        />
      </Style.VideoPlayerBox>
    </ContentsLayout>
  );
영상 플레이어의 옵션 정보들을 담은 options, 사용자가 플레이어를 조작할 때 발생시킬 이벤트 내용을 담은 함수를 onReady에 담았고, 영상 컴포넌트에 props로 넘겨준 것을 확인할 수 있다.
페이지 전체 코드
import { useRef } from 'react';
import videojs from 'video.js';
import VideoComponent from '../components/videoComponent/videoComponent';
import ContentsLayout from '../UI/contentsLayout';
import Style from '../components/videoComponent/videoComponent.style';
import { useState } from 'react';

const VideosPage = () => {
  const [videoState, setVideoState] = useState('초기 메세지');
  const playerRef = useRef(null);

  const videoOptions = {
    autoplay: true,
    controls: true,
    responsive: true,
    fluid: true,
    sources: [
      {
        src: 'http://vjs.zencdn.net/v/oceans.mp4',
        type: 'video/mp4',
      },
    ],
  };

  const handlePlayerReady = (player) => {
    playerRef.current = player;

    // You can handle player events here, for example:
    player.on('waiting', () => {
      videojs.log('player is waiting');
      setVideoState('동영상이 대기 중입니다.');
    });

    player.on('playing', () => {
      videojs.log('player is going now');
      setVideoState('동영상이 재생 중입니다.');
    });

    player.on('dispose', () => {
      videojs.log('player will dispose');
    });
  };

  return (
    <ContentsLayout>
      <div>{videoState}</div>
      <Style.VideoPlayerBox>
        <VideoComponent
          options={videoOptions}
          onReady={handlePlayerReady}
          videoState={videoState}
          setVideoState={setVideoState}
        />
      </Style.VideoPlayerBox>
    </ContentsLayout>
  );
};

export default VideosPage;
후기
- JS 생태계는 내가 생각했던 것보다 훨씬 넓었다. 예전에 three.js를 이용하여 3D 모델링을 할 수 있다는 것만으로도 놀랐었는데, 영상 플레이어를 웹상에서 직접 만들고 스타일링 하는 라이브러리가 존재한다는 것이 정말 놀라웠다.
- 사용하면서 개발자를 많이 생각하는 라이브러리라는 생각이 들었다. 라이버리에 포함된 수많은 기능들이 개발자가 개발할 수 있는 경우의 수를 다양하게 고려하기 위해 만들어졌다는 생각이 들었고, 이 라이브러리가 만들어진 것에 감사하는 마음이다. :)