Electron + Typescript
ElectronJS HelloWorld 수준부터 정리해보려고 합니다.
첫 프로젝트의 템플릿 구성을 해보려고 합니다.
간단히 Typescript로 Electron 프로젝트를 어떻게 개발할 지 적용해보겠습니다.
개발환경 세팅
1. Install VisualStudio Code
2. Install NodeJS LTS
프로젝트 구성
$ mkdir electron-template
$ cd electron-template
$ npm init -y
$ npm i -D electron electron-builder
Electron Application 을 Production으로 패키징하고 build할 수 있는 많은 community tool들이 존재합니다. 저는 electron-builder를 사용할 예정입니다.
Electron-builder 문서에 따르면
A Complete solution to package and build a ready for distribution - Electron App for macOS, Windows, and Linux with auto update support out of the box.
package.json
여기까지 진행해보시면 package.json 파일이 생성되있을 것입니다.
// package.json
{
 "name": "eletron-template",
 "version": "1.0.0",
 "description": "",
 "main": "index.js",
 "scripts": {
 "test": "echo \"Error: no test specified\" && exit 1"
 },
 "keywords": [],
 "author": "",
 "license": "ISC",
 "devDependencies": {
    "electron": "^9.2.1",
    "electron-builder": "^22.8.0"
 },
}
index.js
ElectronJS의 entry point인 index.js를 가장 기초적인 Electron Tempalte 작성해보겠습니다.
// 1. import electron objects
const { app, BrowserWindow } = require('electron');

// 2. reserve a reference to window object
let window;

// 3. wait untill application stated
app.on('ready', () => {
	// 4. create a new window
    window = new BrowserWindow({
    	width: 800,
        height: 600,
        webPreferences: {
        	nodeIntegration: true
            }
       	});
   // 5. load window content
   window.loadFile('index.html');
});
항상 코드를 작성해보고 코드를 분석해봐야합니다.
app, BrowserWindow가 어떤 책임들을 가진 object들인지 공식 Doc을 확인해보면

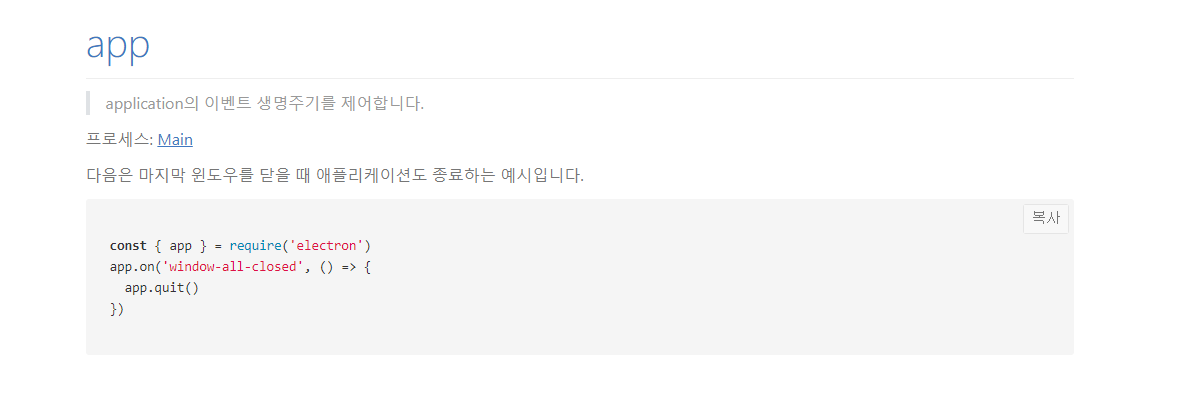
app module은 electron 어플리케이션의 전체적인 Life cycle을 제어하는 모듈인 것을 확인가능하겠네요. 이점을 기억해서 나중에 어플리케이션이 어떤 이벤트들을 지원하는지 공부를 해봐야겠네요.(윈도우 resize, reload등이 있을 수 있겠죠?)
index.html
자 이제 index.js에서 window.loadFile('index.html'); 코드를 통해 Main Entry View를 구성하는 간단한 index.html를 작성해보겠습니다.
<!DOCTYPE html>
 <html lang="en">
 <head>
 <meta charset="UTF-8" />
 <meta name="viewport" content="width=device-width,
 initial-scale=1.0" />
 <meta
 http-equiv="Content-Security-Policy"
 content="script-src 'self' 'unsafe-inline';"
 />
 <title>Document</title>
 </head>
 <body>
   Hello World!!
 </body>
 </html>
가장 간단한 electron app 작성이 끝났습니다. 이제 마지막으로 package.json 에 start script를 작성하고 실행하면 끝입니다.
//package.json

{
...
   "scripts": {
	   "start" : "electron ."
   }
}
사실 여기까지는 그냥 공식 홈페이지 tutorial 이었고 이제부터 저만의 프로젝트 템프릿을 구성해보겠습니다.
앞으로 Typescript기반으로 ReactJS을 사용할 예정이기때문에 electron 관련 코드도 같이 마춰줍시다. CommonJS 기반에서 ES import로 변경하고 싶기도하구요.
Typescript
npm i -D typescript
tsc init
타입스크립트를 설치하고 tsc init 을 통해 tsconfig.json 를 생성해줍시다.
그리고 다른 설정값은 다 내버두고 하나의 값만 수정해줍시다.
{
	...
	"outDir" : "./build"
}
tanspiling 결과를 build에 모아둡시다.
//tsconfig.json
{
	"target": "es5",
    "module": "commonjs",
    "outDir": "./build",
    "strict": true,
    "esModuleInterop": true,
    "forceConsistentCasingInFileNames": true
}
tsconfig.json의 최종상태는 이렇습니다. 필요하다면 추후에 설정을 추가하겠습니다.
자 이제 Electron 코드를 Typescript로 변경하기전에 package.json의 start script를 변경합시다.
그전에 두가지 library를 설치해줍시다.
npm i -D copyfiles cross-env
개발 운영체제마다 copy나 환경변수 설정 커맨드가 다르기때문에 통합해주는 라이브러리들입니다.
copyfiles => file copy for cross platform
cross-env => setting environment variable for cross platform
// tsconfig.json
{
	"main": "build/index.js",

    ...

	"scripts" : {
    	"compile": "tsc && copyfiles -f index.html build",
		"start": "npm run compile && cross-env DEBUG=true electron .",
	}
}
index.js => index.ts
// index.ts
import { app, BrowserWindow } from "electron"; // ES import

let window;

app.on("ready", () => {
  window = new BrowserWindow({
    width: 800,
    height: 600,
    webPreferences: {
      nodeIntegration: true,
    },
  });
  window.loadFile("index.html");
});
네 이정도면 어느정도 기본 템플릿은 정리가 됐네요.
앞으로 ReactJS도 덫붙여가면서 만들어가봐야겠네요.