문제 상황
class ImageUploadControllerTest extends BaseControllerUnitTest {
@MockitoBean
private FileService fileService;
@Test
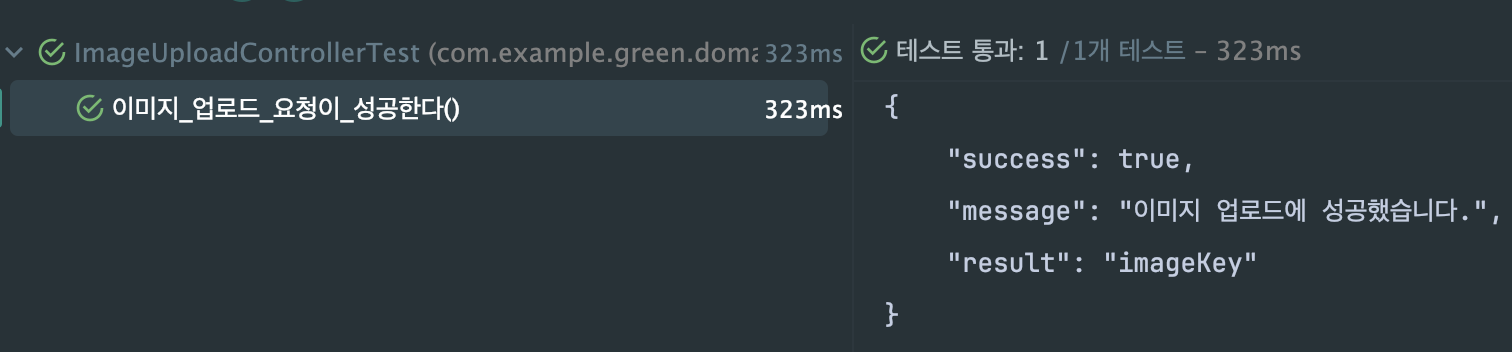
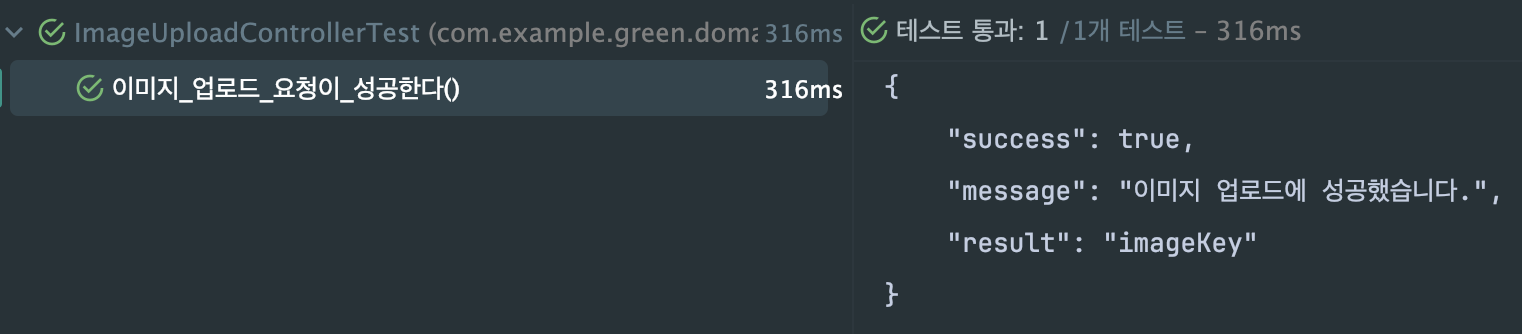
void 이미지_업로드_요청이_성공한다() {
// given
String imageKey = "imageKey";
String filename = "filename.jpg";
byte[] bytes = "test image content".getBytes();
String contentType = "image/jpeg";
String purpose = "CHALLENGE";
when(fileService.uploadImage(any(MultipartFile.class), any(Purpose.class))).thenReturn(imageKey);
// when
ApiTemplate<String> response = ImageUploadRequest.upload(filename, bytes, contentType, purpose);
// then
assertThat(response.message()).isEqualTo(IMAGE_UPLOAD_SUCCESS.getMessage());
assertThat(response.result()).isEqualTo(imageKey);
}
}@WebMvcTest로 단위 테스트가 성공하던 상황에서 팀원이 Security를 추가한 순간 기존 테스트가 실패했습니다. 테스트 결과:
403 Forbidden
X-Content-Type-Options: nosniff
X-XSS-Protection: 0
Cache-Control: no-cache, no-store, max-age=0, must-revalidate
Pragma: no-cache
Expires: 0
X-Frame-Options: DENY

java.lang.AssertionError: 1 expectation failed.
Expected status code <200> but was <403>.
403 forbidden은 요청 거부입니다. 왜 이런 결과가 발생했는지 한 번 분석해보고 성공하는 테스트로 수정하며 문제를 해결해봤습니다.
문제 해결
기존의 경험으로 해결
사실 이전 프로젝트에서도 같은 문제를 마주한 적이 있어, 금방 해결할 줄 알았습니다. @WebMvcTest는 Security 자동 구성을 사용하기 때문에 단순히 SecurityConfig 설정만 추가하면 될 줄 알았습니다.
@WebMvcTest
@import(WebSecurityConfig.class)
public class BaseControllerUnitTest {

	@BeforeEach
	void setUp(WebApplicationContext webApplicationContext) {
		RestAssuredMockMvc.webAppContextSetup(webApplicationContext);
	}
}
결과는 테스트 성공! 하지만, 진짜 문제는 다음부터 발생했습니다.
	@PreAuthorize("permitAll()")
	@PostMapping(consumes = MediaType.MULTIPART_FORM_DATA_VALUE)
	public ApiTemplate<String> upload(
		@Valid @RequestParam MultipartFile imageFile,
		@Valid @RequestParam Purpose purpose
	) {
		String result = fileService.uploadImage(imageFile, purpose);
		return ApiTemplate.ok(ImageResponseMessage.IMAGE_UPLOAD_SUCCESS, result);
	}
팀원 간 각 개발하는 모듈이 Security 설정에 의존하고 싶지 않아서 MethodSecurity를 활성화 했습니다! 그런데 바로 테스트가 실패했습니다.
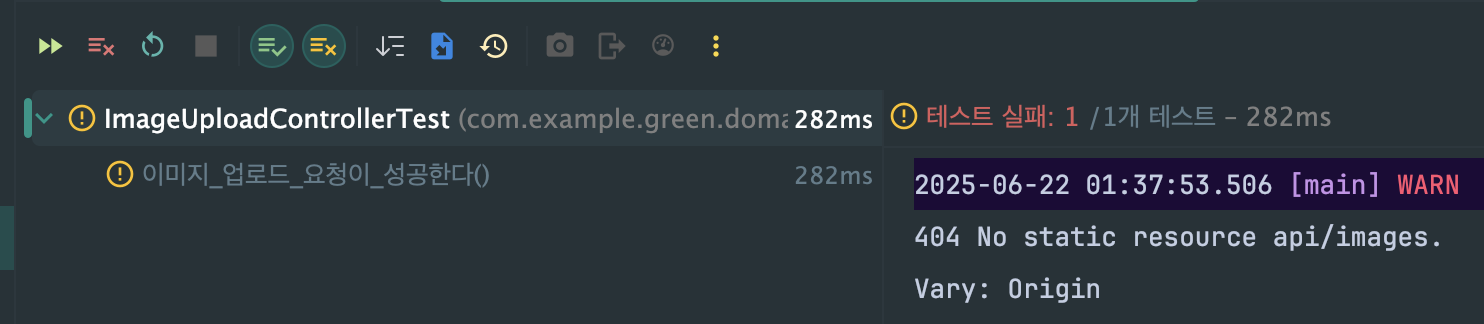
이번에는 Endpoint를 찾지 못하는 문제로 404 에러가 발생했습니다.
처음 마주하는 문제였습니다.. 도대체 왜 안될까..?
새로운 문제를 발견
PreAuthorize 어노테이션을 추가하니 안되는 이유..?
분명 @WebMvcTest는 Security 자동 구성을 제공하는 것으로 알고 있었습니다. 그래서 공식 문서를 찾아봤는데, 제 생각이 맞았습니다. 역시나 Security 자동구성을 제공하고 있었고, 그럼에도 불구하고 테스트에서 PreAuthorize 처리가 안되고있습니다..
이번에는 직접 bean들을 로드해서 PreAuthorize 관련 설정 bean이 등록됐는지 확인해보기로 했습니다.
	@Autowired
	WebApplicationContext webApplicationContext;

	@Test
	void 현재_로딩된_빈들_확인() {
		Arrays.stream(webApplicationContext.getBeanDefinitionNames())
			.filter(name -> name.toLowerCase().contains("method"))
			.forEach(System.out::println);
	}

    /* 결과
    *_prePostMethodSecurityConfiguration
    *preFilterAuthorizationMethodInterceptor
    *preAuthorizeAuthorizationMethodInterceptor
    *postAuthorizeAuthorizationMethodInterceptor
    *postFilterAuthorizationMethodInterceptor
    org.springframework.security.config.annotation.method.configuration.AuthorizationProxyConfiguration
    authorizeReturnObjectMethodInterceptor
    org.springframework.security.config.annotation.method.configuration.MethodObservationConfiguration
    methodAuthorizationManagerPostProcessor
    methodResultAuthorizationManagerPostProcessor
    org.springframework.boot.context.properties.EnableConfigurationPropertiesRegistrar.methodValidationExcludeFilter
    methodValidationPostProcessor
    */
확인 결과 PreAuthorize 관련 빈이 다양하게 등록되어있는 것을 확인 할 수 있었습니다. (*로 표시)
🤫 빈도 다 있고, 그럼 도대체 왜 테스트가 실패하는거지?
PreAuthorize 관련 Bean으로 AOP 기술인 Interceptor 들이 다수 등록 된 것을 확인할 수 있습니다. 그래서 AOP Proxy를 분석해보기로 했습니다.
	@Test
	void AOP_프록시_상세_분석() {
		Object controller = webApplicationContext.getBean("imageUploadController");
		System.out.println("=== Controller 분석 ===");
		System.out.println("Controller 실제 클래스: " + controller.getClass().getName());
		System.out.println("AOP 프록시 여부: " + AopUtils.isAopProxy(controller));
		System.out.println("CGLIB 프록시: " + AopUtils.isCglibProxy(controller));
    }

    /* 결과
    === Controller 분석 ===
    Controller 실제 클래스: jdk.proxy2.$Proxy166
    AOP 프록시 여부: true
    CGLIB 프록시: false
    */
생각한 것보다 되게 간단한 문제였네요..
@RequiredArgsConstructor
@RestController
@RequestMapping("/api/images")
public class ImageUploadController implements ImageUploadControllerDocs {

	private final FileService fileService;

	@PreAuthorize("permitAll()")
	@PostMapping(consumes = MediaType.MULTIPART_FORM_DATA_VALUE)
	public ApiTemplate<String> upload(
		@Valid @RequestParam MultipartFile imageFile,
		@Valid @RequestParam Purpose purpose
	) {
		String result = fileService.uploadImage(imageFile, purpose);
		return ApiTemplate.ok(ImageResponseMessage.IMAGE_UPLOAD_SUCCESS, result);
	}
}

@Tag(name = "이미지 API", description = "이미지 관련 API 목록입니다.")
public interface ImageUploadControllerDocs {

	@Operation(summary = "이미지 업로드", description = "이미지를 업로드 합니다.")
	@ApiResponse(responseCode = "200", description = "이미지 업로드에 성공했습니다.")
	@ApiResponse(
		responseCode = "500",
		description = "이미지 파일 추출에 실패했습니다.",
		content = @Content(schema = @Schema(implementation = ExceptionResponse.class))
	)
	@ApiResponse(
		responseCode = "502",
		description = "이미지 업로드에 실패했습니다.",
		content = @Content(schema = @Schema(implementation = ExceptionResponse.class))
	)
	ApiTemplate<String> upload(MultipartFile imageFile, Purpose purpose);
}
저희는 Swagger로 문서화를 하기 때문에 Docs Interface를 구현하고 있는 것이 문제 였습니다. WebLayer만 테스트 하기 때문에 interface로 인해서 GCLIB Proxy가 아닌 Jdk Proxy가 선택되고 있었습니다.
그럼, JDK Proxy로 인해 interface에서 정보를 찾을테고 postMapping 어노테이션 정보가 없기 때문에 404 NotFound가 발생하는 것입니다.
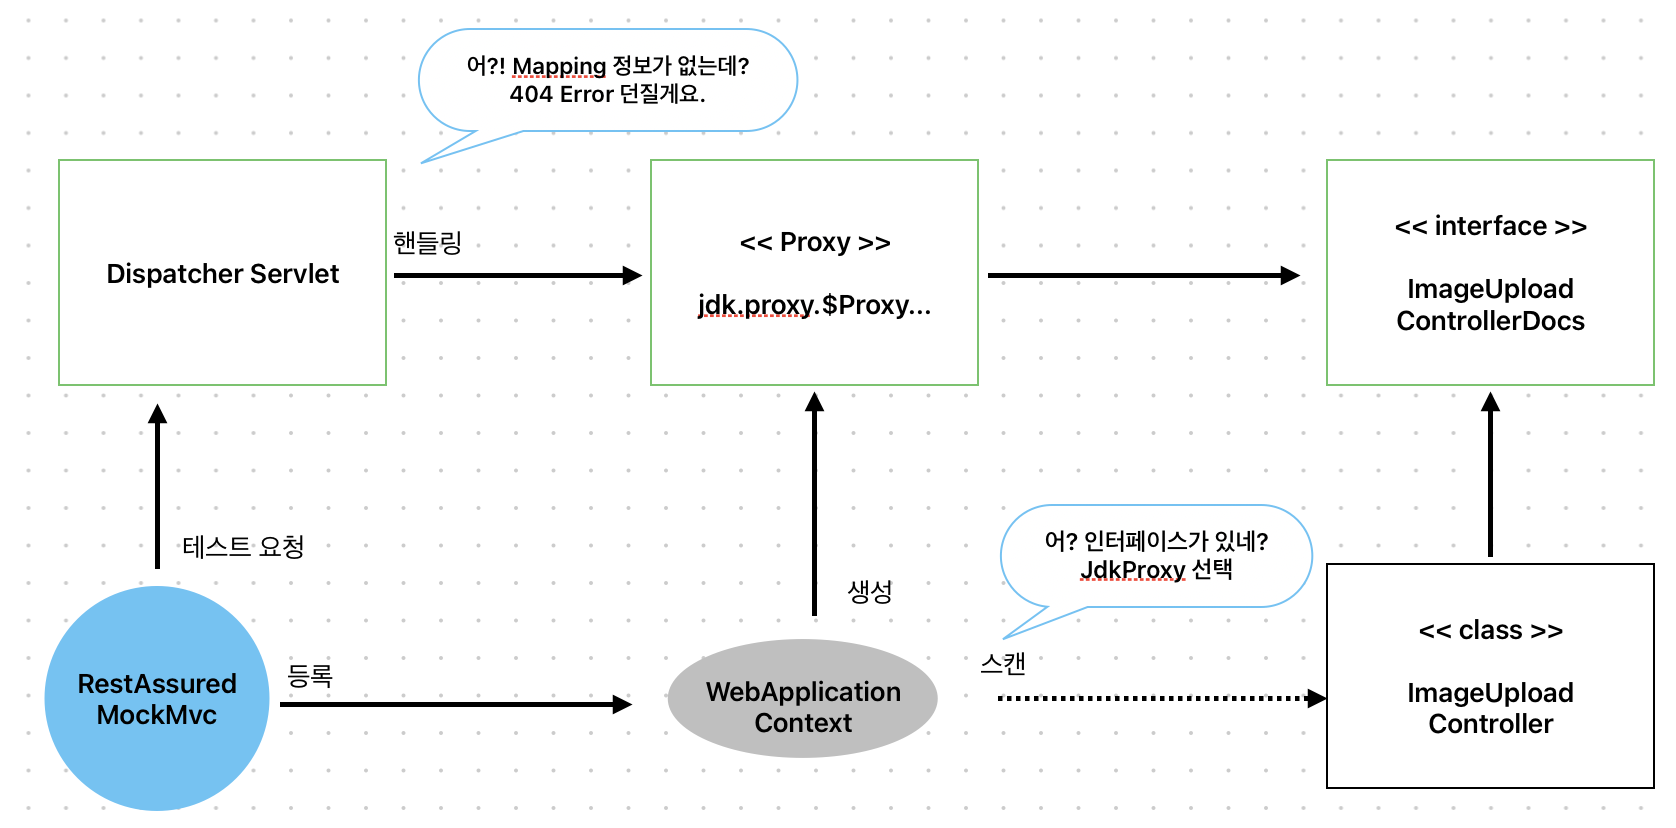
처리되는 구조에 대해 아키텍처를 간단히 작성해봤습니다. 실제로는 더 복잡합니다.
그림과 같이, WebApplicationContext가 웹 관련 빈들을 먼저 불러옵니다.
그리고 Proxy를 생성해냅니다. 이 때 우리는 Docs 때문에 Jdk Proxy가 선택됩니다.
다음으로 테스트 요청을 할 때, 디스패처 서블릿이 요청 처리를 위해 핸들링할텐데 jdk proxy에는 매핑 정보가 없으니 404 에러가 발생합니다.
그럼 원인을 알았으니, 다양한 해결 방법이 떠오르게 됩니다.
다양한 해결 방법
해결 방법 1. interface에 어노테이션을 추가한다.
우선, 근본적으로 JDKProxy를 사용한다는 것을 알았으니 interface에서 어노테이션 정보를 추출할 수 있도록 추가합니다.
@RequestMapping("/api/images")
@RestController
public interface ImageUploadControllerDocs {

	@PreAuthorize("permitAll()")
	@PostMapping(consumes = MediaType.MULTIPART_FORM_DATA_VALUE)
	ApiTemplate<String> upload(MultipartFile imageFile, Purpose purpose);
}
코드가 길어져서 스웨거 문서 정보는 제거 했습니다.
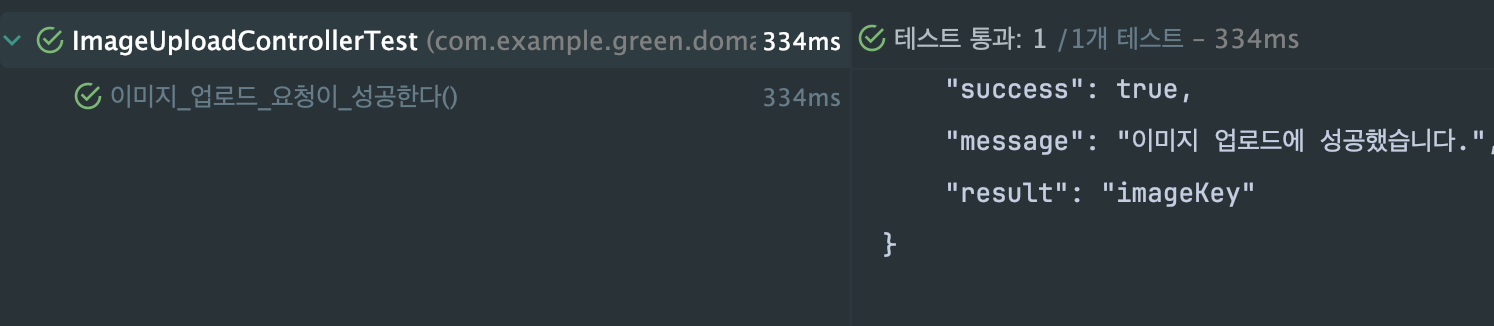
성공했습니다.
주석이니만큼 Docs라는 Interface에 위치하는 것도 나쁘지 않아보입니다.
해결 방법 2. interface 제거
@RequiredArgsConstructor
@RestController
@RequestMapping("/api/images")
public class ImageUploadController {
interface를 제거하면서 자연스럽게 GCLIB Proxy가 선택됩니다.
마찬가지로 잘 성공합니다. 하지만, Swagger를 사용하니만큼 좋은 해결법은 아닌 것 같습니다.
해결 방법 3. GCLIB 강제 활성화
@WebMvcTest
@Import(WebSecurityConfig.class)
@EnableAspectJAutoProxy(proxyTargetClass = true)
public class BaseControllerUnitTest {
@EnableAspectJAutoProxy 어노테이션으로 GCLIB Proxy를 강제로 활성화해줍니다.
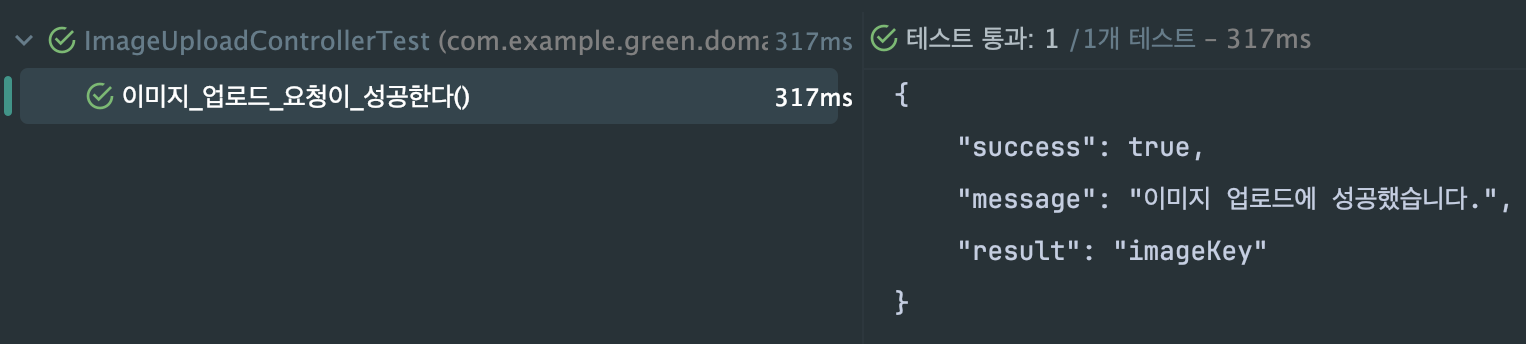
마찬가지로 잘 됩니다.
해결 방법 4. Test Security Configuration
@WebMvcTest
@Import(BaseControllerUnitTest.TestWebSecurityConfig.class)
public class BaseControllerUnitTest {

	@BeforeEach
	void setUp(WebApplicationContext webApplicationContext) {
		RestAssuredMockMvc.webAppContextSetup(webApplicationContext);
	}

	@Configuration
	static class TestWebSecurityConfig {
		@Bean
		@Primary
		public SecurityFilterChain testSecurityFilterChain(HttpSecurity http) throws Exception {
			return http
				.authorizeHttpRequests(auth -> auth.anyRequest().permitAll())
				.csrf(AbstractHttpConfigurer::disable)
				.build();
		}
	}
}
Security 자동 구성의 필수인 FilterChain만 모두 허용하는 방식으로 사용합니다. 그럼 MethodSecurity 정보는 처리할 필요도 없게 됩니다.
마찬가지로 잘 됩니다!
해결 방법 5. 완전히 Spring 의존성을 제거
@WebMvcTest(excludeAutoConfiguration = {
	SecurityAutoConfiguration.class,
	// ... 더
})
public class BaseControllerUnitTest {
WebMvcTest에서 자동 구성 정보에 Security 관련된 것들을 모두 제거 할 수 있습니다. 하지만, 무엇들을 위주로 제거해야 될 지.. 위에서 보면 알 수 있듯 methodSecurity bean만 해도 너무 많아서 복잡합니다.
마치며
이번 경험을 통해 @WebMvcTest와 Method Security의 복잡한 상호작용에 대해 깊이 이해하게 되었습니다.
핵심 학습 포인트
- Spring AOP 프록시 선택 규칙: 인터페이스 존재 시 JDK 프록시, 없으면 CGLIB 프록시
- JDK 프록시의 한계: 인터페이스 기반으로 인해 구현체의 애노테이션 정보 손실 가능
- @WebMvcTest의 제약사항: 제한적 Context로 인한 AOP와 RequestMapping 스캔 순서 문제
실무 적용 관점
최종적으로 정리된 해결 방법은 상황에 따라 장단점이 있습니다.
- 방법 1 (Interface 애노테이션): API 명세와 문서화 일체화
- 방법 3 (CGLIB 강제): 기존 구조 유지하며 프록시 방식만 변경
- 방법 4 (TestSecurityConfig): 단위 테스트 순수성 보장
팀의 문서화 정책, 테스트 철학, 그리고 유지보수성을 고려하여 최적의 방법을 선택하는 것이 중요할 것 같습니다.
무엇보다 이런 "예상치 못한 문제"들이 Spring의 내부 동작을 깊이 이해하는 좋은 기회가 된다는 점에서 의미 있는 경험이었습니다.