현재까지 사이드 프로젝트를 만들면서 두 가지의 애니메이션을 구현했었는데, 조금 더 라이브러리에 맞게 써보고자 고쳐보고 싶은 마음이 있었다.
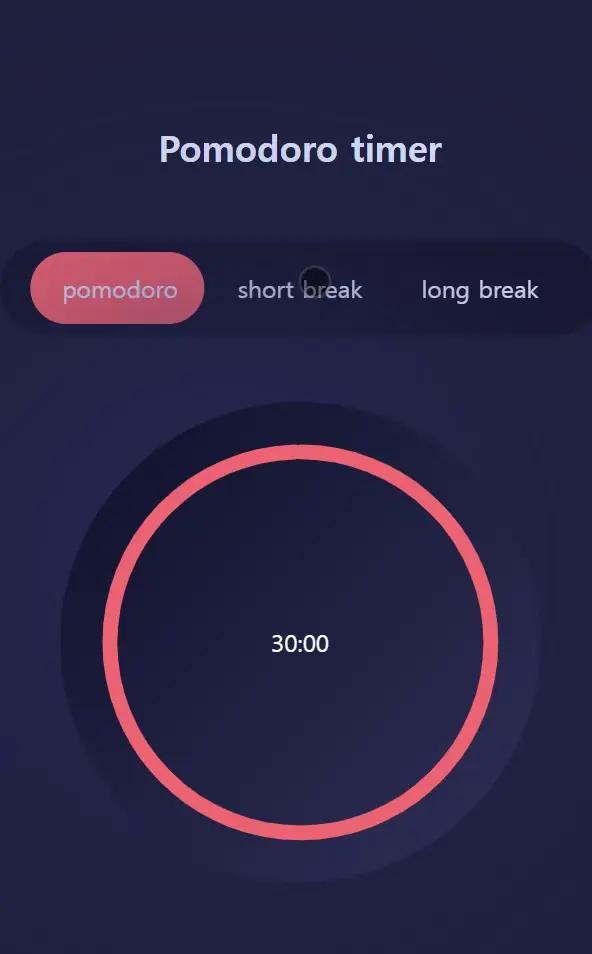
탭 애니메이션
탭 쪽의 코드는 다음과 같다.
const MotionTimerHighlight = motion(StyledTimerHighlight); // motion. 을 적용하기 위한 wrapper

const Timer: FC = () => {
  const itemRefs: MutableRefObject<Set<HTMLDivElement>> = useRef(new Set()); // 탭을 모두 ref로 묶어서 사용하게 해준다.
  const {
    tab: { set, get },
  } = usePomodoro(["tab"]);

  const [highlightX, setHighlightX] = useState(TAB_LEFT_X); // 애니메이션의 이동 좌표

  const onClick = useCallback(
    (e: MouseEvent, selectedTitle: SelectedTabType) => {
      const currentTarget = e?.currentTarget as HTMLButtonElement;
      const container = currentTarget.closest(".tab-item") as HTMLDivElement;
      if (e?.currentTarget && itemRefs.current.has(container)) {
        const found = getFromSet(
          itemRefs.current,
          (ele) => ele.textContent === currentTarget.textContent,
        ); // tab 클릭 이벤트로 어떤 탭이 클릭되었는지 확인
        if (!found) {
          throw new Error("must be element");
        }

        const newX =
          found.textContent === "pomodoro"
            ? TAB_LEFT_X // 105%
            : // eslint-disable-next-line unicorn/no-nested-ternary
              found.textContent === "short break"
              ? TAB_CENTER_X // 0%
              : TAB_RIGHT_X; // -105%
        // 새 x 좌표를 설정해서 애니메이션이 실행될수 있도록 변경한다.
        setHighlightX(newX);
        set(findTab(selectedTitle));
      }
    },
    [set],
  );

...

        <MotionTimerHighlight
          className="tab-highlight"
          animate={{ x: `${highlightX}%` }}
          transition={{ duration: 0.3, ease: "easeInOut" }}
        />
        // 실제 tab에 absolute로 덧씌워져 애니메이션 props를 받는 motion.div
너무 코드가 많아 보이는지? 그렇다면 더욱 라이브러리에 맞는 코드를 써볼 수 있겠다.
1. layout animation
https://www.framer.com/motion/layout-animations/
Framer motion의 layout animations 에서는 이렇게 설명한다.
CSS layouts are difficult and expensive to animate.

Animating a style like height between 100px and 500px is conceptually straightforward, but suffers from poor performance because we're triggering the browser layout systems every animation frame.

Sometimes it doesn't even make sense. What does it actually mean to animate justify-content between flex-start and flex-end?

Framer Motion can animate between any CSS layout by using performant transforms instead of the layout system.

For example, this component is animated by switching justify-content between flex-start and flex-end.
css의 layout 기능을 사용하는 것은 어렵고, 퍼포먼스도 좋지 않다.
어떤 엘리먼트의 높이를 100 에서 500픽셀로 바꾸는 것은 직관적이지만, 브라우저의 레이아웃 과정이 프레임마다 불리기 때문에 퍼포먼스적으로 좋지 않다.
때로는 개념 자체도 헷갈릴 때가 있다. justify-content 값을 flex-start와 end로 바꾸는 애니메이션이 무슨 뜻일까?
이 부분에서 Framer Motion이 CSS 레이아웃 대신 더 좋은 퍼포먼스로 사용할 수 있게 해준다.
위에서 설명한데로 flex-start와 flex-end 값을 바꾸어주는 것이 해당된다.
2. Shared layout animations magic
위 탭 애니메이션의 경우, magic은 이런 형태로 만들어진다.
isSelected && <motion.div layoutId="underline" />
탭의 선택 값이 바뀌는 경우, layoutId를 넣어준다면 prev 앨리먼트가 new로 바뀌는 과정에서 자동으로 animate 된다고 하는데...
...
    {isSelected && (
      <motion.div className="tab-highlight" layoutId="active-highlight" />
    )}
위의 잡다한 코드들 대신, highlight 역할을 할 div 하나를 넣어주는 것만으로 위의 이펙트가 구현된다!
물론, 여기서 더 애니메이션이 복잡해진다면 위처럼 직접 구현하는 것이 더 좋을 수도 있다. 하지만 라이브러리를 쓰는 주 목적은 결국 라이브러리가 제공하는 기능을 사용해서 로직을 분리하는 것이기 때문에, 여기서 제공되는 기능이 더 복잡해지지 않는다면, 충분히 이것만으로 괜찮다고 생각한다.