Rocky Linux 9 : RHEL(Red Hat Enterprise Linux)의 소스 코드를 기반으로 한 무료 오픈 소스 엔터프라이즈 운영체제 배포판이다.
주로 서버용으로 많이 사용한다고 한다.
RHEL 계열 리눅스에서 네트워크를 설정하고 제어하는 방법에는 대표적으로 network-scripts를 이용하는 방법과 NetworkManager를 이용하는 방법 이렇게 두가지이다.
알아보니까, RHEL 계열 8 시리즈에서는 특수한 경우를 제외하곤 NetworkManager만을 이용하여 네트워크 설정과 제어를 합니다.
팀장님게서 network-scripts는 옛날 방식이라고 말씀하셨다.
또한 더알아보니, RHEL 계열 9 시리즈에서부터는 network-scripts가 완전히 퇴출되었다고 합니다.
앞으로 NetworkManager만을 이용하여 네트워크 설정과 제어를 합시다.
📌 network-scripts : /etc/sysconfig/network-scripts에 네트워크 설정 파일들이 있다.
📌 NetworkManager : /etc/NetworkManager에 네트워크 설정 파일들이 있다.
📌 RHEL 계열 8 시리즈 까지는 /etc/sysconfig/network-scripts의 설정 파일들을 수정한 후 NetworkManager에서 reload하여 네트워크 설정을 적용하는 것이 가능하다.
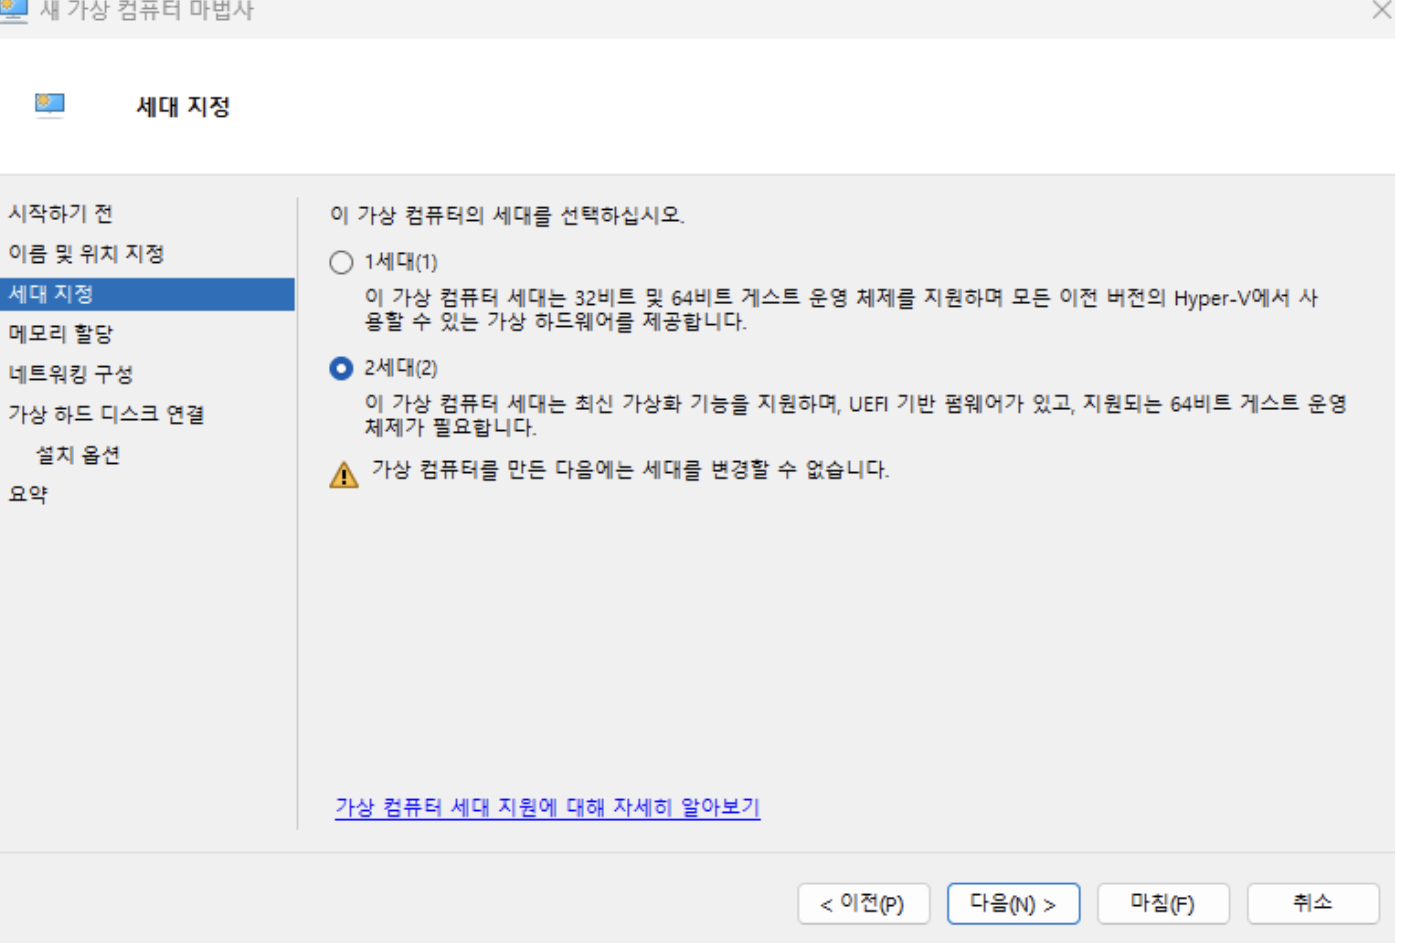
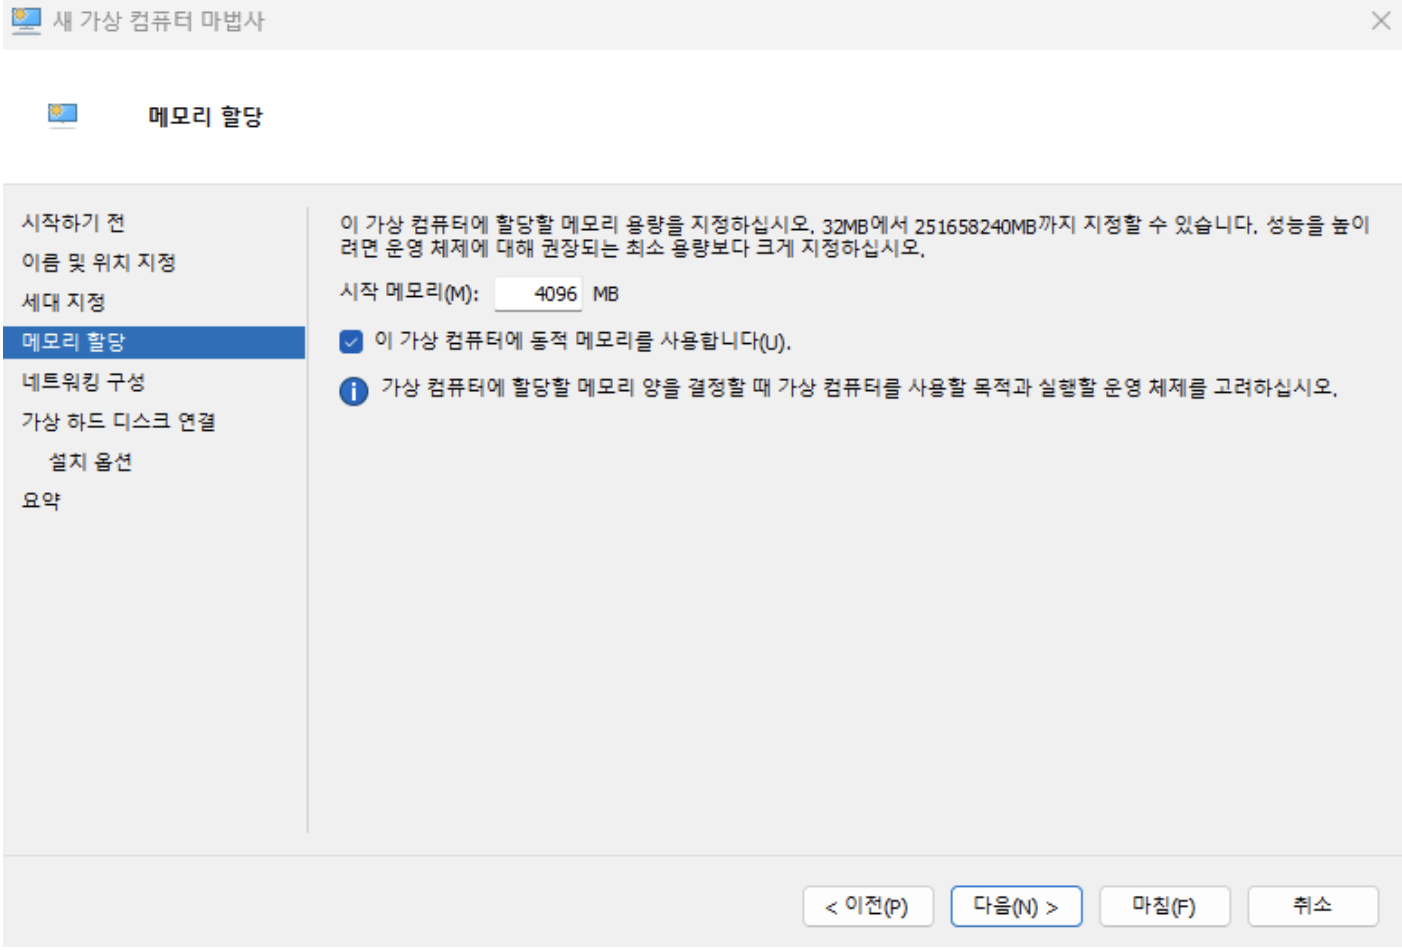
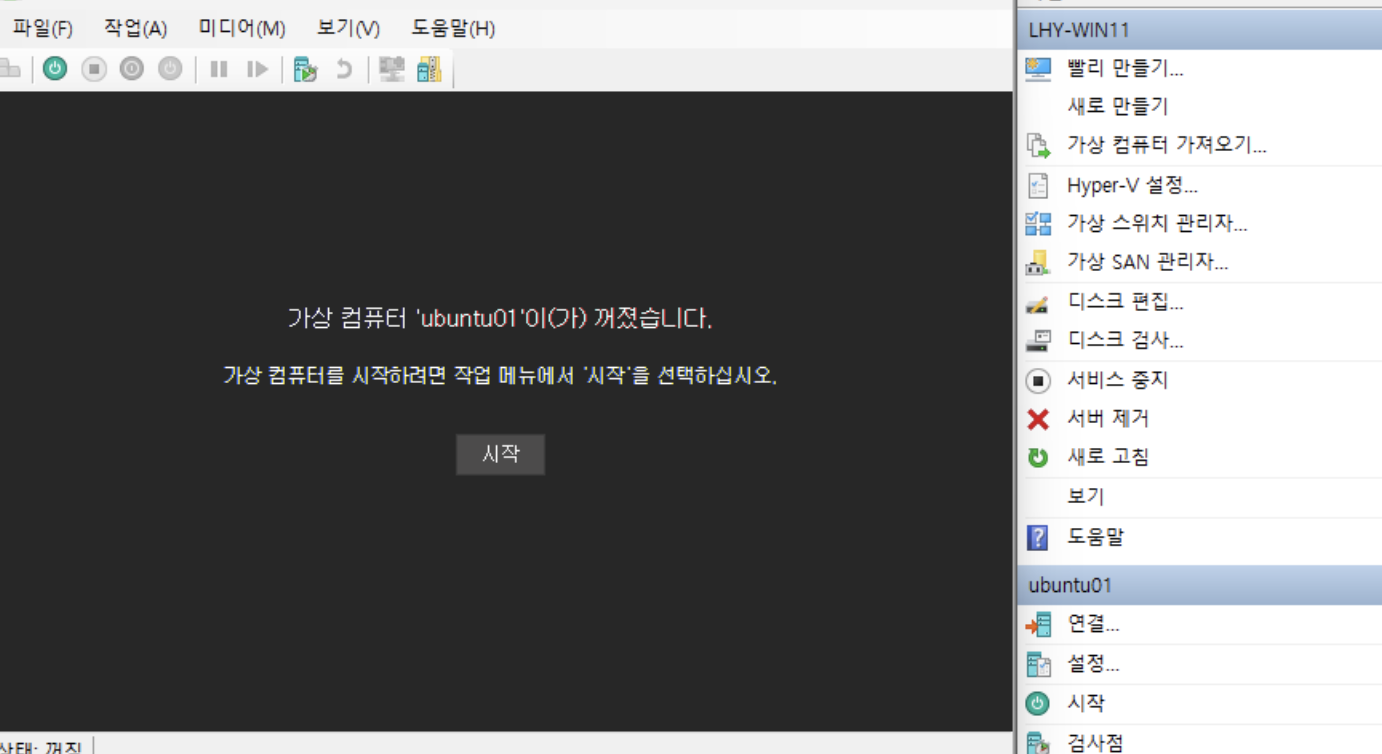
가상 컴퓨터 생성
Hyper-V 관리자 -> 새로 만들기 - 가상 컴퓨터
이름 : vectordb
- 가상환경을 다른 위치에 저장 체크
-
네트워킹 구성: Externel
-
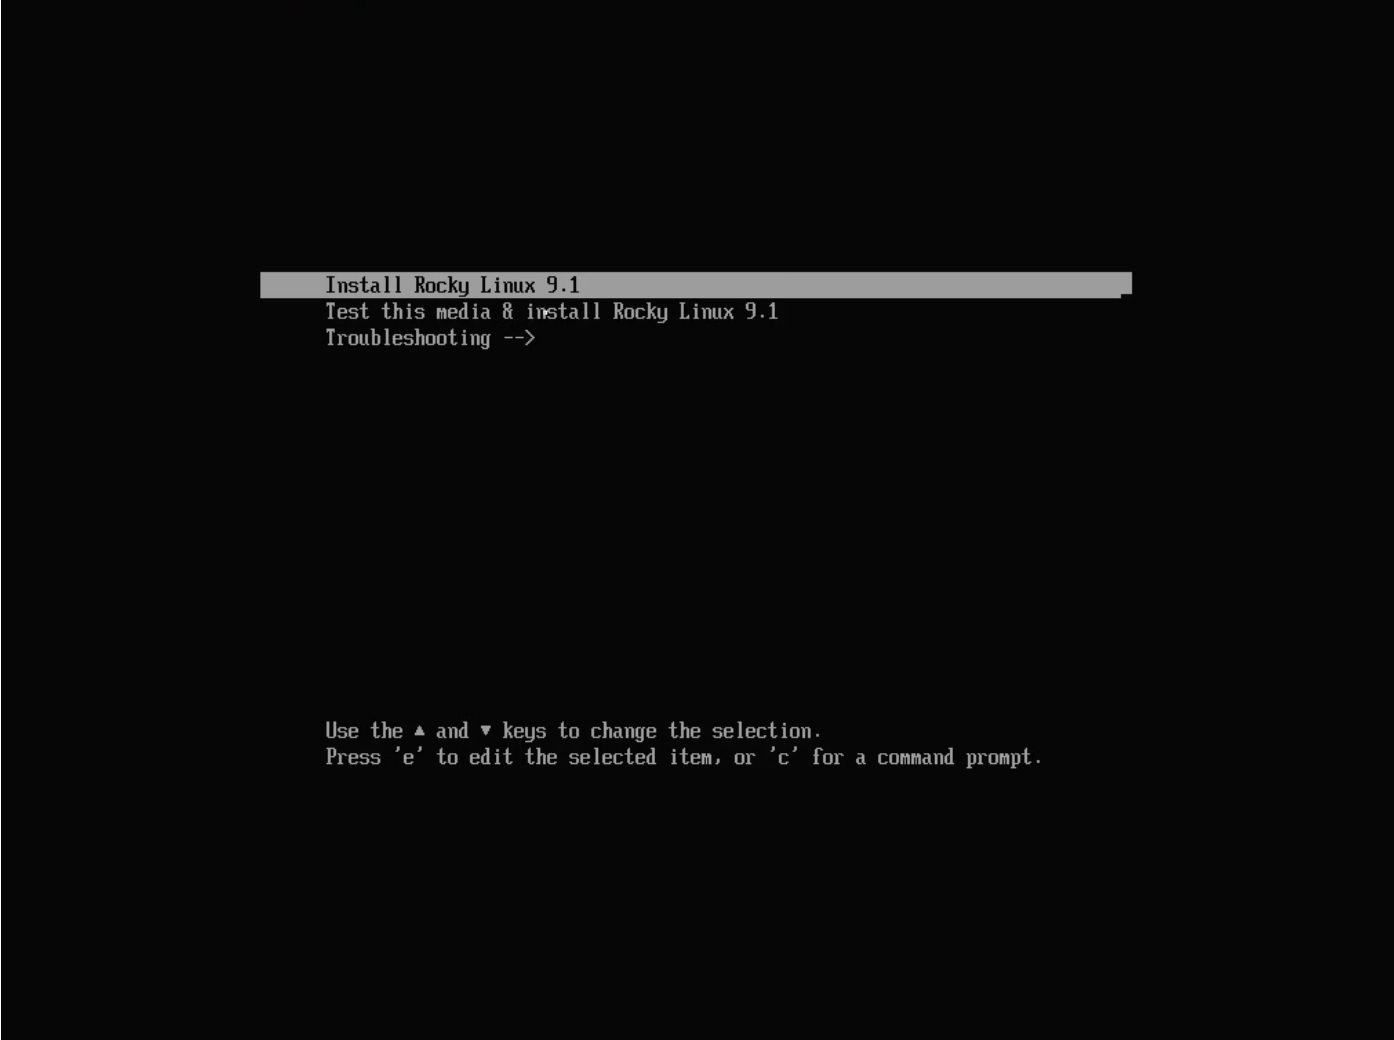
가상 하드 디스크 연결: rocky iso (이미지 파일)
Rocky Linux 설치
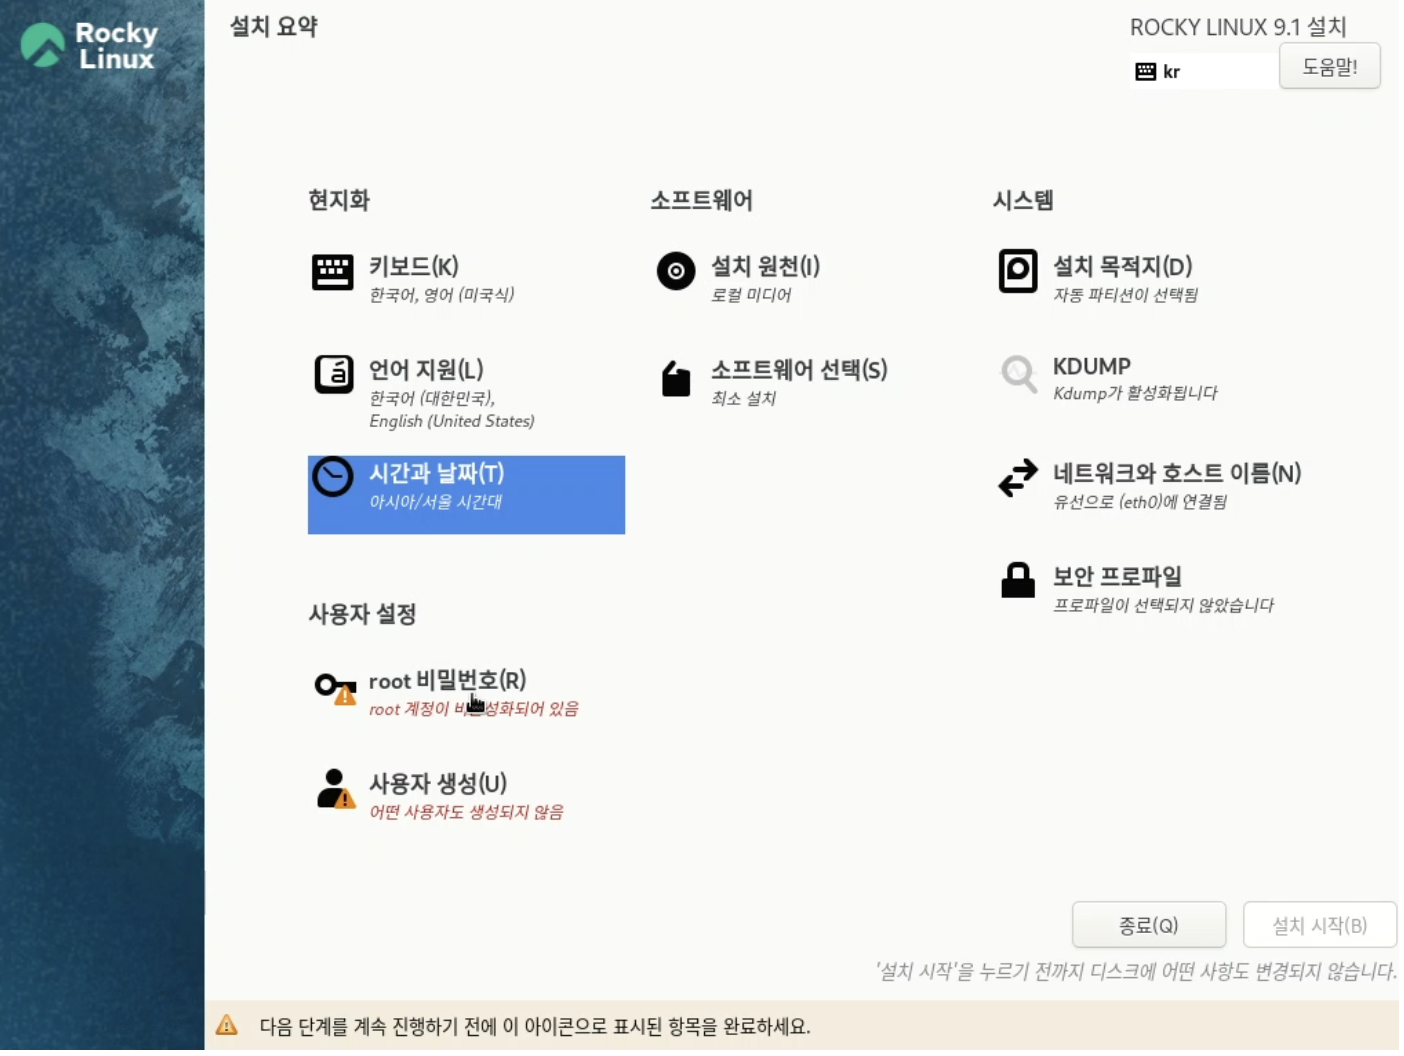
<체크사항>
- 한국어 설정
- 시간 & 날짜 설정 (Asia-Seoul)
- root 비밀번호설정 (root 가 비밀번호로 ssh 로그인하도록 허용 체크)
- 사용자 생성
- 설치 목적
- 소프트웨어 선택 (표준)
- 네트워크와 호스트 이름 eth0인지(externel 인지 보기)
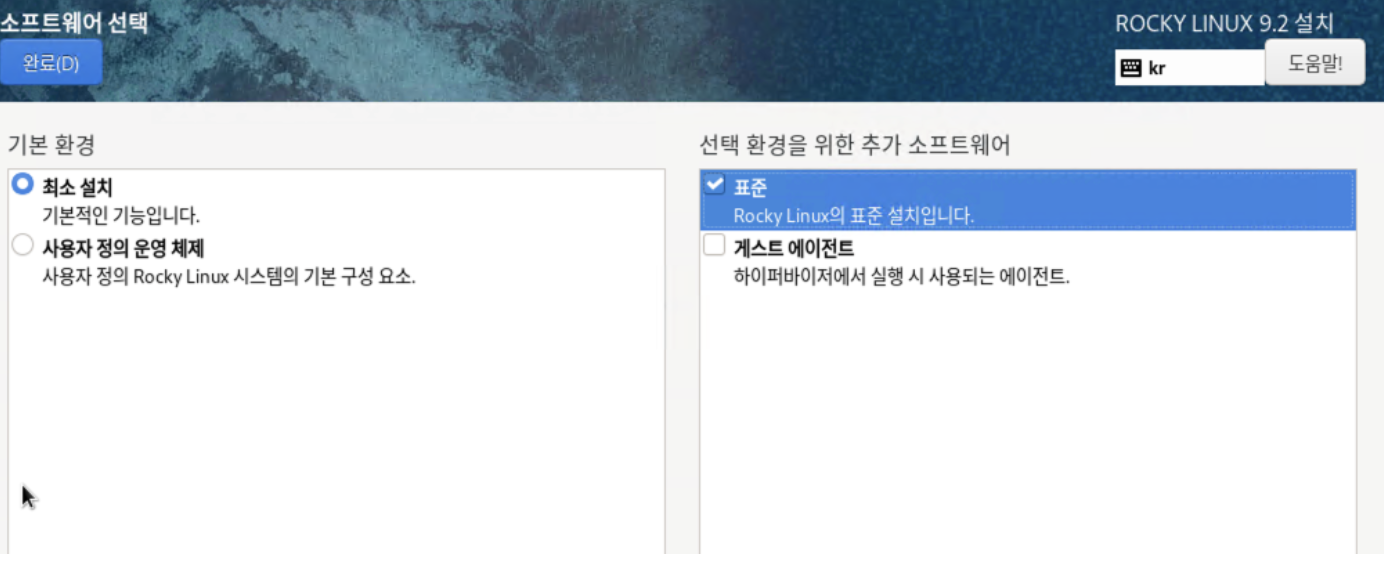
- 경험상, 표준을 체크 안하니까,
ifconfig같은 커맨드가 안먹혔다.

완료!
네트워크 설정
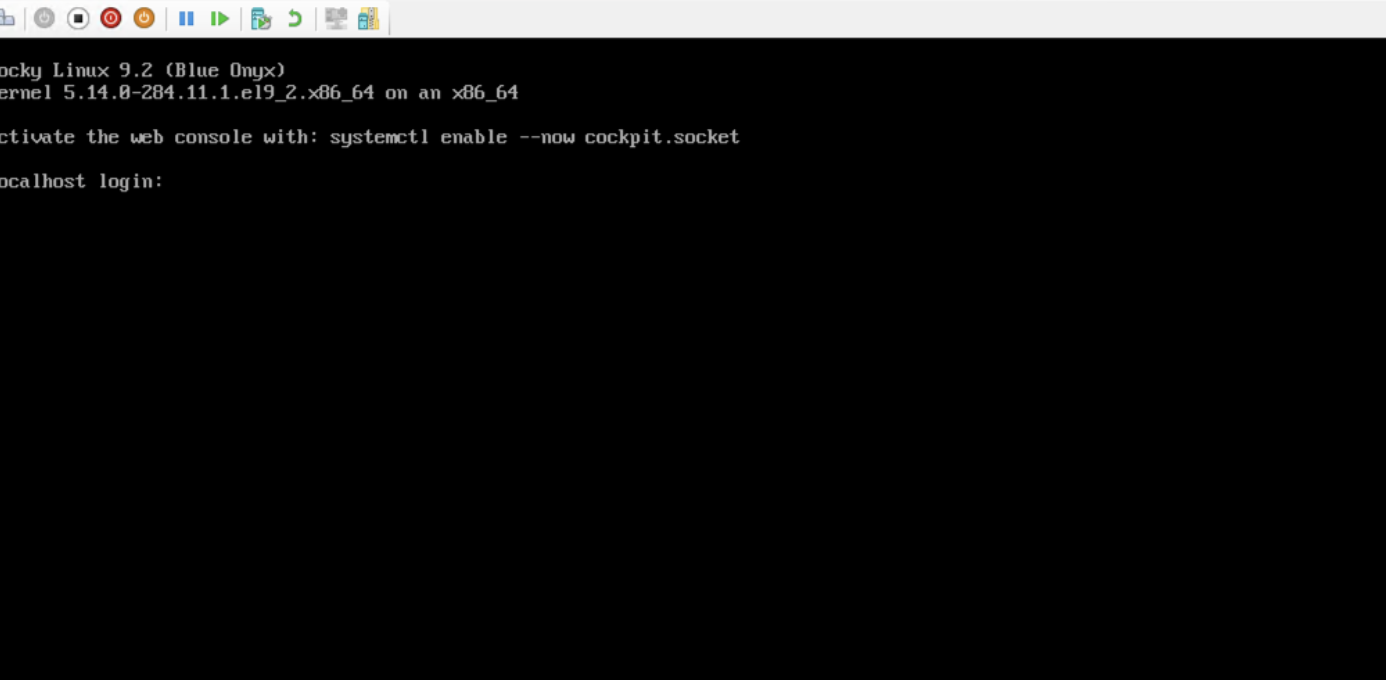
- root 계정으로 로그인
Linux 네트워크 상태 설정 확인 CLI
ifconfig- 네트워크 인터페이스 설정과 상태를 보여줌.
ip addr show- IP 주소 정보 확인함. IPv4, IPv6 주소 출력 (ifconfig 대체 명령어)
ip l- 네트워크 인터페이스 리스트 출력. 각 인터페이스의 이름과 상태(up/down )을 간략하게 확인가능
nmcli d- NetworkManager의 CLI 도구. d 옵션은 현재 네트워크 장치(Device) 목록과 상태를 간단히 확인함. (활성화된 네트워크 인터페이스, 비활성화 인터페이스 구분해서 보여줌.)
0. 설정할 네트워크 인터페이스 확인(예: eth0)
- ip 명령어 사용
-ip l
-nmcli d를 통해 확인
-ifconfig명령어를 통해서 네트워크 어뎁터 명이 eth0 인걸 확인
1. network-scripts 를 이용한 설정
- 1.1.
/etc/sysconfig/network-scripts/ifcfg-[ifname]파일 생성, 또는 수정
[root@localhost ~]# vi /etc/sysconfig/network-scripts/ifcfg-eth0

TYPE=Ethernet
BOOTPROTO=static
NAME=eth0
DEVICE=eth0
ONBOOT=yes
IPADDR=172.xx.x.xx
PREFIX=24
GATEWAY=172.xx.x.xx
DNS1=8.8.8.8
DNS2=8.8.4.4
DNS3=172.xx.x.xx
📌 Name = ID = Profile name = Connection name
항목의 명칭을 좀 통일해 줬으면 좋겠다. 설정할 때마다 너무 헷갈린다.
일반적으로 관리 편의를 위해 네트워크 인터페이스 이름(ifname)과 동일하게 설정한다.
📌 그 외 설정할 수 있는 항목들이 30여 가지나 된다.해당 항목들을 입력하지 않을 경우 대부분 기본값으로 설정되며, 기본값으로 적용되어도 네트워크 동작에는 지장 없다.
- BOOTPROTO
- IPv4 연결이 활성화될 때 어떤 프로토콜을 사용해서 네트워크 정보를 얻을 것인지 지정
- 기본값 : none
- 주로 사용되는 값 : none(static), dhcp(bootp)
- 예 : BOOTPROTO=none 또는 static(고정 IP 주소), BOOTPROTO=dhcp
- NAME
- NetworkManager에서 사용할 Profile name 지정
- 지정하지 않을 경우 NetworkManager에서 임의로 지정
- NAME은 ID라고 불리우기도 하고, Profile name이라고 불리우기도 하고, Connection name이라고 불리우기도 한다.
- 예 : NAME=ens160, NAME=Wired connection 1
- UUID
- 해당 연결(설정)의 고유 ID 지정
- 지정하지 않을 경우 NetworkManager에서 임의로 지정
- uuidgen 명령어서 생성하여 지정 가능
- DEVICE
- 설정을 적용할 네트워크 인터페이스(ifname) 지정
- ONBOOT
- 부팅 시 활성화 여부 지정
- 기본값 : yes
- 적용될 수 있는 값 : yes, no
- IPADDR
- IP 주소 지정
- PREFIX
- Subnet Mask Prefix 길이 지정(bit)
- NETMASK 항목으로 대체 가능
- 예 : PREFIX=24는 NETMASK=255.255.255.0으로 대체 가능
- GATEWAY
- Gateway 주소 지정
- DNS1
- 첫 번째 DNS 주소 지정
- DNS2, DNS3 항목 추가로 DNS 주소 추가 지정 가능
1.2 설정 적용
- NetworkManager 서비스를 사용할 경우
[root@localhost ~]# nmcli connection reload
[root@localhost ~]# nmcli c r (줄여서)

[root@localhost ~]# nmcli network off
[root@localhost ~]# nmcli n off (줄여서)

[root@localhost ~]# nmcli network on
[root@localhost ~]# nmcli n on (줄여서)

또는, 특정 네트워크 인터페이스만 설정을 적용할 경우

[root@localhost ~]# nmcli connection up eth0
[root@localhost ~]# nmcli c up etho (줄여서)- network 서비스만 사용할 경우
[root@localhost ~]# systemctl restart network.service2.NetworkManager(nmcli)를 이용한 설정
2.1 기존 정보 삭제 후 IP 주소 설정
- 기존 profile(eth0) 삭제
[root@localhost ~]# nmcli connection delete eth0- eth0 Profile 신규 생성 및 TYPE=Ethernet, DEVICE=eth0 설정
[root@localhost ~]# nmcli connection add type ethernet con-name eth0 ifname eth0- BOOTPROTO=static 설정
[root@localhost ~]# nmcli connection modify eth0 ipv4.method=manual- IPADDR=172.xx.xx.xx/24 설정
[root@localhost ~]# nmcli connection modify eth0 ipv4.address 172.xx.xx.xx/24- GATEWAY=172.xx.xx.xx 설정
[root@localhost ~]# nmcli connection modify eth0 ipv4.gateway 172.xx.xx.xx- DNS1=1.1.1.1 설정
[root@localhost ~]# nmcli connection modify eth0 ipv4.dns 1.1.1.1- DNS2=8.8.8.8 설정
[root@localhost ~]# nmcli connection modify eth0 +ipv4.dns 8.8.8.8- ONBOOT=yes 설정
[root@localhost ~]# nmcli connection modify eth0 autoconnect yes📌 nmcli connection modify
Profile의 내용(항목) 기준으로 동작하며, 해당 내용(항목)이 없으면 추가하고, 있으면 수정한다.
2.2. 위 명령으로 작성된 /etc/sysconfig/network-scripts 파일(RHEL 계열 8 시리즈까지)
2.3. 위 명령으로 작성된 /etc/NetworkManager/system-connections 파일(RHEL 계열 9 시리즈부터)
[root@localhost]# vi /etc/NetworkManager/system-connections/eth0.nmconnection

[connection]
id=eth0
uuid="61d2742a-xxxx-xxxxxxxx-xxx"
type=ethernet
interface-name=eth0

[ethernet]

[ipv4]
address1=172.xxx.xx.xx/24,172.xxx.xx.xx
dns=1.1.1.1;8.8.8.8;
may-fail=false
method=manual

[ipv6]
addr-gen-mode=default
method=auto
2.4 설정 적용
[root@localhost ~]# nmcli connection reload
[root@localhost ~]# nmcli c r (줄여서)

[root@localhost ~]# nmcli network off
[root@localhost ~]# nmcli n off (줄여서)

[root@localhost ~]# nmcli network on
[root@localhost ~]# nmcli n on (줄여서)

또는, 특정 네트워크 인터페이스만 설정을 적용할 경우

[root@localhost ~]# nmcli connection up eth0
[root@localhost ~]# nmcli c up etho (줄여서)
방화벽 설정
1. firewalld 상태 확인
[root@localhost ~]# systemctl status firewalld

● firewalld.service - firewalld - dynamic firewall daemon
     Loaded: loaded (/usr/lib/systemd/system/firewalld.service; enabled; preset: enabled)
     Active: active (running) since Wed 2023-11-08 15:11:27 KST; 7min ago
       Docs: man:firewalld(1)
   Main PID: 734 (firewalld)
      Tasks: 2 (limit: 23009)
     Memory: 42.8M
        CPU: 540ms
     CGroup: /system.slice/firewalld.service
             └─734 /usr/bin/python3 -s /usr/sbin/firewalld --nofork --nopid

Nov 08 15:11:27 localhost.com systemd[1]: Starting firewalld - dynamic firewall daemon...
Nov 08 15:11:27 localhost.com systemd[1]: Started firewalld - dynamic firewall daemon.- Active 항목이 active(running)으로 되어있으면 현재 동작중이다.
2. firewalld 중지
[root@localhost ~]# systemctl stop firewalld

firewalld 상태 확인

[root@localhost ~]# systemctl status firewalld

○ firewalld.service - firewalld - dynamic firewall daemon
     Loaded: loaded (/usr/lib/systemd/system/firewalld.service; enabled; preset: enabled)
     Active: inactive (dead) since Wed 2023-11-08 15:20:05 KST; 24s ago
   Duration: 8min 38.078s
       Docs: man:firewalld(1)
    Process: 734 ExecStart=/usr/sbin/firewalld --nofork --nopid $FIREWALLD_ARGS (code=exited, status=0/SUCCESS)
   Main PID: 734 (code=exited, status=0/SUCCESS)
        CPU: 585ms

Nov 08 15:11:27 localhost.com systemd[1]: Starting firewalld - dynamic firewall daemon...
Nov 08 15:11:27 localhost.com systemd[1]: Started firewalld - dynamic firewall daemon.
Nov 08 15:20:05 localhost.com systemd[1]: Stopping firewalld - dynamic firewall daemon...
Nov 08 15:20:05 localhost.com systemd[1]: firewalld.service: Deactivated successfully.
Nov 08 15:20:05 localhost.com systemd[1]: Stopped firewalld - dynamic firewall daemon.- Active 항목이 inactive (dead)로 되어 있다면 현재 중지 상태라는 의미다.
3. 부팅시 firewalld 자동 시작 비활성화
[root@localhost ~]# systemctl disable firewalld

상태 확인

[root@localhost ~]# systemctl status firewalld

○ firewalld.service - firewalld - dynamic firewall daemon
     Loaded: loaded (/usr/lib/systemd/system/firewalld.service; disabled; preset: enabled)
     Active: inactive (dead)
       Docs: man:firewalld(1)

Nov 08 15:11:27 localhost.com systemd[1]: Starting firewalld - dynamic firewall daemon...
Nov 08 15:11:27 localhost.com systemd[1]: Started firewalld - dynamic firewall daemon.
Nov 08 15:20:05 localhost.com systemd[1]: Stopping firewalld - dynamic firewall daemon...
Nov 08 15:20:05 localhost.com systemd[1]: firewalld.service: Deactivated successfully.
Nov 08 15:20:05 localhost.com systemd[1]: Stopped firewalld - dynamic firewall daemon.
Nov 08 15:36:40 localhost.com systemd[1]: Starting firewalld - dynamic firewall daemon...
Nov 08 15:36:40 localhost.com systemd[1]: Started firewalld - dynamic firewall daemon.
Nov 08 15:37:29 localhost.com systemd[1]: Stopping firewalld - dynamic firewall daemon...
Nov 08 15:37:29 localhost.com systemd[1]: firewalld.service: Deactivated successfully.
Nov 08 15:37:29 localhost.com systemd[1]: Stopped firewalld - dynamic firewall daemon.- Loaded 항목이 disabled로 되어 있다면 현재 부팅 시 자동 시작 비활성화 상태라는 의미다.
📌 firewalld 중지와 부팅 시 자동 시작 비활성화를 동시에 적용
systemctl disable firewalld --now
4. firewalld 시작
[root@localhost ~]# systemctl start firewalld

상태 확인

[root@localhost ~]# systemctl status firewalld

● firewalld.service - firewalld - dynamic firewall daemon
     Loaded: loaded (/usr/lib/systemd/system/firewalld.service; disabled; preset: enabled)
     Active: active (running) since Wed 2023-11-08 15:39:52 KST; 8s ago
       Docs: man:firewalld(1)
   Main PID: 1580 (firewalld)
      Tasks: 2 (limit: 23009)
     Memory: 24.1M
        CPU: 264ms
     CGroup: /system.slice/firewalld.service
             └─1580 /usr/bin/python3 -s /usr/sbin/firewalld --nofork --nopid

Nov 08 15:39:52 localhost.com systemd[1]: Starting firewalld - dynamic firewall daemon...
Nov 08 15:39:52 localhost.com systemd[1]: Started firewalld - dynamic firewall daemon.- Active 항목이 active (running)로 되어있다면 현재 동작 중이라는 의미다.
5. 부팅 시 firewalld 자동 시작 활성화
[root@localhost ~]# systemctl enable firewalld

상태 확인

[root@localhost ~]# systemctl status firewalld

● firewalld.service - firewalld - dynamic firewall daemon
     Loaded: loaded (/usr/lib/systemd/system/firewalld.service; enabled; preset: enabled)
     Active: active (running) since Wed 2023-11-08 15:39:52 KST; 1min 52s ago
       Docs: man:firewalld(1)
   Main PID: 1580 (firewalld)
      Tasks: 2 (limit: 23009)
     Memory: 26.1M
        CPU: 264ms
     CGroup: /system.slice/firewalld.service
             └─1580 /usr/bin/python3 -s /usr/sbin/firewalld --nofork --nopid

Nov 08 15:39:52 localhost.com systemd[1]: Starting firewalld - dynamic firewall daemon...
Nov 08 15:39:52 localhost.com systemd[1]: Started firewalld - dynamic firewall daemon.- Loaded 항목이 enabled로 되어 있다면 현재 부팅 시 자동 시작 활성화 상태라는 의미다.
📌 firewalld 시작과 부팅 시 자동 시작 활성화를 동시에 적용
systemctl enable firewalld --now
🛠️ 이렇게 설정 다했는데도, 내부에서 ping이 안나가고, 외부에서도 ping이 안보내지는 현상... putty도 안됨!!!!
- gateway와 dns 주소를 잘못 잡아서 나온 문제엿습니다.....
하루종일 리눅스 지우고, 다시 네트워크 설정하고 롤백하고,,,
gateway랑 dns주소 수정하니까 잘되었습니다.
- putty도 잘됨.
ㅎㅎ...
리눅스까는건 이제 어느정도 다시 지웠다해도 잘 할것같다.
리눅스 명령어도 손에 익숙해지고있다...
Velog : CentOS/RHEL/Rocky Linux/Oracle Linux에서 네트워크 설정(1) - IP 주소 설정(영구)