application.properties 에서 맨 첫 줄에
spring.datasource.url=jdbc:h2:file: ~ (데이터베이스 받을 파일 위치)
를 추가한다.
spring.datasource.url=jdbc:h2:file:C:/study/bulletin-board/h2data
spring.datasource.driverClassName=org.h2.Driver
spring.datasource.username=sa
spring.datasource.password=

spring.h2.console.enabled=true
spring.h2.console.path=/h2

spring.devtools.restart.enabled=true

spring.thymeleaf.cache=false
spring.thymeleaf.prefix=file:src/main/resources/templates/

spring.mvc.hiddenmethod.filter.enabled=true
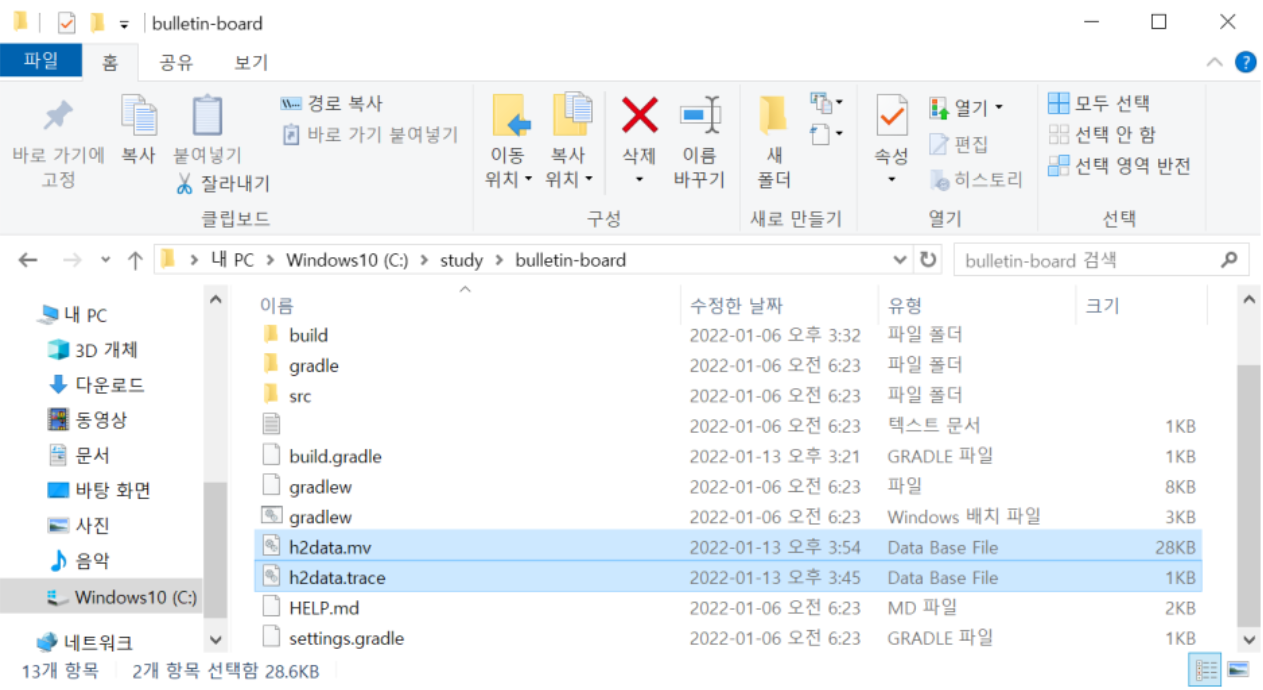
나의 경우 C:/study/bulletin-board 라는 폴더가 있었기에
spring.datasource.url=jdbc:h2:file:C:/study/bulletin-board/h2data
와 같이 입력했다.
그러면 아래와 같이 h2data.mv, h2data.trace 라는 데이터베이스가 생성된다.

localhost:8080/h2 에 접속하고, JDBC url 에 jdbc:h2:file:C:/study/bulletin-board/h2data 를 입력하고 연결 버튼을 누른다.
그후 유지하고 싶은 sql 쿼리를 입력하고 테이블을 만든다.
그럼 서버를 껐다 켜도 기존 데이터가 유지되는 것을 볼 수 있다.
