이전 포스팅(XCFramework 생성 및 적용 해보기)보고 생성한 XCFrameWork를 배포하고자 합니다.
대표적인 배포 방법
- SPM(Swift Package Manager)
- CocoaPods
배포방법으로는 대표적으로 SPM(Swift Package Manager) 또는 Cocoapods가 존재합니다. 그중 일부 사람에게만 공개하기 위한 CocoaPods Private를 통해 배포하고자 합니다.
단계
- Binary XCFramework 위한 깃허브에 비공개 생성
- podspec 위한 깃허브에 공개 생성
- XCFramework 푸시
- podspec 작성
- pod repo 푸시
- pods 테스트
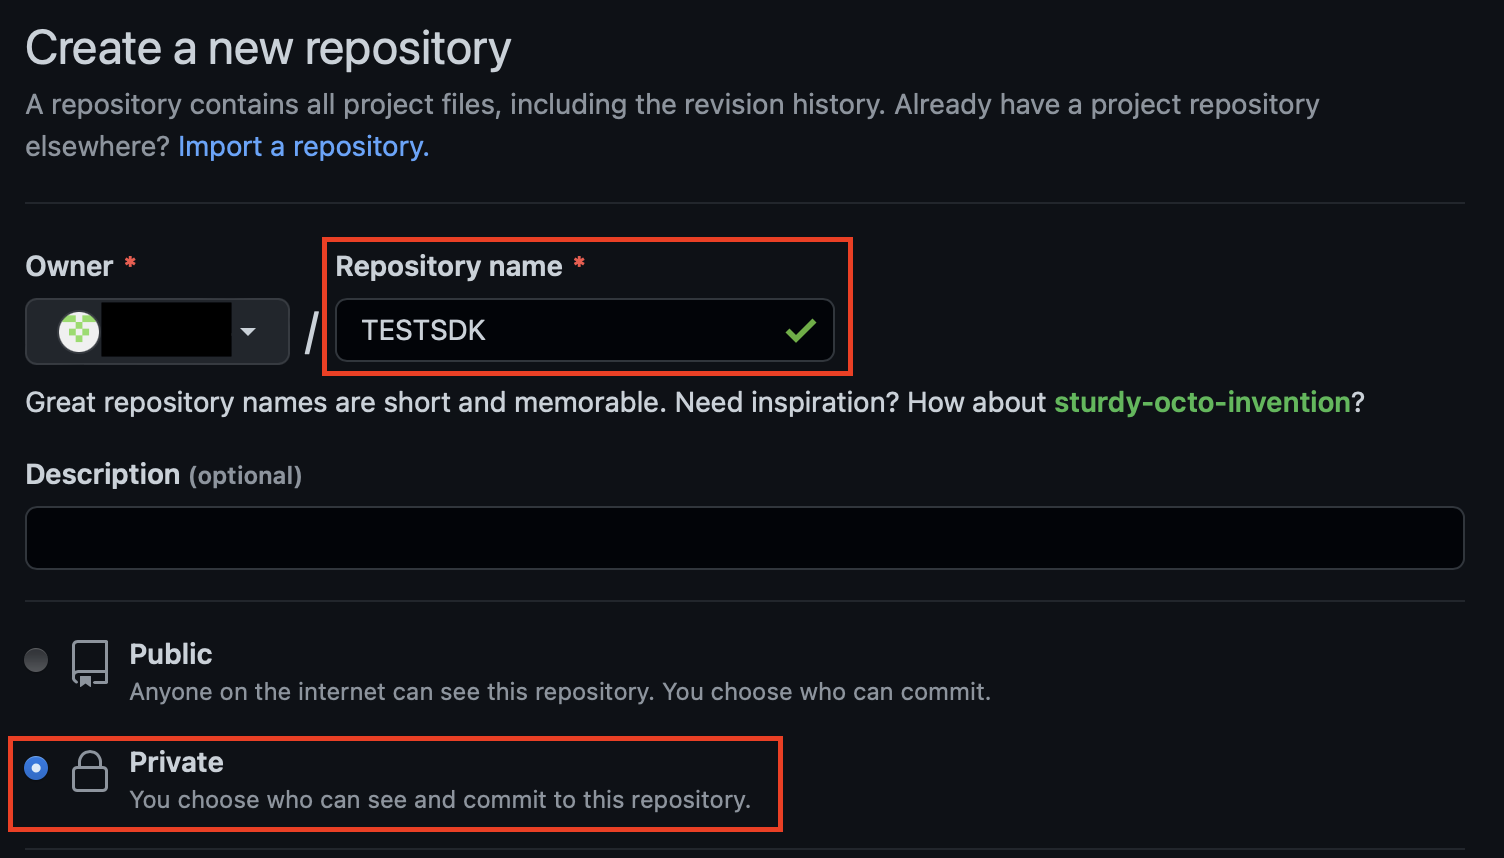
1. Binary XCFramework 위한 깃허브에 비공개 생성
공개생성시 pod install 실행시 github 로그인을 요구하지 않음.
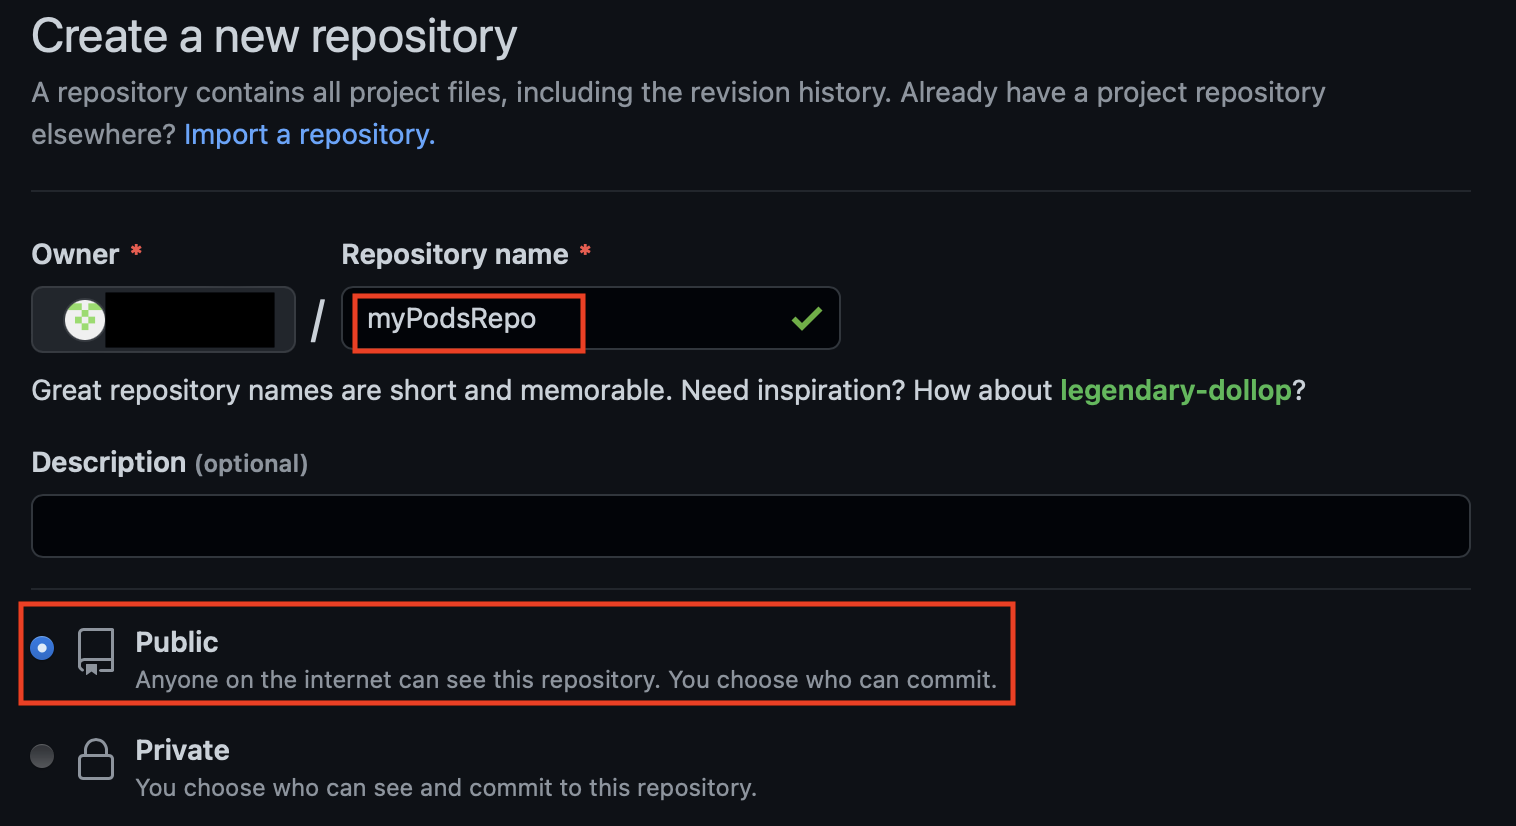
2. podspec 위한 깃허브에 공개 생성
3. XCFramework 푸시
mkdir ~/Documents/GitHub/TestSDK
cd ~/Documents/GitHub/TestSDK
git init
# XCFramework 로컬경로로 이동(필자기준)
cd ~/Desktop/TestSDK/build/
mv TestSDK.xcframework ~/Documents/GitHub/TestSDK
cd ~/Documents/GitHub/TestSDK
# git 추가
git add .
  git commit -m "first commit"
git branch -M main
git remote add origin https://github.com/{githubID}/TestSDK.git
git tag 0.1.0
git push origin tag 0.1.0

#Username for 'https://github.com': {githubID}
#Password for 'https://{githubID}@github.com': {github token}

git push --set-upstream origin main
4. podspec 작성
cd ~/Desktop

touch TestSDK.podspec
TestSDK.podspec 내용
Pod::Spec.new do |s|
    s.name         = "TestSDK"
    s.version      = "0.1.0"
    s.summary      = "A brief description of TestSDK project."
    s.description  = <<-DESC
    An extended description of MyFramework project.
    DESC
    s.homepage     = "http://your.homepage/here"
    s.license = { :type => 'Copyright', :text => <<-LICENSE
                   Copyright 2018
                   Permission is granted to...
                  LICENSE
                }
    s.author             = { "$(git config user.name)" => "$(git config user.em$
    s.source       = { :git => "https://github.com/{githubID}/TestSDK.git", :tag $
    s.vendored_frameworks = "TestSDK.xcframework"
    s.platform = :ios
    s.swift_version = "4.2"
    s.ios.deployment_target  = '15.0'
5. pod repo 푸시
mkdir ~/Documents/GitHub/myPodsRepo
cd ~/Documents/GitHub/myPodsRepo
git init
echo "# myPodsRepo" >> README.md

git add README.md
git commit -m "first commit"
git branch -M main
git remote add origin https://github.com/jink9404/myPodsRepo.git
git push -u origin main

pod repo add myPodsRepo https://github.com/{githubID}/myPodsRepo.git

pod repo push myPodsRepo ~/Desktop/TestSDK.podspec --allow-warnings

#아래 내용시 성공
#Updating the `myPodsRepo' repo
#Adding the spec to the `myPodsRepo' repo
# - [Add] TestSDK (0.1.0)
#Pushing the `myPodsRepo' repo
6. pods 테스트
- 신규 프로젝트 생성
- pod init
#프로젝트 파일이동
cd ~/Desktop/TestSDKPodTest
pod init

nano ./Podfile- podfile 작성
# Uncomment the next line to define a global platform for your project
# platform :ios, '9.0'

target 'TestSDKPodTest' do
  # Comment the next line if you don't want to use dynamic frameworks
  use_frameworks!
  pod 'TestSDK', :source => 'https://github.com/{githubID}/myPodsRepo.git'
  # Pods for TestSDKPodTest

end
- pod install
pod install
#로그상에 아래 명령어를 실행하라고 하면, 실행하면 된다.
#pod repo update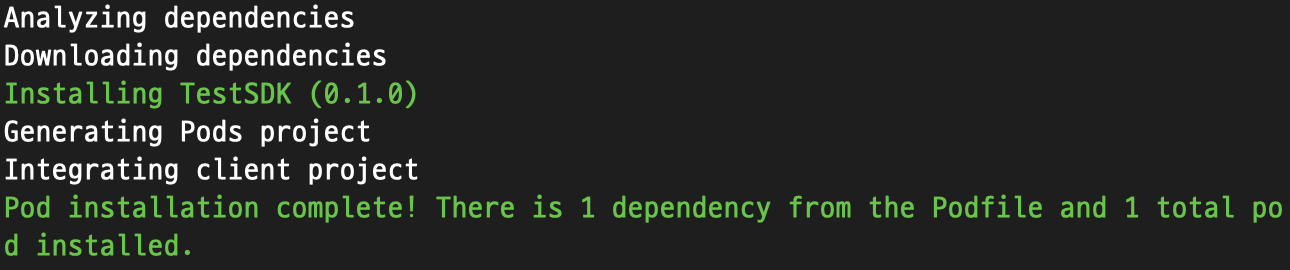
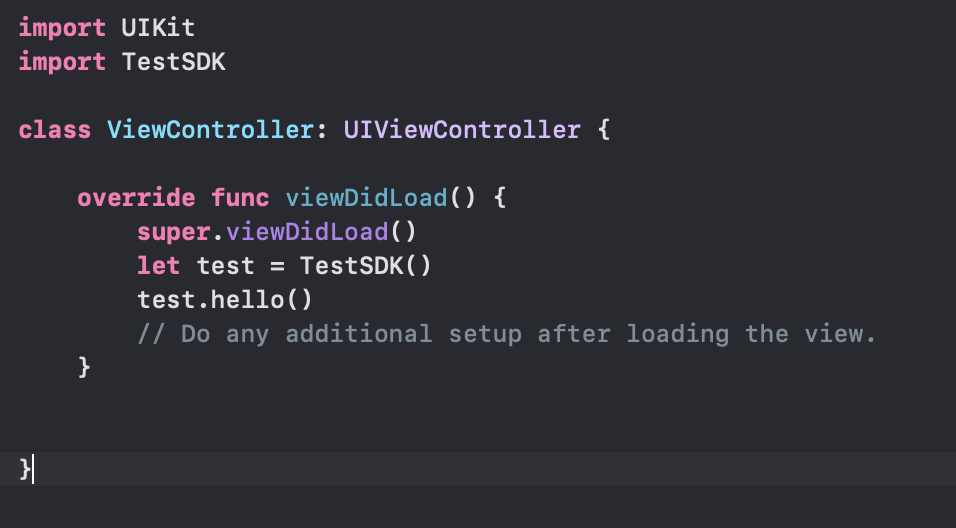
코드 테스트
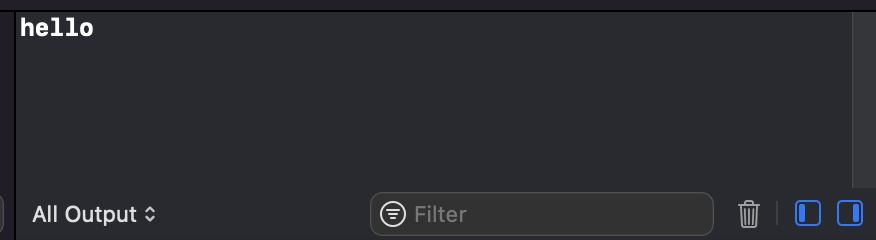
테스트 로그
추가사항
해당 배포법은 일부 권한있는 사용자에게만 배포가 가능하기에 사용하시는 Framework => git 읽기 권한이 존재해야합니다.
접근권한에 따라 pod install 시 깃허브 로그인을 요구 할 수 있습니다.
framework git 저장소가 public 일 경우 별도의 로그인을 요구 하지않습니다.
IOS 개발하며 먹고사는 게으른 개발자