NestedScrollView + RecyclerView
android:fillViewport="true"
속성은 스크롤 뷰에서 화면에 여백이 생겼을 때 이를 방지하기 위해 사용.
android:overScrollMode="never"
해당 속성은 스클로뷰가 끝에 닿았을 때 효과가 나타나지 않게 함
android:nestedScrollingEnabled="false"
해당 속성을 통해서 리사이클러뷰의 스크롤만 인지되는 것을 막음
1. main_activity.xml
<?xml version="1.0" encoding="utf-8"?>
<androidx.core.widget.NestedScrollView
    android:layout_width="match_parent"
    android:layout_height="match_parent"
    android:fillViewport="true"
    xmlns:android="http://schemas.android.com/apk/res/android">

    <LinearLayout
        android:layout_width="match_parent"
        android:layout_height="wrap_content"
        android:orientation="vertical">
        <TextView
            android:layout_width="match_parent"
            android:layout_height="wrap_content"
            android:text="리사이클러뷰 사용"
            android:gravity="center"
            android:textSize="30sp"/>

        <androidx.recyclerview.widget.RecyclerView
            android:id="@+id/recyclerView"
            android:layout_width="match_parent"
            android:layout_height="match_parent"
            android:layout_marginTop="10dp"
            android:nestedScrollingEnabled="false"
            android:overScrollMode="never"/>

    </LinearLayout>
</androidx.core.widget.NestedScrollView>
전체 스크롤만 인식되게 하기 위해서 리사이클러뷰에 nestedScrollingEnabled="false"로 설정해 준다.
2. item.xml
<?xml version="1.0" encoding="utf-8"?>
<LinearLayout
    xmlns:android="http://schemas.android.com/apk/res/android"
    android:layout_width="match_parent"
    android:layout_height="wrap_content"
    android:orientation="vertical">
    <TextView
        android:layout_margin="10dp"
        android:id="@+id/name"
        android:text="name"
        android:textSize="25sp"
        android:layout_width="match_parent"
        android:layout_height="wrap_content">
    </TextView>
    <TextView
        android:layout_margin="10dp"
        android:id="@+id/age"
        android:text="age"
        android:textSize="25sp"
        android:layout_width="match_parent"
        android:layout_height="wrap_content"/>

</LinearLayout>
3. ItemModel.java
public class ItemModel {
    private String name;
    private int age;

    public ItemModel(String name, int age) {
        this.name = name;
        this.age = age;
    }

    public String getName() {
        return name;
    }

    public void setName(String name) {
        this.name = name;
    }

    public int getAge() {
        return age;
    }

    public void setAge(int age) {
        this.age = age;
    }
}
4. RecyclerViewAdapter.java
public class RecyclerViewAdapter extends RecyclerView.Adapter<RecyclerViewAdapter.ViewHolder>  {

    private ArrayList<ItemModel> itemModels;

    //뷰홀더에서 아이템의 뷰 표시
    public static class ViewHolder extends RecyclerView.ViewHolder {
        private TextView name;
        private TextView age;

        public ViewHolder(View view) {
            super(view);
            // Define click listener for the ViewHolder's View
            name = (TextView) view.findViewById(R.id.name);
            age = (TextView) view.findViewById(R.id.age);
        }

        //뷰에 바인딩 해주는 함수
        void onBind(ItemModel item){
            name.setText(item.getName());
            age.setText(String.valueOf(item.getAge()));
        }

        // 없어도 됨
        public TextView getName() {
            return name;
        }

        public TextView getAge() {
            return age;
        }
    }

    //생성자
    public RecyclerViewAdapter(ArrayList<ItemModel> itemModels){
        this.itemModels = itemModels;
        notifyDataSetChanged();
    }

    // Create new views (invoked by the layout manager)
    // 뷰홀더 생성
    @Override
    public ViewHolder onCreateViewHolder(ViewGroup viewGroup, int viewType) {
        // Create a new view, which defines the UI of the list item
        View view = LayoutInflater.from(viewGroup.getContext())
                .inflate(R.layout.item, viewGroup, false);
        return new ViewHolder(view);
    }

    // Replace the contents of a view (invoked by the layout manager)
    //온바인드뷰홀더를 통해서 뷰 홀더에 있는 객체들에 바인딩
    @Override
    public void onBindViewHolder(ViewHolder viewHolder, final int position) {

        // Get element from your dataset at this position and replace the
        // contents of the view with that element

        //viewholder의 onvind 함수로 가서 거기서 setText 해줌
        viewHolder.onBind(itemModels.get(position));
    }

    // Return the size of your dataset (invoked by the layout manager)
    @Override
    public int getItemCount() {
        return itemModels.size();
    }
}
5. MainActivity.java
public class MainActivity extends AppCompatActivity {
private ActivityMainBinding binding;
private RecyclerViewAdapter recyclerViewAdapter;
private RecyclerView recyclerView;
private ArrayList<ItemModel> itemModels;
@Override
protected void onCreate(Bundle savedInstanceState) {
super.onCreate(savedInstanceState);
binding = ActivityMainBinding.inflate(getLayoutInflater());
setContentView(binding.getRoot());
setRecyclerView();
}
private void setRecyclerView(){
//바인딩으로 리사이클러뷰 찾아옴
recyclerView = binding.recyclerView;
setItemModels();
//어댑터 생성
recyclerViewAdapter = new RecyclerViewAdapter(itemModels);
//리사이클러뷰에 어댑터 생성
recyclerView.setAdapter(recyclerViewAdapter);
//레이이웃매니저 설정 해줌
recyclerView.setLayoutManager(new LinearLayoutManager(this));
}
private void setItemModels(){
itemModels = new ArrayList<>();
itemModels.add(new ItemModel("가명1",23));
itemModels.add(new ItemModel("가명2",23));
itemModels.add(new ItemModel("가명3",23));
itemModels.add(new ItemModel("가명4",23));
itemModels.add(new ItemModel("가명5",23));
itemModels.add(new ItemModel("가명6",23));
itemModels.add(new ItemModel("가명7",23));
itemModels.add(new ItemModel("가명8",23));
itemModels.add(new ItemModel("가명9",23));
}
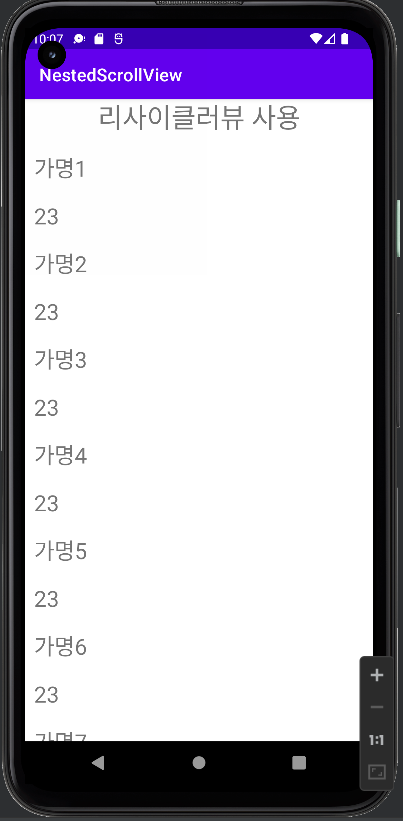
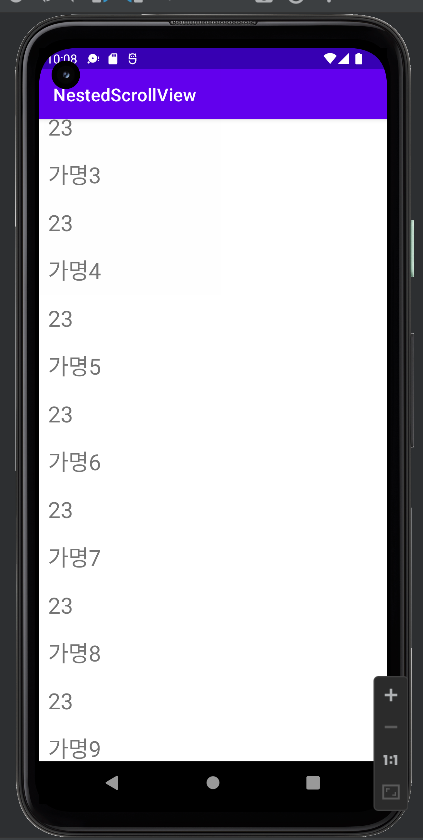
}6. 실행결과

주니어 백엔드 개발자의 개발 log💻