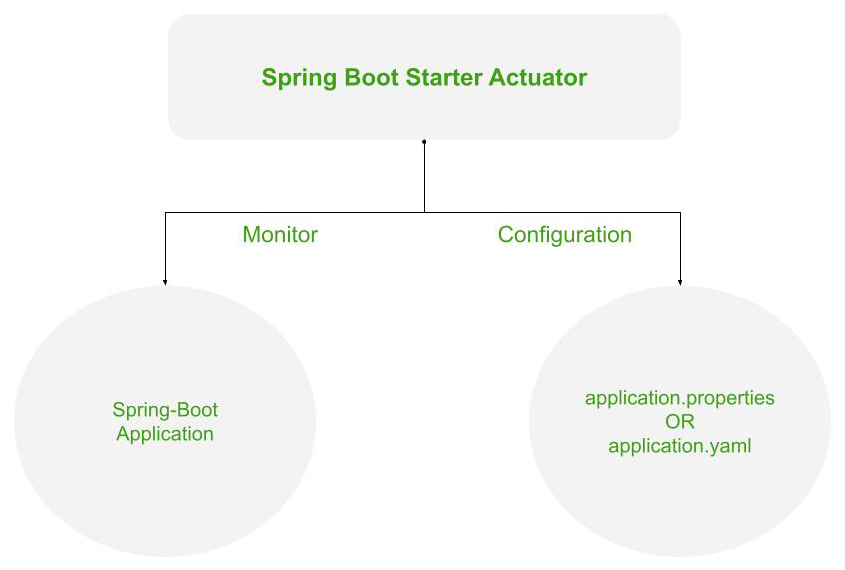
Spring Actuator란?
스프링에서 만든 상태,성능,환경 설정,메트릭 등을 모니터링하고 관리할 수 있는 기능을 제공합니다.
제공하는 정보
- 기본적인 헬스 체크
- 운영체제
- Java 런타임
- PID 등의 프로세스
- 애플리케이션과 연결된 데이터베이스 또는 아키텍처
- 사용자가 API로 보여주고 싶은 사용자 정의된 값
- git, build 정보
장점
- 이미 spring이 개발해서 편리하게 가져다 사용하면 됩니다.
- Metrics 같은 엔드포인트를 표준 형식으로 제공합니다.
- Prometheus, Grafana 같은 외부 모니터링 시스템과 쉽게 통합될 수 있습니다.
Tutorial
기본 스프링 부트 프로젝트를 생성하고 actuator 의존성을 추가합니다.
implementation 'org.springframework.boot:spring-boot-starter-actuator'/health
/health는 애플리케이션의 상태를 포함한 기본 정보를 표시하는 엔드포인트입니다.
/actuator/health를 호출하면 아래와 같이 애플리케이션의 상태만 간단히 표시됩니다.
{ "status": "UP" }하지만 저는 연결된 데이터베이스 정보나 디스크 용량과 같은 세부 정보도 보고 싶어서 아래 한 줄을 추가했습니다.
application.properties
management.endpoint.health.show-details=always그러면 이제 애플리케이션과 연결된 아키텍처 정보와 애플리케이션 위치까지 표시됩니다.
{ "status": "UP", "components": { "db": { "status": "UP", "details": { "database": "MySQL", "validationQuery": "isValid()" } }, "diskSpace": { "status": "UP", "details": { "total": 494384795648, "free": 388169715712, "threshold": 10485760, "path": "/Users/namgungjin/Downloads/애플리케이션 이름/.", "exists": true } }, "ping": { "status": "UP" }, "ssl": { "status": "UP", "details": { "validChains": [], "invalidChains": [] } } } }⭐️ actuator 엔드포인트 노출 설정
/health는 기본이라 설정이 필요없지만 다른 액츄에이터 엔드포인트들은 호출하기 위해서 exposure.include 속성에 ,를 구분자로 엔드포인트 이름을 나열해야 합니다.
management.endpoints.web.exposure.include=info,health그냥 다 보여주면 안되나? 하면 아래처럼 하면 되지만 *는 보안상 지양하는 것이 좋습니다.
management.endpoints.web.exposure.include=*/info
/info는 주로 애플리케이션의 버전을 비롯한 빌드 정보, Git 커밋 상세 정보 등 일반적인 애플리케이션 정보를 보여줍니다. git, build 정보를 보여주려면 아래 설정을 추가해야 합니다.
build.gradle
plugins {
  id "com.gorylenko.gradle-git-properties" version "2.4.1"
}
gitProperties {
  keys = ['git.branch', 'git.commit.id.abbrev']
}
springBoot {
  buildInfo()
}- buildInfo() 는 기본 빌드 정보를 자동으로 추가합니다.
com.gorylenko.gradle-git-properties라는 gradle 플러그인은 Gradle 빌드 시 자동으로 git.properties 파일을 생성합니다. 여기에 자동으로 작업한 git 정보가 들어갑니다.
⭐️ 로컬에서 실행했는데 build, git 정보가 나오지 않아요.
저는 학습을 위해서 로컬 애플리케이션 실행하는 방법과 애플리케이션을 빌드한 jar 파일을 실행하는 방법 2가지로 시도했는데 jar 파일을 실행하는 경우에만 정상적으로 정보를 확인할 수 있었습니다.
/info 엔드포인트에 표시되는 build, git 정보는 실제로 build 폴더 안의 git.properties와 build-info.properties를 참조하는데 애플리케이션을 로컬에서 실행하면 build 폴더 참조 전에 먼저
애플리케이션이 실행되어 데이터를 보여주지 못하는 경우가 발생합니다.
우리가 실제로 접하는 서비스는 전부 빌드 결과물일테니 로컬에서만 유의하면 좋을 것 같습니다.
git.properties, build-info.properties 분석하기
프로젝트를 빌드한 폴더 /build를 분석하면 문제 발생 원인을 더 빨리 찾을 수 있습니다.
[build/libs/BOOT-INF/classes/git.properties]
git.branch=dev
git.commit.id.abbrev=5b9743a
[build/libs/META-INF/build-info.properties]
build.artifact=my-project
build.group=com.example
build.name=my-project
build.time=2025-09-30T14\:01\:27
- build.gradle에서 설정한 key들은 gitProperties keys 와 매칭됩니다.
- build, git 데이터가 보이지 않는다면 2가지를 먼저 확인합니다.
- 파일이 생성되었는지 확인
- 해당 키에 대한 값이 제대로 존재하는 지 확인
- git 정보를 보려면 브랜치를 만들고 커밋한 내역이 있어야 합니다.
최종적으로 응답 결과는 아래처럼 나타납니다.
{ "git": { "branch": "dev", "commit": { "id": "5b9743a" } }, "build": { "artifact": "my-project", "name": “my-project”, "time": "2025-09-30T13:42:48.469Z", "version": "0.0.1-SNAPSHOT", "group": "com.example" } }사용자 정의 값을 /info에 추가하기
2가지 방법으로 내가 원하는 값을 /info 응답에 추가할 수 있습니다.
- 커스텀 InfoContributor 클래스 작성하기
@Component
public class MyInfoContributor implements InfoContributor {
  @Override
  public void contribute(Info.Builder builder) {
      builder.withDetail("app", Map.of( "name", "MyApp", "version","1.2.3" ));
  }
}- application.properties를 변경하기
# 반드시 info.env.enabled=true 하여 info 엔드포인트에 사용자 정의값을 허용하도록 해야 합니다.
# 기본값은 false입니다.
management.info.env.enabled=true

info.app.name=MyApp
info.app.version=1.2.3
info.app.description=Sample Spring Boot App

# 위에서 설명했던 git 정보를 아래처럼 가져와서 조회하는 방법도 있습니다.
info.app.git.commit=${git.commit.id.abbrev:unknown}
info.app.git.branch=${git.branch:unknown}
프로세스, 운영체제, 자바 정보 표시하기
management.info.java.enabled=true
management.info.os.enabled=true
management.info.process.enabled=true"java": {
"version": "21.0.2",
"vendor": {
"name": "Amazon.com Inc.",
"version": "Corretto-21.0.2.13.1"
},
"runtime": {
"name": "OpenJDK Runtime Environment",
"version": "21.0.2+13-LTS"
},
"jvm": {
"name": "OpenJDK 64-Bit Server VM",
"vendor": "Amazon.com Inc.",
"version": "21.0.2+13-LTS"
}
},
"os": {
"name": "Mac OS X",
"version": "15.5",
"arch": "aarch64"
},
"process": {
"pid": 78849,
"parentPid": 72638,
"owner": "소유자",
"cpus": 10,
"memory": {
"heap": {
"init": 1073741824,
"max": 17179869184,
"used": 86535832,
"committed": 142606336
}, // ... 생략루트 경로 변경하기
management.endpoints.web.base-path를 사용하면 /actuator 대신 다른 경로로 액츄에이터를 호출할 수 있습니다.
// 이제 /monitor/health로 호출해야 합니다.
application.properties,management.endpoints.web.base-path=/monitor
번외) A-RMS에서 Acutator를 사용하는 방법
management:
  endpoints:
    web:
      exposure:
include: refresh, env, health, beans, httptrace| API 경로 | 목적 |
|---|---|
| refresh | 애플리케이션을 재시작하지 않고 Spring 환경(Environment)의 설정 정보(Configuration)를 다시 로드한다. |
| env | Spring의 ConfigurableEnvironment에서 노출되는 모든 환경 속성(Properties) 목록을 표시. |
| health | 애플리케이션의 기본적인 상태(Health) 정보 표시. |
| beans | 애플리케이션에 정의된 모든 Spring Bean의 전체 목록을 표시. |
| httptrace | 애플리케이션에서 처리된 HTTP 요청-응답 교환(Trace) 정보를 표시. |
🌟 spring cloud config를 사용하는 경우 config 설정이 변경될 때 actuator/refresh를 사용해서 변경사항을 적용할 수 있습니다. 암스는 이 점을 이용하여 각 모듈들이 /actuator/refresh 로 런타임 설정 갱신하도록 합니다.🌟
Reference
