JPA 설정 (SQLite)
1. build.gradle 설정
- build.gradle 에 다음 추가
dependencies {
    ...
    implementation 'org.springframework.boot:spring-boot-starter-data-jpa'
    implementation 'com.h2database:h2'
    implementation 'mysql:mysql-connector-java'
}
2. MySQL 설정
- 설치
$sudo apt-get update
$sudo apt-get install mysql-server

$sudo ufw allow mysql -- 외부접속 기능 활성화
$sudo systemctl start mysql -- 서비스 시작
$sudo systemctl enable mysql -- 서버 재시작 시 mysql 재시작- mysql 설정
# mysql 실행 후 root에서 입력
create database startup
CREATE USER 'startup'@'localhost' IDENTIFIED BY '12345678'
GRANT ALL PRIVILEGES ON startup.* to startup@'localhost'
3. application.yaml 설정
- application.yaml 에 다음 추가 (없으면 만들것)
spring:
  jpa:
    hibernate :
      ddl-auto : create  # 서버를 실행할때마다 기존의 테이블을 삭제하고 새로 만들것인지. (데이터 다 지워진다.)
    show-sql: true
    database: mysql
    database-platform: org.hibernate.dialect.MySQL5InnoDBDialect
    format_sql : true
    use_sql_comments : true
  datasource:
    url : jdbc:mysql://localhost:3306/startup?useSSL=false&characterEncoding=UTF-8&serverTimezone=UTC
    driver-class-name : com.mysql.cj.jdbc.Driver
    username : startup
    password : 12345678
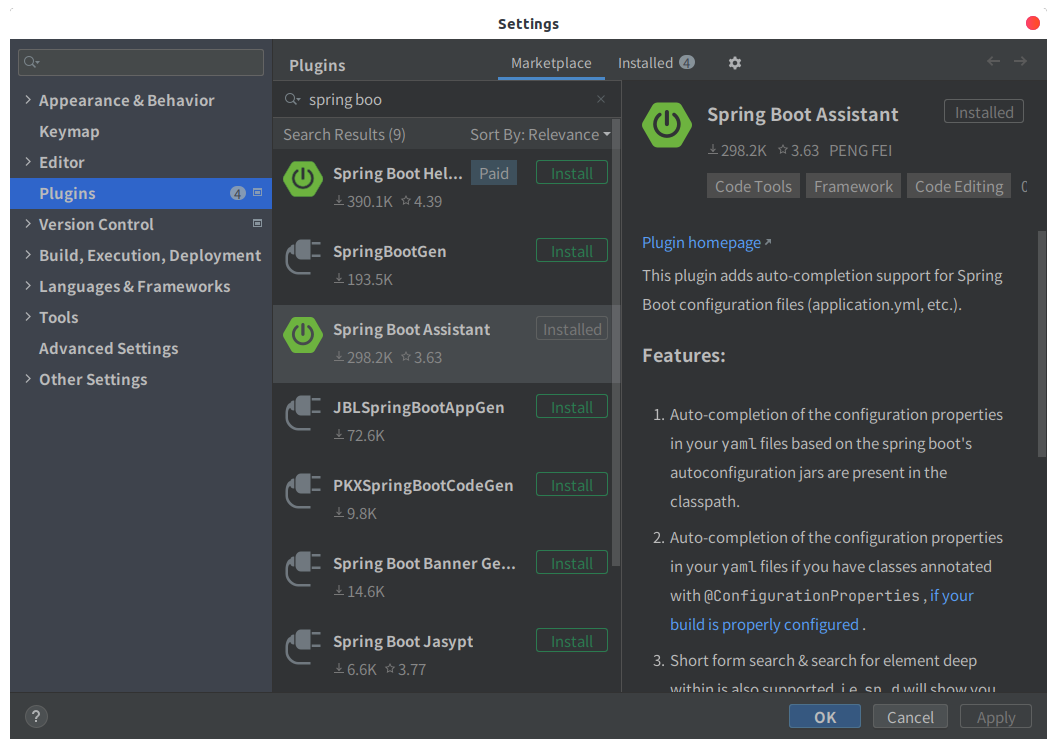
yaml 파일 수정은 intellij Spring Boot Assistant를 사용하면 편하다
4. Test Entity 생성
- TestEntity.java
package com.startup.entity;

import lombok.AllArgsConstructor;
import lombok.Builder;
import lombok.Getter;
import lombok.NoArgsConstructor;

import javax.persistence.Entity;
import javax.persistence.Id;

@Entity
@Getter
@Builder
@NoArgsConstructor
@AllArgsConstructor
public class TestEntity {
    private String name;
    private String password;
    @Id
    private String id;
}
5. 서버 실행
- 아래와 같이 출력이 된다면 Test 라는 테이블이 생성된것이다.
stdout
...
Hibernate: create table test_entity (id varchar not null, name varchar, password varchar, primary key (id))
...
6. 테스트
- TestRepository.java
package com.startup.repository;

import com.startup.entity.TestEntity;
import org.springframework.data.jpa.repository.JpaRepository;

public interface TestRepository extends JpaRepository<String, TestEntity> {
}- TestService.java
- 간단하게 Test 테이블에 데이터를 추가한 후 조회하는 함수다.
package com.startup.service;

import com.startup.entity.TestEntity;
import com.startup.repository.TestRepository;
import lombok.AllArgsConstructor;
import lombok.RequiredArgsConstructor;
import org.springframework.stereotype.Service;

import java.util.NoSuchElementException;

@RequiredArgsConstructor
@Service
public class TestService {
    private final TestRepository testRepository;

    public TestEntity add(TestEntity entity){
        return testRepository.save(entity);
    }
    public TestEntity find(String id){
        return testRepository.findById("test").orElseThrow(NoSuchElementException::new);
    }
}
-
TestServiceTest.java
- 테스트가 정상적으로 종료되면 JPA 설정 끝!
package com.startup.service;


import com.startup.entity.TestEntity;
import org.assertj.core.api.Assertions;
import org.junit.Test;
import org.junit.runner.RunWith;
import org.springframework.beans.factory.annotation.Autowired;
import org.springframework.boot.test.context.SpringBootTest;
import org.springframework.test.context.junit4.SpringRunner;


@RunWith(SpringRunner.class)
@SpringBootTest
public class TestServiceTest {
    @Autowired
    private TestService service;
    @Test
    public void test() {
        final String test = "test";
        TestEntity testVal = TestEntity.builder().id(test).name(test).password(test).build();
        service.add(testVal);
        TestEntity findVal = service.find(test);
        Assertions.assertThat(findVal.getName()).isEqualTo(test);
    }

}
java, scala 개발자 입니다.