emotion 적용기
$ npm i @emotion/react @emotion/styled
Nest.js에서 emotion을 사용하고자 한다면 v10 이상부터는 따로 SSR 설정이 필요없지만 v10 이전이면 Styled-components와 같이 아래의 설정을 해줘야 한다.
https://github.com/vercel/next.js/blob/main/examples/with-emotion-vanilla/pages/_document.js
Note:
This only applies if you’re using vanilla Emotion or a version of Emotion prior to v10. For v10 and above, SSR just works in Next.js.
타입스크립트를 사용하고 있을 때 css prop를 쓰게되면 에러가 발생하게 되는데 TSConfig compilerOptions에 아래의 코드를 추가해줘야 한다.
"jsx": "react-jsx",
"jsxImportSource": "@emotion/react"
글로벌 스타일 적용 with Custom App
모든 페이지에 reset style와 같은 스타일을 입히고 싶을 때 Custom App Component를 사용하면 쉽게 적용이 가능하다.
Custom App을 사용하면 글로벌 스타일 뿐만 페이지의 이동간에 layout도 적용시킬 수 있으며 상태도 유지시킬 수 있다고 한다.
// pages/_app.tsx
import { css, Global } from '@emotion/react';
import type { AppProps } from 'next/app';
import reset from 'styles/reset';

function MyApp({ Component, pageProps }: AppProps) {
  return (
    <>
      <Global
        styles={css`
          ${reset}
        `}
      />
      <Component {...pageProps} />
    </>
  );
}

export default MyApp;


// styles/reset.ts
const reset = css`
	// reset 할 내용들
`;
Component prop에는 활성된 page가 반환되며 pageProps에는 미리 로드된 초기 props들이 넘어오게 된다.
즉, 모든 페이지들이 초기에 렌더되기전에 _app.tsx를 거친다고 생각하면 될 것 같다.
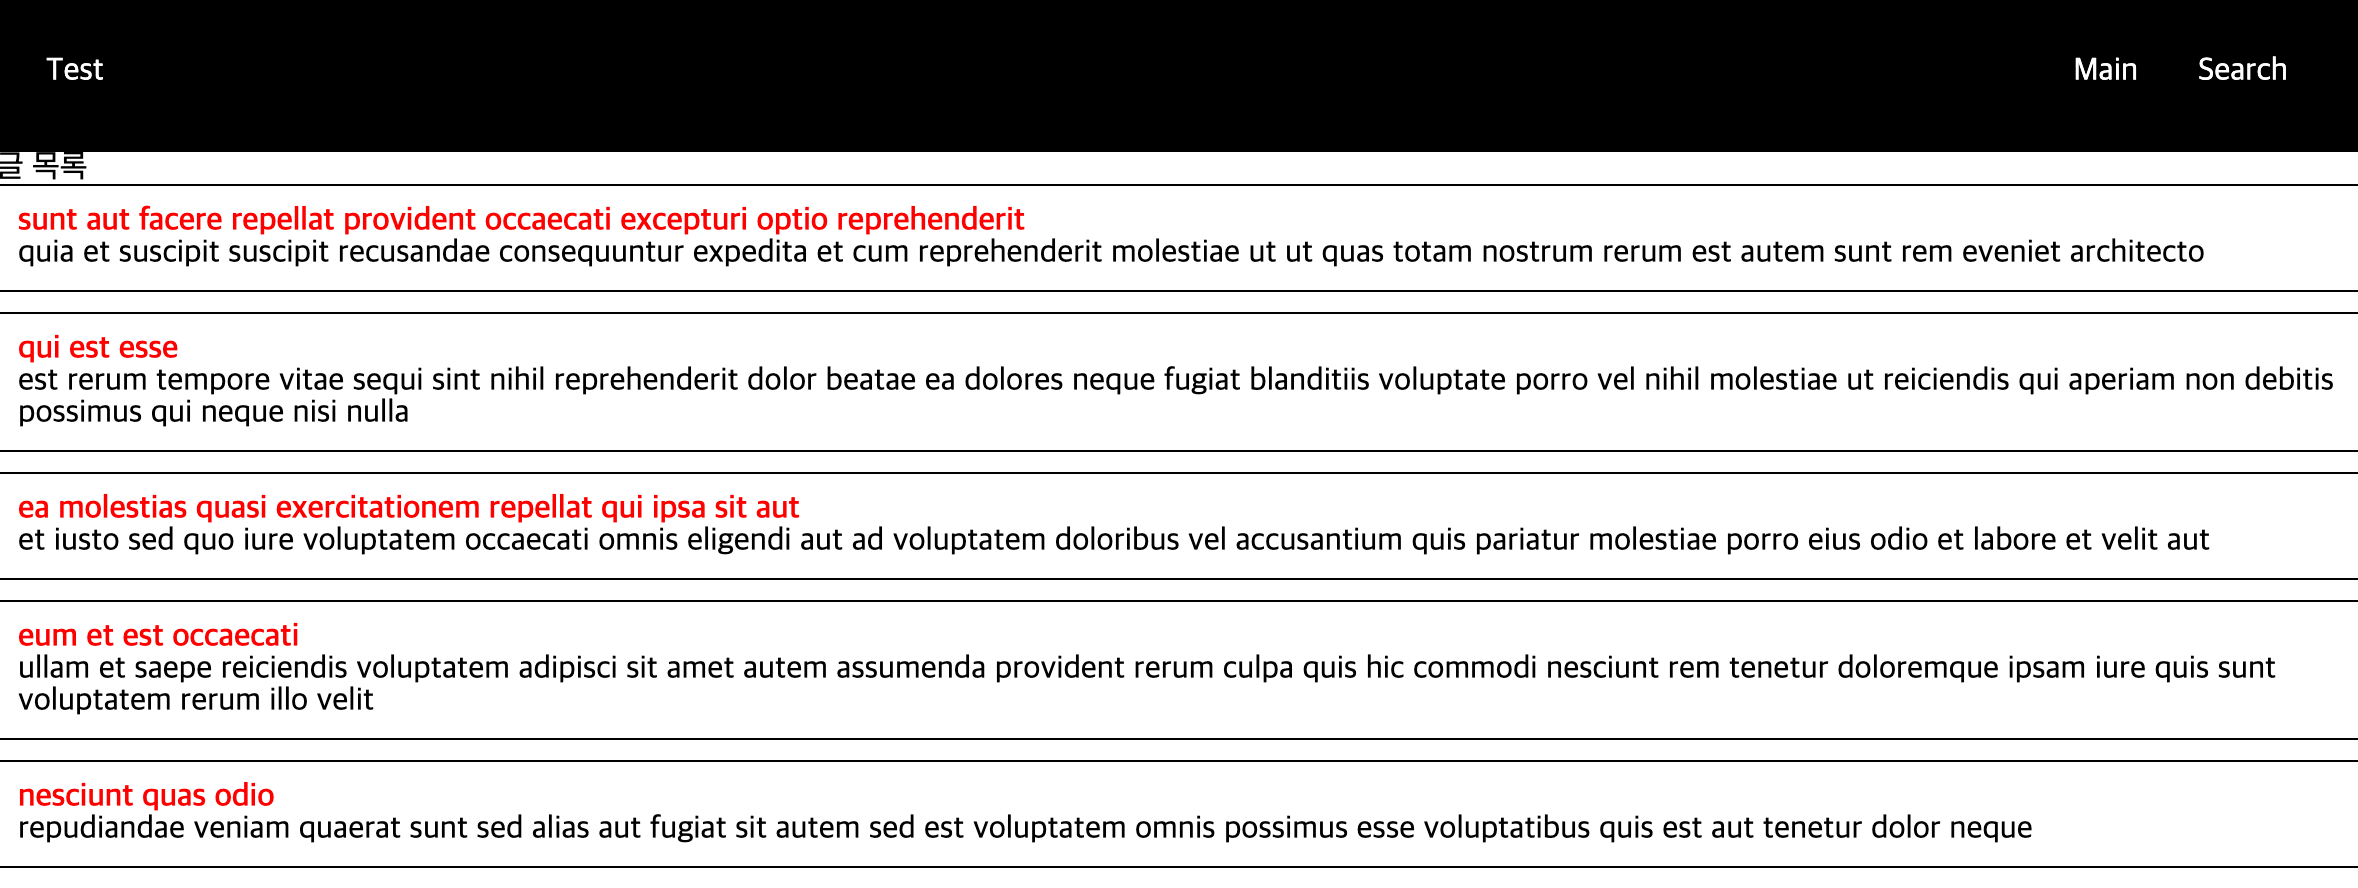
custom app으로 전역스타일을 적용시키고 나면 아래와 같이 잘 적용된 것을 확인할 수 있었다.

