useRef with useEffect 문제점
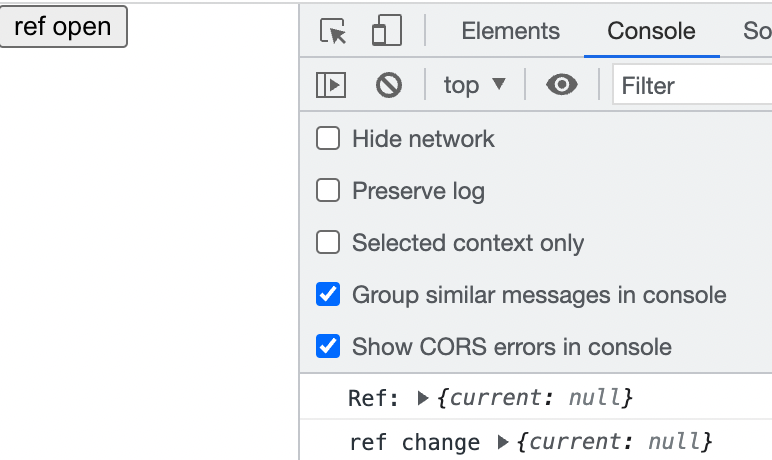
다음과 같은 코드가 있을 때 처음에는 ref가 참조할 수 있는 Dom이 없어 null값을 반환하게 된다.
function App() {
  const [isShow, setIsShow] = useState(false);
  const ref = useRef(null);

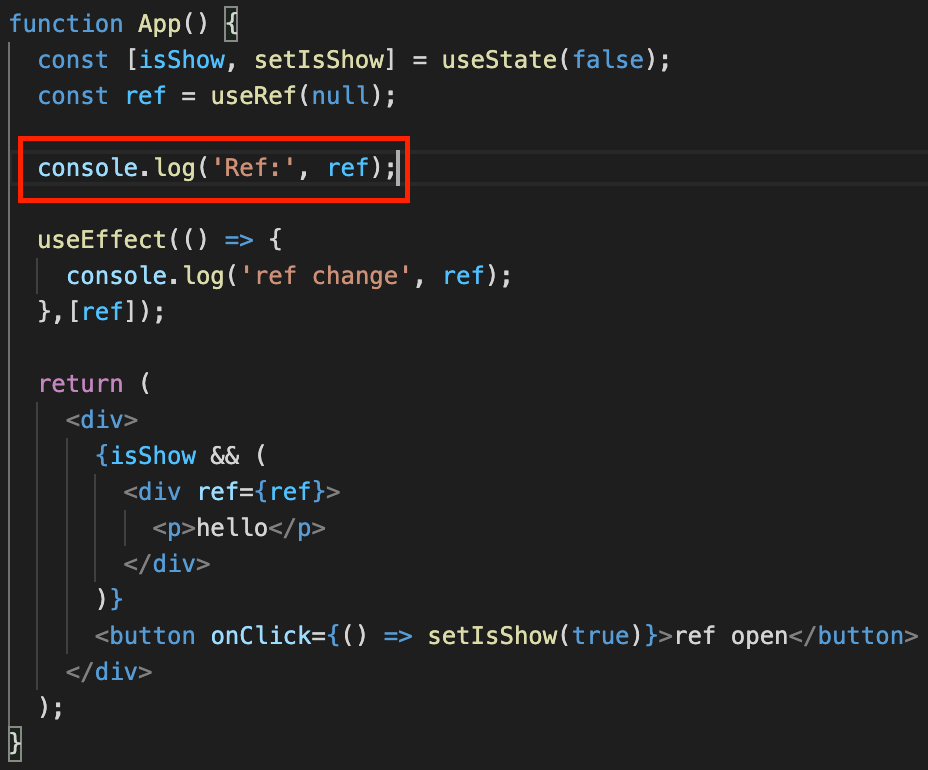
  console.log('Ref:', ref);

  useEffect(() => {
    console.log('ref change', ref);
  },[ref]);

  return (
    <div>
      {isShow && (
        <div ref={ref}>
          <p>hello</p>
        </div>
      )}
      <button onClick={() => setIsShow(true)}>ref open</button>
    </div>
  );
}
이제 여기서 버튼을 누르면 참조할 수 있는 Dom이 보이게 되면서 ref.current 프로퍼티에 Dom 요소가 담기게 되는데 useEffect의 의존배열에 ref 또는 ref.current을 주입하여도 useEffect가 실행되지 않는 것을 볼 수 있다.
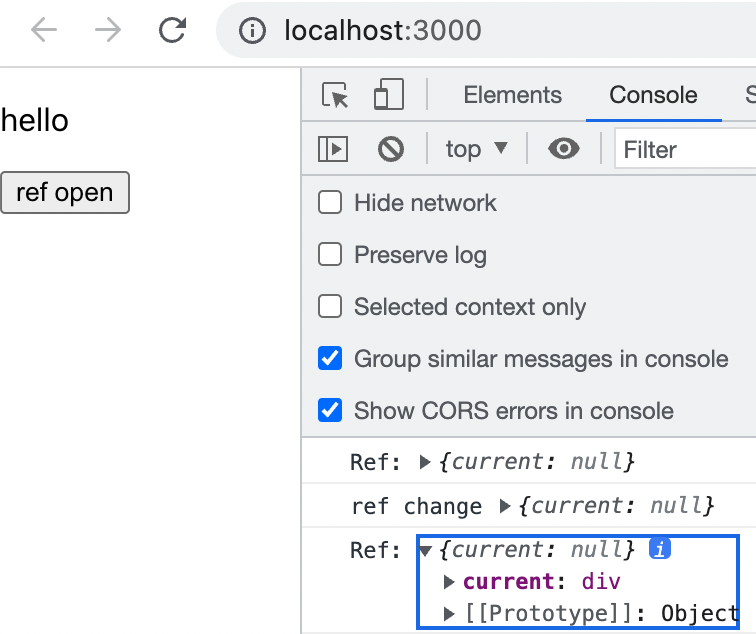
그리고 또 처음에는 current: null로 보이지만 막상 열어서 보면 div를 참조하고 있는데 콘솔이 찍히는 시점에는 null이였지만 밑에 있는 jsx 코드가 실행되면서 div 요소가 렌더링되면서 참조를 하기 때문에 실제로는 값을 참조하고 있는 것을 볼 수 있다.
그렇다면 ref의 값이 변경될 때마다 호출할 수 있는 방법은 없을까라는 고민이 있었는데 https://medium.com/@teh_builder/ref-objects-inside-useeffect-hooks-eb7c15198780 에서 해답을 얻을 수 있었다.
해결책으로 useRef 대신에 callback ref를 사용하라는 것이였다. useCallback을 사용하면 ref가 다른 노드에 연결될 때마다 해당 콜백을 호출하기 때문에 callback 내부에서 필요한 처리를 하면 된다.
테스트해본 코드는 다음과 같다.
function useHookwithRefCallback() {
  const ref = useRef(null)
  const setRef = useCallback(node => {
    console.log('호출', node);

    if (ref.current) {
      // Make sure to cleanup any events/references added to the last instance
    }

    if (node) {
      // Check if a node is actually passed. Otherwise node would be null.
      // You can now do what you need to, addEventListeners, measure, etc.
    }

    // Save a reference to the node
    ref.current = node
  }, []);

  return [setRef];
}

export default useHookwithRefCallback;


function App() {
  const [isShow, setIsShow] = useState(false);
  const [num, setNum] = useState(0);
  const [ref] = useHookwithRefCallback();

  return (
    <div>
      {isShow && (
        <div ref={ref}>
          <p>hello</p>
        </div>
      )}
      <p>{num}</p>
      <button onClick={() => setIsShow((prev) => !prev)}>ref open</button>
      <button onClick={() => setNum(prev => prev+=1)}>+</button>
    </div>
  );
}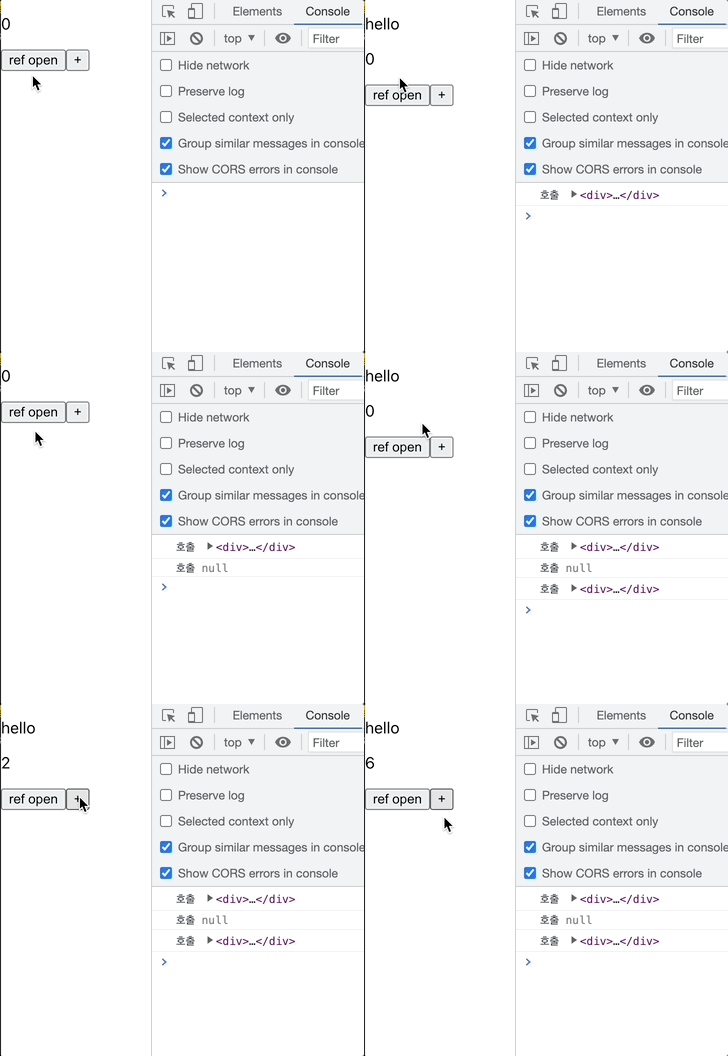
다음과 같이 ref가 바뀔때만 내부가 호출되는 것을 알 수 있다. 👍
이렇게 될 수 있었던 이유는 useCallback에 빈 배열에 의존하여 mount, unmount시에만 내부가 호출되며 <div ref={참조할 곳}>와 같이 반환된 함수가 참조할 곳이 변경될 때만 호출 될 수 있기 때문이다.
Image lazy loading
사실 위의 내용을 공부하게 된 계기가 Image lazy loading를 적용하기 위해서였는데 이제는 방법도 알았으니 이제는 진짜로 적용해볼 차례이다.
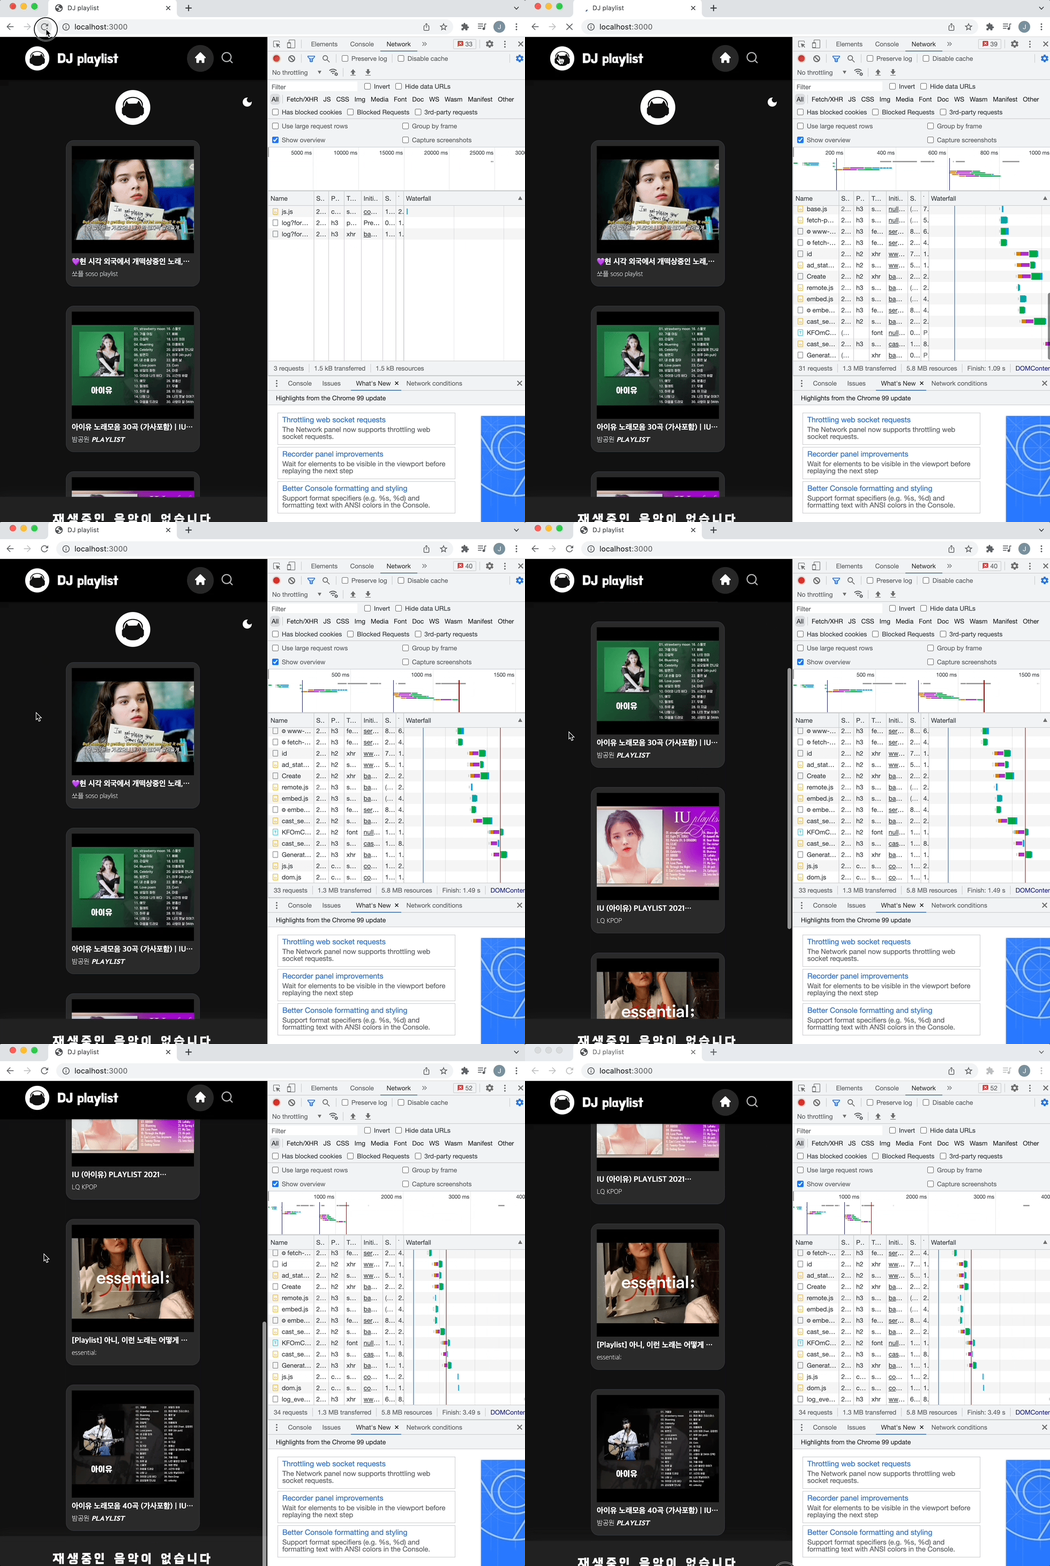
적용전
적용전에는 아래의 이미지와 같이 현재 viewport에 보이지 않는 이미지까지 불러오기 때문에 저장해둔 음악(이미지)이 많아질수록 초기 로딩속도에 영향을 미칠 수 있다.
custom hook과 LazyImage component
IntersectionObserver API를 사용하려고 하는데 해당 api가 꼭 Image lazy loading을 위해서만 쓰이지 않아 따로 custom hook으로 빼두었고 사용하고자 하는 곳에서 교차시 실행할 함수, threshold만 넘겨주는 방식으로 구현하였다.
function useIntersection({ callback, threshold }: Props) {
  const observer = useRef<IntersectionObserver | null>(null);

  const setRef = useCallback(
    (node) => {
      // 이전의 관찰자 해제
      if (observer.current) observer.current.disconnect();

      observer.current = new IntersectionObserver(callback, {
        threshold,
      });

	  // 관찰 시작
      if (node) observer.current.observe(node);
    },
    [callback, threshold],
  );

  return setRef;
}
LazyImage 또한 여러 컴포넌트에서도 쓰일 수 있기 때문에 컴포넌트로 따로 빼두었다.
import LazyImage from './LazyImage';

<MusicCardProfileImg
  onClick={() => handleSelectMusic(item)}
  aria-label="music play button"
>
  <LazyImage src={item.url} alt="thumbnail" />
</MusicCardProfileImg>
이제 사용하고자 하는 곳에서 교차시 실행할 함수를 넘겨주면 끝이다.
나의 경우에는 Image 요소의 src를 변경하는 함수를 넘겨주었다.
function LazyImage({ src, alt }: Props) {
  const ref = useIntersection({
    callback: (
      entries: IntersectionObserverEntry[],
      io: IntersectionObserver,
    ) => {
      entries.forEach((entry) => {
        if (entry.isIntersecting) {
          const lazyImage = entry.target;
          lazyImage.setAttribute('src', src);
          io.unobserve(entry.target);
        }
      });
    },
    threshold: 0.5,
  });

  return <img ref={ref} src={loading} alt={alt} />;
}
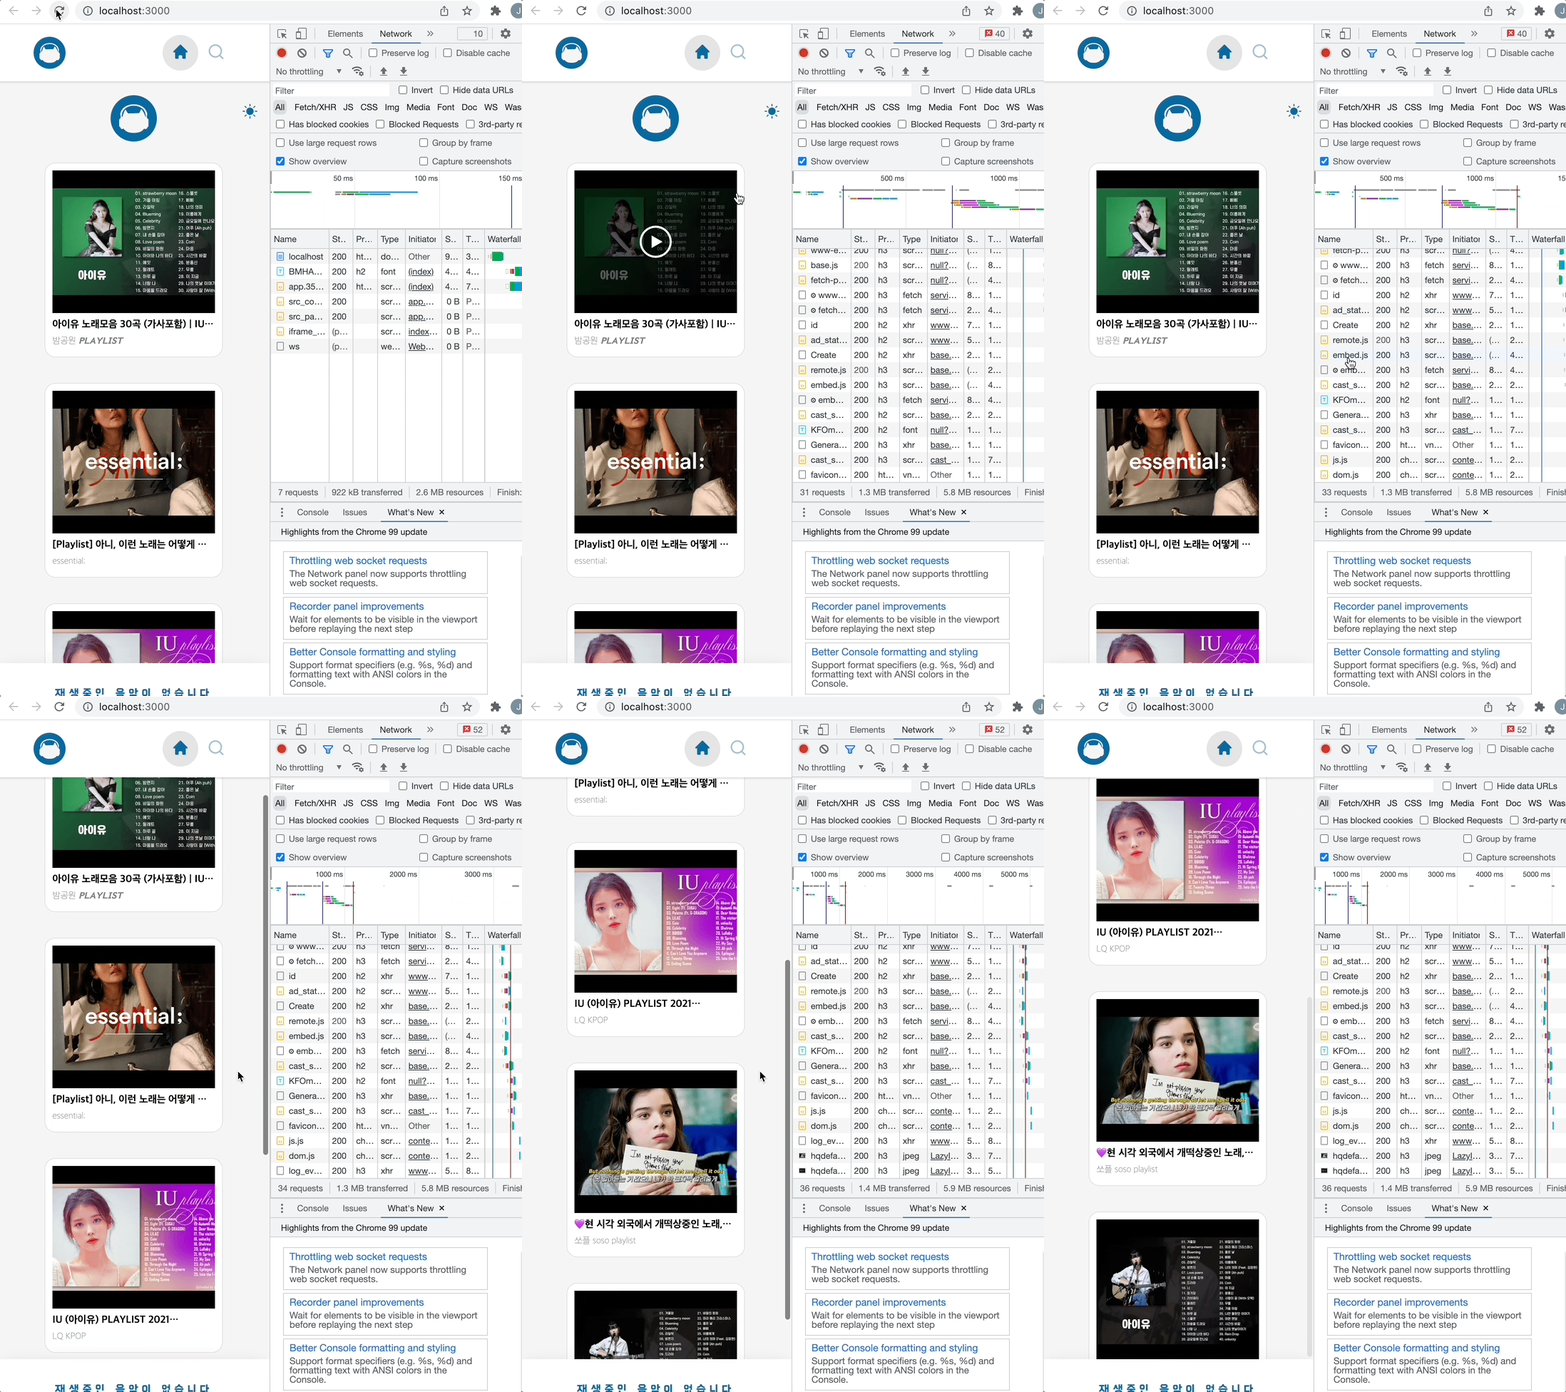
적용후
Image lazy loading를 적용하고나서는 필요한 이미지만 먼저 불러오며 교차 전에는 skeleton UI를 보여주다가 교차하게 되면 원래의 이미지를 보여주게 된다.
(근데 이런 기능을 Next.js에서는 Image component만 사용하면 된다...)
적용한 곳은 https://github.com/Danji-ya/DJ-playlist/commit/fbe9693b0c14c926154f73a0c86f924450bd820a 이다.
