프로젝트를 Github와 같은 플랫폼에 공유를 하는데 이때 사용하는 사용자 고유 키의 정보가 들어가있다.
하지만 외부에 노출이되면 안되는 인증 키의 경우는 마찬가지로 Github에서도 노출되면 안된다.
오늘은 각종 키들을 local.properties 파일을 통해 노출시키지 않고 사용하는 방법에 대해 정리하겠다.
local.properties 파일은 Android Studio 에서 자동으로 생성해주는 파일이다.
## This file is automatically generated by Android Studio.
# Do not modify this file -- YOUR CHANGES WILL BE ERASED!
#
# This file should *NOT* be checked into Version Control Systems,
# as it contains information specific to your local configuration.
#
# Location of the SDK. This is only used by Gradle.
# For customization when using a Version Control System, please read the
# header note.
sdk.dir= '경로'
처음 생성되는 파일에는 위와 같이 생성된다. 이 파일은 로컬환경 관련된 정보가 포함되므로 Git에서 관리되지 않도록 해야한다.
local.properties 파일에 키 추가

다음과 같이 GOOGLE_CLIENT_ID 로 키를 추가해준다.
build.gradle(:app)에서 local.properties의 값 가져오기
bulid.gradle(:app) 파일에서 local.properties에 선언된 값을 가져오기 위해 Properties localProperties를 생성해주고 FileInputStream 을 사용해 로드해준다.
로드된 값은 key-value 형태로 로드되어 사용된다. 이 로드된 값을 buildConfigField로 설정해준다.
def localProperties = new Properties()
localProperties.load(new FileInputStream(rootProject.file("local.properties")))
android {
...
buildTypes {
debug {
buildConfigField("String", "GOOGLE_CLIENT_ID", localProperties['GOOGLE_CLIENT_ID'])
}
release {
minifyEnabled false
proguardFiles getDefaultProguardFile('proguard-android-optimize.txt'), 'proguard-rules.pro'
}
}
...
}위와 같은 형식으로 작성한 후 sync 를 누른 다음 BuildConfig 파일에 정상적으로 생성되었는지 확인해보자.
BuildConfig 확인하기
BuildConfig 위치
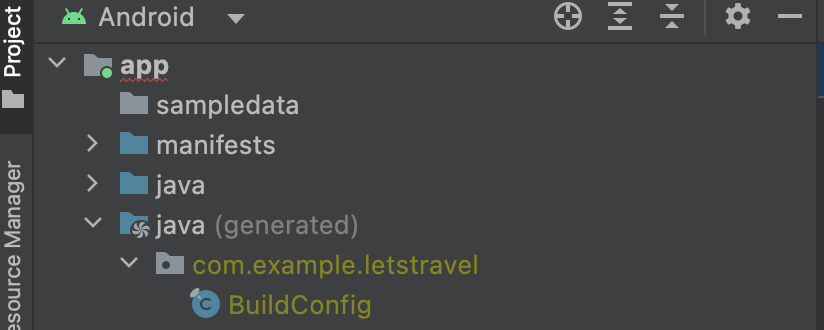
확인해보기
위 방법을 차례로 마친다면 BuildConfig 파일에 선언되어있는 것을 확인해볼 수 있다.
public final class BuildConfig {
  ...
  // Field from build type: debug
  public static final String GOOGLE_CLIENT_ID = "key";
}
공부가 조은 안드로이드 개발자