

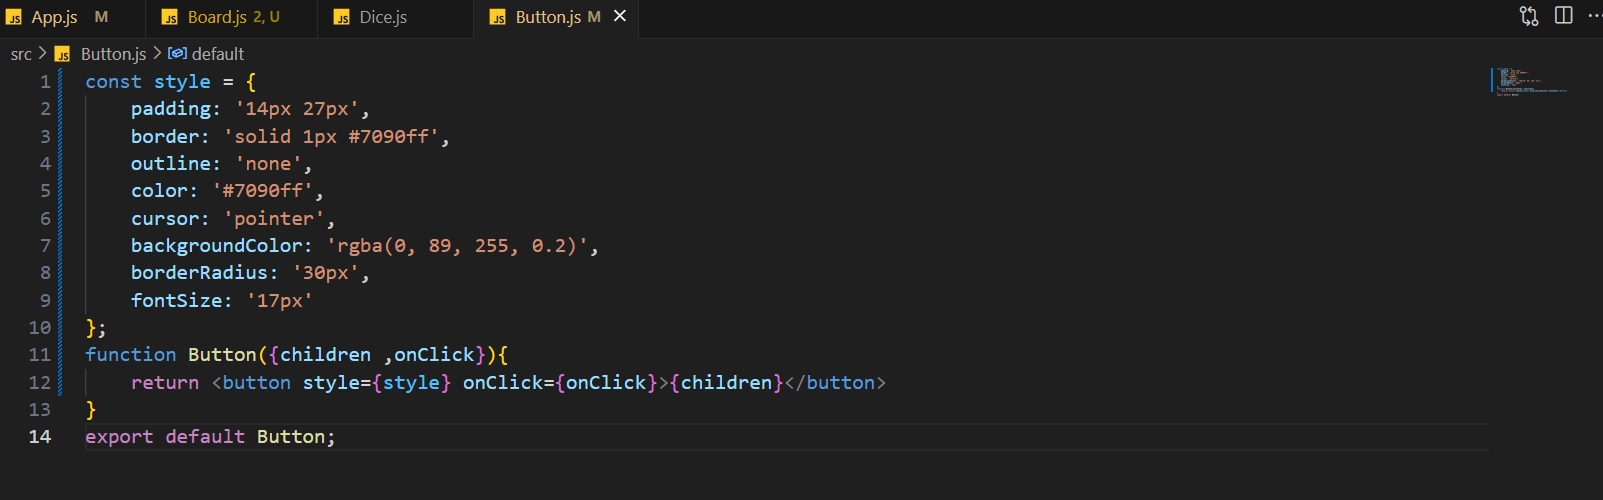
속성명 쓸 때는 카멜표기법으로!
공통적인 baseButton style을 만들고
각각의 blue, red Button의 style을 만든다.
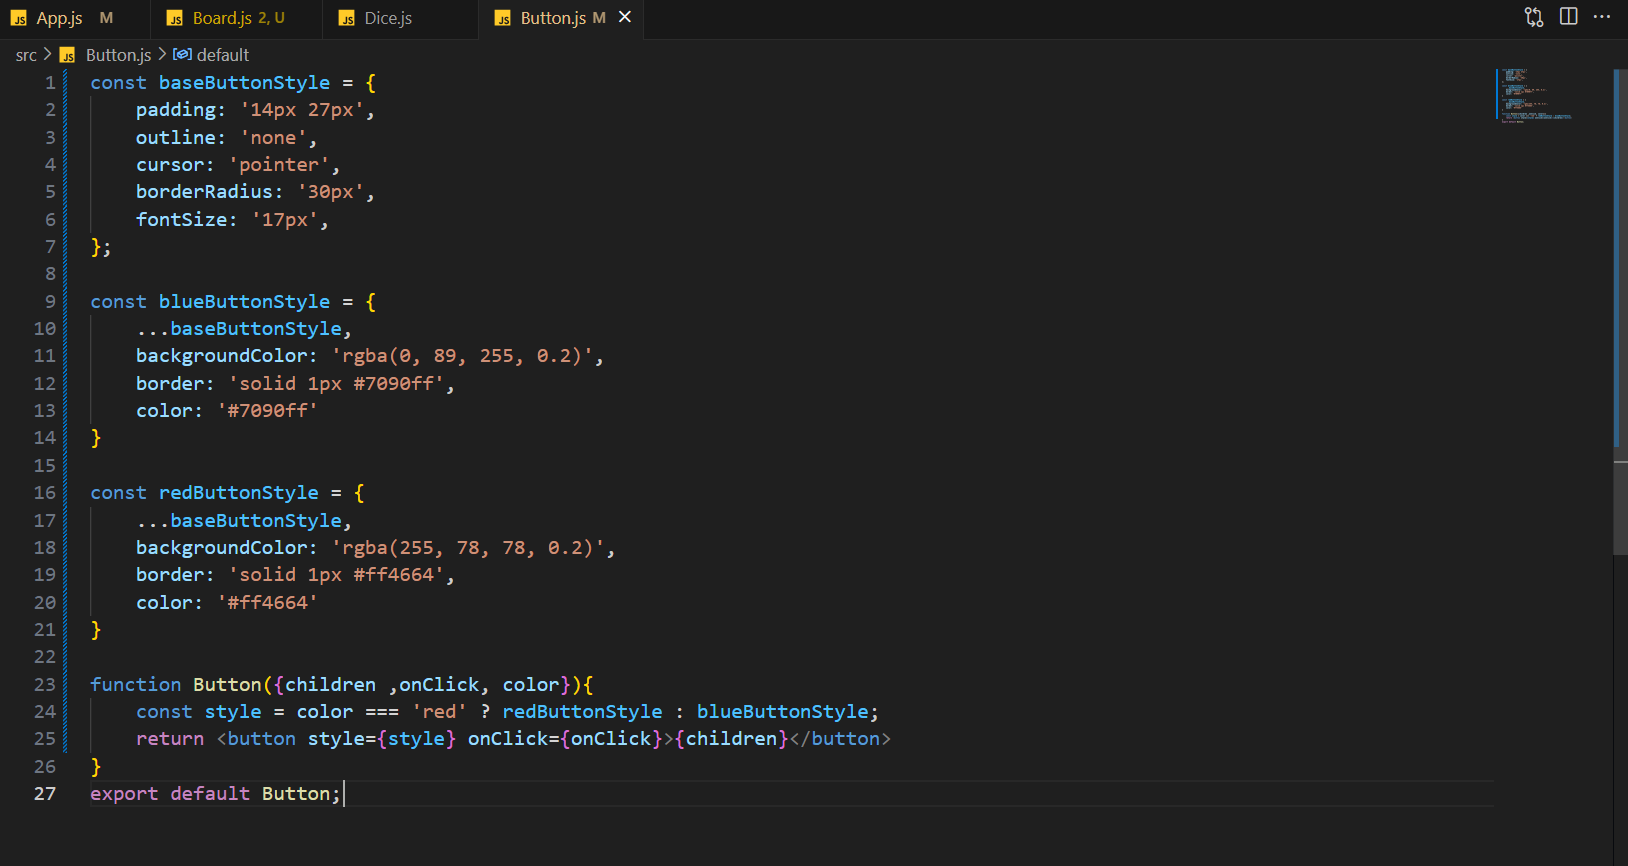
Button 함수에 color props를 추가하고
style 변수를 만든다 (color가 'red'이면 redButtonStyle을.
그게 아니면 blueButtonStyle을 나타나게 한다.)
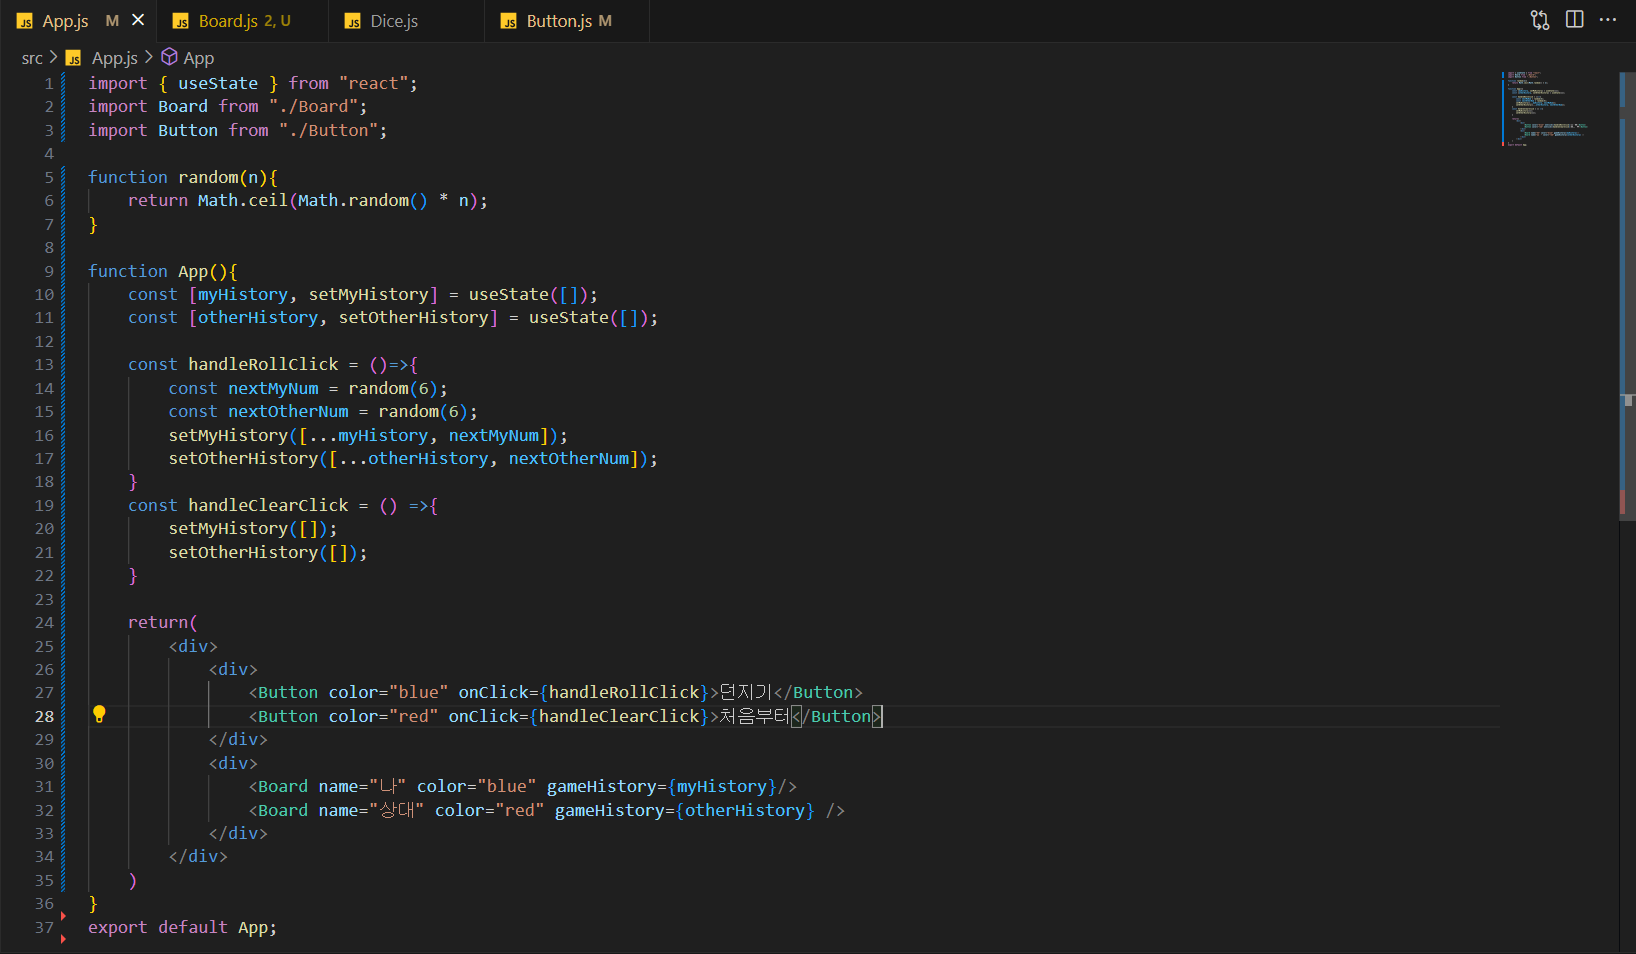
Button 태그에 color속성을 추가해준다.
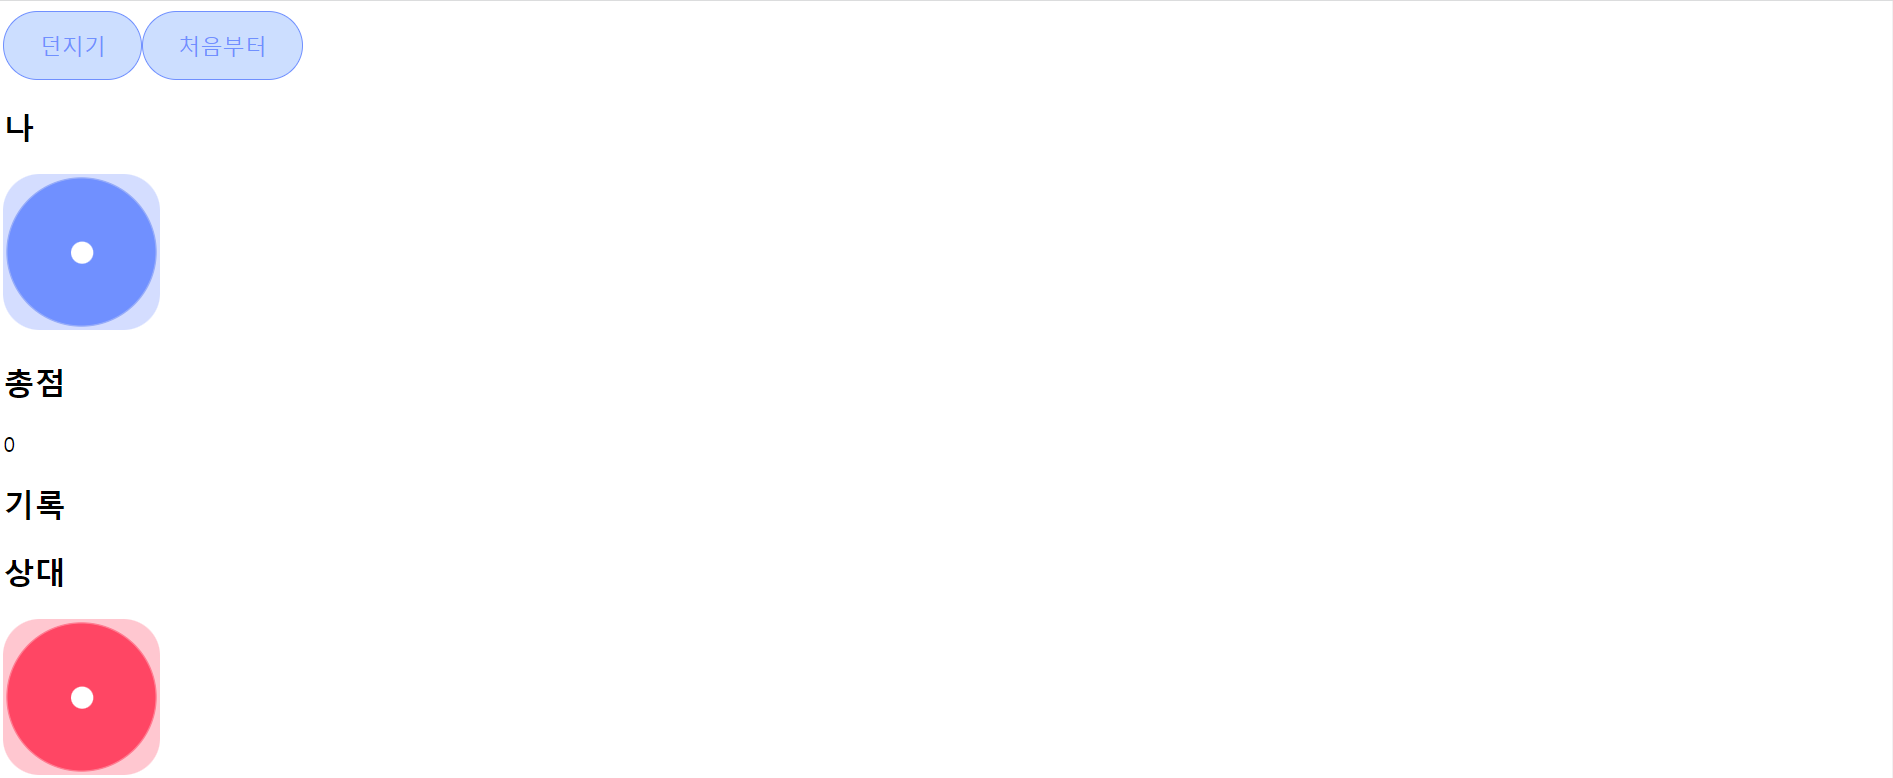
color = "blue"
디자인 적용하기
이미지 불러오기
이미지 파일은 import 구문을 통해 불러오고,
불러온 이미지 주소를 src 속성으로 사용
인라인 스타일
리액트에서 인라인 스타일은 문자열이 아닌 객체형으로 사용
프로퍼티 이름은 CSS 속성 이름으로,
프로퍼티 값은 CSS 속성 값
이때 프로퍼티 이름은 대시 기호 없이 카멜 케이스로 써야 한다!!
const style = {
  borderRadius: '50%',
  width: '120px',
  height: '120px',
};
CSS파일 불러오기
import 구문으로 파일을 불러오고 from 키워드 없이 쓰면 된다.
import './Dice.css';클래스네임 사용하기
CSS 파일에 정의된 클래스명을 className prop에 문자열로 넣어주면 된다.
이때 재사용성을 위해 className prop을 부모 컴포넌트에서 받으면 더 활용성이 있다.
function Dice({ className = '' }) {
  const classNames = `Dice ${className}`;
  return <img className={classNames} src={diceImg} alt="주사위 이미지" />;
}
편리하게 클래스네임을 쓰는 방법
템플릿 문자열을 사용한 예
function Button({ isPending, color, size, invert, children }) {
  const classNames = `Button ${isPending ? 'pending' : ''} ${color} ${size} ${invert ? 'invert' : ''}`;
  return <button className={classNames}>{children}</button>;
}
배열을 사용한 예
function Button({ isPending, color, size, invert, children }) {
  const classNames = [
    'Button',
    isPending ? 'pending' : '',
    color,
    size,
    invert ? 'invert' : '',
  ].join(' ');
  return <button className={classNames}>{children}</button>;
}
위 예시 코드처럼 지저분하게 느껴지고,
매번 반복되는 코드를 작성한다는 번거로움이 있다.
다른 개발자가 미리 만들어 놓은 코드를 이용해서 편하게 개발할 수 있다.
클래스네임의 경우에도 편리하게 사용할 수 있는 라이브러리가 있다.
classnames
classnames 라이브러리를 사용한 예
import classNames from 'classnames';
function Button({ isPending, color, size, invert, children }) {
  return (
    <button
      className={classNames(
        'Button',
        isPending && 'pending',
        color,
        size,
        invert && 'invert',
      )}>
     { children }
   </button >
  );
}
classnames 은 NPM이라는 프로그램을 통해 설치할 수 있다.
터미널에서 npm install classnames 을 입력하고 설치한 다음에,
위 예시처럼 import 로 불러와서 사용하면 된다.