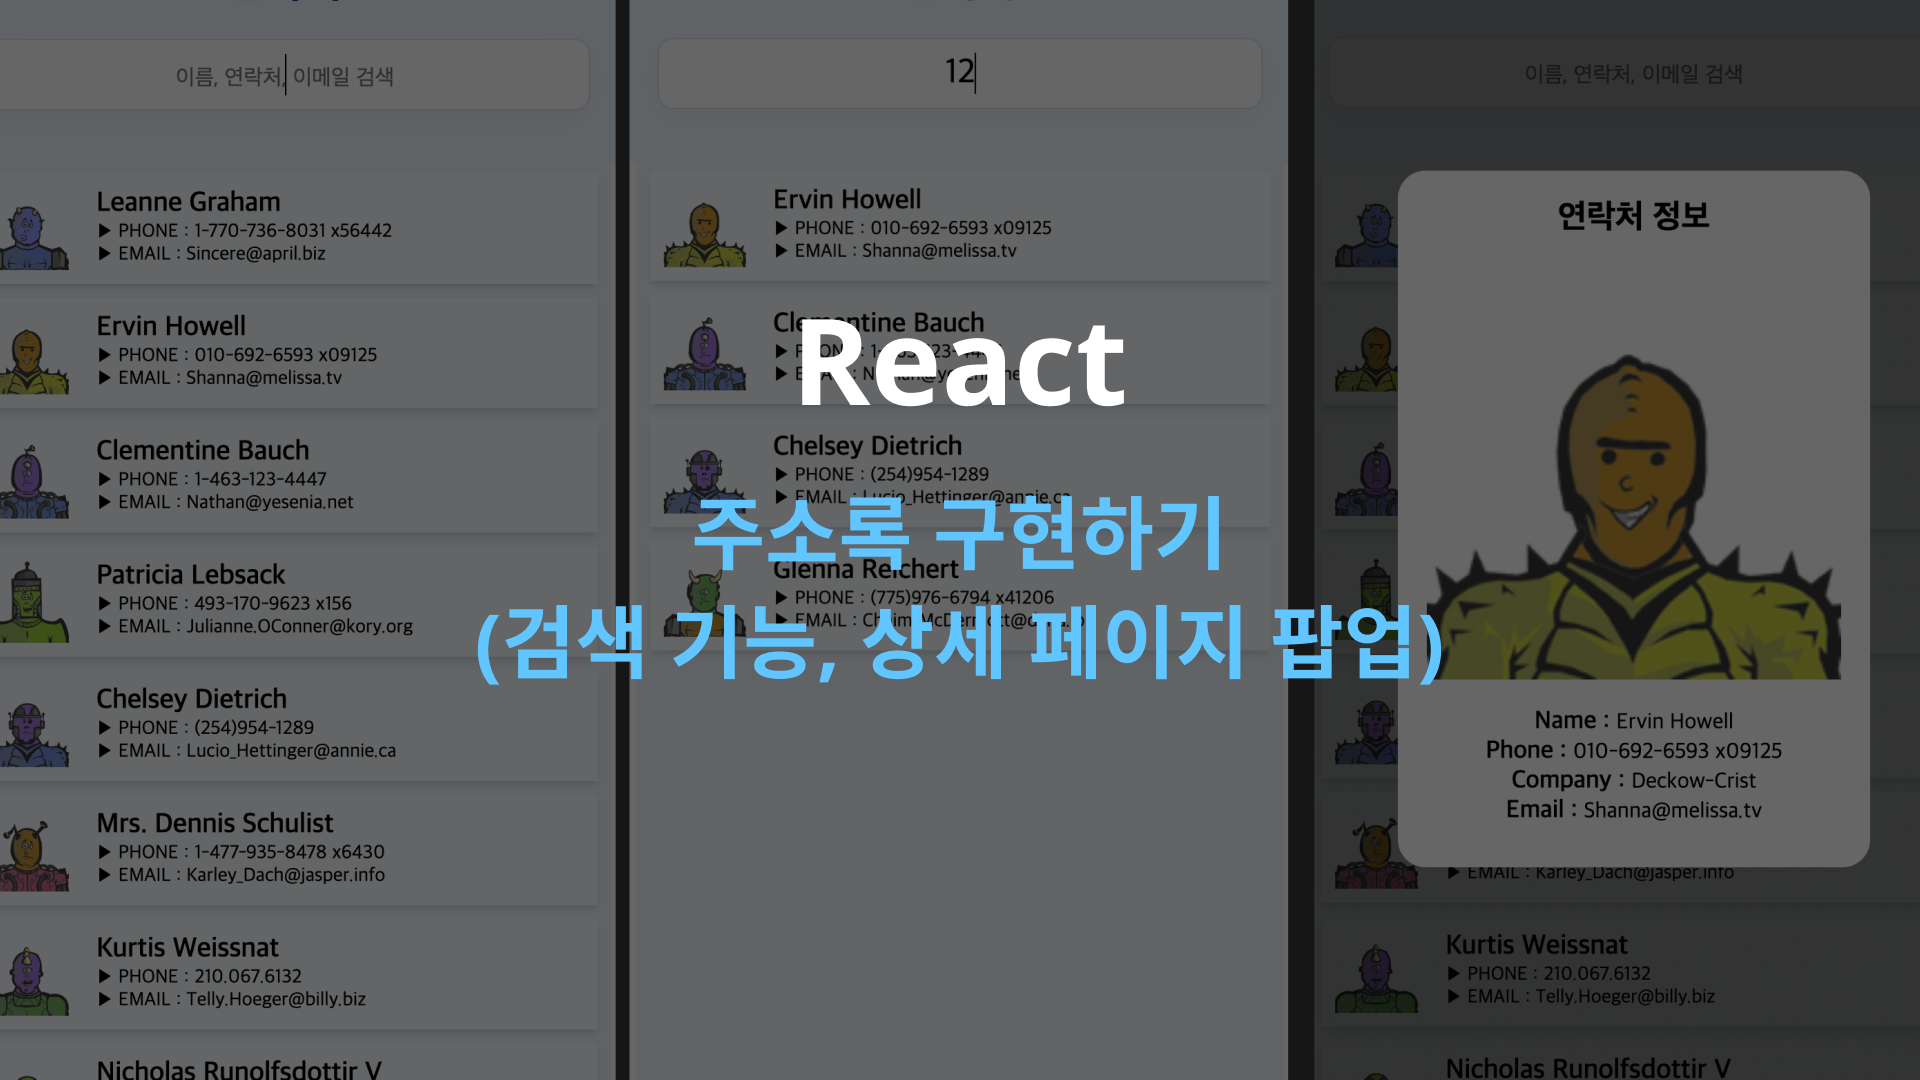
구현 기능
- API로 부터 데이터를 패치받아오기
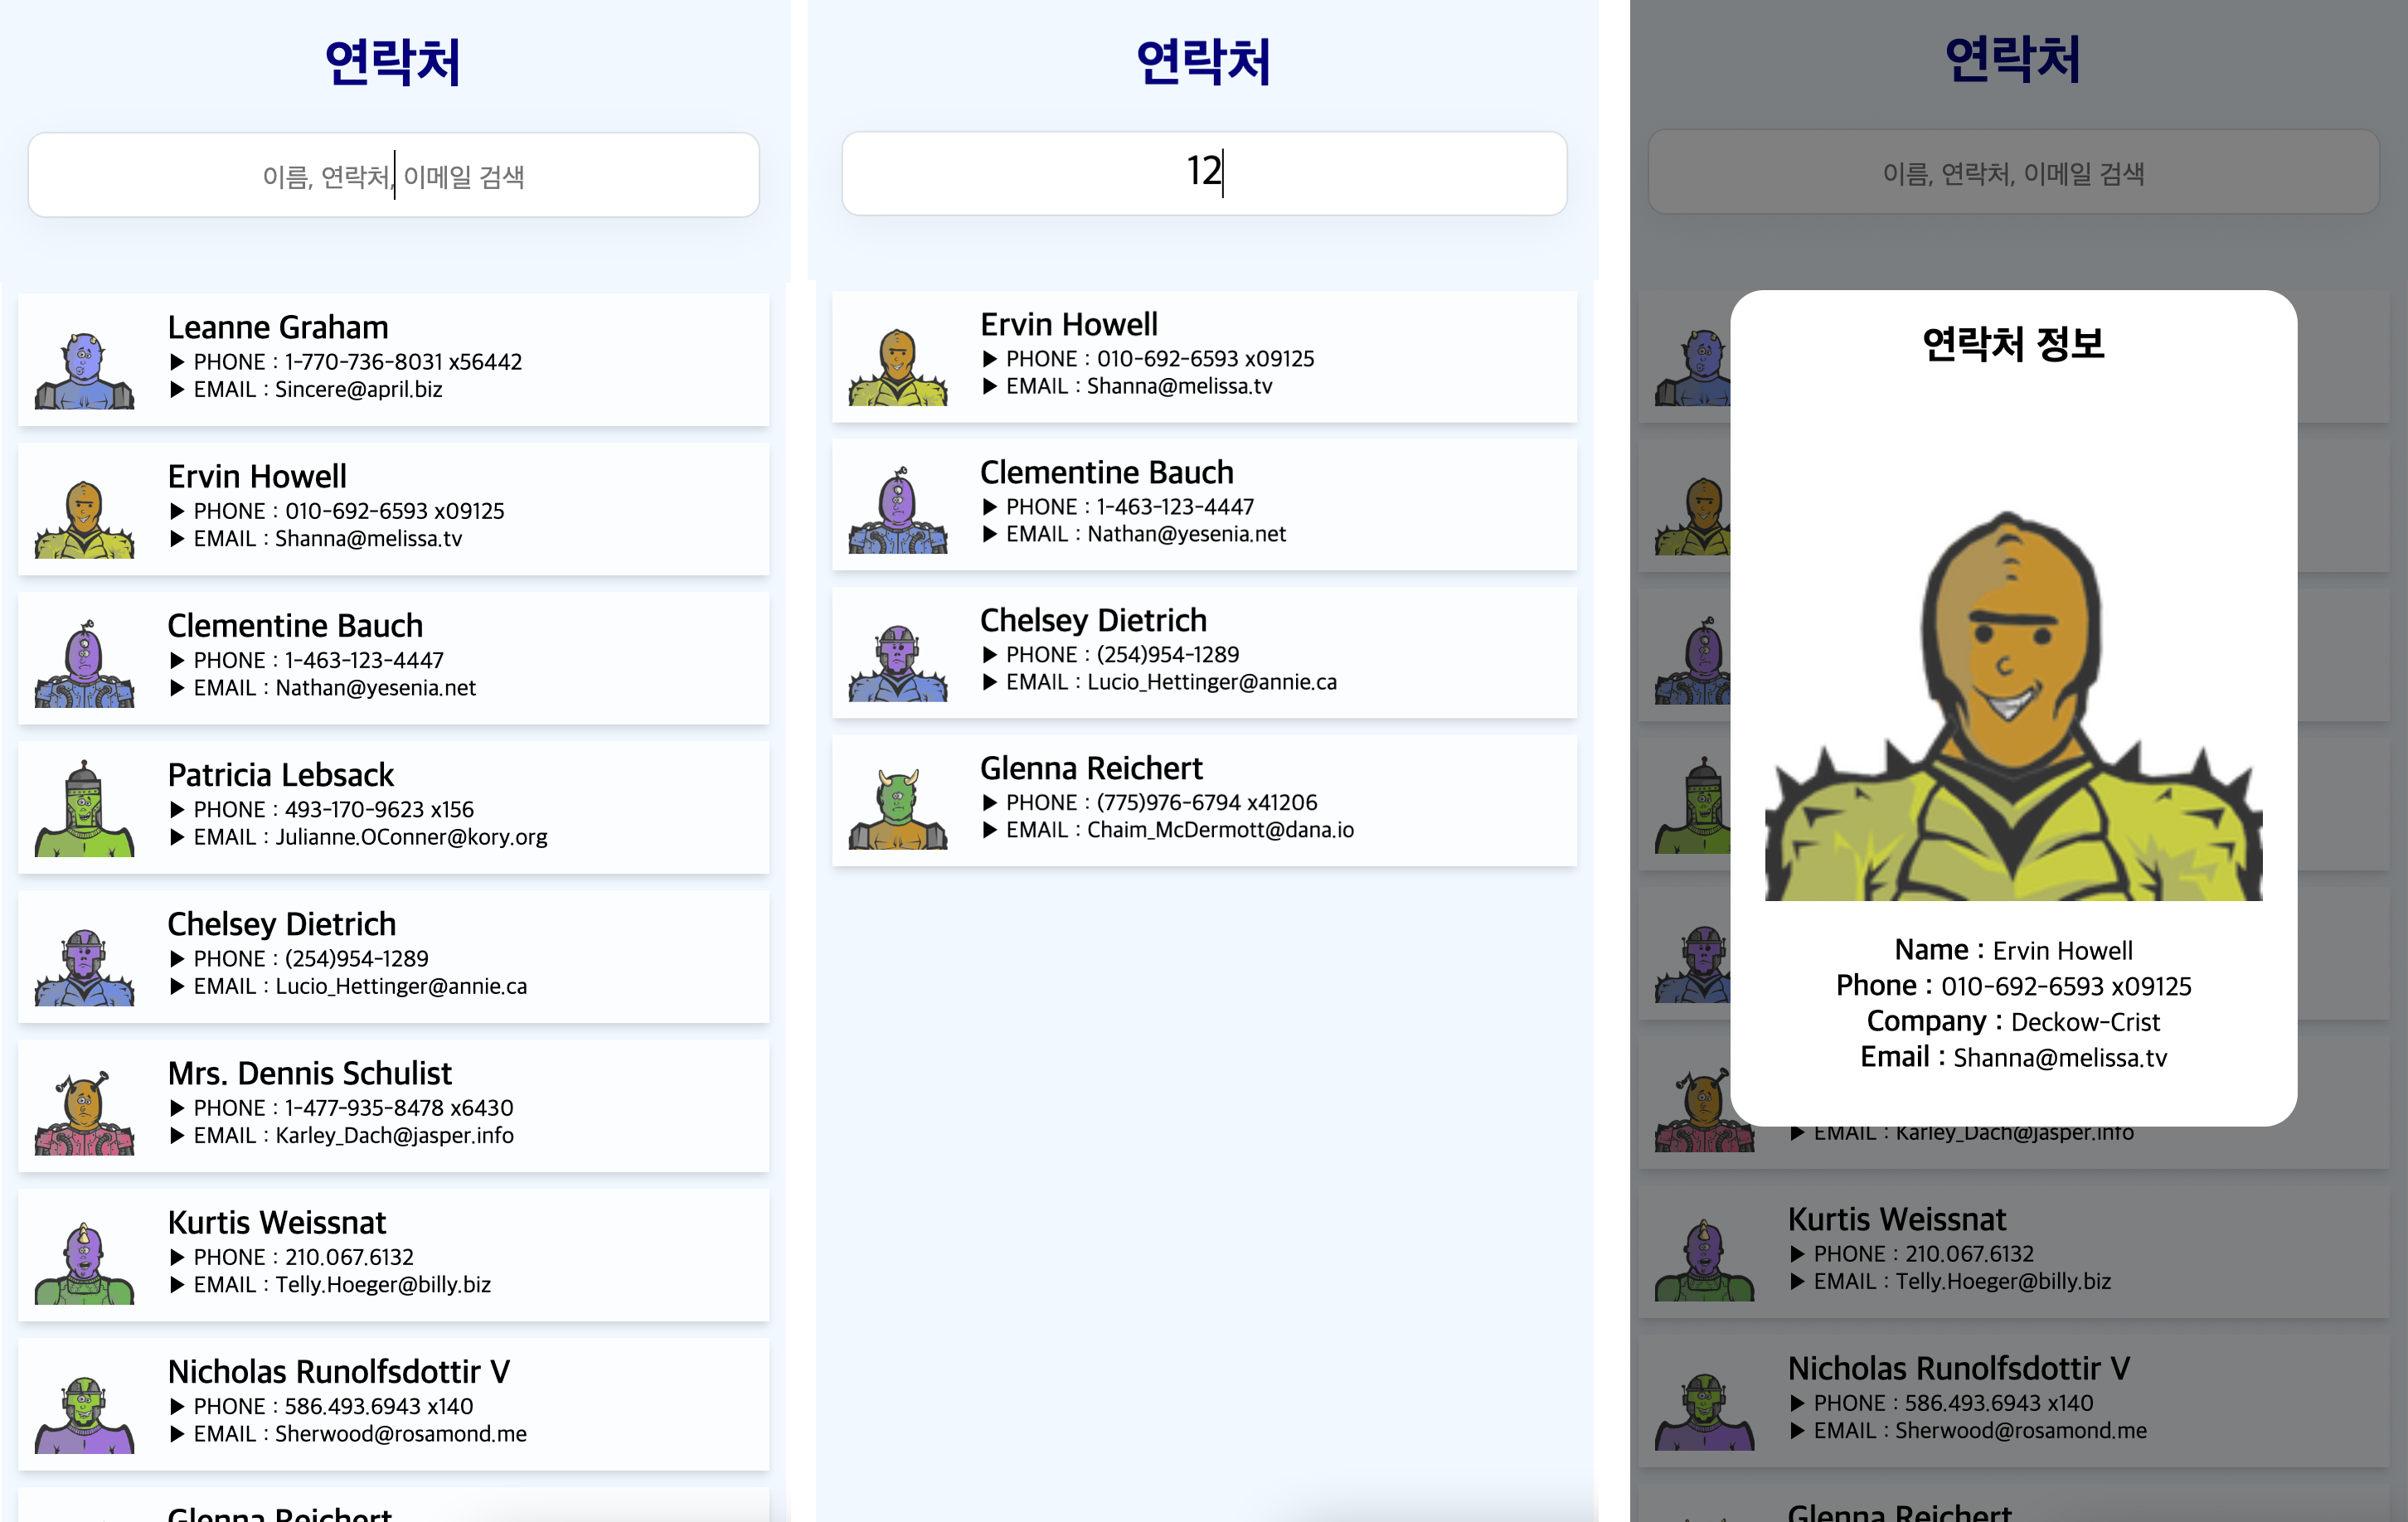
- 각각의 유저 간단 정보를 컴포넌트화 하여, search(input창 아래 나열)
- 검색 단어에 따라, 이름, 연락처, 이메일이 일치하는 유저 정보만 나타내기
- 간단 정보 클릭 시, 자세한 유저 정보 POP-UP 형태로 확인 가능
사용한 것
- axios
- useState, useEffect
- array.map, filter
- @emotion/styled
1) API로 부터 데이터 받아오기
import React, { useEffect, useState } from "react";
import axios from "axios";
import styled from "@emotion/styled";

import CardList from "./CardList";

const Monsters = () => {
    const [monsters, setMonsters] = useState([]);
    const [searchTerm, setSearchTerm] = useState("");
const [copy, setCopy] = useState([]);- 이번에는 fetch 메서드를 쓰지 않고, axios를 사용하여 데이터를 불러와보았다.
    useEffect(() => {
        const fetch = async () => {
            const { data } = await axios.get(
                "https://jsonplaceholder.typicode.com/users"
            );

            data.map(
                (e) =>
                    (e.image = `https://robohash.org/${e.id}?set=set2&size=180x180`)
            );   // 불러온 API 파일에 따로 이미지 src가 없어서, data에 추가 저장함

            setMonsters(data);
            setCopy(data);
        };
        fetch();
}, []);- copy를 따로 저장해준 이유
➡️ filter에 따라, monsters 배열이 바뀌기 때문에 원본 array를 copy라는 이름으로 따로 저장해주었다. - 처음에 copy로 따로 원본을 저장하지 않은 채로 쓰다 보니, 검색어를 쳐놓고 하나씩 지웠을 때에 이전 검색 결과에 나왔던 유저들이 나오지 않았다...이미 filter된 유저 정보 안에서 계속 찾고 있어서 그랬다..
2. useState를 사용하여 input에 입력된 값을 포함하는 배열 만들기
- input창에 입력된 값을 searchTerm으로 저장
    const handleInputChange = (e) => {
        setSearchTerm(e.target.value);
    };

    useEffect(() => {
        setMonsters(
            copy.filter(
                (e) =>
                    e.name.toLowerCase().includes(searchTerm.toLowerCase()) ||
                    e.phone.includes(searchTerm) ||
                    e.email.toLowerCase().includes(searchTerm.toLowerCase())
            )
        );
}, [searchTerm, copy]);- searchTerm에 변화가 생길 때 마다, filter를 통해 copy배열 중 searchTerm을 포함하고 있는 항목만 monsters에 새로 업데이트
- name, email의 경우, 대문자/소문자에 관계 없이 검색했을 때 일치하는 결과를 보여줄 수 있도록, searchTerm과 name, email 모두 toLowerCase()를 적용해주었다.
3. 하위 컴포넌트에 props로 내용 전달해주기
    return (
        <Container>
            <FixedWrap>
                <Title>연락처</Title>
                <Search
                    placeholder="이름, 연락처, 이메일 검색"
                    onChange={handleInputChange}
                />
            </FixedWrap>
            <CardList item={monsters} />
        </Container>
    );
};
export default Monsters;- monsters 를 하위 컴포넌트인 CardList에 전달해주기
- styled Component 작성 내용
const Container = styled.div`
    display: flex;
    flex-direction: column;
    align-items: center;
    background-color: aliceblue;
    height: 1600px;
    text-align: center;
    padding: 10px;
`;

const FixedWrap = styled.div`
    position: fixed;
    background-color: aliceblue;
    top: 0;
    width: 100%;
`;

const Title = styled.h1`
    color: navy;
`;

const Search = styled.input`
    all: unset;
    background-color: white;
    width: 90%;
    height: 50px;
    font-size: 25px;
    margin-bottom: 40px;
    border-radius: 10px;
    box-shadow: rgba(0, 0, 0, 0.05) 0px 6px 24px 0px,
        rgba(0, 0, 0, 0.08) 0px 0px 0px 1px;

    ::placeholder {
        font-size: 16px;
    }
`;
4. 선택한 유저 정보 Detail Page 팝업식으로 구현
(사실 4번이 가장 어려웠다)
- 우선 CardList 컴포넌트에 clicked된 유저를 state로 저장해주었다.
// CardList.js
import styled from "@emotion/styled";
import React, { useState } from "react";

import Card from "./Card";
import Detail from "./Detail";

const CardList = ({ item }) => {
    const [clicked, setClicked] = useState();
    const handleCardClick = (id) => {
        setClicked(item.find((el) => el.id === id));
};- clicked를 console.log로 확인해보면, 클릭된 해당 유저의 정보가 객체 형태로 뜸
  return (
        <CardListContainer>
            {item.map((monster) => (
                <Card
                    name={monster.name}
                    id={monster.id}
                    phone={monster.phone}
                    email={monster.email}
                    key={monster.id}
                    image={monster.image}
                    onClick={() => handleCardClick(monster.id)}
                    clicked={clicked}
                    setClicked={setClicked}
                />
            ))}
            {clicked && <Detail clicked={clicked} setClicked={setClicked} />}
        </CardListContainer>
    );
};
export default CardList;- onClick을 했을 떄 handleCardClick 함수를 콜백함수 형태로 전달
- hadleCardClick 유저의 id를 엘리먼트로 받는 형태로 작성하였음
- clicked가 존재하면 Detail 컴포넌트가 보여질 수 있도록 { clicked && } 사용
const CardListContainer = styled.div`
    display: flex;
    flex-direction: column;
    margin-top: 160px;
    gap: 10px;
    width: 100%;
`;
// Detail.js
- 디테일 부분은 유저 정보가 POP-UP 형태로 뜨는 효과를 주기 위해서 반투명한 검은색의 overlay를 깔고, 그 위에 유저 디테일 정보가 하얀 배경에 나오도록 하였다.
- 유저 정보 부분 외에 overlay를 클릭하면, clicked의 값이 사라져, detail 컴포넌트도 사라지도록 구현
import React from "react";

import styled from "@emotion/styled";

import Overlay from "./Overlay";

const Detail = ({ clicked, setClicked }) => {
    return (
        <>
            <Overlay onClick={() => setClicked()} />
            <Container>
                <h2>연락처 정보</h2>
                <img src={clicked.image} alt="프로필사진" />
                <Info>
                    <InfoLeft> Name : </InfoLeft>
                    <InfoRight>{clicked.name}</InfoRight>
                </Info>
                <Info>
                    <InfoLeft> Phone : </InfoLeft>
                    <InfoRight>{clicked.phone}</InfoRight>
                </Info>
                <Info>
                    <InfoLeft> Company : </InfoLeft>
                    <InfoRight>{clicked.company.name}</InfoRight>
                </Info>
                <Info>
                    <InfoLeft> Email : </InfoLeft>
                    <InfoRight>{clicked.email}</InfoRight>
                </Info>
            </Container>
        </>
    );
};

export default Detail;

const Container = styled.div`
    position: fixed;
    margin: 0 auto;
    left: 0;
    right: 0;
    z-index: 500;
    display: flex;
    flex-direction: column;
    justify-content: center;
    align-items: center;
    width: 70%;
    background-color: white;
    border-radius: 20px;
    padding-bottom: 30px;

    img {
        width: 300px;
        margin-bottom: 20px;
    }
`;

const Info = styled.div``;

const InfoLeft = styled.span`
    font-weight: 600;
    font-size: 18px;
`;

const InfoRight = styled.span``;- 그 외에 상대적으로.. 어렵지 않은 card 컴포넌트, overlay 레이아웃 컴포넌트도 아래에 추가해봅니다..
// Card.js
import React from "react";
import styled from "@emotion/styled";

const Card = ({ name, email, phone, image, onClick }) => {
    return (
        <CardContainer onClick={onClick}>
            <img src={image} alt="프로필 사진 오류" />
            <UserInfo>
                <Name>{name}</Name>
                <Info>▶︎ PHONE : {phone}</Info>
                <Info>▶︎ EMAIL : {email}</Info>
            </UserInfo>
        </CardContainer>
    );
};

export default Card;

const CardContainer = styled.div`
    display: flex;
    padding: 10px;
    background-color: rgba(255, 255, 255, 0.7);
    box-shadow: rgba(0, 0, 0, 0.1) 0px 4px 6px -1px,
        rgba(0, 0, 0, 0.06) 0px 2px 4px -1px;

    img {
        width: 60px;
    }
`;

const UserInfo = styled.div`
    display: flex;
    flex-direction: column;
    align-items: flex-start;
    margin-left: 20px;
`;

const Name = styled.span`
    font-size: 20px;
    font-weight: 600;
`;
const Info = styled.span`
    font-size: 14px;
`;
// Overlay.js
import styled from "@emotion/styled";

const Overlay = () => {
  return <Container></Container>;
};

export default Overlay;

const Container = styled.div`
  position: fixed;
  z-index: 1000;
  top: 0;
  left: 0;
  width: 100vw;
  height: 100vh;
  background: rgba(0, 0, 0, 0.5);
  z-index: 1001;
`;
github url

안녕하세요 지원입니다.