1. westagram을 통해 배운 점
CRA 초기 세팅
- node-modules - package.json - .gitignore
- index.html - index.js -
<App/>(<Routes/>) - pulic - index.html, images
- src - component, pages, styles(reset.scss, common.scss), Routes.js
Sass
- nesting
- 인라인 스타일은 최대한 쓰지 말자.
- 변수 기능 활용
- include, extend 기능 활용
State, Props, Event
- 상위 컴포넌트 > props > 하위 컴포넌트
- 하위 컴포넌트 > 이벤트 실행 > 상위 컴포넌트의 state 호출 > state 값 수정
fetch 함수
//fetch() 함수 기본
fetch('api 주소')
  .then(response => response.json())
  .then(response => {
    // data를 응답 받은 후의 로직
  });
map()
- map 함수의 return 값을 render, return 사이에서 변수로 담아 사용하는 것보다 return 문 안에서 바로 하는 것이 좋다.
Convention
- import 순서 : 패키지>컴포넌트>변수/이미지>.scss
- 이벤트과 함수를 구분하기 위해 이벤트명과 동일한 함수 이름은 사용하지 말자.
- 변수나 이벤트 및 함수의 이름에 의미를 담아 만들자.
- 함수와 함수 사이, css 속성 사이, 클래스명 사이는 한 줄 띄워서 가독성을 높이자.
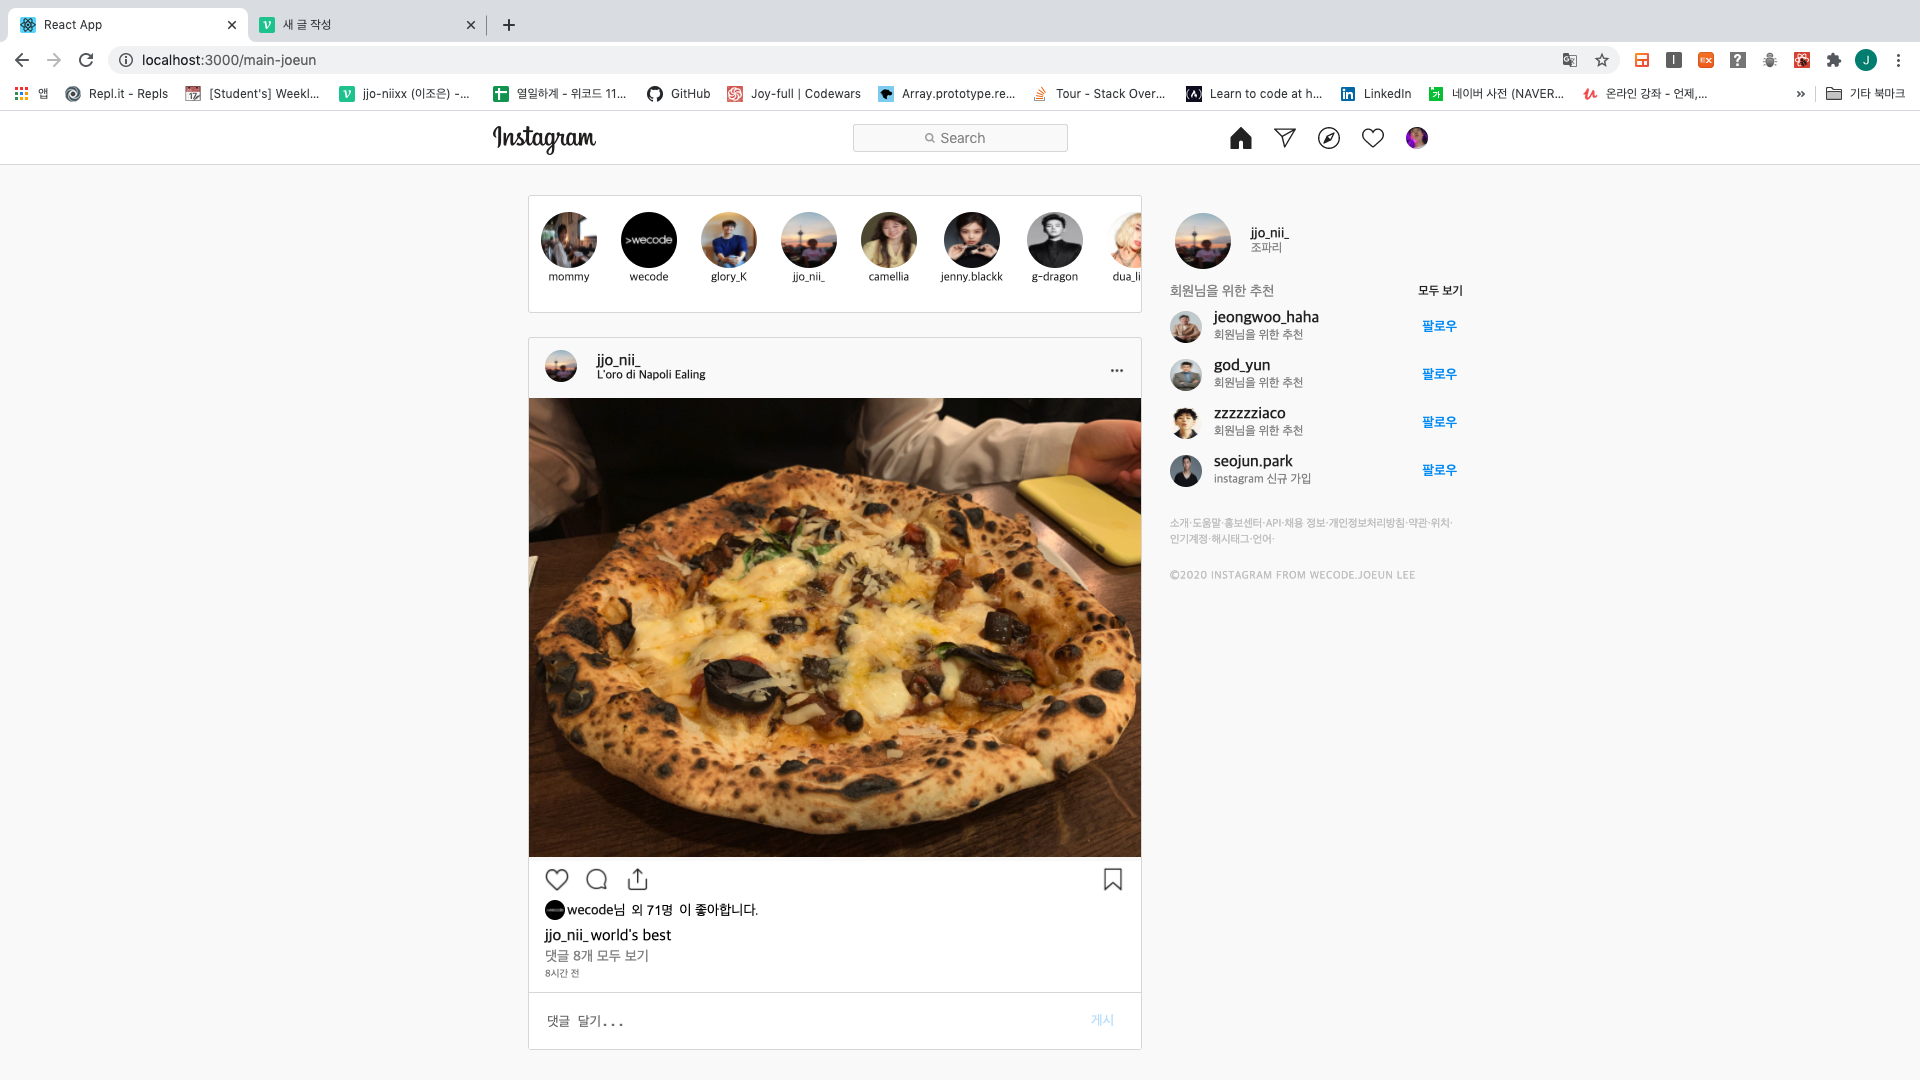
2-1. 기억하고 싶은 코드 - 댓글 구현
class Feeds extends React.Component {
//state 값 초기화
constructor() {
super();
this.state = {
txtVal: "",
newArr: [],
newReply: "",
};
}
//이벤트 타겟 태그의 밸류값 가져오기
checkTxt = (e) => {
this.setState({
txtVal: e.target.value,
});
};
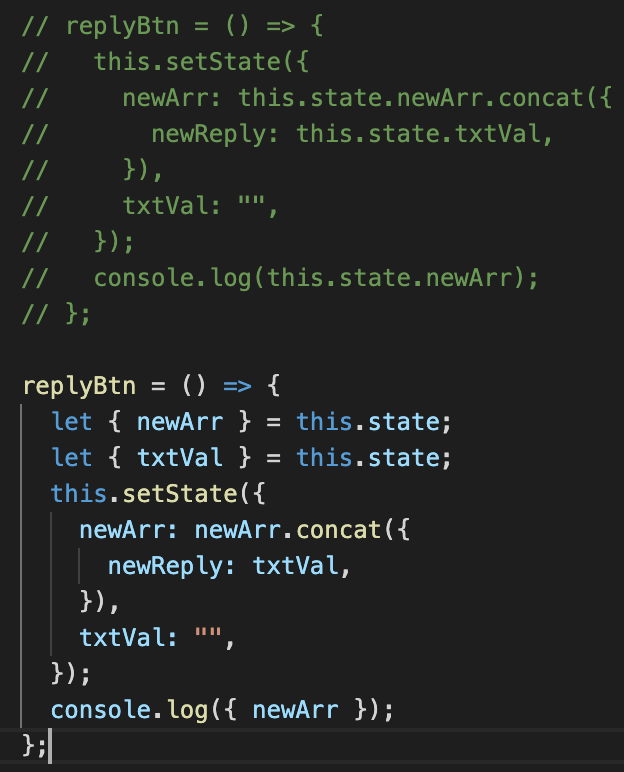
//변경된 텍스트 밸류값(입력된 댓글)을 newReply의 밸류로 할당하여 빈 배열에 쌓기
replyBtn = () => {
this.setState({
newArr: this.state.newArr.concat({
newReply: this.state.txtVal,
}),
txtVal: "",
});
};
//키프레스가 일어났을 때 함수 실행하기
enterPress = (e) => {
if (e.key === "Enter") {
this.replyBtn();
}
};
render() {
return (
<section className="replyListBox">
//newArr의 요소를 reply라는 props에 담아 자식 컴포넌트에 전달
//key값을 자식 컴포넌트에 함께 전달
<ul>
{this.state.newArr.map((el, idx) => {
return <Reply reply={el} key={idx} />;
})}
</ul>
</section>
<section className="replyTypeBox">
<form className="replyTypeLine">
//textarea의 value 속성을 사용하여 입력값 인식
<textarea
placeholder="댓글 달기..."
value={this.state.txtVal}
onChange={this.checkTxt}
onKeyPress={this.enterPress}
></textarea>
//삼항 연산자를 이용하여 조건 충족시 속성 및 클래스 변경
<button
className={`replyBtn${
this.state.txtVal ? "Active" : "Disabled"
}`}
disabled={this.state.txtVal ? false : true}
onClick={this.replyBtn}
>
게시
</button>
</form>
</section>
)class Reply extends React.Component {
render() {
return (
<li className="reply">
<a href="/">jjo_nii_</a>
//부모 컴포넌트로부터 reply 프롭스를 받아 newReply 값 추출
<span>{this.props.reply.newReply}</span>
<img
src="https://s3.ap-northeast-2.amazonaws.com/cdn.wecode.co.kr/bearu/heart.png"
alt="heart"
/>
</li>
);
}
}2-2. 기억하고 싶은 코드 - Router 활용
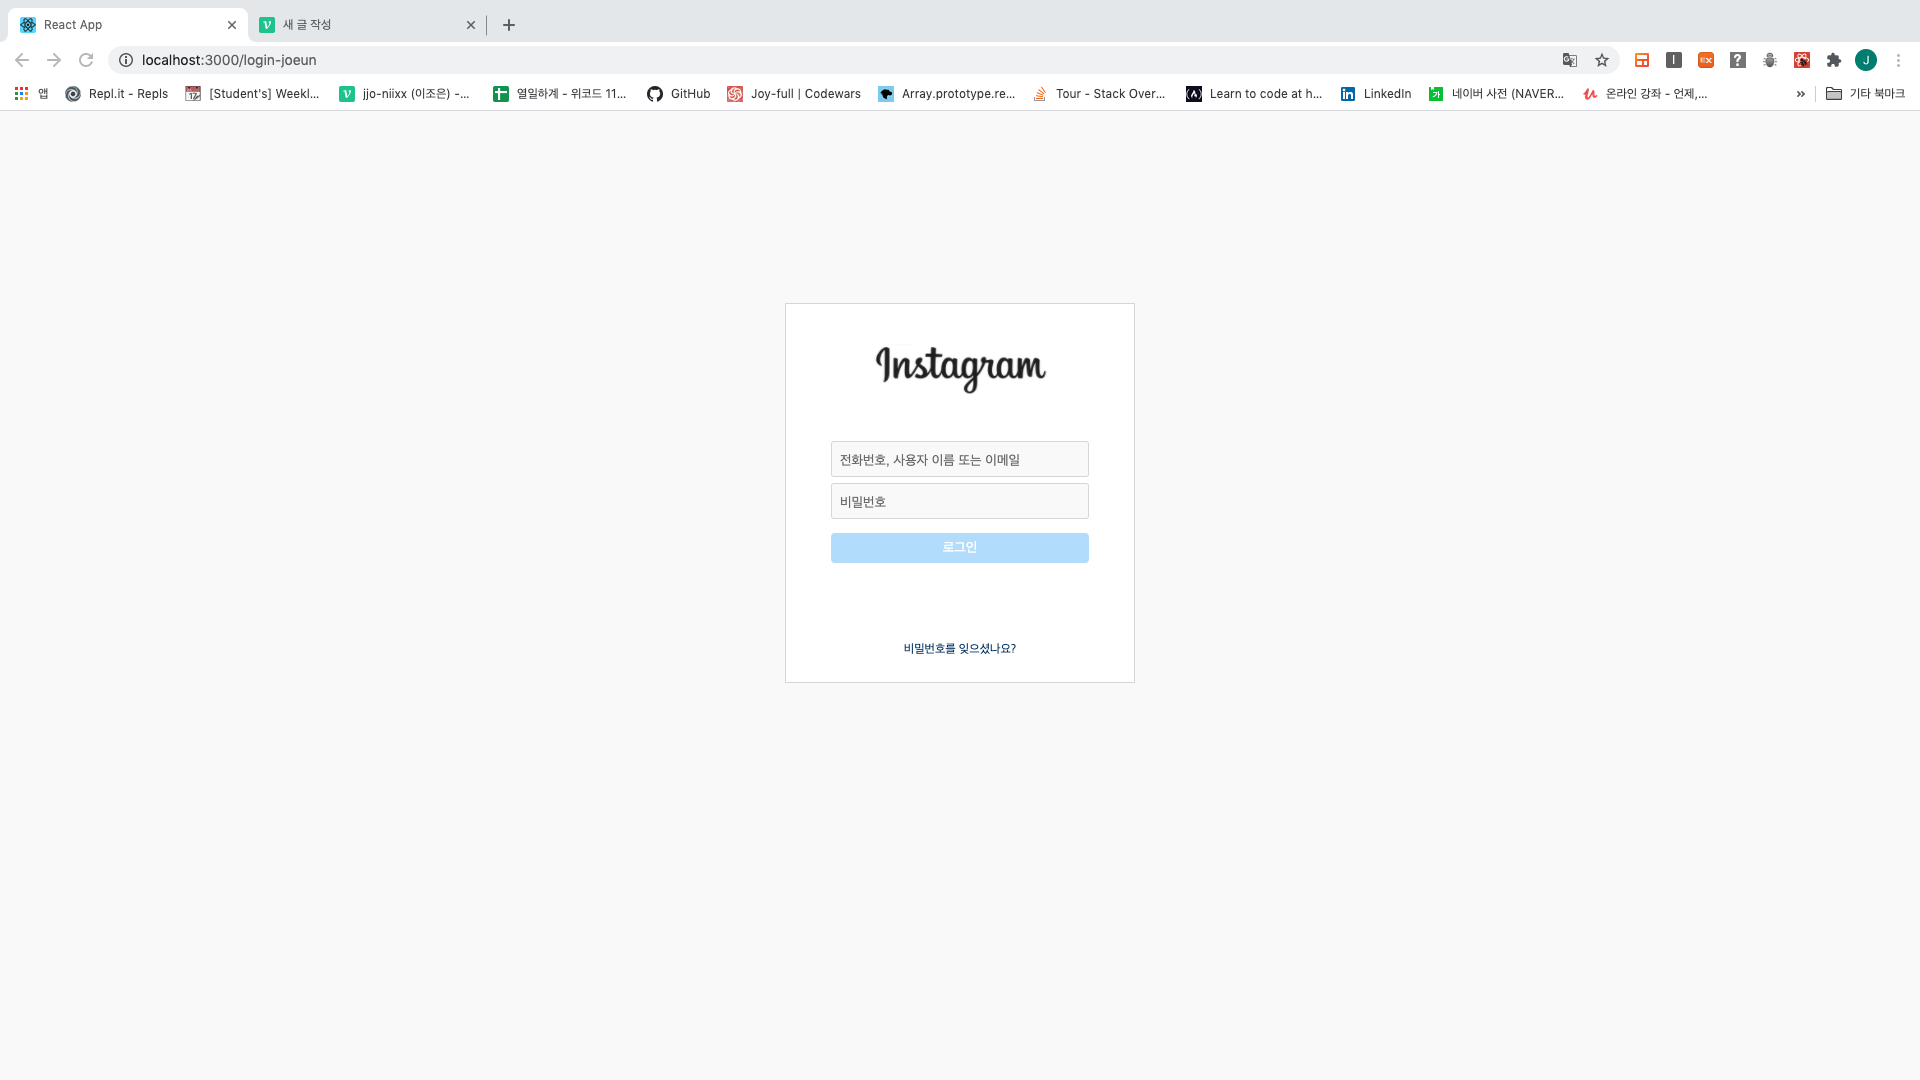
class LoginJoEun extends React.Component {
  constructor() {
    super();
    this.state = {
      idVal: "",
      pswVal: "",
    };
  }
  //url주소를 변경할 수 있는 함수 사용
  goToMain = () => {
    this.props.history.push("/main-joeun");
  };

  render() {
    return (
  <div className="loginBtn">
    <button
//클릭이벤트에 goToMain 함수 실행
//disabled 및 클래스 이름에 삼항 연산자
      onClick={this.goToMain}
      disabled={
        this.state.idVal.includes("@") &&
        this.state.pswVal.length >= 5
          ? false
          : true
      }
      className={`btn${
        this.state.idVal.includes("@") &&
        this.state.pswVal.length >= 5
          ? "Active"
          : "Disabled"
      }`}
    >
      로그인
    </button>
  </div>
 );
}
2-3. 기억하고 싶은 코드 - fetch 함수
//아이디 및 비밀번호를 입력하고 로그인 버튼을 클릭하면 서버로 그 정보를 보내는 함수 실행
//fetch함수 후에 then이 이어지는 과정을 기억하자
handleClick = (e) => {
  e.preventDefault();
  fetch("http://10.58.3.254:8000/User/SignIn", {
    method: "POST",
    body: JSON.stringify({
      email: this.state.idVal,
      password: this.state.pswVal,
    }),
  })
    .then((res) => res.json()) //json body=> json
    .then((res) => console.log(res)); //console 먼저 찍자
};
2-4. 미해결한 코드
- Feeds 컴포넌트에서 mainRight 부분이 fixed일 때 원하는 대로 레이아웃이 짜여지질 않았다. (sticky & fixed 공부 필요)
- Feeds 컴포넌트에서 textarea의 이벤트가 onKeyDown일 때는 댓글이 복수로 달리고, onKeyPress일 때는 첫 댓글에서 a태그의 margin-right가 적용되지 않는 문제가 있다.
3. westagram을 하면서 아쉬웠던 점
Semantic tag
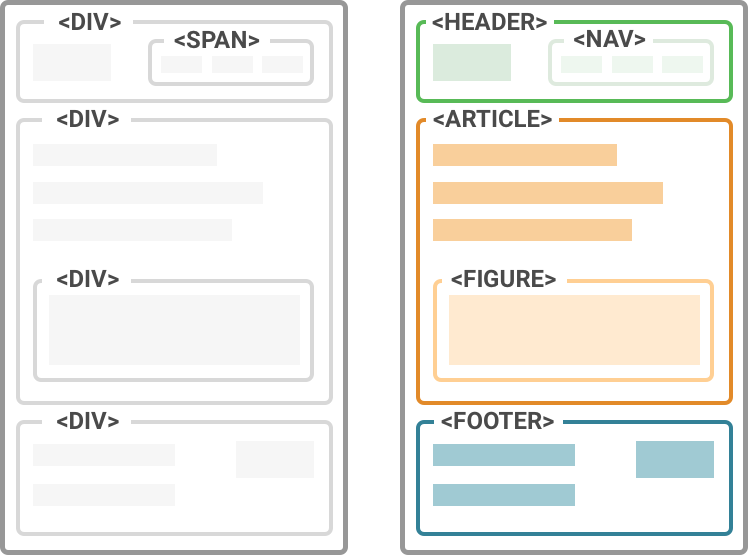
시맨틱 웹 & 시맨틱 태그를 사용하여 내가 만드는 웹사이트의 요소 하나하나의 의미를 명확하게 하는 것이 좋다. 이 중요성은 알지만 아직까지도 무턱대고 <div>를 남발하는 경향이 있는 것 같다. 시맨틱 태그를 유용하게 사용하여 좀 더 가독성 있고, 의미 있고, 코드만 보더라도 결과물을 짐작할 수 있도록 하자.
console.log
콘솔로 한 번에 해결할 수 있는 문제를 몇 시간 동안 끙끙 앓았던 순간이 많았다. 단순한 코드에서는 콘솔의 중요성을 알지 못했지만 이번에 기능 구현을 하며 콘솔에 대한 무한 신뢰를 가질 수 있었다. 내가 확인하고 싶은 곳곳에 콘솔을 찍어보면서 로직을 스텝별로 확인해보면서 기능을 완성하도록 하자. 특히 리액트에서는 render와 return 사이가 콘솔 찍기에 좋은 공간이었다.
Distructuring
Distructuring은 ES6에서 새롭게 도입된 구문으로서 객체에서 간편하게 밸류를 추출할 수 있도록 한다. 개념은 알지만 활용도가 부족했다.
Sass
네스팅은 html 코드를 쓸 때를 떠올리며 쉽게 할 수 있었다. 하지만 variables, modules, mixins, extend/inheritance, operator의 활용이 부족했던 것 같다.


싱글벙글