AWS에서 CI-CD, CODE시리즈
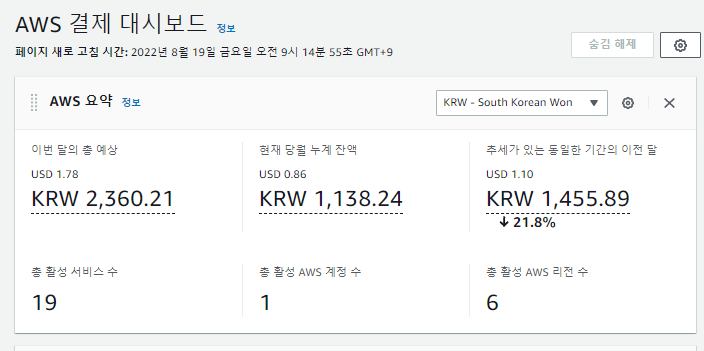
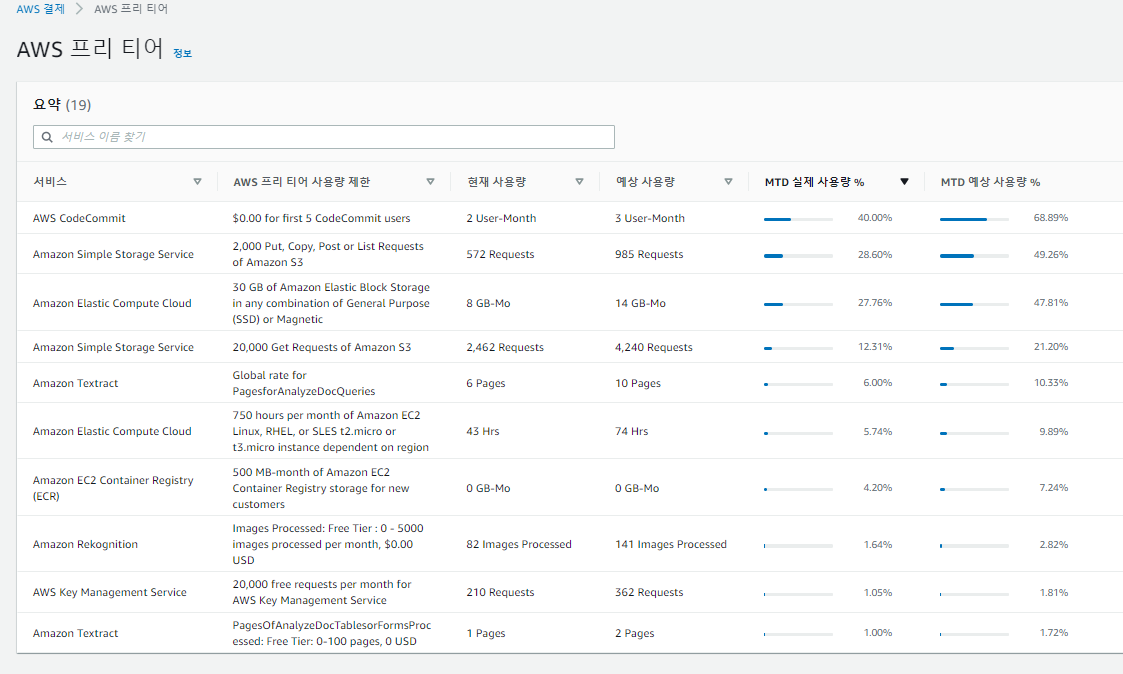
모닝 결제 대시보드
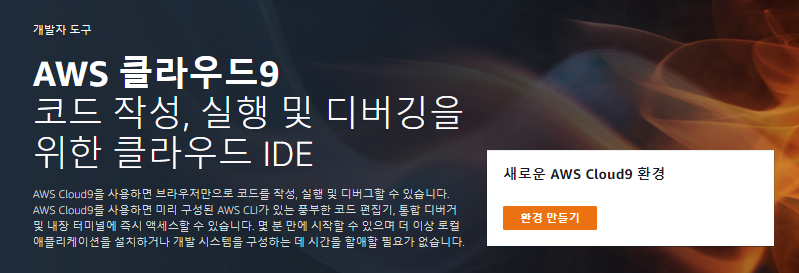
Cloud9
Cloud9 생성
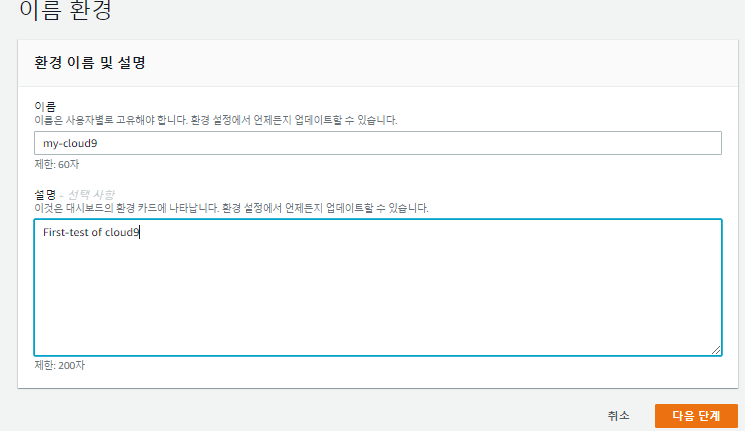
step1. Name environment
- 환경을 새로 만들어준다.
- 이름을 넣어준다.
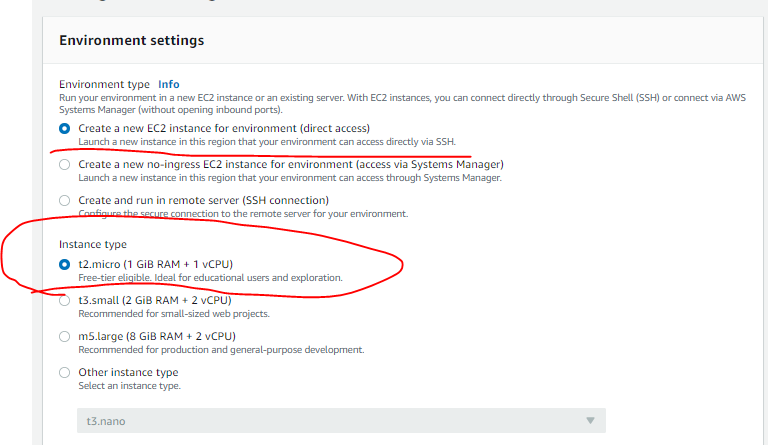
step2. Configure settings
- 직접 접속할 수 있도록 EC2환경을 사용한다.
- 또, t2.micro는 freetier를 받기때문에 t2.micro를 사용해준다.
- Platform은 Amazon Linux2를 사용한다.
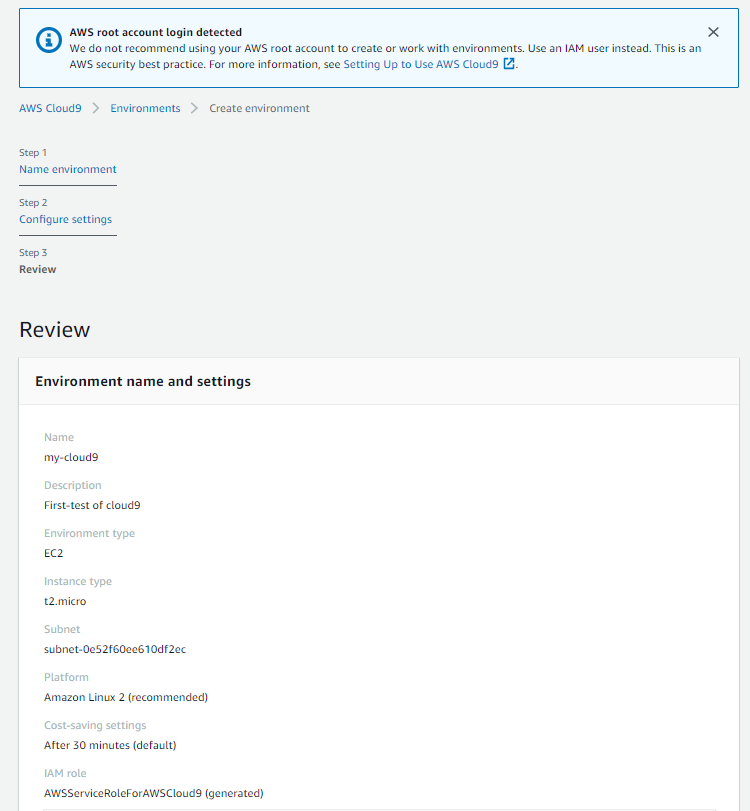
- Cost-Saving setting은 요금절약 세팅으로 30분 후 자동 절전이 기본값으로 설정되어있다.
- 이후, VPC를 설정해준다.
step3. Review
- 검토 후 환경을 만들어준다.
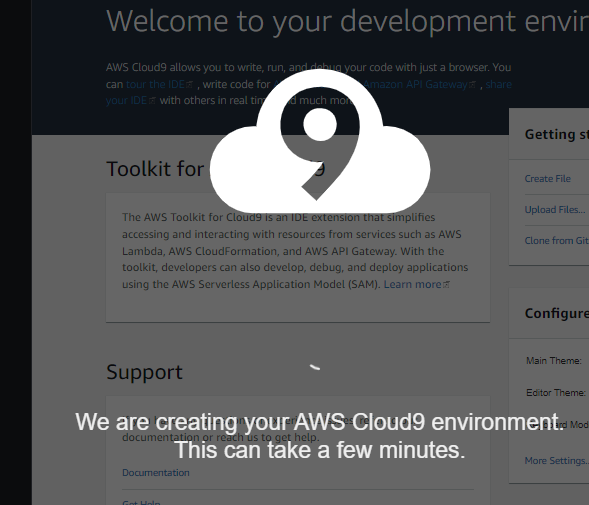
확인
- 생성중이다.
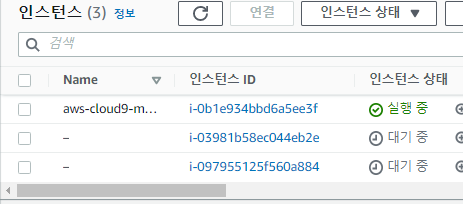
- 인스턴스가 새로 생성되어 실행중이다.


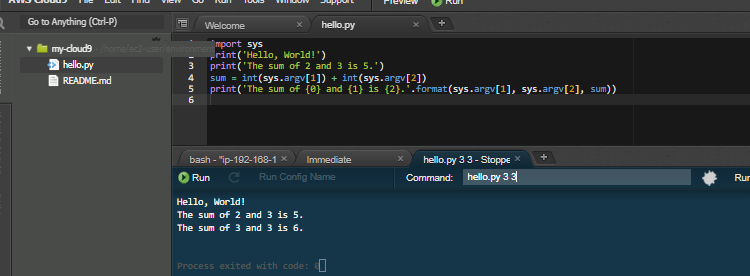
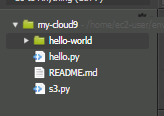
Cloud9살펴보기
- 마치 Visual Studio환경과 비슷하게 왼쪽에 파일탐색기, 아래에 터미널이 있는 모습이다.
- hello.py를 넣어서 간단한 예제를 실행시켜봤다.
- 아래 터미널에서 Command 안에 인자를 넣어 실행할 때 인자로 입력해줄 수 있다.

파이썬 AWS SDK (Boto3) 활용 S3 다루기
pip, boto3 설치
curl -O https://bootstrap.pypa.io/get-pip.py
- pip설치를 위한 다운로드
python get-pip.py
- get-pip를 실행한다.
- 아마 환경 설치?
python -m pip --version
- pip가 잘 설치되었는지 확인
rm get-pip.py
- get-pip.py를 제거해준다.
python -m pip install boto3
- boto3은 AWS 서비스 이용을위한 도구이다.
python -m pip show boto3
- boto3에 대한 정보 확인
s3 생성해보기
import sys
import boto3
from botocore.exceptions import ClientError

def get_s3(region=None):
    """
    Get a Boto 3 Amazon S3 resource with a specific AWS Region or with your
    default AWS Region.
    """
    return boto3.resource('s3', region_name=region) if region else boto3.resource('s3')

def list_my_buckets(s3):
    print('Buckets:\n\t', *[b.name for b in s3.buckets.all()], sep="\n\t")

def create_and_delete_my_bucket(bucket_name, region, keep_bucket):
    s3 = get_s3(region)

    list_my_buckets(s3)

    try:
        print('\nCreating new bucket:', bucket_name)
        bucket = s3.create_bucket(
            Bucket=bucket_name,
            CreateBucketConfiguration={
                'LocationConstraint': region
            }
        )
    except ClientError as e:
        print(e)
        sys.exit('Exiting the script because bucket creation failed.')


    bucket.wait_until_exists()
    list_my_buckets(s3)

    if not keep_bucket:
        print('\nDeleting bucket:', bucket.name)
        bucket.delete()

        bucket.wait_until_not_exists()
        list_my_buckets(s3)
    else:
        print('\nKeeping bucket:', bucket.name)


def main():
    import argparse

    parser = argparse.ArgumentParser()
    parser.add_argument('bucket_name', help='The name of the bucket to create.')
    parser.add_argument('region', help='The region in which to create your bucket.')
    parser.add_argument('--keep_bucket', help='Keeps the created bucket. When not '
                                              'specified, the bucket is deleted '
                                              'at the end of the demo.',
                        action='store_true')

    args = parser.parse_args()

create_and_delete_my_bucket(args.bucket_name, args.region, args.keep_bucket)

if __name__ == '__main__':
    main()
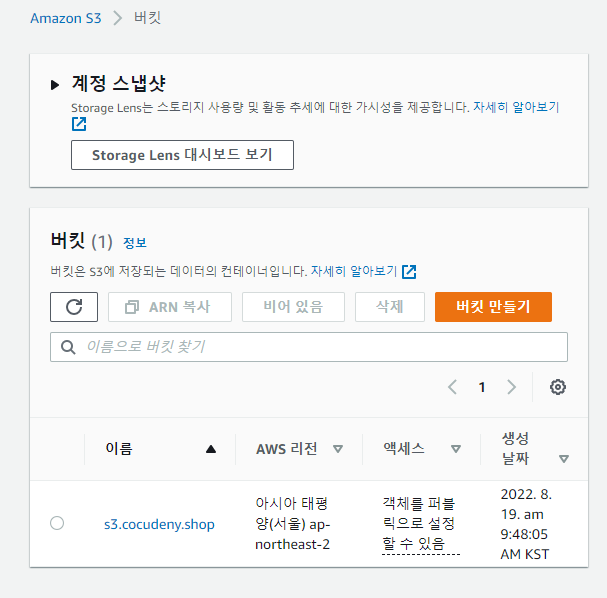
- s3.py s3.cocudeny.shop ap-northeast-2 --keep_bucket
- S3.py의 명령어이다.
- S3.cocudeny.shop 이름으로 버킷을 생성한다.
- region: ap-northeast-2
- keep_bucket으로 버킷을 유지한다.
- 버킷이 잘 생성되었다.
Code Commit
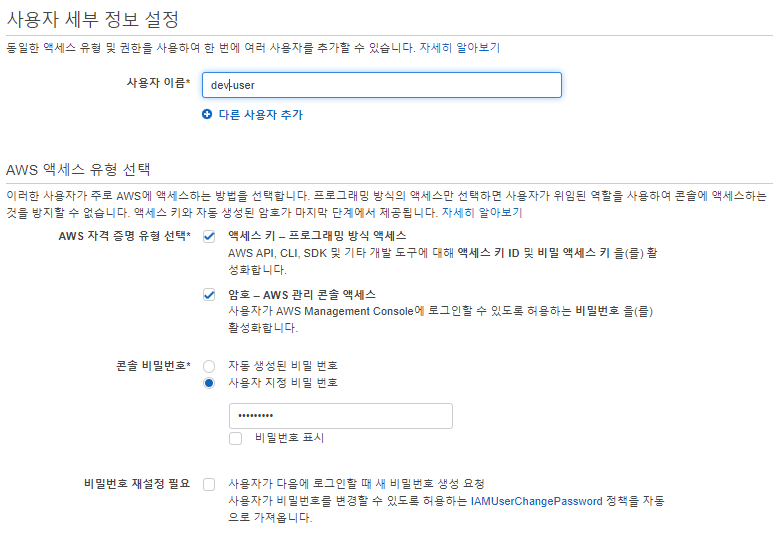
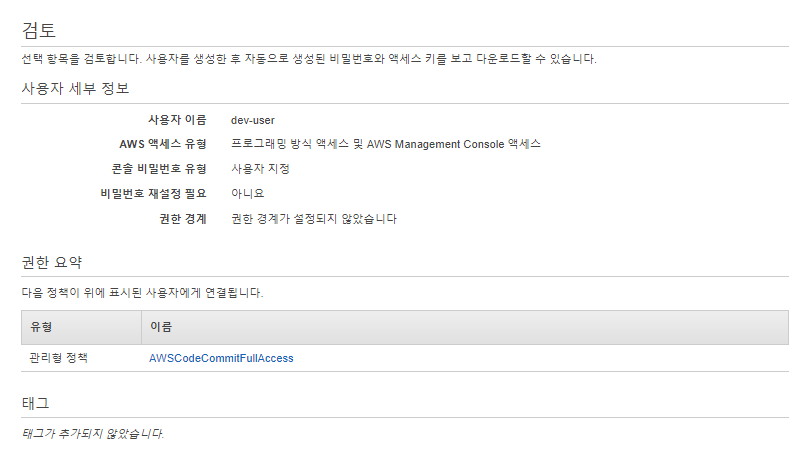
IAM 사용자 생성
- 새로운 유저를 만들어준다.
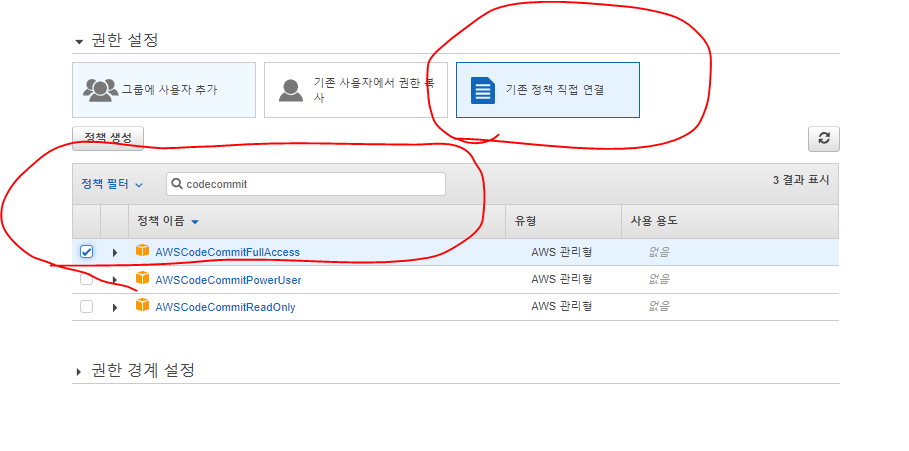
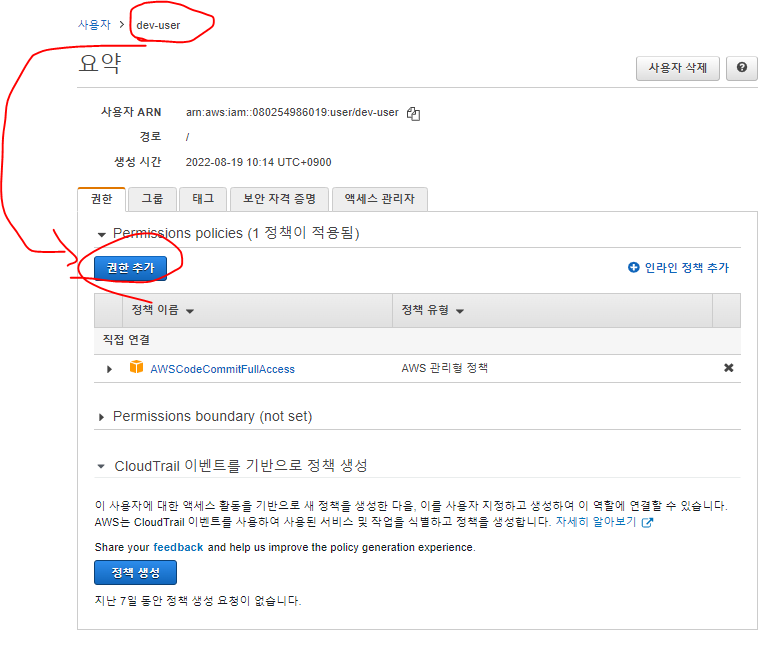
- 만약 특별한 권한을 줘야할 그룹이 있다면 그룹에 사용자를 추가할 수 있지만, 현재 하나의 계정으로만 사용할 것이기 때문에 기존 정책에 직접 연결한다.
- 이 계정에 CodeCommit에 관련한 FullAccess를 부여한다.
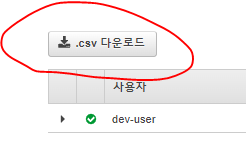
- 검토 후 사용자 생성
- csv파일을 다운로드
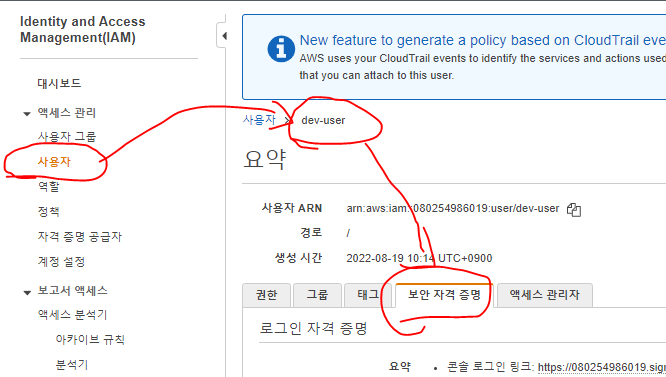
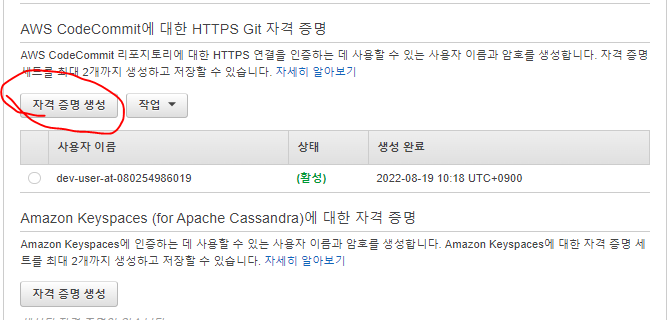
- AWS CodeCommit에 대한 자격증명을 생성해준다.
- dev-user CodeCommit자격증명이 생성되었다.

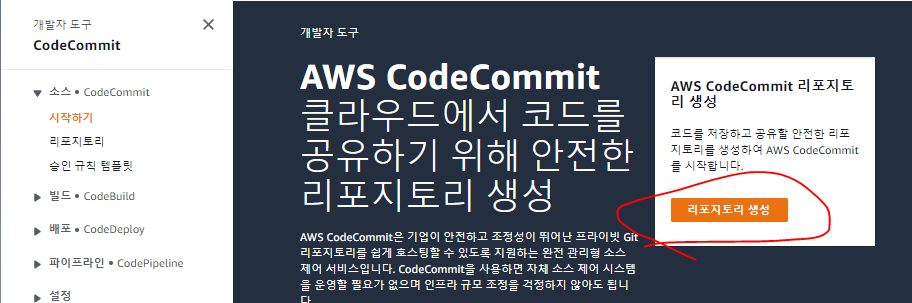
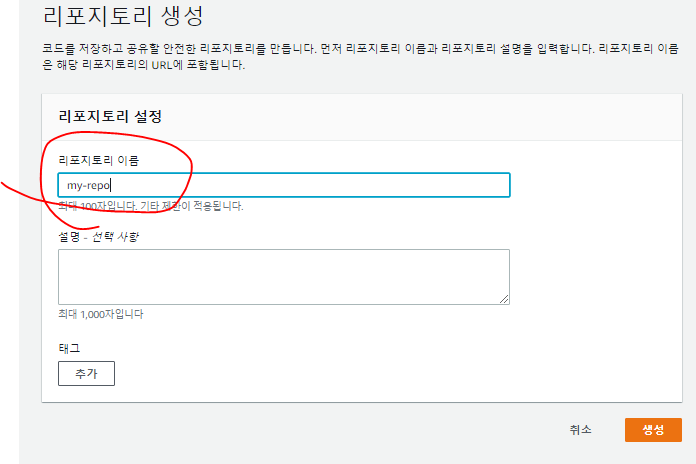
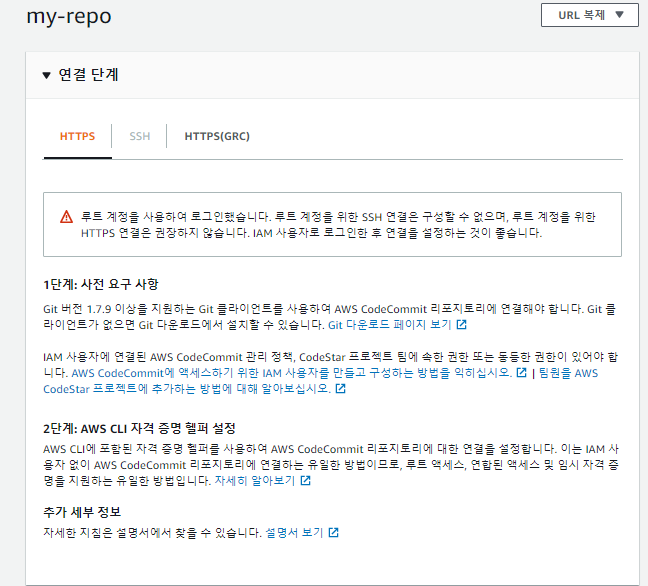
CodeCommit 리포지토리 생성
- 잘 생성되었다.
Cloud9과 CodeCommit을 활용한 코드 버전 관리
sudo -s
- sudo로 들어감
aws --versiongit --version- aws와 , git이 설치되어있는지 확인
aws configuregit config --global credential.helper '!aws codecommit credential-helper $@' git config --global credential.useHttpPath true exit
git clone https://git-codecommit.ap-northeast-2.amazonaws.com/v1/repos/my-repo
- git을 잘 불러왔다.
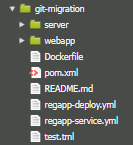
mkdir git-migrationgit clone https://github.com/jo1132/hello-world.git git-migration/
- 이렇게 git-mibration폴더 안에 git을 clone할 수도 있다.
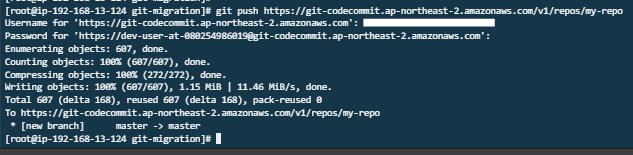
- 아까 다운로드받은 자격증명 user-name과 password로 내 repository로 push했다.
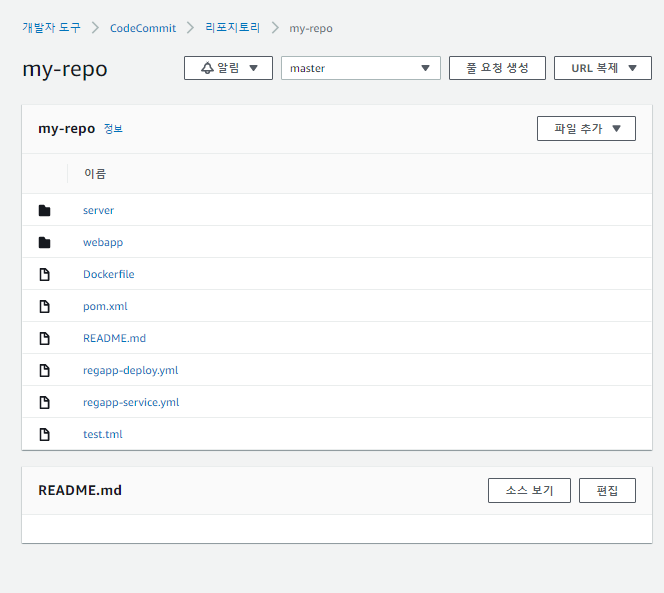
- my-repo에 잘 push 되었다.

CodeBuild 실습
CodeBuild를 위한 환경설정
codeBuild repository 생성

Cloud9, CodeCommit, CodeBuild, S3를 활용한 Vue.js설치
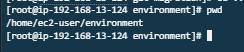
cd ..
- environment폴더로 돌아온다.
- 여기서 작업하게 될 것이다.
npm install vue
- 만약 여기서 npm을 찾을 수 없다고 나오면 아까
sudo -s에서 나와야한다.npm install --global vue-cli
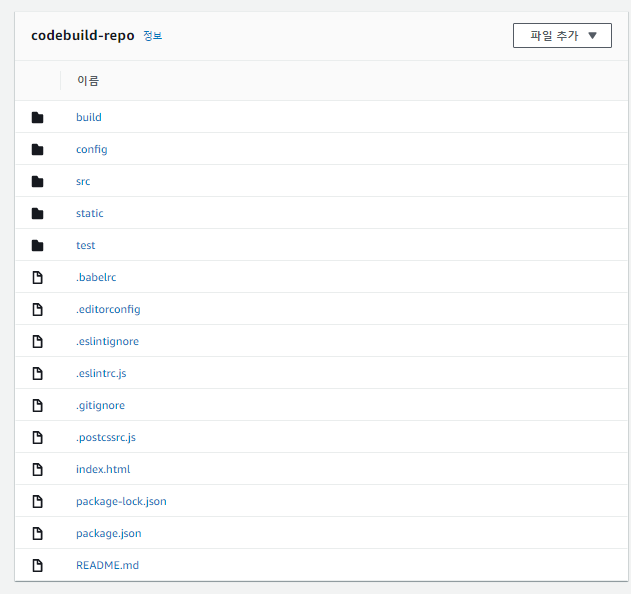
git clone https://git-codecommit.ap-northeast-2.amazonaws.com/v1/repos/codebuild-repo
- 우리가 생성한 codebuild용 리포지토리를 가져온다.
vue
- 설치는 잘 된것같다.
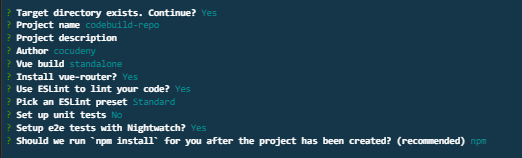
vue init webpack codebuild-repo
Target directory exists. Continue?Yes
- 목표 디록토리가 이미 존재합니까?
Project name (~~~)
- 그 디렉토리 이름이 맞는지 확인
- Author: 입력안하면 에러나올 수 있음
- Vue build: 첫번째것 (runtime + compiler)
- Install-vue-router : yes
- Use EsLint : yes
- Pick: 첫번째것
- Set up unit test: No
- 나머지 yes
- Should we run 'npm install' ~~~
- npm을 선택한다.
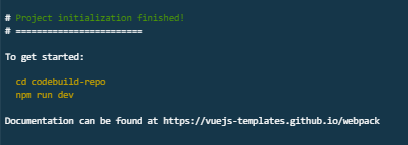
- 잘 설치되었다.
cd codebuild-repo
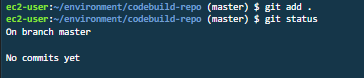
- git add .
- git status
- git commit -m "Upload First Step"
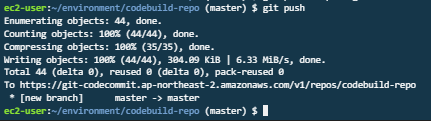
- git push
- vue webpack이 잘 push되었다.


S3 정적 호스팅 구성
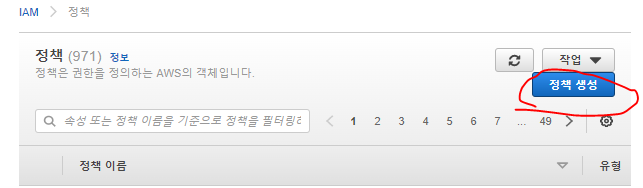
정책 생성
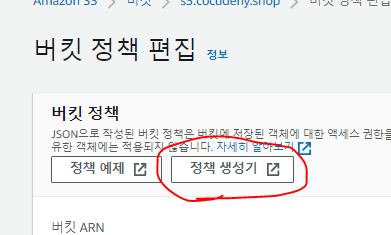
- 정책을 생성해준다.
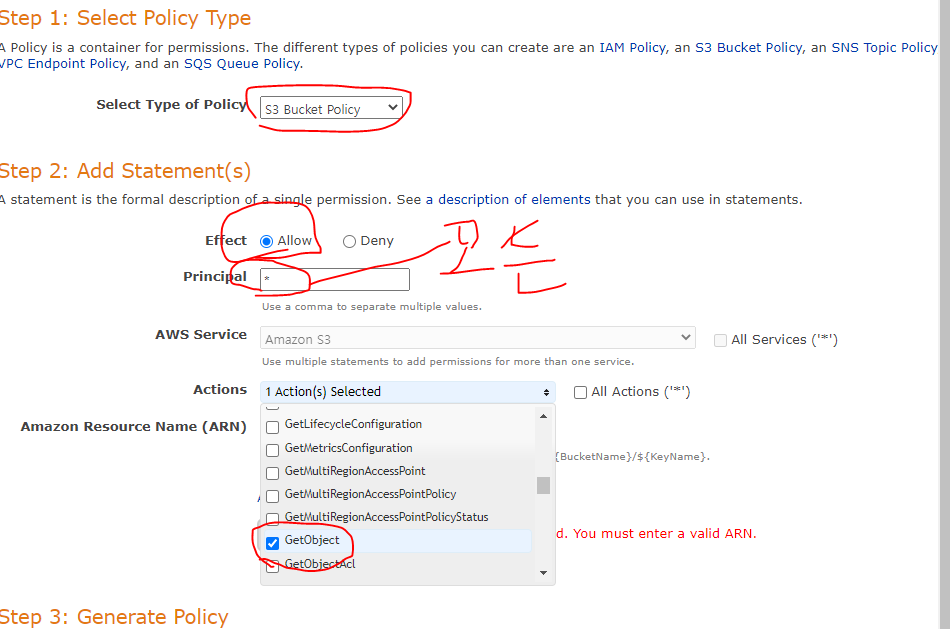
- 정책생성기로 정책을 만들어본다.
- AWS Policy Generator로, 정책을 조금더 쉽게 만들 수 있도록해준다.
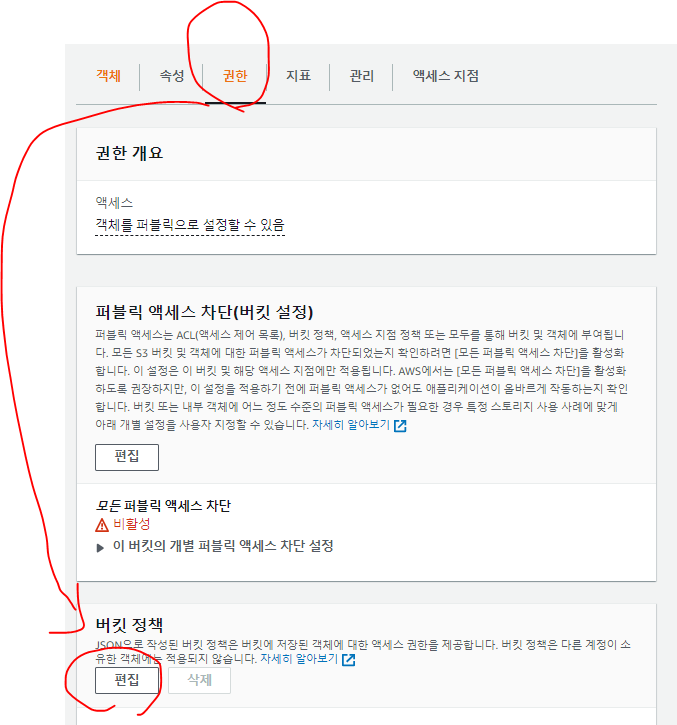
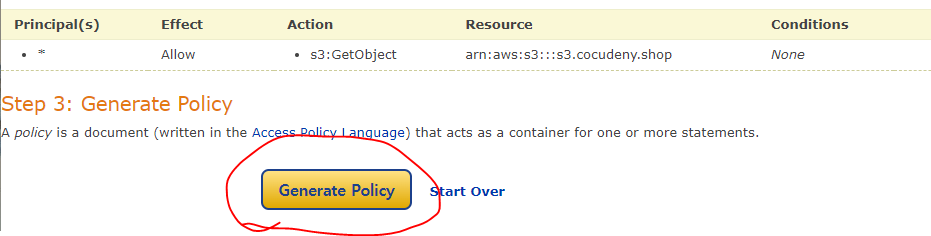
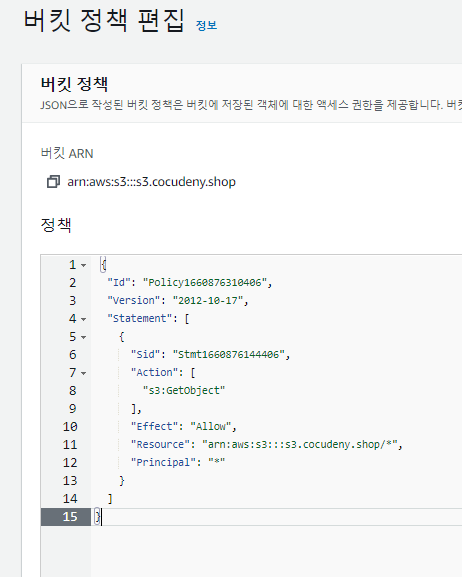
- S3 버켓 정책으로
- Get Object액션에서 모든 principal을 허용한다.
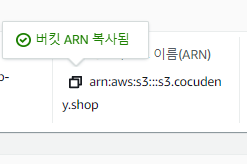
- ARN은 S3의 ARN을 가져와준다.
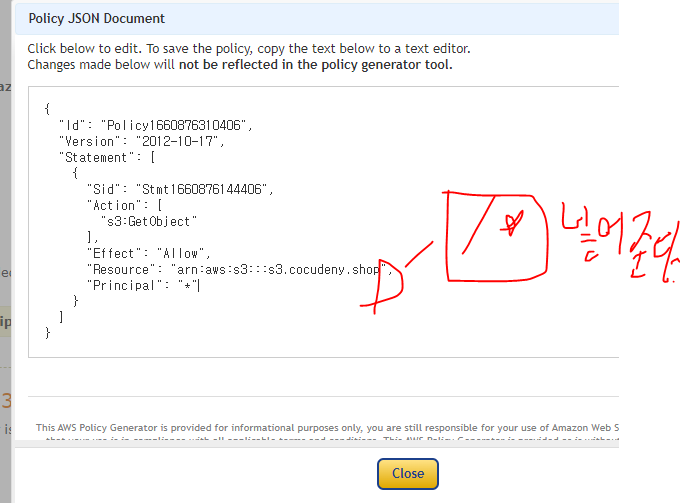
{
  "Id": "Policy1660876310406",
  "Version": "2012-10-17",
  "Statement": [
    {
      "Sid": "Stmt1660876144406",
      "Action": [
        "s3:GetObject"
      ],
      "Effect": "Allow",
      "Resource": "arn:aws:s3:::s3.cocudeny.shop/*",
      "Principal": "*"
    }
  ]
}
- 위에서 생성한 정책을 S3의 버킷정책에 넣어준다.

CodeBuild
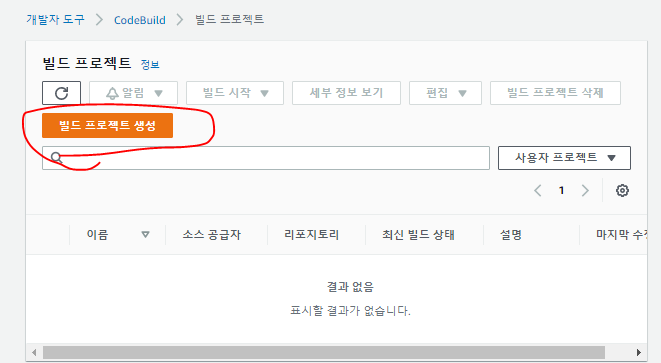
빌드 프로젝트 생성
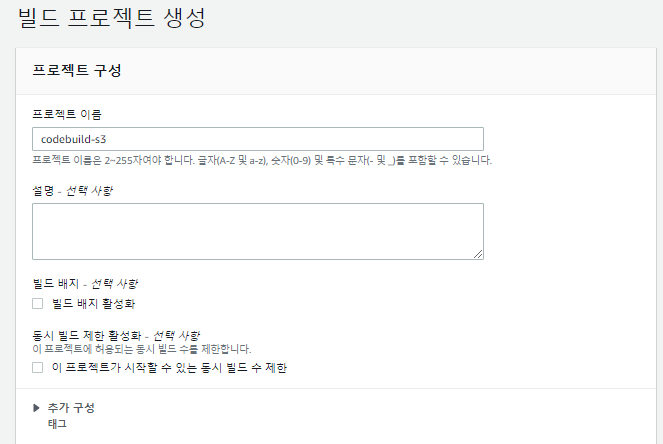
프로젝트 구성
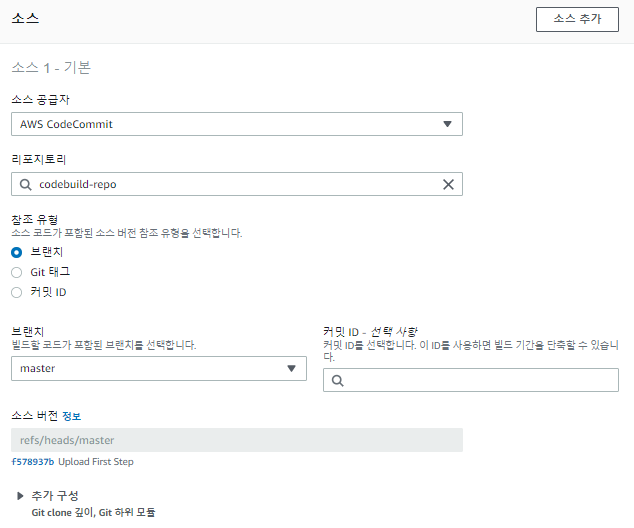
소스
- 소스 공급자: AWS CodeCommit
- Jenkins가 github에서 가져오는 것처럼 AWS CodeCommit을 가져올 것이다.
- 리포지토리: codebuild-repo
- 참조 유형: 브랜치
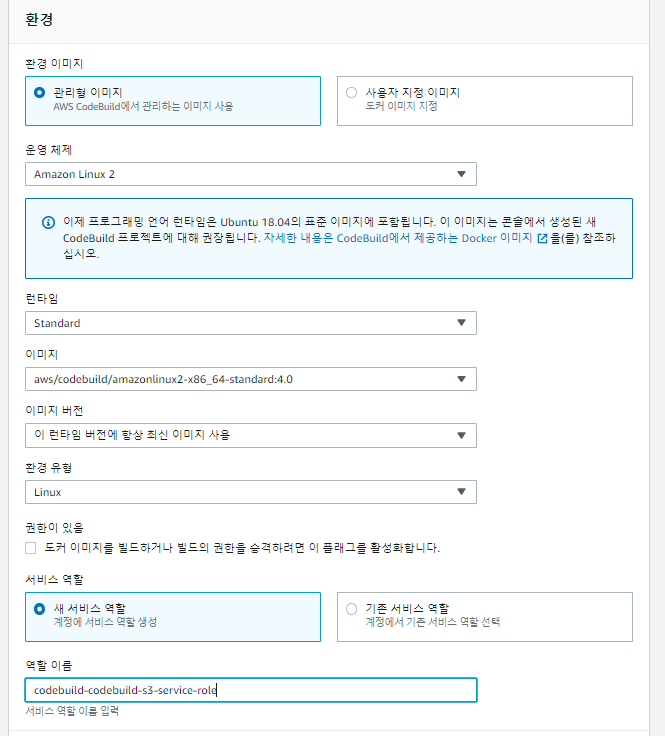
환경
- 인스턴스를 임시적으로만 사용하여 코드를 빌드한다.
- 그 코드를 빌드할때의 환경을 생성하는 것이다.
- 운영체제: Amazon Linux2
- 런타임: Standard
- 이미지: x86_64의 가장 최신버전 standard:4.0을 선택
- 역할 선택해준다.
- CodeBuild환경을 생성하면서, EC2인스턴스, AMI등 여러 자원을 사용한다. 이 자원을 사용할 때에 최소권한으로 빠르게 사용하기위한 새로운 역할이다.
Build spec
- 빌드 사전, 사후에 있을 액션을 정의한다.
- 이후, 나머지는 그냥 생성한다.

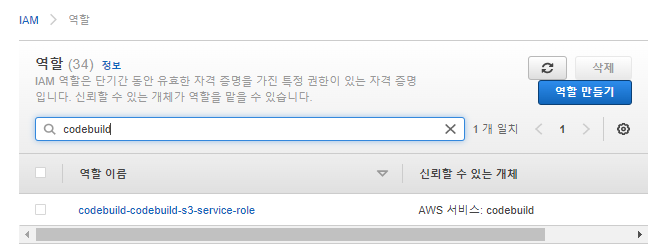
역할 확인하기
- 방금 새로 생성된 codebuild 권한을 클릭한다.
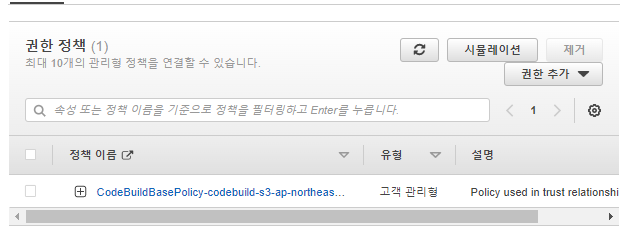
- 현재 CodeBuildBasePolicy가 존재한다.
- AmazonS3FullAccess를 추가해준다.

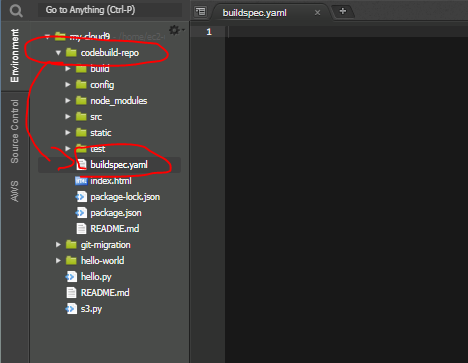
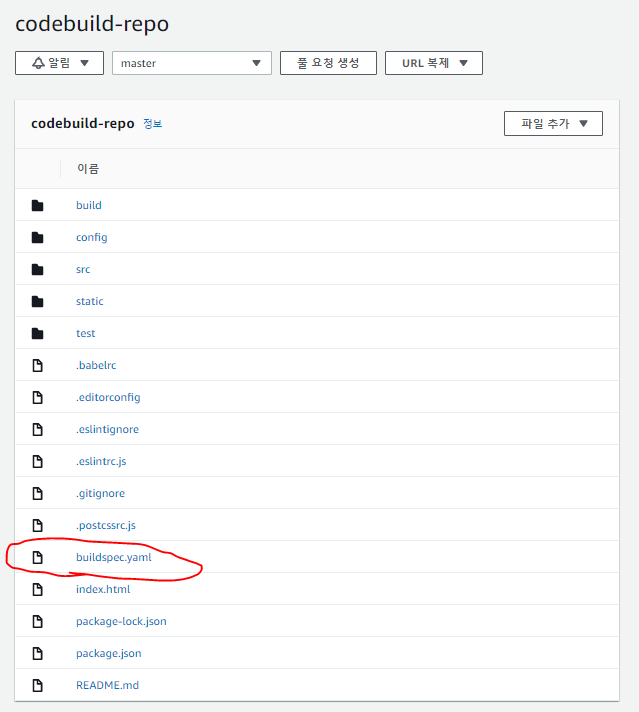
buildspec.yaml을 작성한다.
- 현재 CodeBuild는 Cloud9의 codebuild-repo에서 코드를 가져오게 된다.
- 따라서, codebuild-repo에서 builcspec.yaml파일을 작성해야한다.
buildspec.yaml
# 버전은 0.2를 사용한다.
version: 0.2

phases:
  install:
    runtime-versions:
    # nodejs 6버전을 사용할것
      nodejs: 16
    commands:
    # npm의 latest버전 설치
      - npm i npm@latest -g
  pre_build:
    commands:
    # npm으로 설치하고,
      - npm install
  build:
    commands:
    #npm으로 build한다.
      - npm run build
  post_build:
    commands:
    # 위에서 build한 파일을 S3에 배포를 할 것이다.
      - aws s3 sync ./dist s3://s3.cocudeny.shop
git add .git config --global user.name "cocudeny"git config --global user.email cocudeny@gmail.comgit commit -m "codebuild test commit"git push
- buildspec.yaml이 생성되었고, 잘 push되었다.
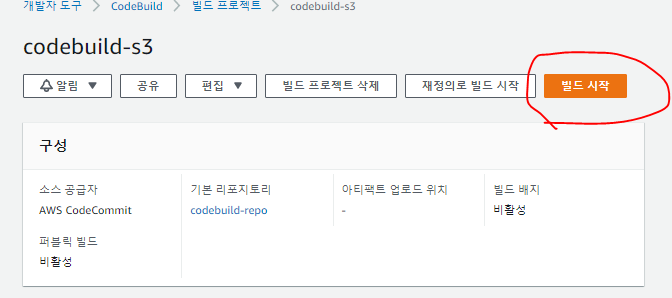
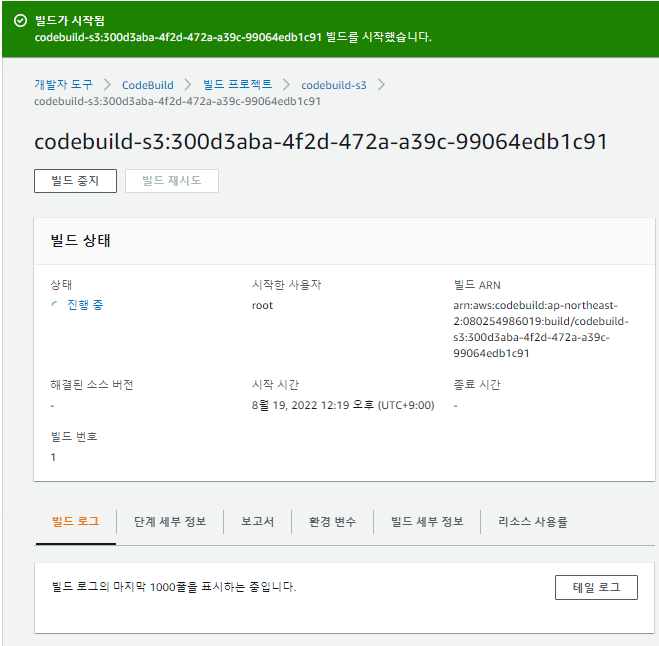
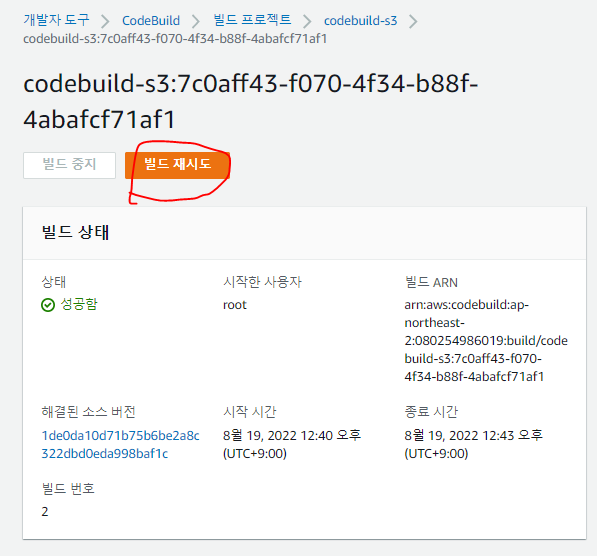
build
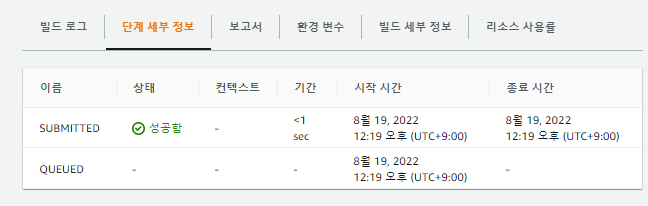
- 빌드가 진행중이다.
- 무언가 성공하고있다.
- 웹페이지가 나오기는 하는데, S3의 모든 파일에 권한을 퍼블릭액세스를 열어줘서 열렸다.
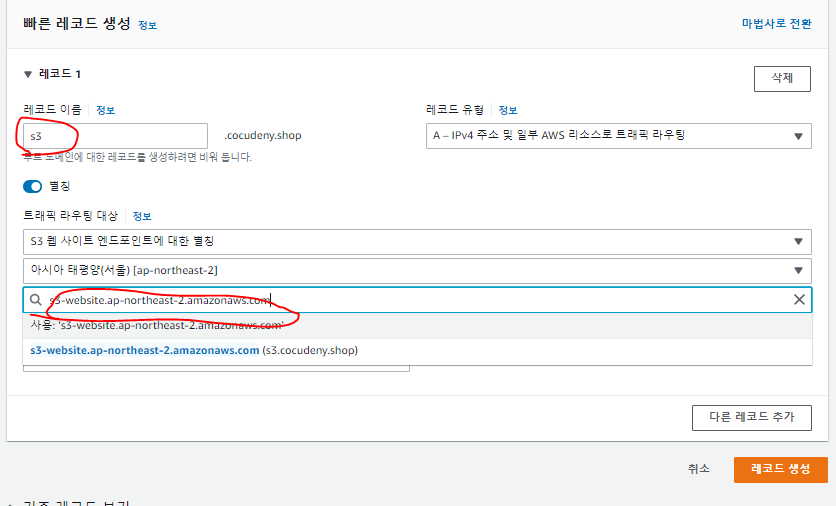
Route53 레코드 생성
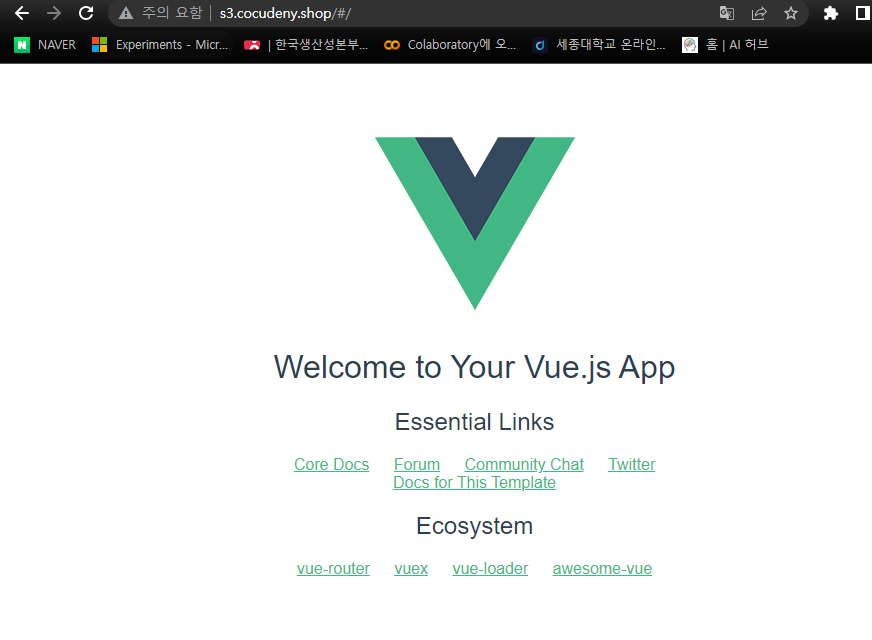
- Route53 별칭에 따로 S3 정적 웹사이트부분이 있다.
- 잘 접속할 수 있다.
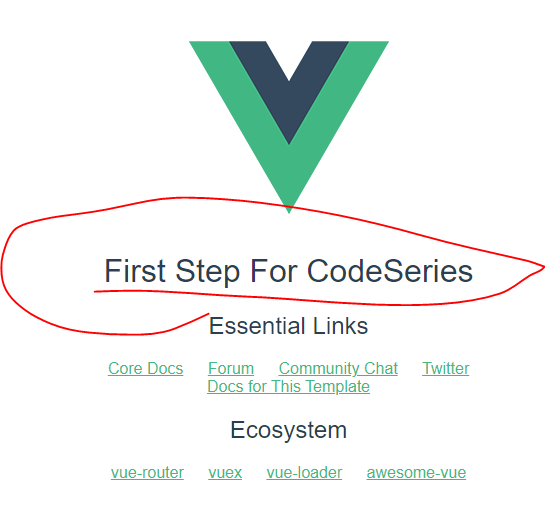
Vue 수정하기
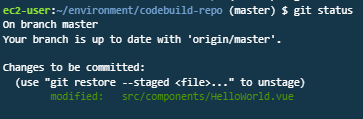
- codebuild-repo/src/components/HelloWorld.vue에 내용을 조금 수정해본다.
git add .git statusgit commit -m "Change Mainpage text"git push
- 아직 자동배포 설정을 하지 않아서 빌드를 수동으로 눌러줘야한다.
- 잘 나온다.
Code Deploy (1)
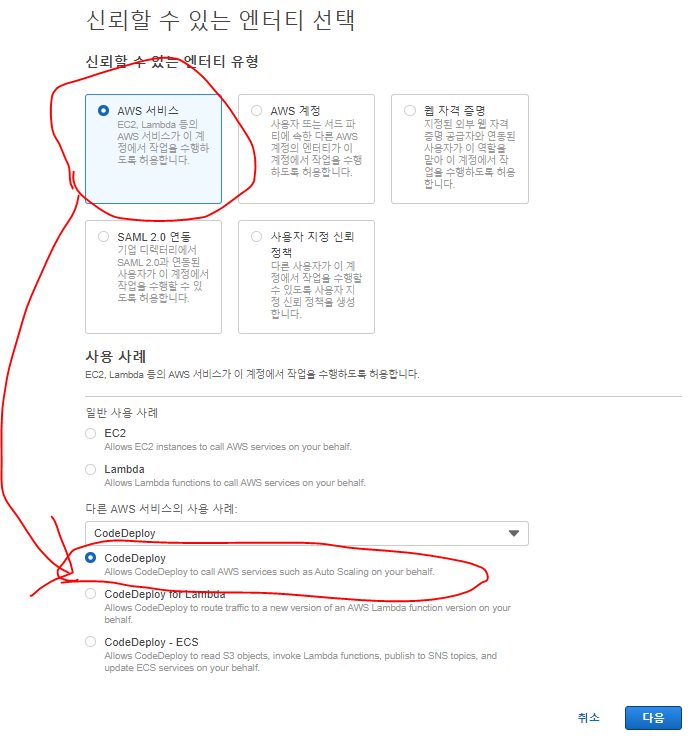
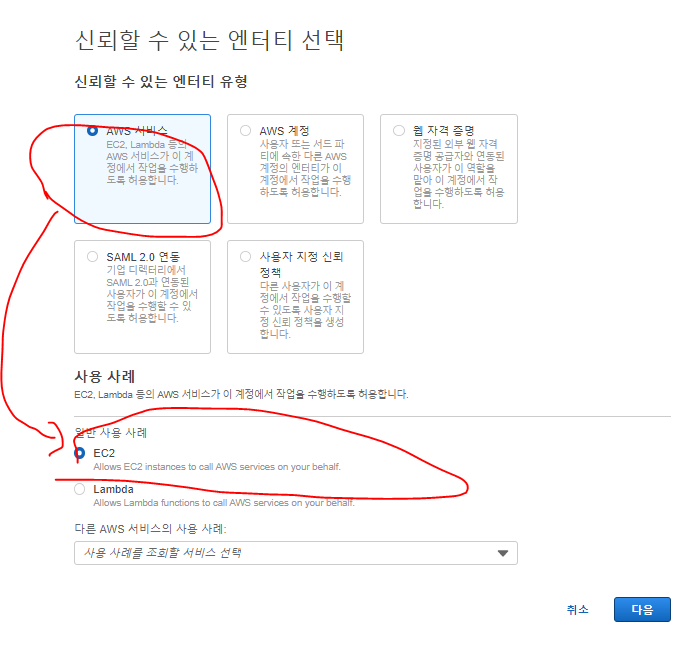
서비스 역할, IAM 인스턴스 프로파일 생성
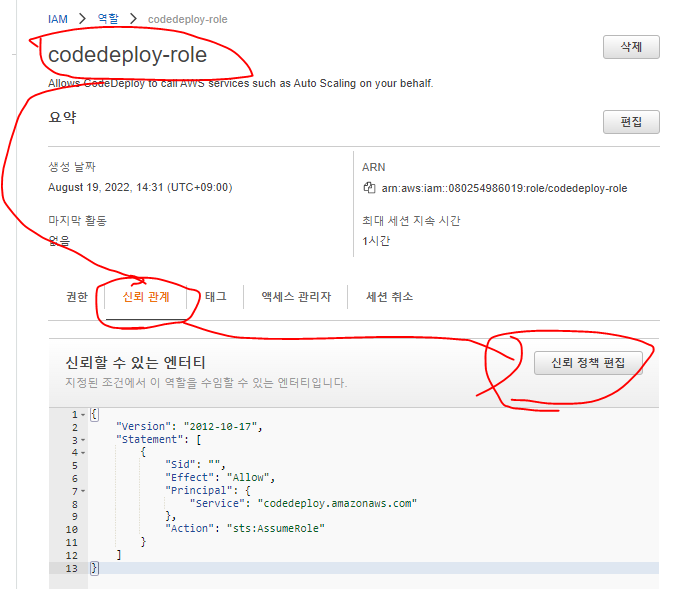
- Codedeploy를 맡을 역할을 생성한다.
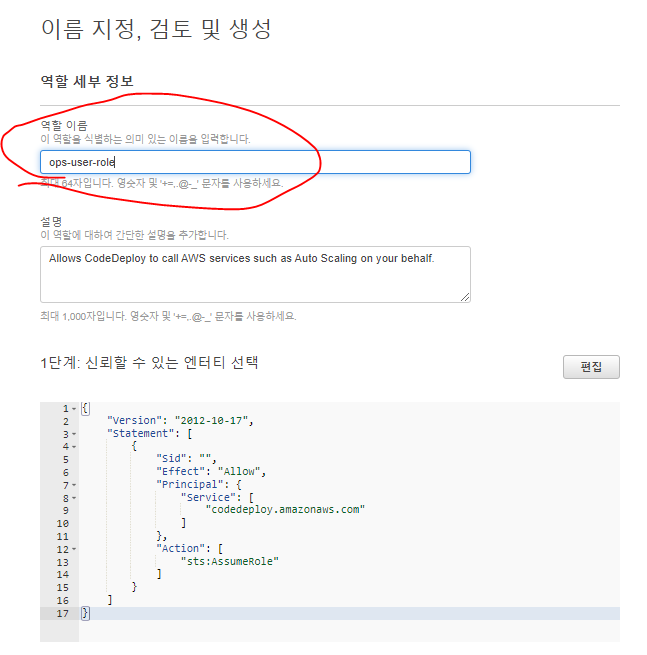
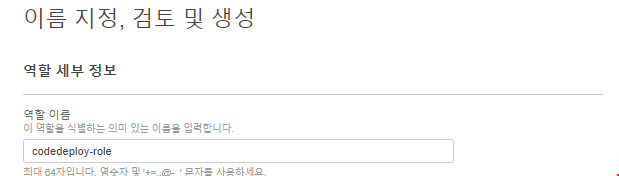
- 이름은
codedeploy-role로 만들어준다.
신뢰관계 편집
{
    "Version": "2012-10-17",
    "Statement": [
        {
            "Sid": "",
            "Effect": "Allow",
            "Principal": {
                "Service": [
                    "codedeploy.us-east-2.amazonaws.com",
                    "codedeploy.us-east-1.amazonaws.com",
                    "codedeploy.us-west-1.amazonaws.com",
                    "codedeploy.us-west-2.amazonaws.com",
                    "codedeploy.eu-west-3.amazonaws.com",
                    "codedeploy.ca-central-1.amazonaws.com",
                    "codedeploy.eu-west-1.amazonaws.com",
                    "codedeploy.eu-west-2.amazonaws.com",
                    "codedeploy.eu-central-1.amazonaws.com",
                    "codedeploy.ap-east-1.amazonaws.com",
                    "codedeploy.ap-northeast-1.amazonaws.com",
                    "codedeploy.ap-northeast-2.amazonaws.com",
                    "codedeploy.ap-southeast-1.amazonaws.com",
                    "codedeploy.ap-southeast-2.amazonaws.com",
                    "codedeploy.ap-south-1.amazonaws.com",
                    "codedeploy.sa-east-1.amazonaws.com"
                ]
            },
            "Action": "sts:AssumeRole"
        }
    ]
}
- 위와 같이 바꿔준다.
- 이 역할을 맡을 수 있는 서비스로 모든 리전의 codedeploy에 연결해줬다.
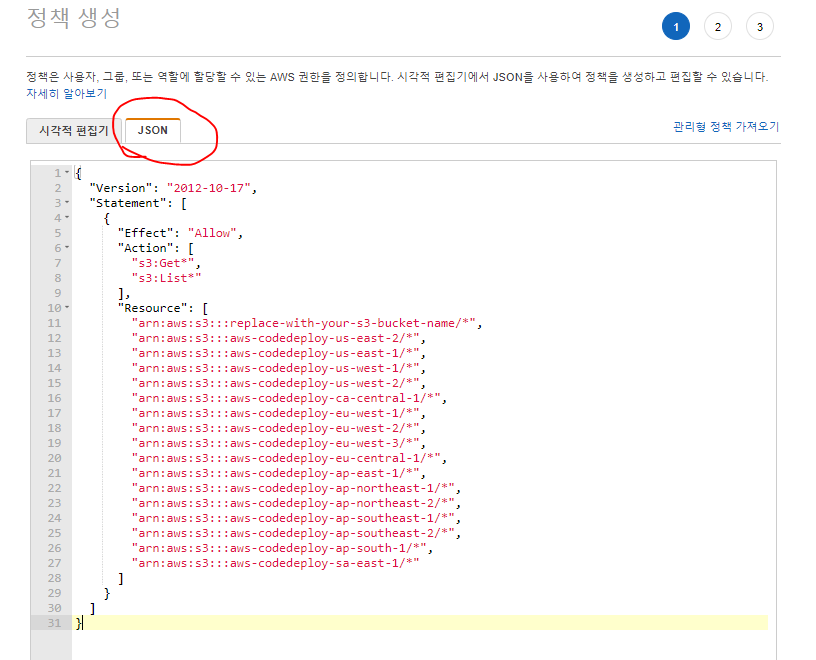
정책 생성
{
  "Version": "2012-10-17",
  "Statement": [
    {
      "Effect": "Allow",
      "Action": [
        "s3:Get*",
        "s3:List*"
      ],
      "Resource": [
        "arn:aws:s3:::replace-with-your-s3-bucket-name/*",
        "arn:aws:s3:::aws-codedeploy-us-east-2/*",
        "arn:aws:s3:::aws-codedeploy-us-east-1/*",
        "arn:aws:s3:::aws-codedeploy-us-west-1/*",
        "arn:aws:s3:::aws-codedeploy-us-west-2/*",
        "arn:aws:s3:::aws-codedeploy-ca-central-1/*",
        "arn:aws:s3:::aws-codedeploy-eu-west-1/*",
        "arn:aws:s3:::aws-codedeploy-eu-west-2/*",
        "arn:aws:s3:::aws-codedeploy-eu-west-3/*",
        "arn:aws:s3:::aws-codedeploy-eu-central-1/*",
        "arn:aws:s3:::aws-codedeploy-ap-east-1/*",
        "arn:aws:s3:::aws-codedeploy-ap-northeast-1/*",
        "arn:aws:s3:::aws-codedeploy-ap-northeast-2/*",
        "arn:aws:s3:::aws-codedeploy-ap-southeast-1/*",
        "arn:aws:s3:::aws-codedeploy-ap-southeast-2/*",
        "arn:aws:s3:::aws-codedeploy-ap-south-1/*",
        "arn:aws:s3:::aws-codedeploy-sa-east-1/*"
      ]
    }
  ]
}
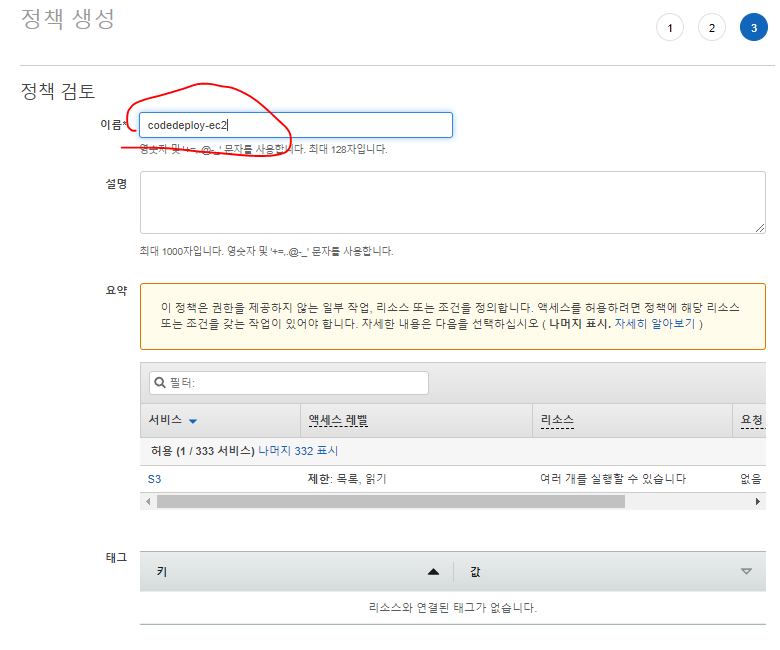
- 이름: codedeploy-ec2
역할 생성
- 위 두가지 정책을 연결해준다.
- AmazonS3FullAccess
- codedeploy-ec2
- 이름을 codedeploy-role로 정한다.

EC2 Auto Scaling 그룹구성(codedeploy 에이전트설정)
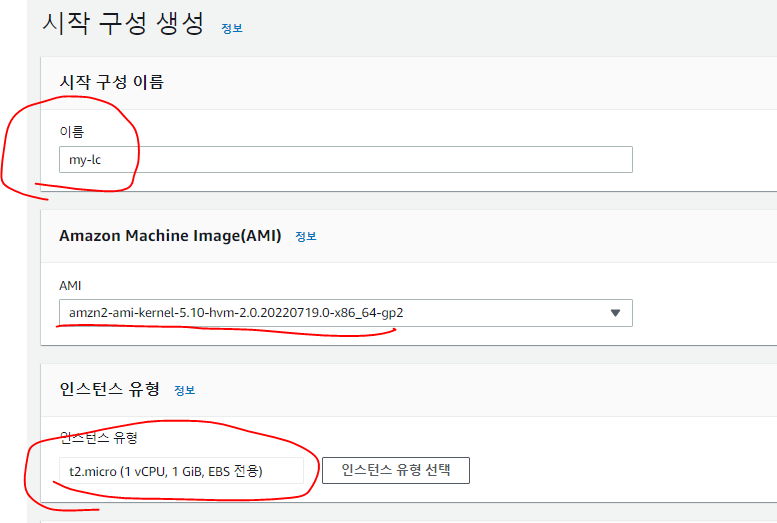
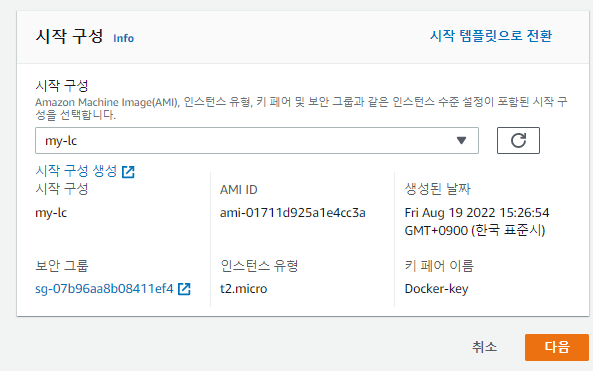
시작구성
- 시작구성은 시작 템플릿보다 구형의 느낌이다.
- 이름: my-lc
- AMI: ami-01711d925a1e4cc3a
- 인스턴스 유형: t2.micro
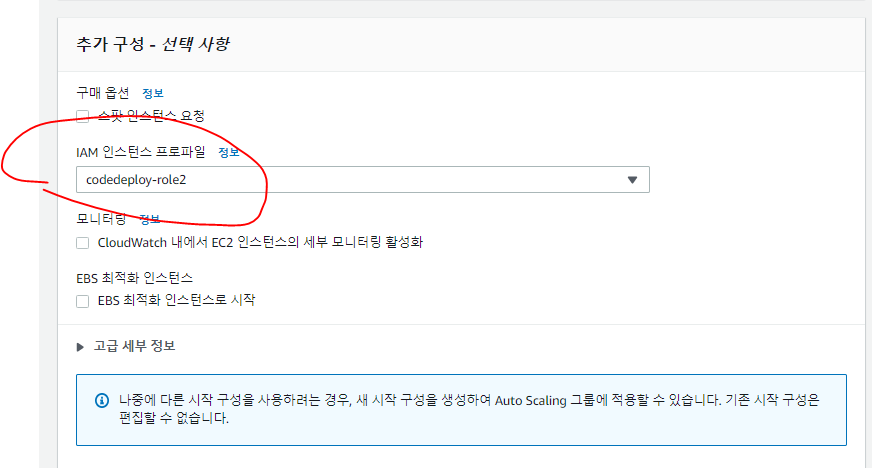
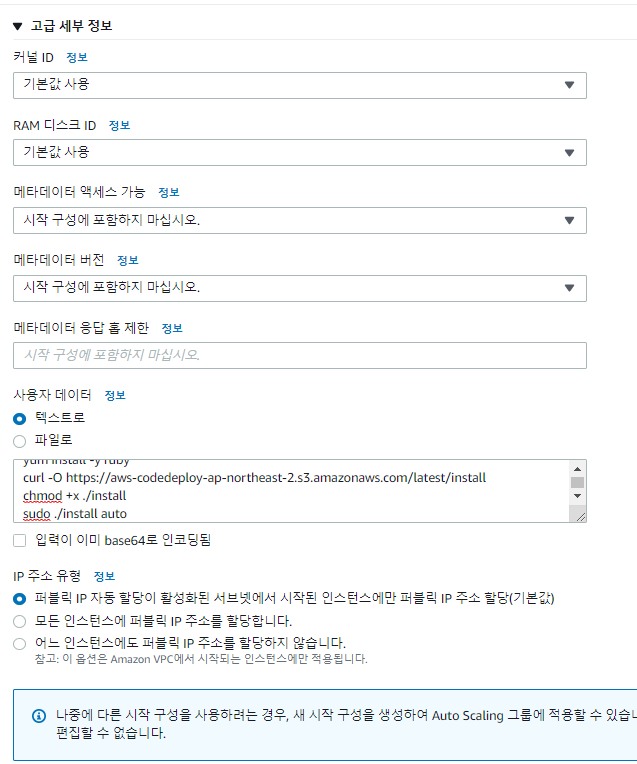
- 사용자데이터
#!/bin/bash
yum update -y
yum install -y ruby
curl -O https://aws-codedeploy-ap-northeast-2.s3.amazonaws.com/latest/install
chmod +x ./install
sudo ./install auto
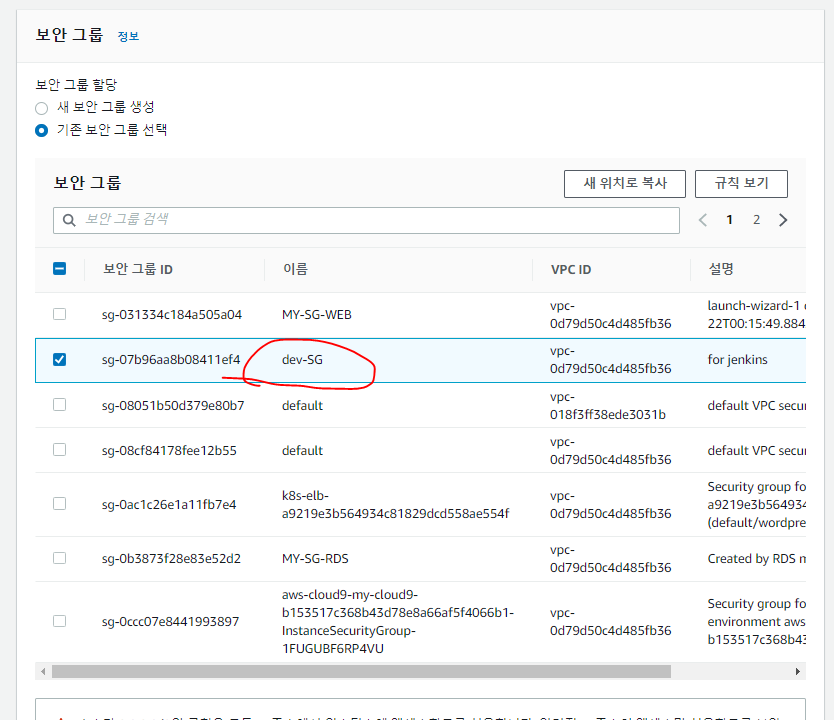
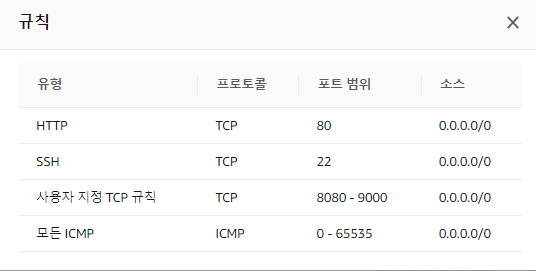
- 보안그룹에는 다음과 같은 설정이 들어가있다.
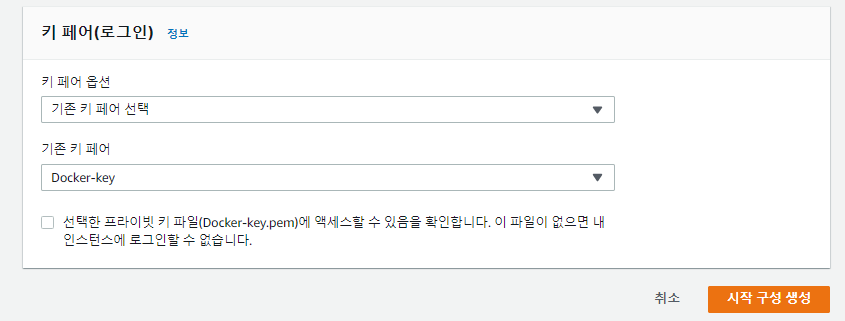
- 시작구성 생성
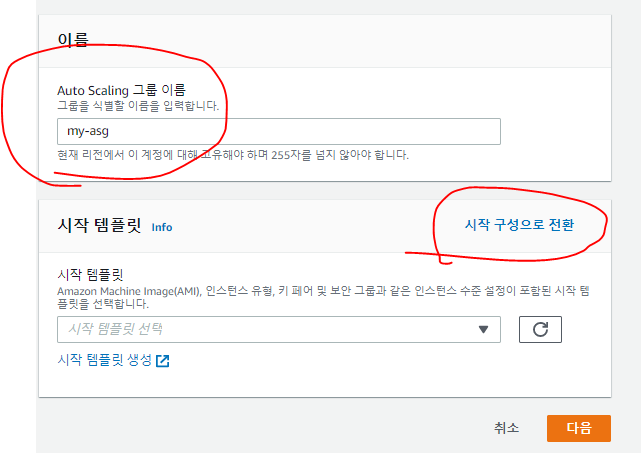
Auto Scaling 그룹 생성
이름
시작구성
- 시작 구성으로 전환하여 선택할 수 있다.
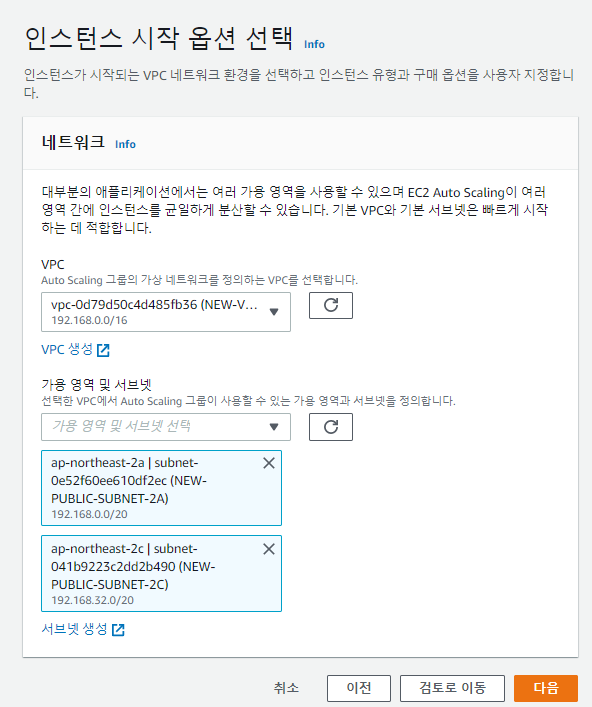
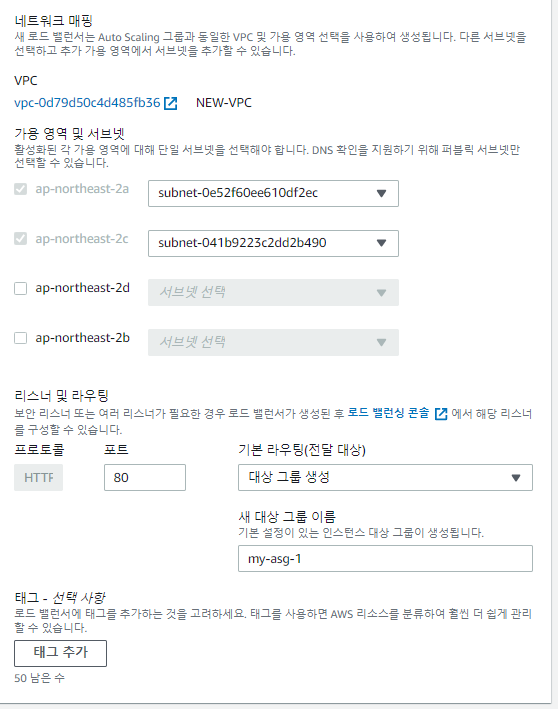
네트워크
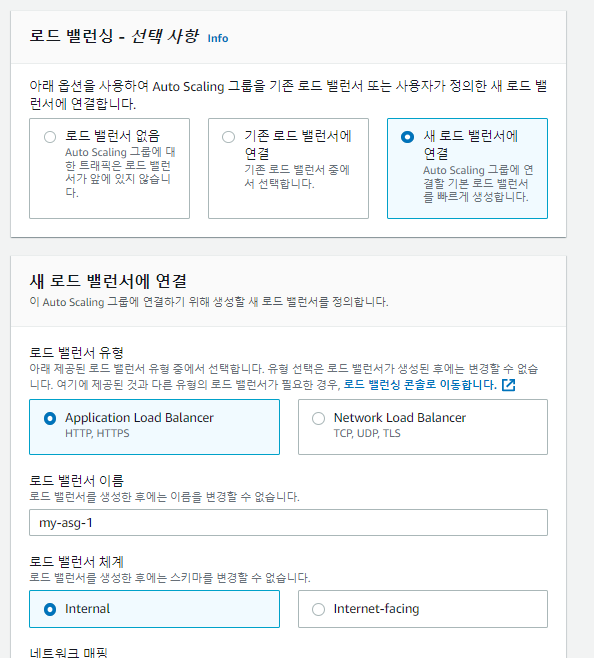
로드밸런싱
- 대상 그룹 생성으로 해준다.
- 위 VPC 서브넷은 이전에 선택한 서브넷이 미리 선택되어있다.
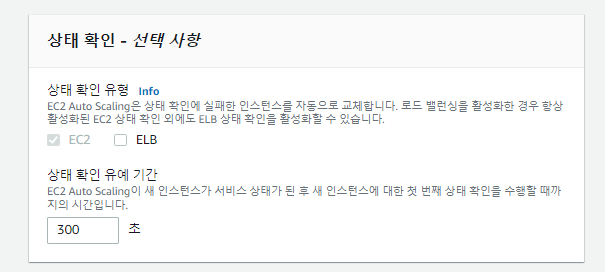
상태 확인
- EC2 상태확인은 EC2 인스턴스의 상태만 볼 수 있다.
- 그러나 EC2에서 돌아가는 애플리케이션이 잘 작동되는지는 확인할 수 없다.
- ELB를 체크하면 EC2에서 돌아가는 애플리케이션의 상태확인도 가능하다. 그러나 우리의 경우(CI-CD)는 인스턴스가 생기고 삭제되고 반복하기 때문에 맞지 않는다.
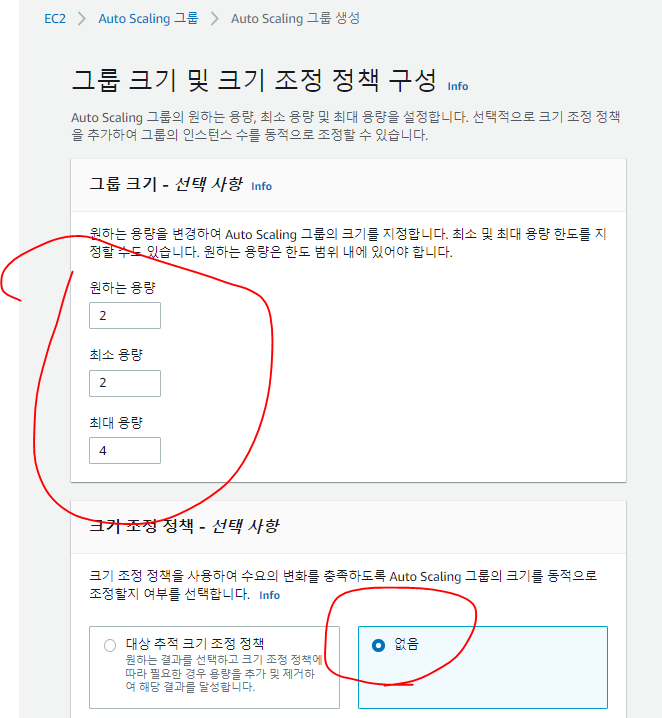
그룹 크기 및 크기 조정정책 구성
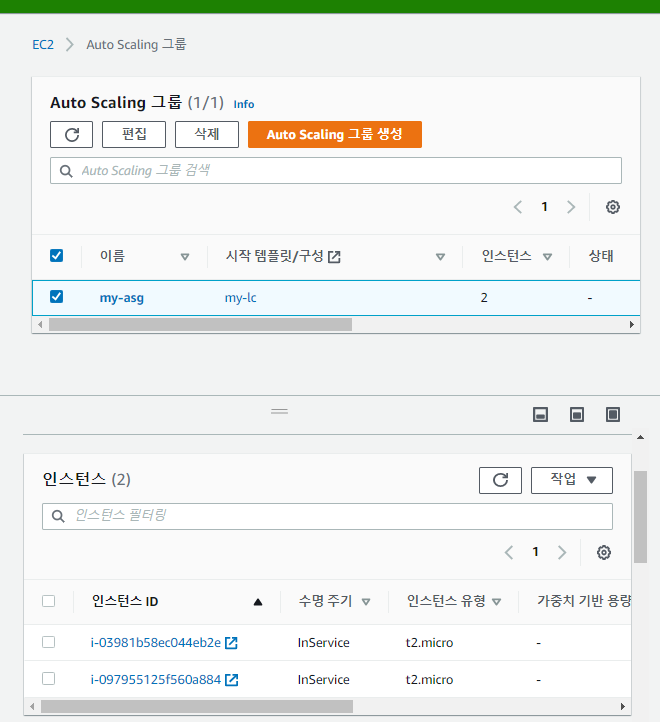
- 이후 검초 후 그룹 생성해준다.
- 인스턴스 2개가 생성중이다.
Cloud9을 활용한 웹 페이지와 appspec.yaml생성
index.html
<!DOCTYPE html>
<html>
<head>
  <meta charset="utf-8">
  <title>Sample Deployment</title>
  <style>
    body {
      color: #ffffff;
      background-color: #0188cc;
      font-family: Arial, sans-serif;
      font-size: 14px;
    }
    h1 {
      font-size: 500%;
      font-weight: normal;
      margin-bottom: 0;
    }
    h2 {
      font-size: 200%;
      font-weight: normal;
      margin-bottom: 0;
    }
  </style>
</head>
<body>
  <div align="center">
    <h1>Congratulations</h1>
    <h2>This application was deployed using AWS CodeDeploy.</h2>
    <p>For next steps, read the <a href="http://aws.amazon.com/documentation/codedeploy">AWS CodeDeploy Documentation</a>.</p>
  </div>
</body>
</html>
appspec.yml
version: 0.0
os: linux
files:
  - source: /index.html
    destination: /var/www/html/
hooks:
  BeforeInstall:
    - location: scripts/install_dependencies
      timeout: 300
      runas: root
    - location: scripts/start_server
      timeout: 300
      runas: root
  ApplicationStop:
    - location: scripts/stop_server
      timeout: 300
      runas: root
scripts 생성
mkdir scriptscd scriptsvi install_dependencies
#!/bin/bash
yum install -y httpd
vi start_server
#!/bin/bash
systemctl start httpd
vi stop_server
#!/bin/bash
isExistApp = `pgrep httpd`
if [[ -n $isExistApp ]]; then
     systemctl stop httpd
fi
cd ..
- 다시 codedeploy 폴더로 돌아가준다.
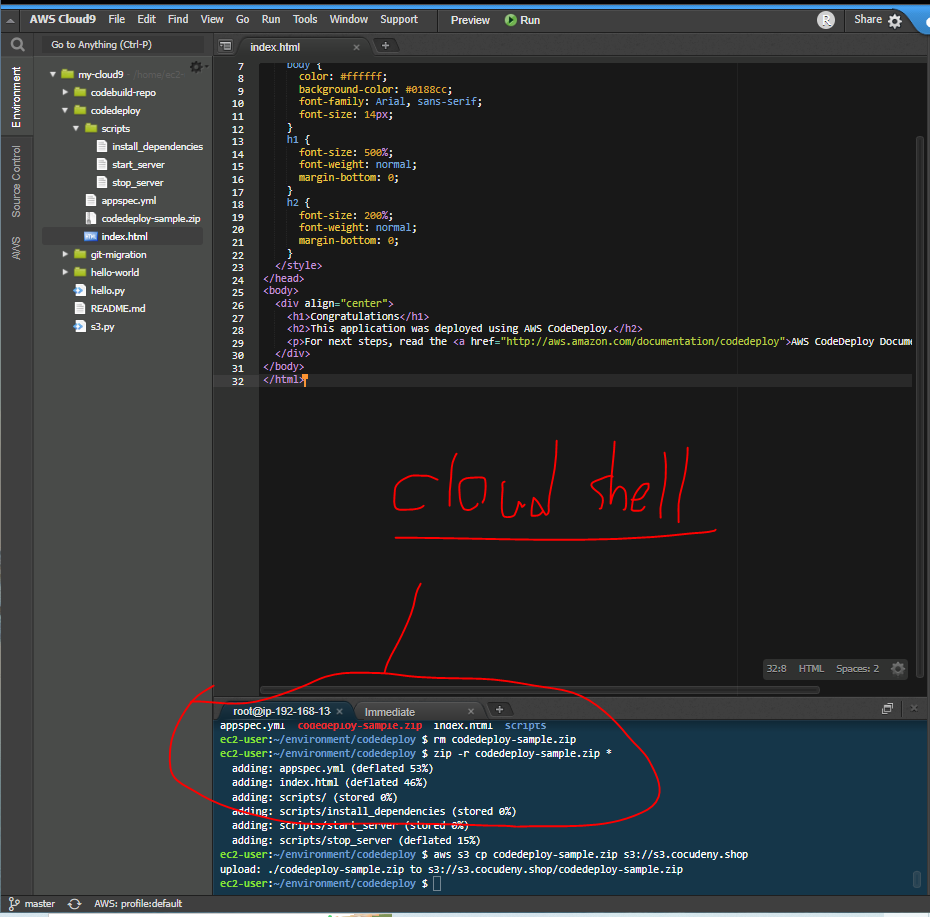
zip -r codedeploy-sample.zip *
- 현재 위치의 스크립트들을 codedeploy-sample로 압축파일로 생성
aws s3 cp codedeploy-sample.zip s3://s3.cocudeny.shop
- S3에 저장한다.
CodeDeploy로 배포하기
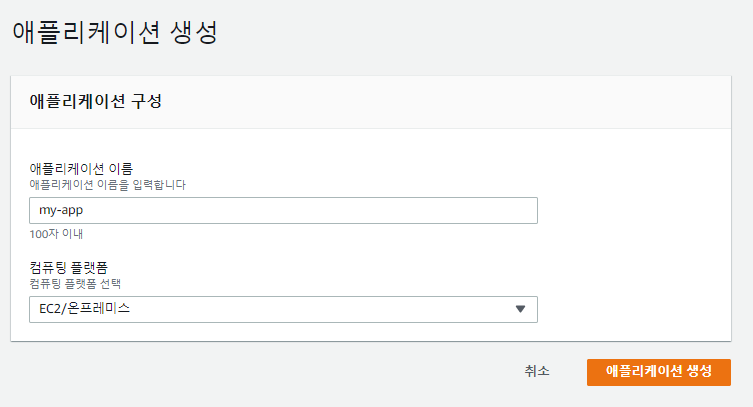
애플리케이션 생성
- 애플리케이션이 생성되었다.
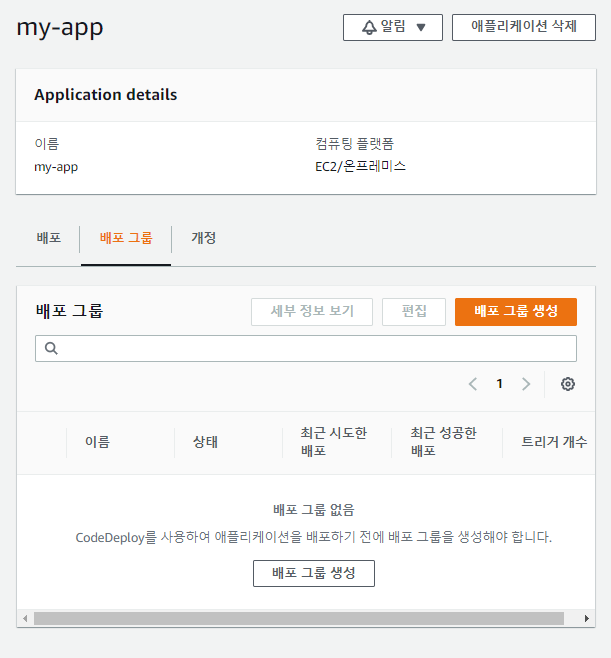
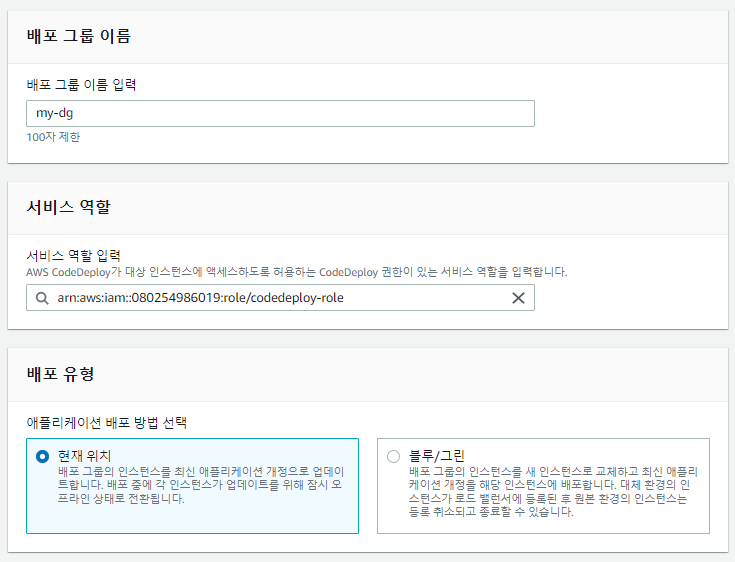
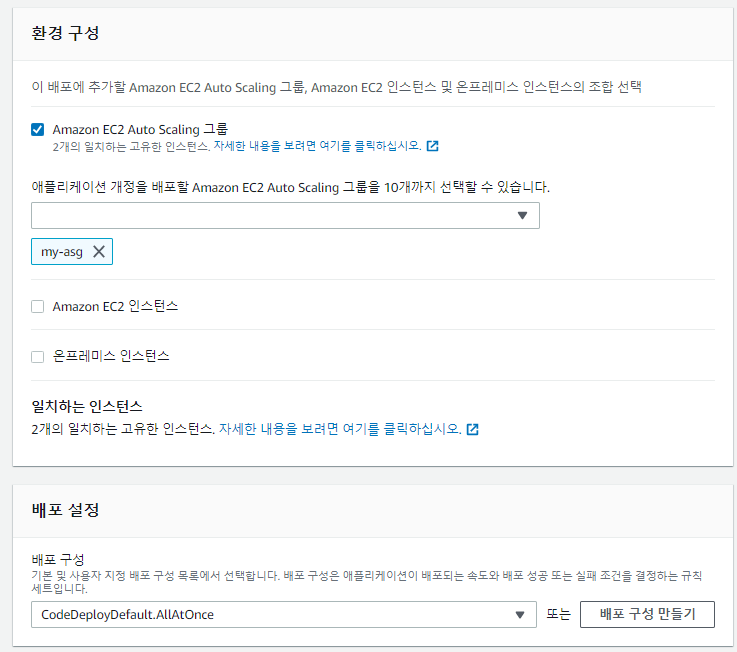
배포 그룹 생성
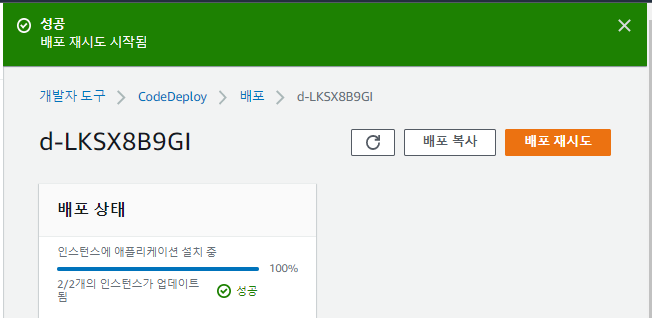
- 배포 성공!
- Route53에서 ALB레코드를 생성해준다.

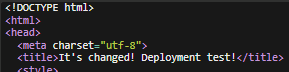
index.html 수정후 재배포
zip -r codedeploy-sample.zip *aws s3 cp codedeploy-sample.zip s3://s3.cocudeny.shop
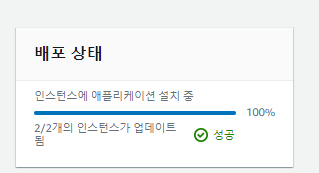
- 배포 성공!
Code Pipe Line
서비스 역할 및 IAM 인스턴스 프로파일 생성
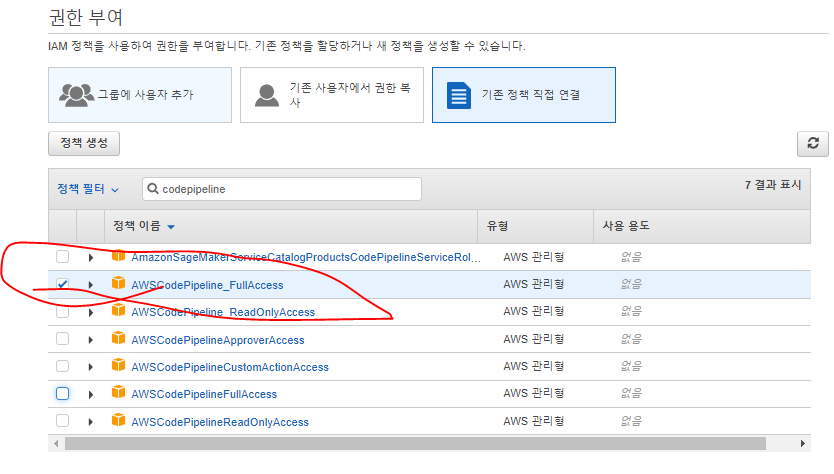
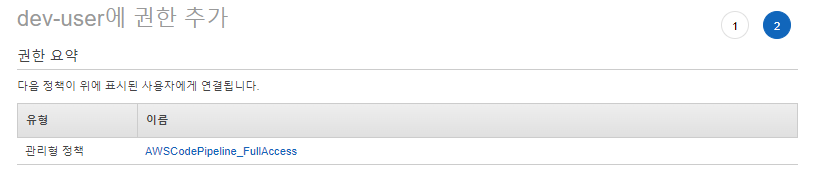
사용자 권한 부여
정리
- EC2 콘솔로 이동
- AutoScaling정리
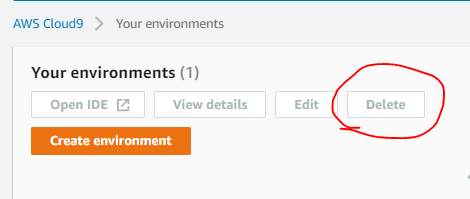
- Cloud9정리
- 클라우드쉘은 GCP나 Azure에서는 잘 생성되어있지만 AWS에서는 잘 완성되어있지 않다.
- 현재 Cloud9의 bash화면은 CloudShell까지는 아니지만, 비슷하다.
- Cloud9 삭제
- CodeCommit 리포지토리 삭제
- CodeBuild 삭제
- CodeDeploy삭제
- 배포(CodeDeploy) -> 애플리케이션
- 애플리케이션 삭제
- S3정리
- 로드밸런서 삭제
- 대상그룹 삭제
- 시작구성삭제


Talking Potato