오늘 할일
- Lambda VPC 연결하면 S3안되는 이유 찾기
- CloudFormation으로 자동화하기
Lambda VPC연결하면 S3 Connectino Timeout이 출력되는 이유
가설1. Lambda함수는 Public IP를 할당받을 수 없다?
- https://stackoverflow.com/questions/54112422/access-aws-s3-from-lambda-within-default-vpc
- Lambda함수는 VPC내에서 할당된 퍼블릭 IP를 받지 않음으로 EC2 인스턴스처럼 직접 인터넷에 접속할 수 없다.
- 인터넷 액세스를 제공하려면 NAT 게이트웨이에 대한 경로가 있는 프라이빗 서브넷으로 Lambda함수를 이용해야한다.
- 물론 Lambda함수가 S3기 때문에 사용한다면 VPC엔드포인트를 사용해야한다.
lambda_function.py
import json

def lambda_handler(event, context):
    # TODO implement
    import socket
    import requests
    import re

    sock = socket.socket(socket.AF_INET, socket.SOCK_STREAM)
    sock.connect(("pwnbit.kr", 443))
    print('내부IP: ', sock.getsockname()[0])

    req = requests.get("http://ipconfig.kr")
    print('외부IP: ', re.search(r'IP Address : (\d{1, 3}\.\d{1, 3}\.\d{1, 3}\.\d{1, 3})', req.text[1]))
    return {
        'statusCode': 200,
        'body': json.dumps('Hello from Lambda!')
    }
- 위는 VPC와 연결되지 않은 상태에서의 Lambda함수의 내,외부 IP이다.
- 여기서
http://ipconfig.kr/주소는 외부IP주소를 보여주는 웹 페이지 이다.VPC 연결
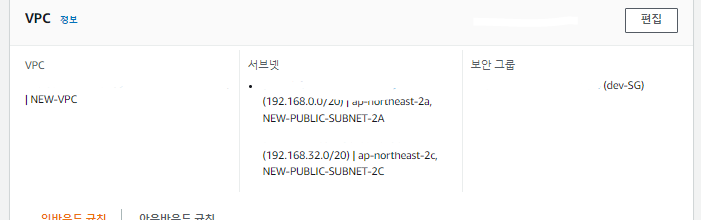
- 위와같이 Public 서브넷의 두 가용영역에 연결했다.
- 똑같이 테스트 했으나,
TimeoutError가 출력된다.- 다른 방법으로 해도 역시
Connection Timed out에러나 출력된다.결론
- 퍼블릭 IP를 할당받지 못했다라고 확실하게 말할 수는 없지만, 확실히 인터넷에 접근이 안되고있다.
- https://stackoverflow.com/questions/52992085/why-cant-an-aws-lambda-function-inside-a-public-subnet-in-a-vpc-connect-to-the
- Lambda function에는 퍼블릭 IP주소가 없으며 부여할 수도 없다.
- 그래서 퍼블릭 서브넷에 인터넷게이트웨이를 통하여 자동으로 퍼블릭 IP를 할당받지도 못한다.
- 즉, 프라이빗 IP만 가질 수 있는데, 따라서 인터넷에 연결하려면 NAT게이트웨이를 통한 인터넷 게이트웨이로의 라우팅으로만 외부 인터넷망에 접속할 수 있다.
의문
- 그렇다면 S3에서 이벤트 트리거로 Lambda를 발생시킬때, 여기서 이미지를 가져오게 되는데, 외부 IP가 없는데 어떻게 이미지를 가져오지?
- 만약 프라이빗 네트워크에서 가져오게 된다면 DataTransfer비용이 면제되는 것 아닐까?
- https://stackoverflow.com/questions/61605991/s3-pricing-with-aws-lambda
- AWS의 공식적인 답변은 아니지만 요청에대한 요금 외에는 Datatransfer비용이 청구되지 않는다고 한다.


만약 Lambda를 외부 인터넷에 액세스하려면
- https://aws.amazon.com/ko/premiumsupport/knowledge-center/internet-access-lambda-function/
- AWS 공식 사이트
- https://medium.com/harrythegreat/%EB%B2%88%EC%97%AD-aws-lambda%EB%A5%BC-vpc%EB%A5%BC-%ED%86%B5%ED%95%B4-%EC%9D%B8%ED%84%B0%EB%84%B7-%EC%97%B0%EA%B2%B0%ED%95%98%EA%B8%B0-d227e4262238
- 한국어 블로그
요약
- 2개의 서브넷이 필요하다.
- 인터넷 게이트웨이가 존재하는 퍼블릭 서브넷
- 퍼블릭서브넷의 인터넷 게이트웨이로 포워딩해주는 Nat게이트웨이가 존재하는 프라이빗서브넷
- 위 Nat게이트웨이 프라이빗서브넷에 Lambda함수의 VPC를 연결해준다.
- 이렇게 프라이빗 서브넷을 사용하여 외부 인터넷 망에 접속한다.
Code Series를 활용해서 Lambda 이미지 배포해보기
사용자 권한
사용자 권한을 추가
- CodeSries부터 ML계정으로 작업할 것이다.
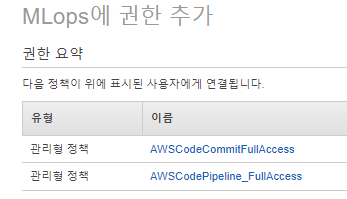
- 먼저 CodeSeries를 생성할 계정 (MLops)에
Codecommit,CodeBuild,CodePipeline정책을 추가해준다.
- 현재 전체 정책

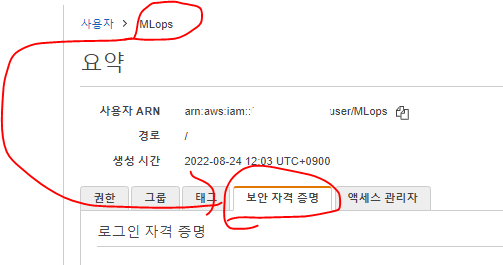
이후 진행을 위해 다른 브라우져를 사용해 이 계정(MLops)으로 작업한다.
AWS CodeCommit 자격증명 추가
- 먼저 권한 추가한 그 화면 그대로 보안자격증명을 클릭한다.
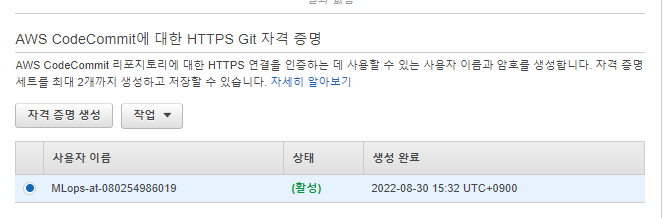
AWS CodeCommit에 대한 HTTPS Git 자격 증명에서 자격증명을 생성한다.
- 이처럼 CSV파일을 다운로드받을 수 있다.

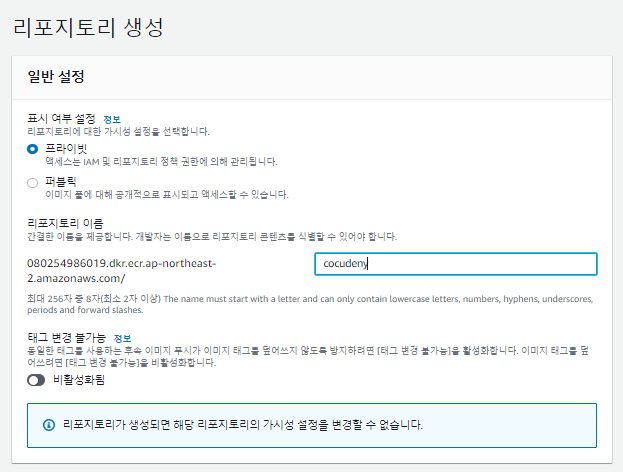
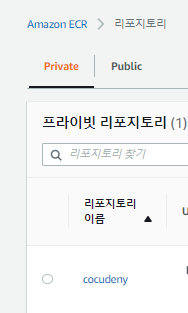
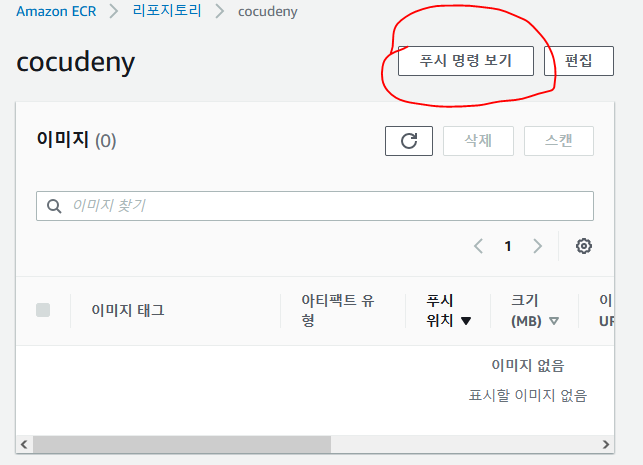
ECR생성
- Private 리포지토리에 잘 생성해준다.
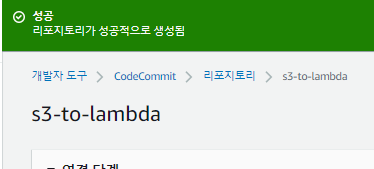
CodeCommit 리포지토리 생성
- repository를 생성했다.
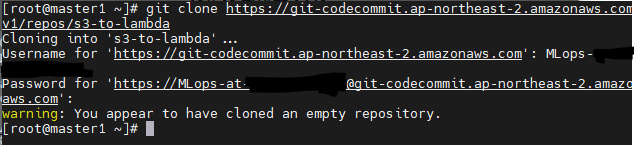
clone repository
git clone [CodeCommit repository http 주소]
- ID와 PW를 물어보는데, 방금 다운로드 받은 CSV파일로 로그인할 수 있다.
- 빈 repository를 클론해왔다는 경고와 함께 잘 클론 된다.
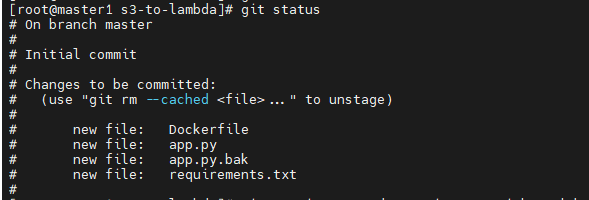
git commit
- 간단하게 lambda_function의 Image형식대로 commit해본다.
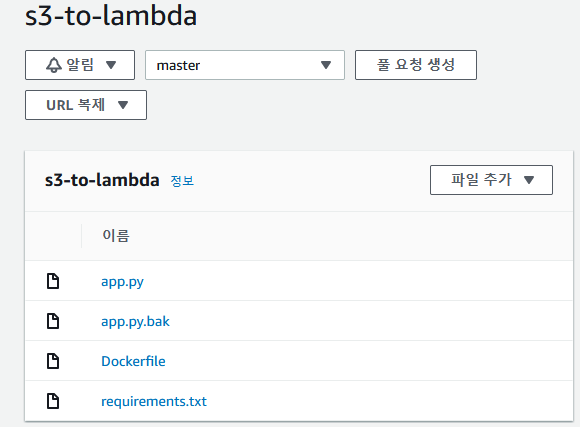
app.py,Dockerfile,requirement.txt이렇게 세개의 파일이 필요하다.app.py
import json
def handler(event, context):
    print("Hello World!")
    return{
        "code" : 200,
        "msg" : "It works"
    }
Dockerfile
FROM public.ecr.aws/lambda/python:3.7

# Copy function code
COPY app.py ${LAMBDA_TASK_ROOT}
#COPY rds_config.py ${LAMBDA_TASK_ROOT}
#COPY rds_connect.py ${LAMBDA_TASK_ROOT}
#COPY TextProcessing.py ${LAMBDA_TASK_ROOT}
# Install the function's dependencies using file requirements.txt
# from your project folder.

COPY requirements.txt  .
RUN  pip3 install -r requirements.txt --target "${LAMBDA_TASK_ROOT}"
# Set the CMD to your handler (could also be done as a parameter override outside of the Dockerfile)
CMD [ "app.handler" ]
requirement.txt
# 20220825 ver1 requirements
#pymysql
#pandas
google
google-cloud
google-cloud-vision
google-api-python-client
wget
#pillow
commit
git config --global user.email [이메일]git config --global user.name "[이름]"
- 위 두 명령어는 로그인처럼 중요한것은 아니라 그냥 기록용이다.
git add .git status- `git commit -m "commit test [메세지]"
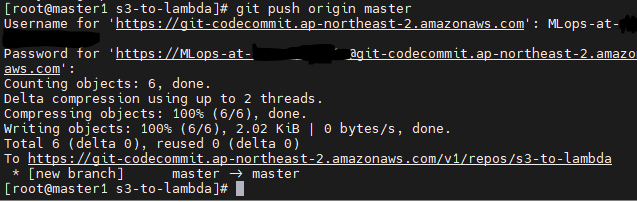
git push origin master
- 잘 푸시 되었다.
- 콘솔에서도 확인할 수 있다.

CodeBuild로 ECR로 빌드
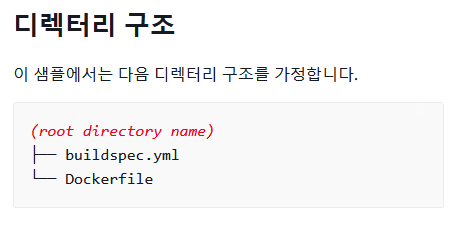
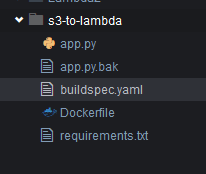
디렉토리 구조
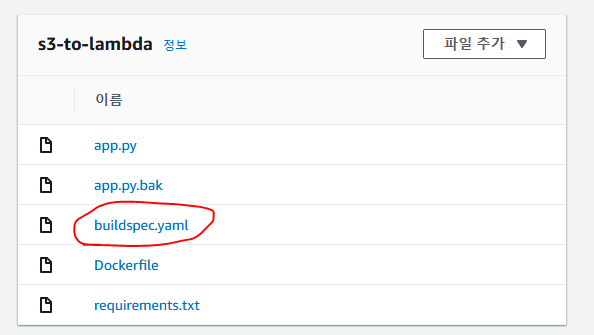
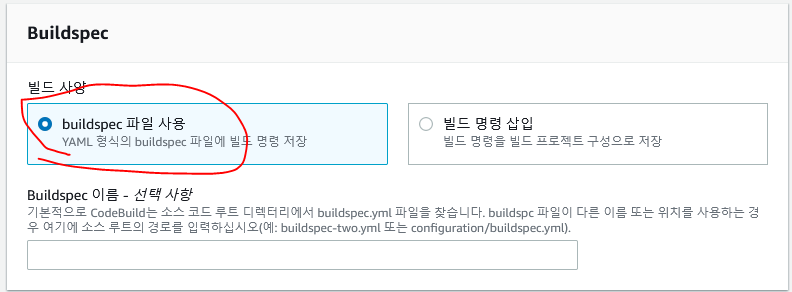
buildspec.yaml
- Codebuild에서 빌드하기위해 builcspec.yaml파일이 필요하다.
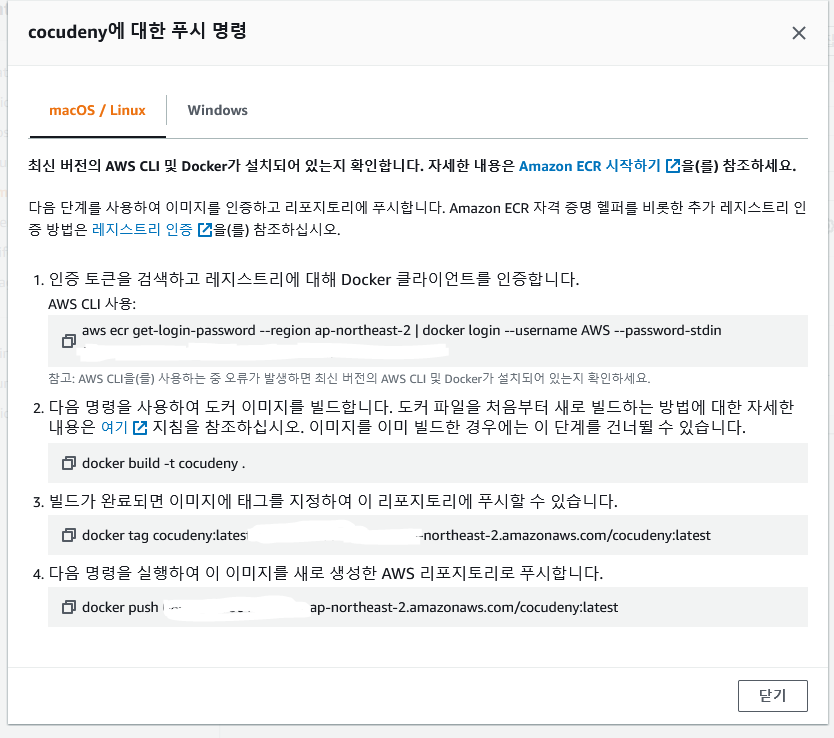
version: 0.2

phases:
  pre_build:
    commands:
      - echo Logging in to Amazon ECR...
      - [(1)ecr 인증토큰]
  build:
    commands:
      - echo Build started on `date`
      - echo Building the Docker image... (and tag)
      - [(2) 도커이미지빌드]
      - [(3) 도커이미지태그]
  post_build:
    commands:
      - echo Build completed on `date`
      - echo Pushing the Docker image...
      - [(4) ECR로 이미지 PUSH]
- 위에서 ()안에 번호는
- 여기에서의 번호를 의미한다.
CodeCommit repository에 커밋
git add .git commit -m "created buildspec.yaml"git push
- 잘 올라왔다.
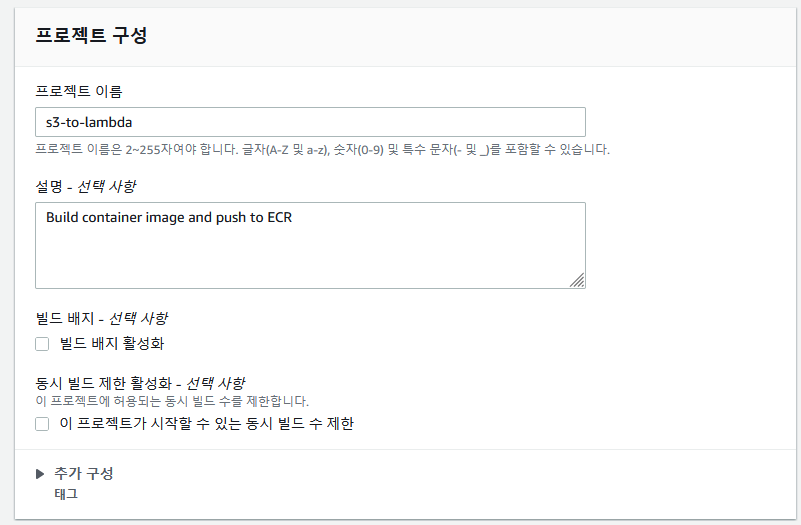
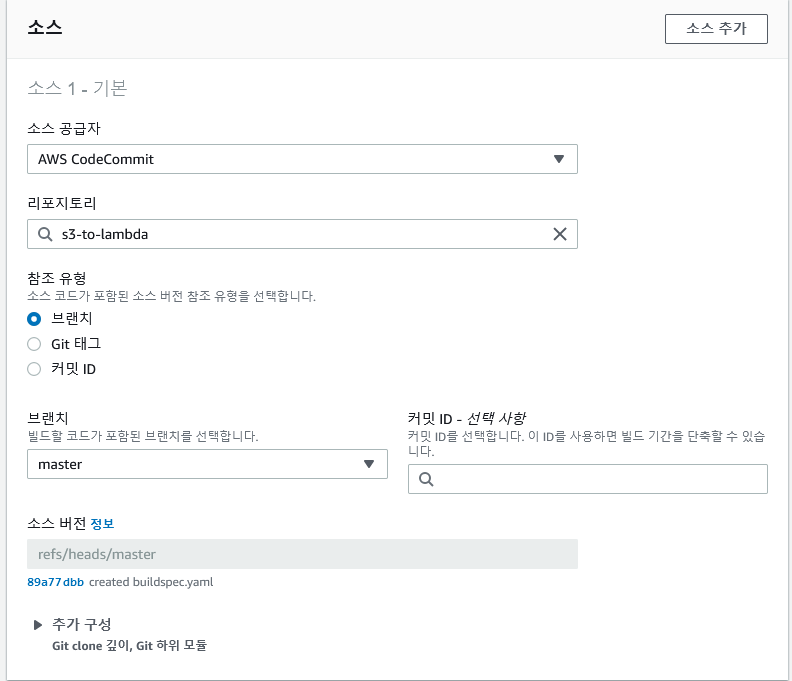
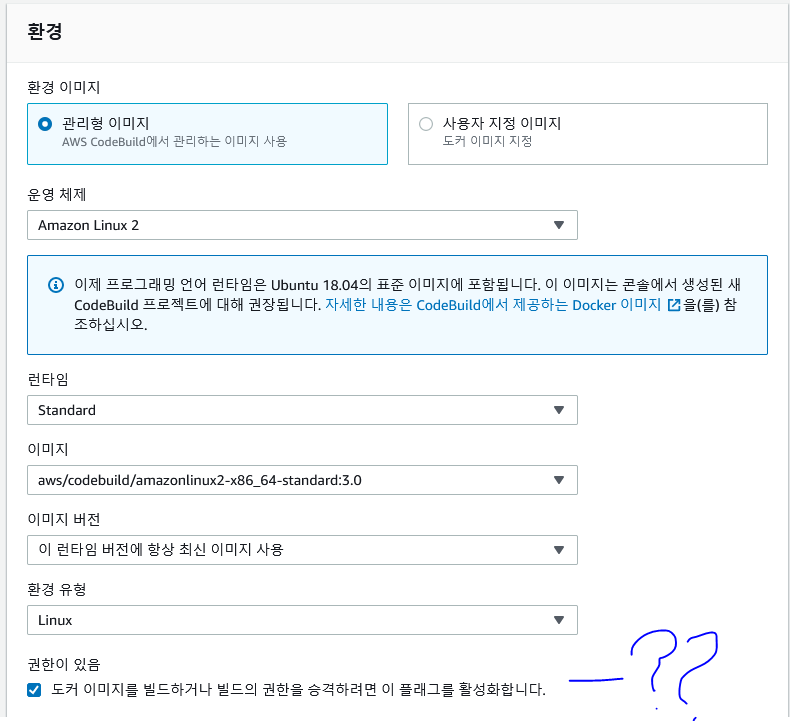
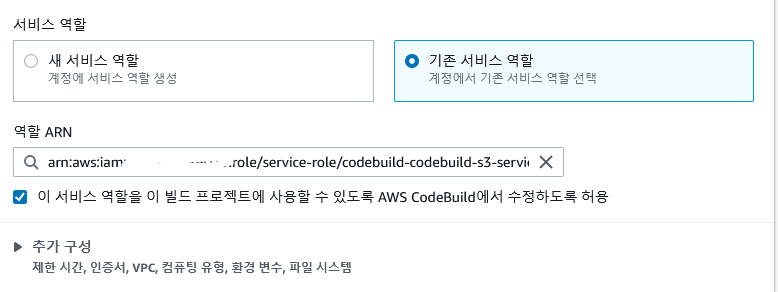
CodeBuild 프로젝트 생성
에러
- ㅠㅠㅠ 왜안대, 여기서부터 다시 시작하도록 한다.
Lambda함수 생성
CodeDeploy로 배포
PipeLine 생성
CloudFormation으로 자동화하기
https://docs.aws.amazon.com/prescriptive-guidance/latest/patterns/deploy-lambda-functions-with-container-images.html

Talking Potato