
-정영한님의 '스프링 입문 - 코드로 배우는 스프링 부트, 웹 MVC, DB 접근 기술'로 공부중입니다.Spring 기초
저번시간에 적은 Spring을 활용해 웹페이지의 정적 구동 방식과 동적 구동 방식. RESTAPI를 사용하는 웹페이지를 맛보기로 구현해 볼 예정이다.
정적 구동 방식의 웹페이지
Spring 작성 준비에서, 프로젝트를 생성해보는 과정에서 만들어 둔 index.html을 활용한다.
<!DOCTYPE html>
<html>
    <head>
        <title>welcome!</title>
        <meta http-equiv="Content-Type" content="text/html; charset=UTF-8"/>
    </head>
    <body>
        <a>hello</a>
        <a href="/hello">hello</a>
    </body>
</html>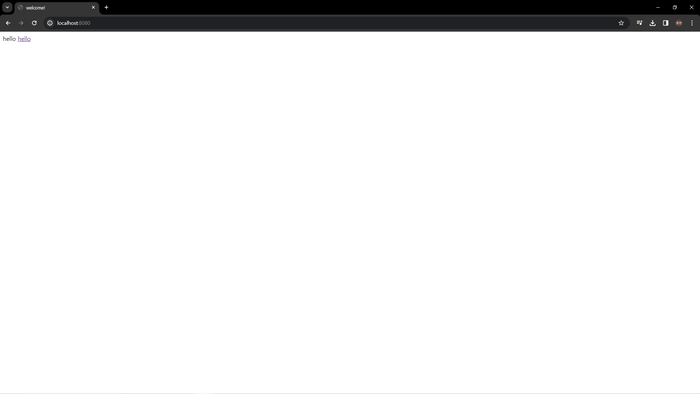
추가로 href="/hello"를 활용해 hello 페이지를 띄울 방법으로 정적 동작 방식을 구현 할 것이다. 현재 상태로는 hello를 클릭하면 오류가 생긴다.
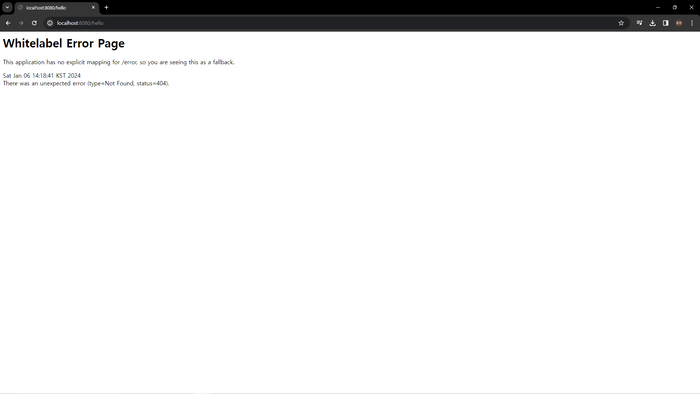
hello.html을 만들어 링크를 클릭했을 때, 띄울 페이지를 만들어준 후, Get을 활용하기 위해서 Controller 폴더를 만들어 페이지를 컨트롤 할 것이다.
<!DOCTYPE html>
//thymeleaf를 활용하여 작성했다.
<html xmlns="http://www.thymeleaf.org">
    <head>
        <title>welcome!</title>
        <meta http-equiv="Content-Type" content="text/html; charset=UTF-8"/>
    </head>
    <body>
    	//th:text="'안녕하세요. '+ ${name}"는 data가 할당 된다면
        //데이터를 출력하고 아니면 그 옆 데이터를 기입해준다.
        <p th:text="'안녕하세요. '+ ${name}">안녕하세요. 손님</p>
    </body>
</html>
package hello.hellospring.controller;
@Controller
public class HelloController{
@GetMapping("hello")
public String hello(Model model){
model.addAttribute("name", "hello!");
return "hello";
}
}spring/java/[id]/[project 이름]/controller 폴더 생성 및 controller.java를 생성해 위 코드를 입력해준다.
GetMapping은 Get방식과 같다고 보면된다. /hello가 요청된다면, 할 행동을 밑에 적는 것인데, hello.html을 나타내는 방식이다.
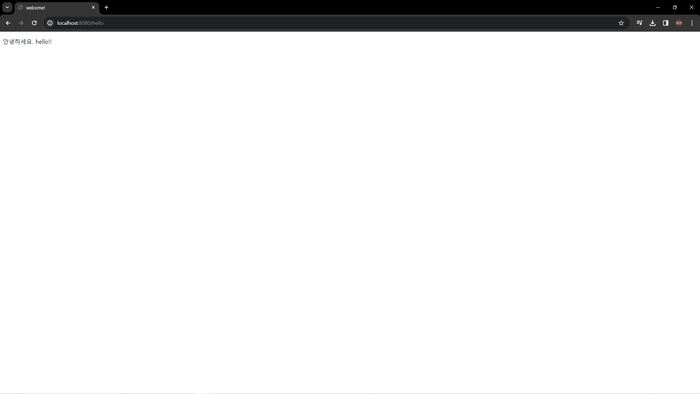
이렇게 동적 작동 페이지를 간단하게 구현해 보았다.
동적 구동 방식의 웹페이지
페이지를 요청하면서 제공해주는 데이터를 활용해 페이지를 가공하여 제출하는 소스코드를 만들것이다.
똑같은 hello.html을 활용하며, controller.java에 소스코드를 추가한다.
@GetMapping("hello-mvc")
    public String helloMvc(@RequestParam(name = "name", required = false) String name, Model model){
        model.addAttribute("name", name);
        return "hello";
    }
그 후, localhost:8080/hello-mvc?name=park으로 접속하면 된다.
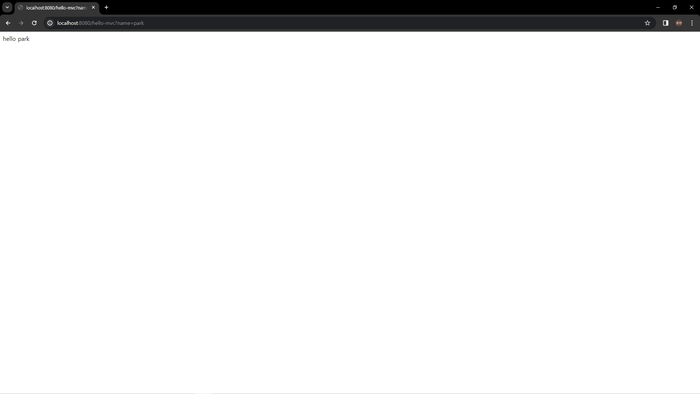
name=park이 되면서,
<p th:text="'안녕하세요. '+ ${data}">안녕하세요. 손님</p> 부분에 data가 name인 park으로 입력이 되고,
그로 인해 안녕하세요. 손님이 아닌 name인 park이 출력이 되게 된다.
API
REST API를 활용해 데이터를 처리하는 것을 보일 것이다. json형태의 데이터가 출력되는 것을 확인 할 것이다.
controller.java에 소스코드를 추가한다.
//GetMapping을 이용해 /hello-api가 요청이 된다.
@GetMapping("hello-api")
@ResponseBody
//name 파라미터로 오는 값을 저장한다.
public Hello helloApi(@RequestParam("name") String name){
	//Hello 클래스를 생성하고 name 파라미터로 온 값을 생성한 클래스의 name값으로 저장한다.
    Hello hello = new Hello();
    hello.setName(name);
    //Hello 클래스를 출력한다.
    return hello;
}
static class Hello {
    private String name;
    public String getName() {
        return name;
    }
    public void setName(String name) {
        this.name = name;
    }
}
그리고 localhost:8080/hello-api?name=park로 입력하게 되면,

이렇게 정적, 동적 웹페이지 구현 및 REST API 간단하게 구현해보았다.
