
[진행중인 포스트입니다.]
지난 포스트에서는 WebSocket과 react를 연동하여 연결을 확인하고 TroubleShooting을 하였습니다!
오늘은 제가 진행하고 있는 프로젝트에서 구현한 채팅 과정을 포스팅합니다!
# 목표
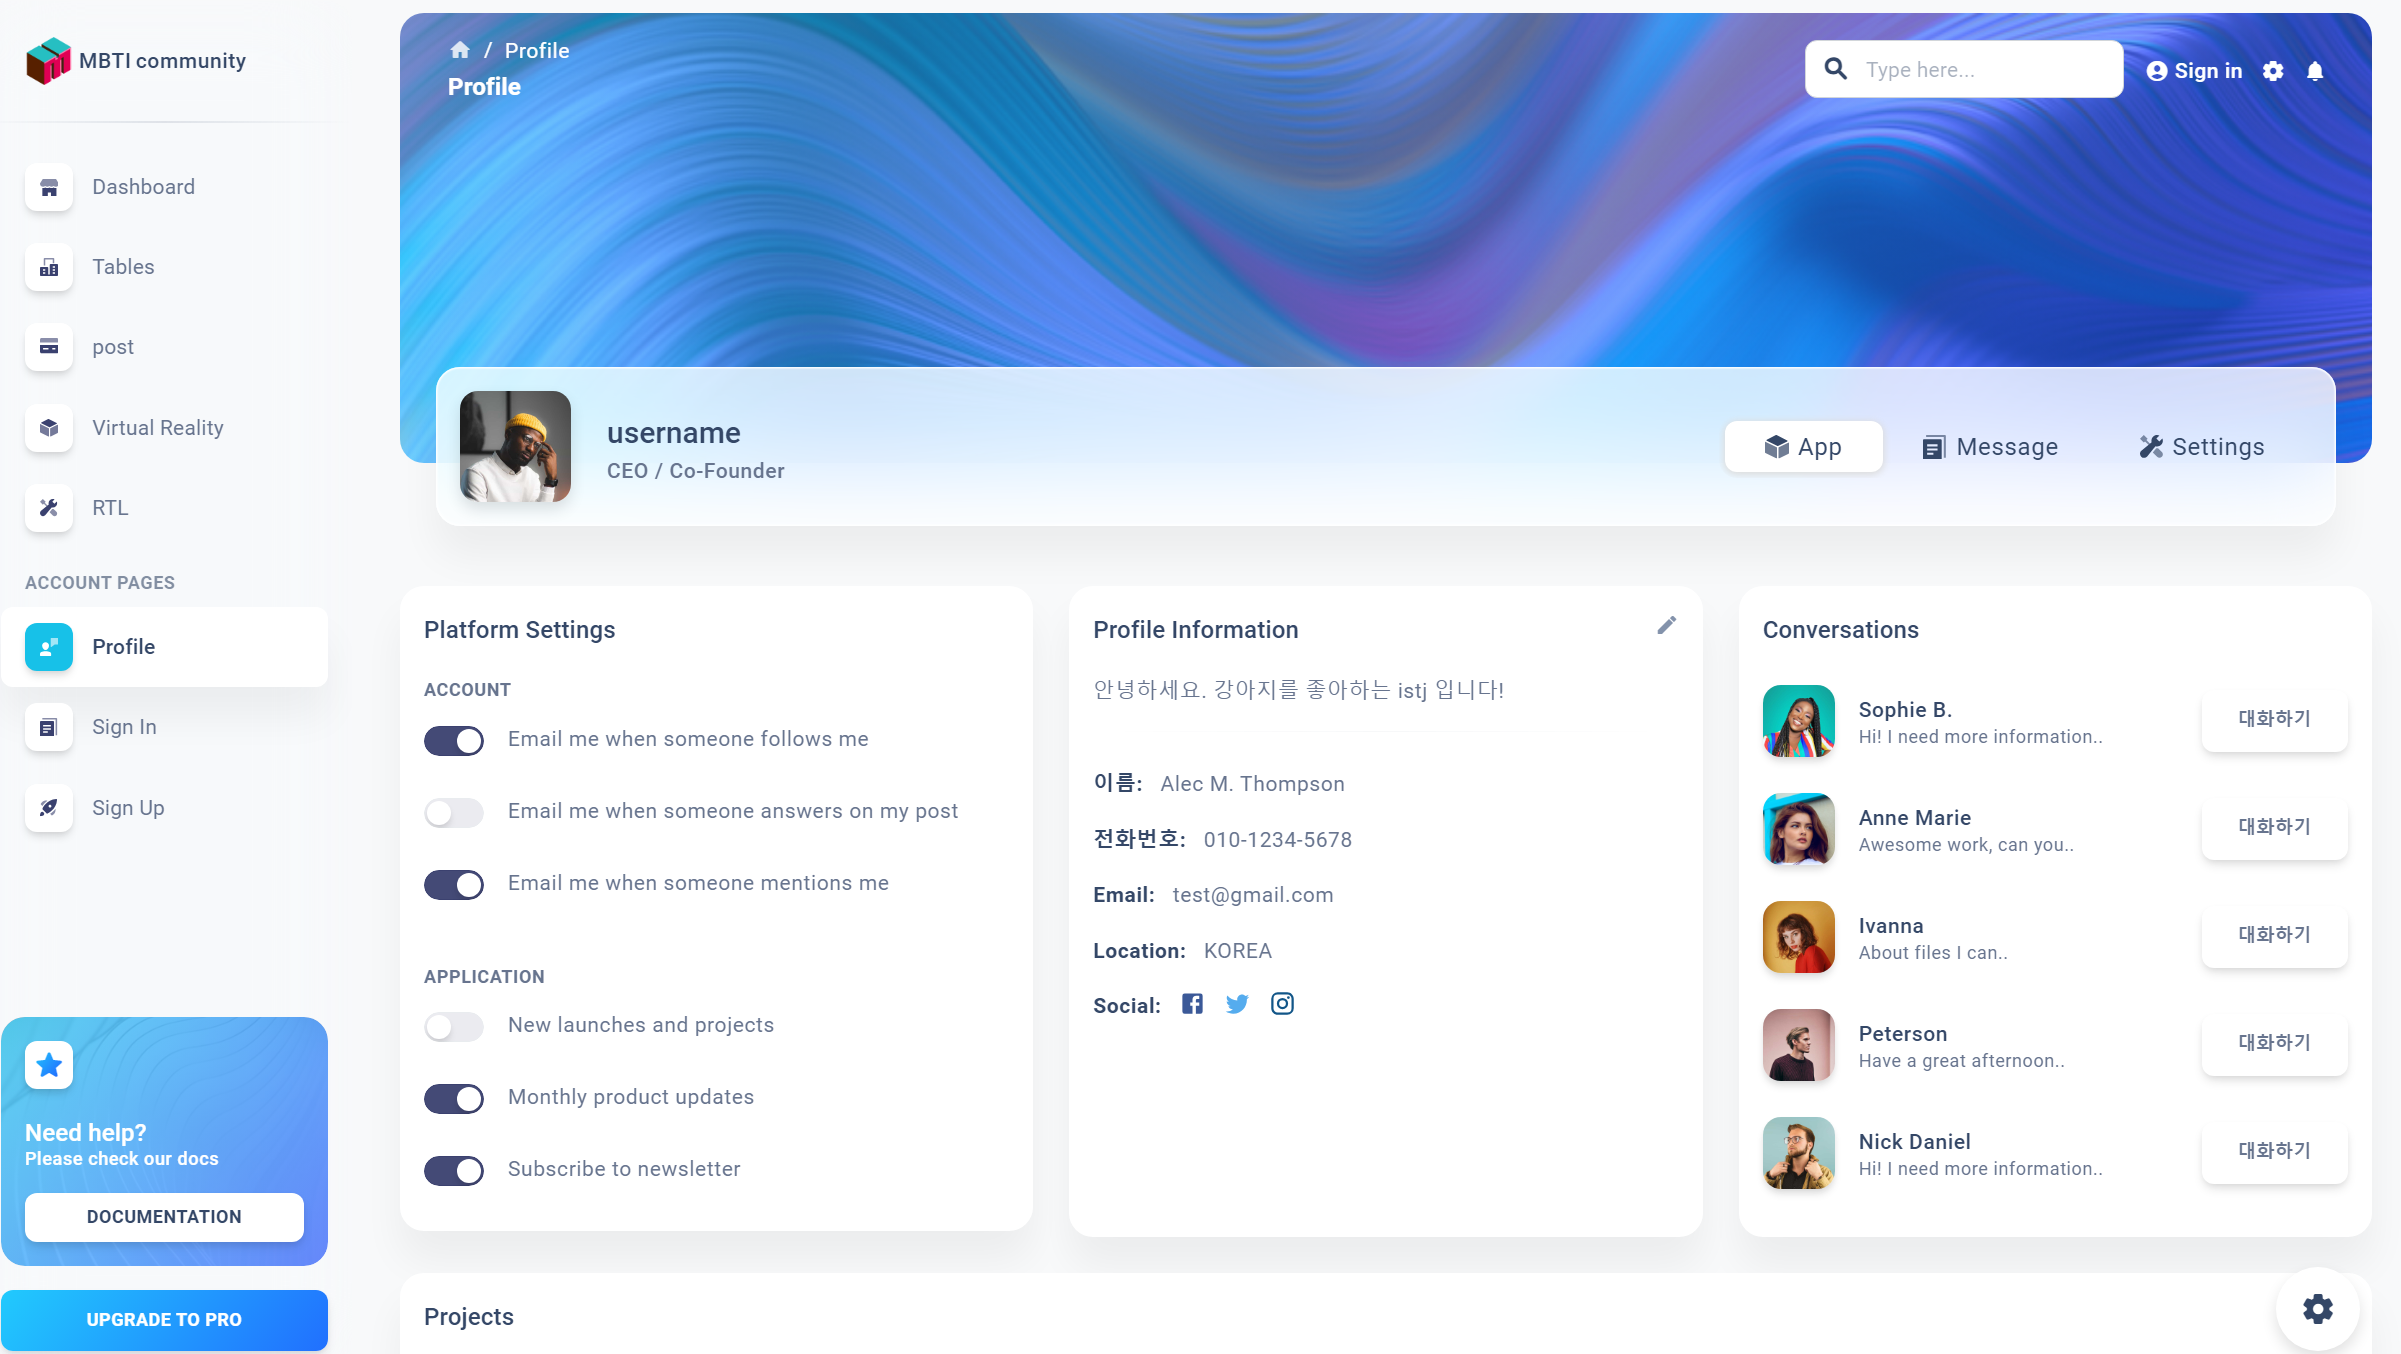
현재 진행중인 MBTIcommunity 프로젝트입니다! 아직 해나가야 할게 많지만 오늘은 conversation 부분을 바꿔볼꺼에요!
오늘은 간단하게 대화하기를 누르면 채팅화면으로 전환되고 소켓에 연결해보겠습니다!
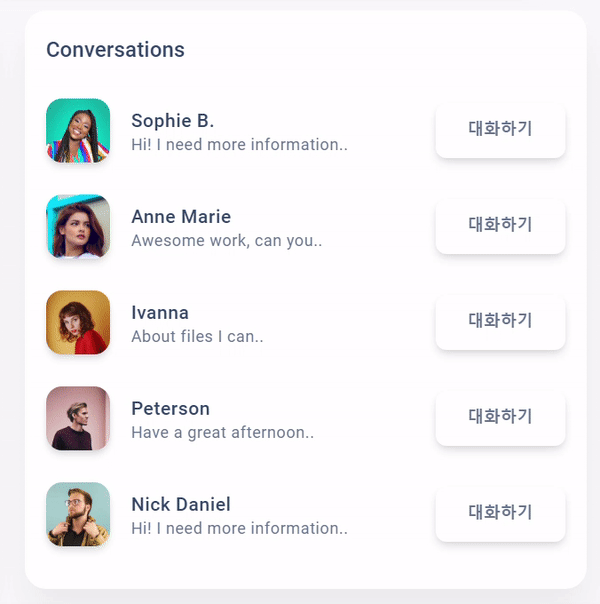
현재 react에 구현된 conversation 코드입니다!
function ProfilesList({ title, profiles }) {

    {/* 친구로 등록된 사람들 랜더링 */}
  const renderProfiles = profiles.map(({ image, name, description, action }) => (
    <SoftBox key={name} component="li" display="flex" alignItems="center" py={1} mb={1}>
      <SoftBox mr={2}>
        <SoftAvatar src={image} alt="something here" variant="rounded" shadow="md" />
      </SoftBox>
      <SoftBox
        display="flex"
        flexDirection="column"
        alignItems="flex-start"
        justifyContent="center"
      >
        <SoftTypography variant="button" fontWeight="medium">
          {name}
        </SoftTypography>
        <SoftTypography variant="caption" color="text">
          {description}
        </SoftTypography>
      </SoftBox>
      <SoftBox ml="auto">
          <SoftButton>
              대화하기
          </SoftButton>
      </SoftBox>
    </SoftBox>
  ));

  return (
    <Card sx={{ height: "100%" }}>

        //헤더
        <SoftBox pt={2} px={2}>
        <SoftTypography variant="h6" fontWeight="medium" textTransform="capitalize">
          {title}
        </SoftTypography>
      </SoftBox>

        //친구로 등록된 사람들 랜더링
      <SoftBox p={2}>
        <SoftBox component="ul" display="flex" flexDirection="column" p={0} m={0}>
          {renderProfiles}
        </SoftBox>
      </SoftBox>

    </Card>
  );
}
현재 이 컴포넌트는 ProfilesList라는 컴포넌트로 export되어 전체 화면 구현 코드에서 사용됩니다.
여기서 대화하기 버튼을 누르면 채팅창으로 전환될 수 있게 해볼게요!
변경 코드입니다!
 const [isChat, setIsChat] = useState(false);

...
...

<Grid item xs={12} xl={4} >

              {isChat ? <SoftBox/>{/*채팅 컴포넌트*/}
                  :
                  <ProfilesList title="conversations" profiles={profilesListData}/>
              }

</Grid>
먼저 상태에 따라서 화면을 전환시켜야 하므로 UseState와 삼항연산자를 사용하였습니다!
그럼 저 <SoftBox/> {/*채팅 컴포넌트*/}를 대체할 Chat 컴포넌트도 만들어 보겠습니다!
Chat.js
function Chat({ }) {

    const client = useRef({});
    const [chat, setChat] = useState(""); // 입력된 chat을 받을 변수
    const [chatList, setChatList] = useState([]); // 채팅 기록

    const connect = () => {
        // 소켓 연결
        try {
            client.current = Stomp.over(() => {
                const sock = new SockJS('/ws');
                return sock;
            });
            client.current.connect(
                {},
                () => {
                    client.current.subscribe(
                        '/sub/chat/1',
                        (body) => {
                            const json_body = JSON.parse(body.body);
                            setChatList((_chat_list) =>
                                [..._chat_list, json_body]
                            );
                            console.log("chatList", chatList);
                        },
                        {
                            // 여기에도 유효성 검증을 위한 header 넣어 줄 수 있음
                        }
                    );
                }
            );
        }
        catch (e) {
            console.log(e);
        }
    };

    const disConnect = () => {
        // 연결 끊기
        if (client === null) {
            return;
        }
        client.current.deactivate();
    };

    const sendChat = (e) => {
        console.log("sendChat")
        e.preventDefault();
        client.current.publish({
            destination: "/pub/chat",
            body: JSON.stringify({
                sender: "sender",
                content: chat
            }),
        });
        setChat("");
    };

  //chat이 계속 업데이트 될 수 있게 함
    const handleChatChange = (e) => {
        setChat(e.target.value);
    };

  //버튼 이외에 ENTER 키도 사용가능하게 함
    const handleOnKeyPress = (e) => {
        if (e.key === 'Enter') {
            sendChat(e);
        }
    };

    return (
        <Card sx={{ height: "100%" }}>
            <SoftBox pt={2} px={2} sx={{ display: 'flex', justifyContent: 'space-between' }} >

                //뒤로가기 누르면 연결 종료
                <SoftButton onClick={disConnect}><ArrowBackIcon /></SoftButton>
                <SoftTypography variant="h6" fontWeight="medium" textTransform="capitalize">
                    Chat
                </SoftTypography>
                <SoftBox/>
            </SoftBox>

			//지정 크기를 넘어가면 스크롤 할 수 있게 설정
            <SoftBox p={2} sx={{ height: '30vh', overflowY: 'scroll' }}>
                {chatList.map((item)=>(
                    // eslint-disable-next-line react/jsx-key
                    <SoftBox sx={{border:1}}>{item.content}</SoftBox>
                ))}
            </SoftBox>

			//입력 부분
            <SoftBox m={4} pr={1} bottom={5} sx={{display: 'flex'}}>
                <SoftInput
                    placeholder="Type here..."
                    //icon={{ component: "send", direction: "right" }}
                    onChange={handleChatChange}
                    onKeyPress={handleOnKeyPress}
                    value={chat}
                />
                <SoftButton onClick={sendChat} variant="gradient" color="primary" >
                    보내기
                </SoftButton>
            </SoftBox>
        </Card>
    );
}
혹시 child ~오류나시는 분은 주석을 //내용 에서 {/내용/}으로 바꿔주세요!
const [isChat, setIsChat] = useState(true);

 {isChat ? <Chat/> :
          <ProfilesList title="conversations" profiles={profilesListData} changeChat={changeChatState}/>
}
로 바꾼다음 확인하겠습니다
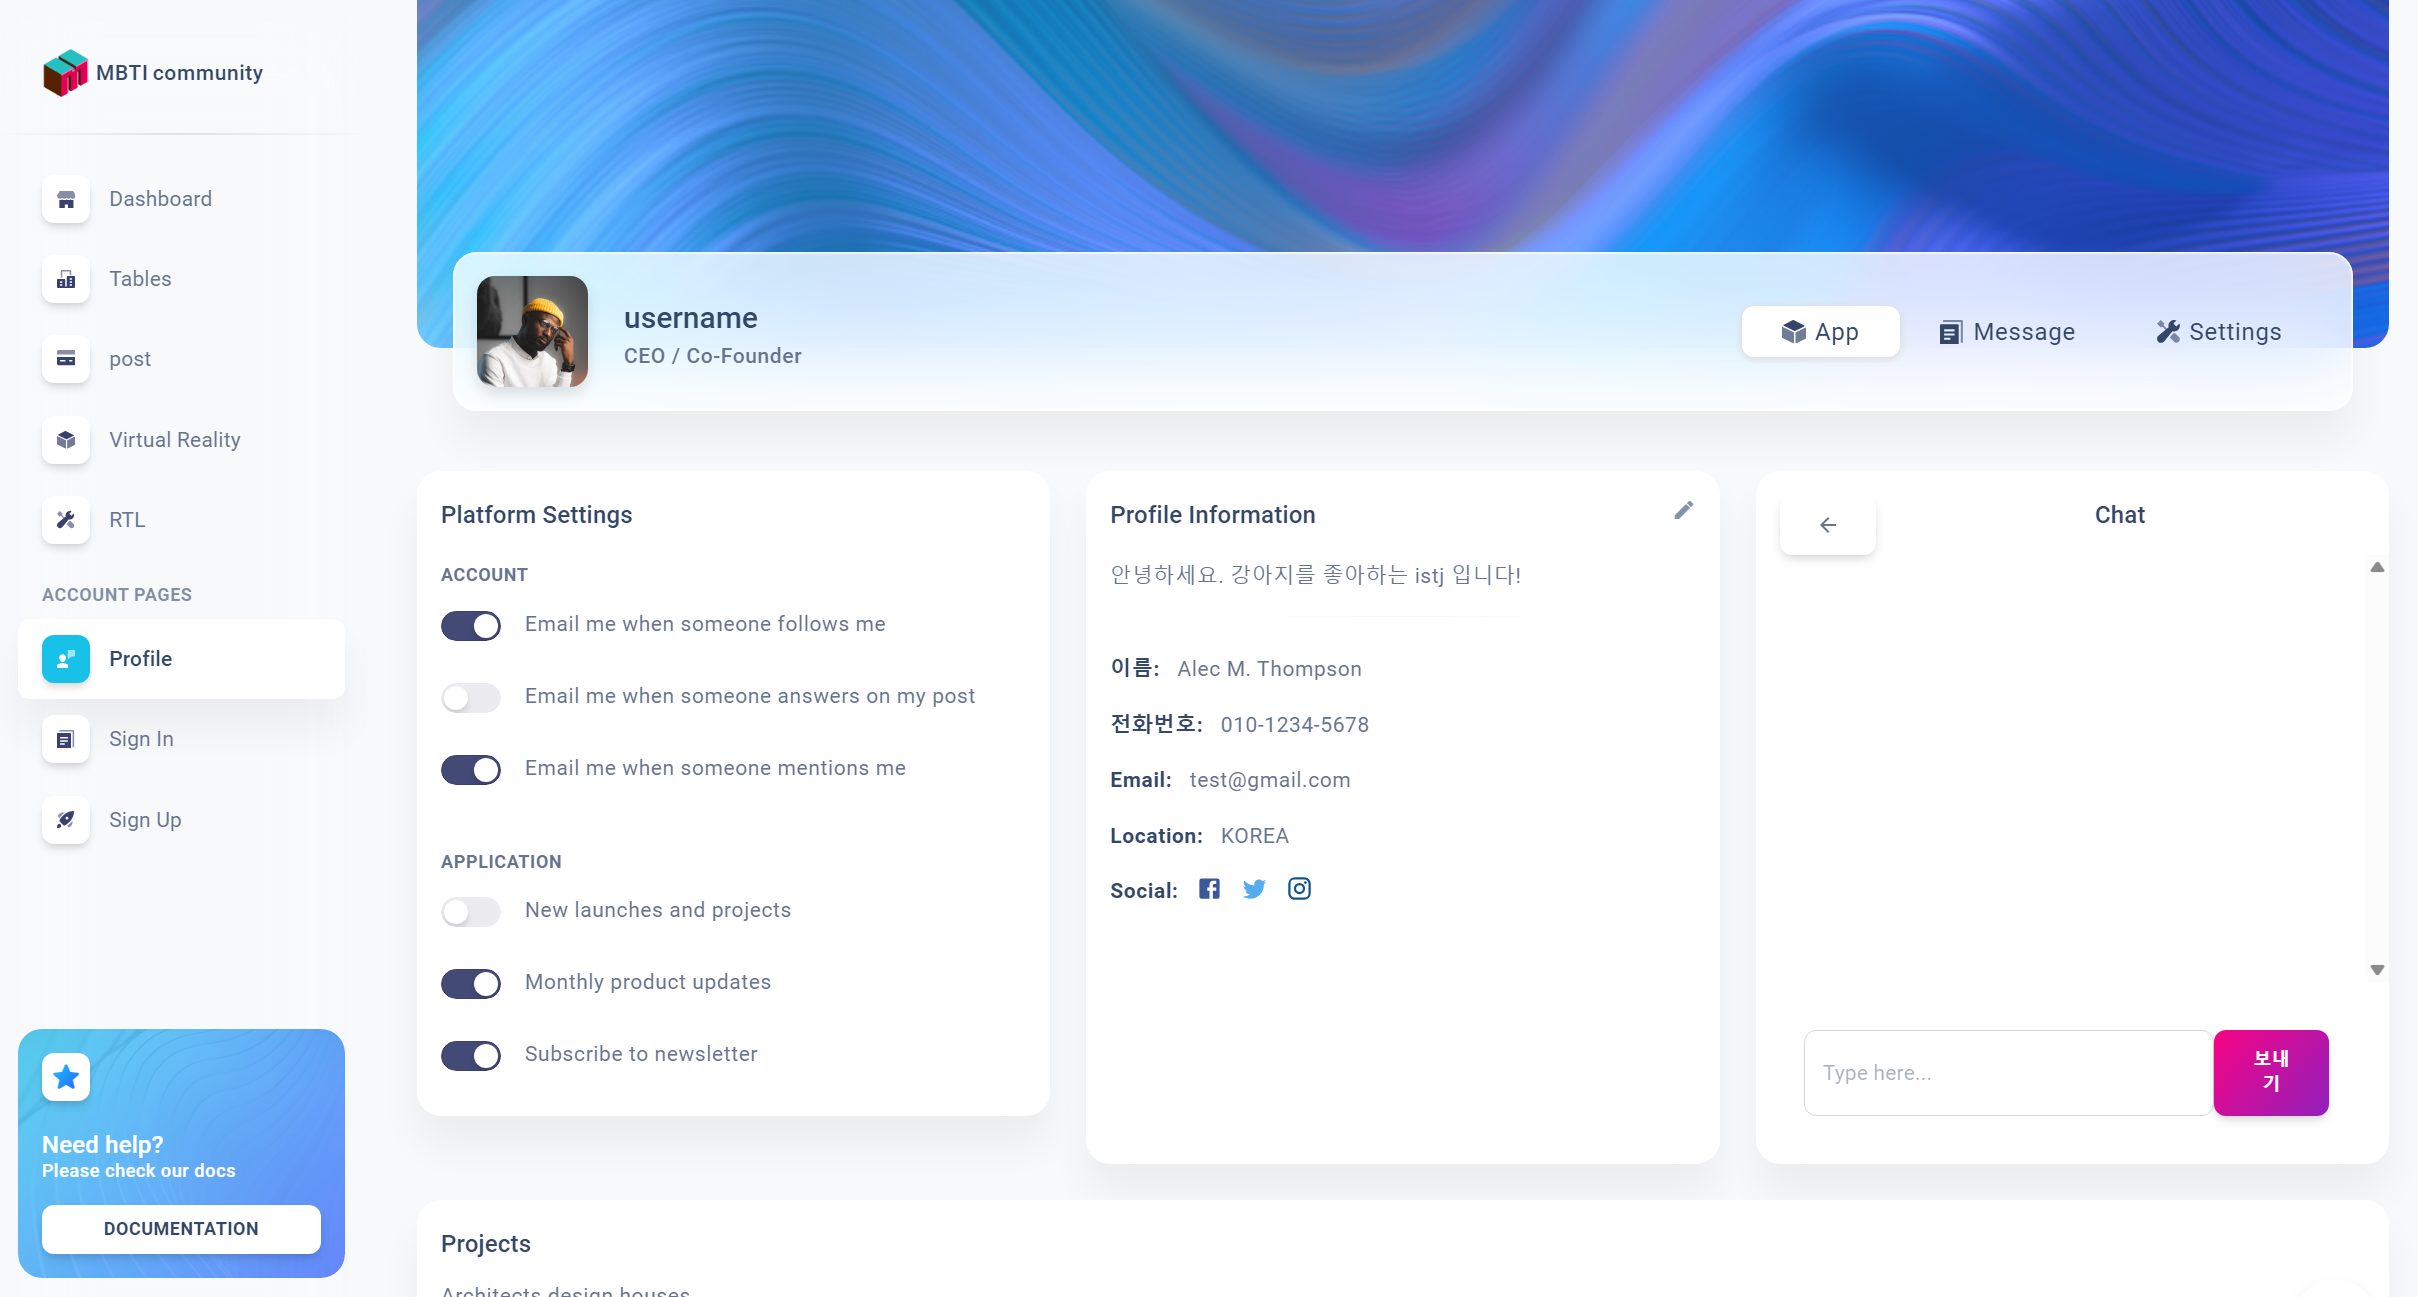
동작 완료!
하지만 저희는 지금 그냥 보여주는게 아니라 전환시키는 작업을 하고 있죠
const changeChatState = () => {
        if(isChat == true) {
            setIsChat(false);
        }
        else {
            setIsChat(true);
        }
    }
를 추가 시켜준 이후
 {isChat ? <Chat changeChat={changeChatState}/>
                  :
                  <ProfilesList title="conversations" profiles={profilesListData} changeChat={changeChatState} ChatState={isChat}/>
              }
각 컴포넌트에 changeChatState 함수를 prop으로 넘겨줍니다.
ProfilesList에서는
function ProfilesList({ title, profiles,changeChat }) {
  ...
  ...

<SoftBox ml="auto">
          <SoftButton onClick = {changeChat}>
              대화하기
          </SoftButton>
</SoftBox>
Chat에서는
function Chat({ changeChat }) {
  ...
  ...

const disConnect = () => {
        // 연결 끊기
        if (client === null) {
            return;
        }
        client.current.deactivate();
        changeChat();
    };
...
...
 {/*뒤로가기 누르면*/}
                <SoftButton onClick={disConnect}><ArrowBackIcon /></SoftButton>
                <SoftTypography variant="h6" fontWeight="medium" textTransform="capitalize">
                    Chat
                </SoftTypography>
                <SoftBox></SoftBox>
으로 바꾸어 줍니다!
작동완료..! 그러나
이후 1. 채팅방을 나갔다 들어와도 chatList 유지하는 것과
2. 각 채팅방마다 다른 소켓을 연결할 수 있도록 개선해야겠습니다!
다름 포스트에서~

코딩은재밌어