📚 Summary
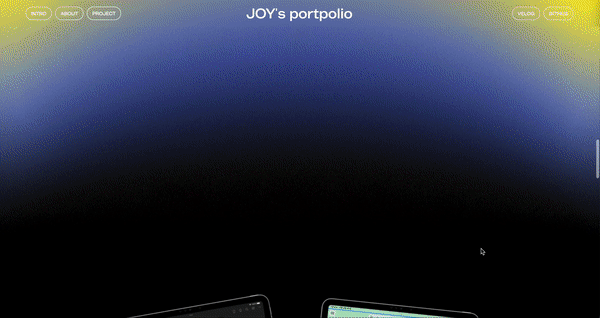
사이트명 : Joy's Portpolio
작업 기간 : 23.03.20 ~ 23.03.23 (4일 소요)
사용언어: HTML, CSS, Jquery, Gsap, JS
유형 : 반응형, Renewal
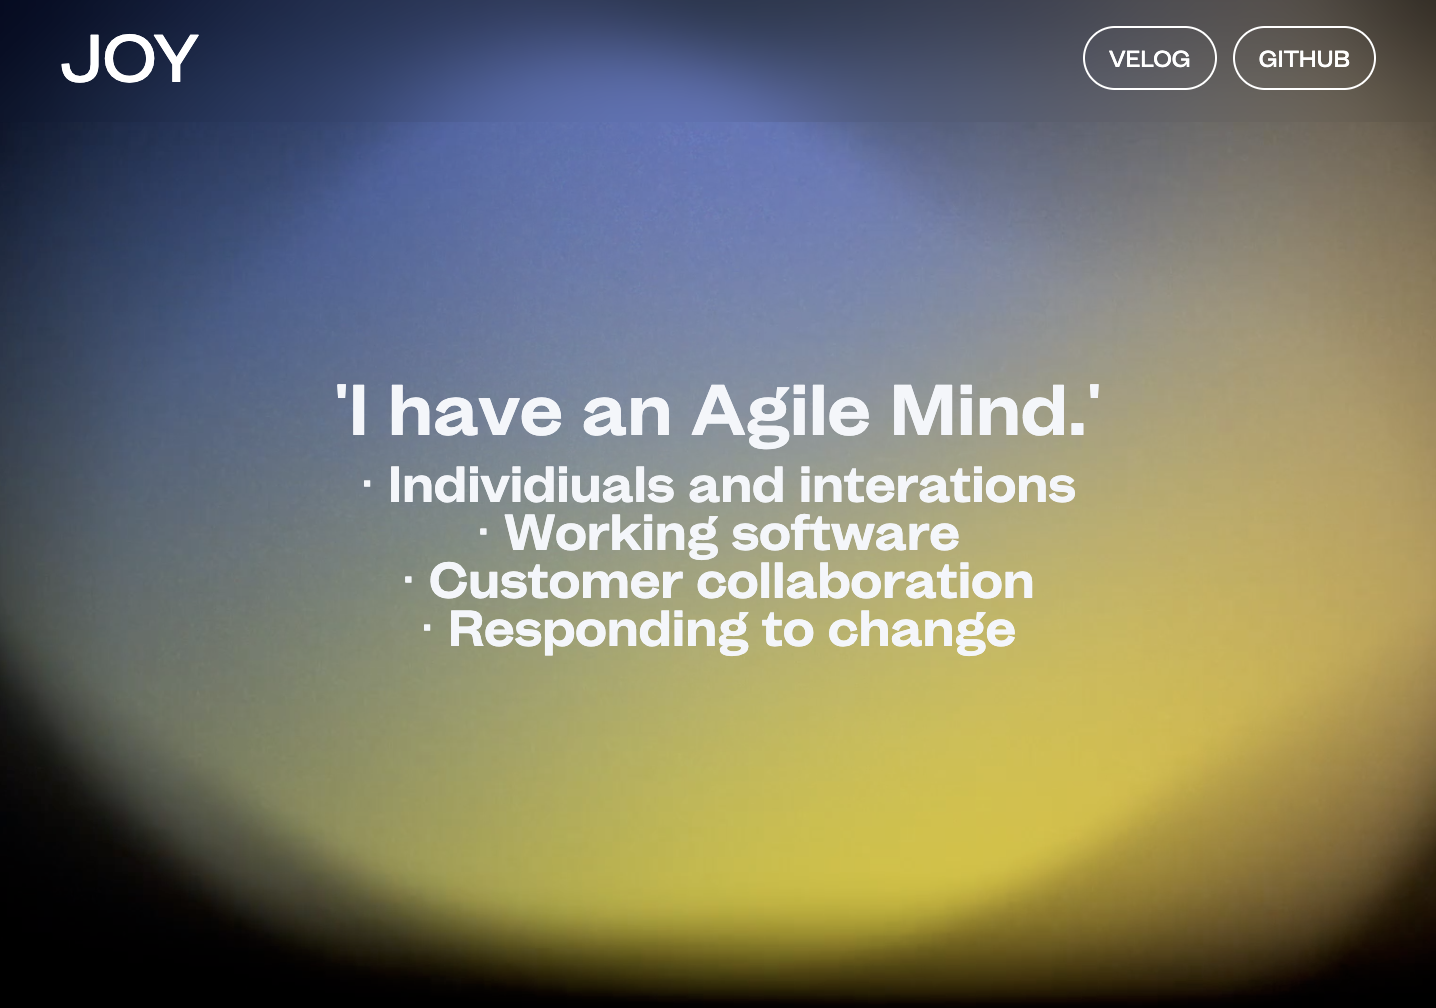
특징 : 첫 로드시에 텍스트가 랜덤으로 나타나게끔 hero page에 효과를 주었고 포트폴리오를 소개하는 화면에서는 책장을 펼치듯 한 모션을 주었습니다.
✔️ Main Point
- 첫 로드시 문자 하나하나 마다의 모션 - SplitType 플러그인
- 스크롤에 따른 텍스트 투명도 조절 - gsap.timeline
- 스크롤에 따른 이미지 모션 - each & gsap.timeline
- 이메일 버튼에 호버와 클릭이벤트 - mouseover/mouseout & gsap.to
1. 첫 로드시 문자 하나하나 마다의 모션 - SplitType 플러그인
📋SplitType플러그인을 활용하여 첫 로드시에 텍스트가 랜덤으로 돌아가는 모션을 주었습니다.
◻️ SCRIPT
$(function(){
  // sc-intro
  const introTxt = new SplitType('.sc-intro
   .tit-area h2, .sc-intro .tit-area p', { types : 'words, chars', });
  gsap.set(introTxt.chars, {
    xPercent:("random(-200,200)"),
    yPercent:("random(-200,200)"),
    rotation:("random(-360,360)")
  })
  gsap.to(introTxt.chars,1,{
    xPercent: 0,
    yPercent: 0,
    rotation: 0,
    stagger : {
      from : 'random',
      amount : 0.1
    }
  })
🔎 코드 분석
SplitType코드 소스 활용const text = new SplitType('#target', { types: 'words, chars' })
#target에 해당하는 text class name을 넣어주고introTxt로 변수 설정gsap.set(introTxt.chars, {모션 전의 상태 setting (gsap에서의 css라고 볼 수 있음)gsap.to(introTxt.chars,1,{모션 후의 상태gsap.to로 설정stagger태그로 순차적으로 적용 시킬 수 있지만, 랜덤하게 이동 시키도록 하기위해from : 'random'을 입력해 주었습니다.
2. 스크롤에 따른 텍스트 투명도 조절 - gsap.timeline
◻️ SCRIPT
  // sc-about
  aboutTxt = gsap.timeline({
    scrollTrigger:{
      trigger:".sc-about",
      start:"20% 0%",
      end : "60% 0%",
      scrub : 1,
    },
  })
  aboutTxt.to('.sc-about .group-column',{
    opacity: 1,
    })
🔎 코드 분석
.sc-about영역의 높이가 커서 (background-image의 크기가 크기 때문)start위치를 20% ,end위치를 60%로 조정해 주었습니다.scrub스크롤을 위아래로 움직일 때마다 모션을 주기 위해 사용- 스크롤 했을때 텍스트가 나타나게끔
opacity: 1로 구현
3. 스크롤에 따른 이미지 모션 - each & gsap.timeline
📋 화면 위아래로 스크롤시 each 구문을 활용하여 프로젝트의 이미지들이 양쪽으로 벌어지는 모션을 주었습니다.
◻️ HTML
<section id="project" class="sc-project">
  <h2 class="blind">프로젝트</h2>
  <ul class="project-list">
    <li class="project-item">
      <div class="img-area left">
        <img src="./assets/images/main/ipad-left.png" alt="iPad">
      </div>
      <div class="img-area right">
        <img src="./assets/images/main/ipad-right.png" alt="iPad">
      </div>
◻️ CSS
/* sc-project */
/* 한 화면에 나오는 프로젝트 아이템에 대한 영역*/
.sc-project .project-item {
	display: flex; align-items: center; position: relative;
    height: 100vh;
    overflow: hidden; }

/* 이미지 2개가 포함 된 이미지 영역*/
.sc-project .project-item .img-area {
    width: 50vh; height: 70vh;
    position: absolute;
    top: 50%; left: 50%;
    transform: translate(-50%,-50%);
    z-index: 5;
}

/* 왼쪽 이미지, 오른쪽 이미지*/
.sc-project .project-item .img-area.left {
    transform: translate(-80%,-50%) rotate(-10deg);
 }
.sc-project .project-item .img-area.right {
    transform: translate(-20%,-50%) rotate(5deg);
}
◻️ SCRIPT
  // sc-project
  $('.sc-project .project-item').each(function(i,e){
    descEL =  $(this).find('.desc-area')
    leftEL = $(this).find('.img-area.left')
    rightEL = $(this).find('.img-area.right')

    const projectMotion = gsap.timeline({
      scrollTrigger:{
        trigger:e,
        start:"0% 95%",
        end : "100% 90%",
        scrub : 1,
      },
    })
    projectMotion
    .addLabel('a')
    .to(leftEL,{
      xPercent:-150,
      rotation : -10,
    },'a')
    .to(rightEL,{
      xPercent:150,
      rotation : 10
    },'a')
      .from(descEL,{
      opacity : 0,
      yPercent:10,
    },'a')
  })
🔎 코드 분석
[ HTML ]
<div class="img-area left">양쪽으로 이미지가 나오게 left/right로 class name을 입력
[ CSS ]
.sc-project .project-item포트폴리오 소개하는 한 화면당 높이 100vh 로 설정.sc-project .project-item .img-area이미지 2개가 포함 된 이미지 영역이므로 position absolute 로 띄워서 가운데에 위치하도록 설정.sc-project .project-item .img-area.left/right모션 전 각각의 왼쪽/오른쪽 이미지에 위치와 각도 설정
[ SCRIPT ]
- 3개의 포트폴리오를 소개하는 화면이 시간 격차로 나타나야 하기 때문에 jQuery 의
each구문을 활용해서 구현- 각각의 해당 섹션에 모션을 주기 위해
trigger:".item"에서trigger:e,으로 변경- 각각의 요소에 맞게 변수 할당 ex)
descEL = $(this).find('.desc-area')- class name 에서 설정한 변수 넣어서 변경
.to(.img-area.left',{->.to(leftEL,{addLabel을 사용하여 동시에 모션을 주도록 하고 이미지요소에는to로 모션후의 값 설정, 텍스트요소에는from으로 모션전의 값 setting
4. 이메일 버튼에 호버와 클릭이벤트 - mouseover/mouseout & gsap.to
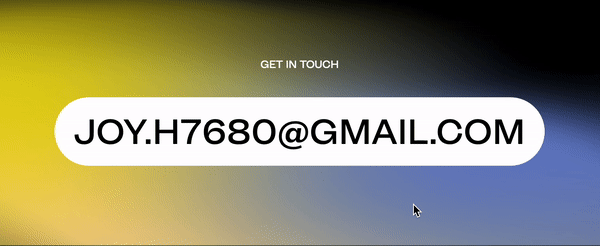

📋 이메일 버튼에 호버하면 텍스트의 위치가 바뀌고, 클릭하면 e-mail 주소를 복사할 수 있는 click event 를 구현하였습니다.
◻️ HTML
<div class="group-column">
  <div class="label-area">
    <p class="label">get in touch</p>
    <p class="label">click to copy</p>
    <p class="label">연락 주실 거죠?✨</p>
  </div>
  <a id="email" href="" class="btn email-area">
    <span>joy.h7680@gmail.com</span>
  </a>
</div>
◻️ CSS
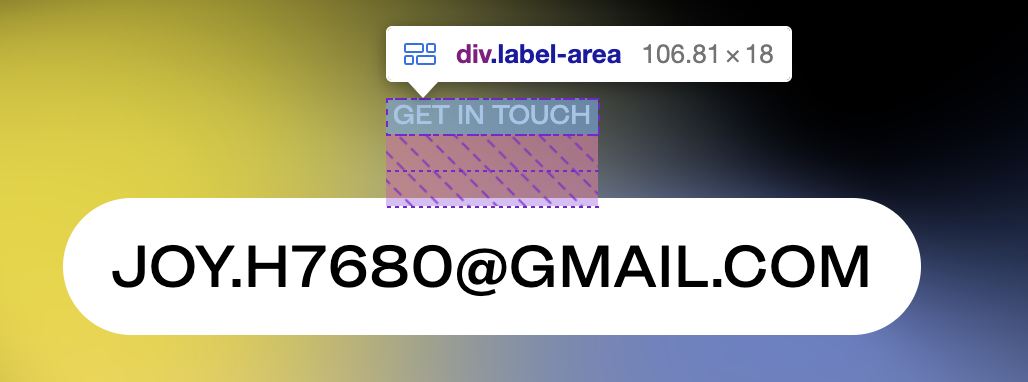
.footer .label-area {
display: flex; overflow: hidden; height: 18px; margin-bottom: 32px;
flex-direction: column; justify-content: flex-start; flex-wrap: nowrap; align-items: stretch; flex: 0 0 auto;
}
.footer .label-area .label { height: 100%; flex: 0 0 auto; }
◻️ SCRIPT
  // footer
  $('.footer .email-area').mouseover(function(){
    gsap.to('.footer .label-area .label',{
      yPercent : -100, //마우스 호버했을때 y 축으로 위로 올라가게
    })
  })

  $('.footer .email-area').mouseleave(function(){
    gsap.to('.footer .label-area .label',{
      yPercent : 0, //마우스 벗어났을때 제자리로 오도록
    })
  })


//e-mail 버튼 클릭했을 때
  $('.footer .email-area').click(function(e){
    e.preventDefault();
    text = $(this).children().text();
    navigator.clipboard.writeText(text)
    gsap.to('.footer .label-area .label',{
      yPercent : -200,
    })
  })
🔎 코드 분석
text = $(this).children().text();이메일 주소 변수 설정this내가 선택한 요소 (.email-area)children:.email-area자식요소<span>joy.h7680@gmail.com</span>window.navigator.clipboard.writeText()메서드를 사용하여 복사할 텍스트 호출하기- 숨겨진
label의 텍스트가 보이도록yPercent를 -200 만큼 올라가도록 코드 입력

FE