코드 입력
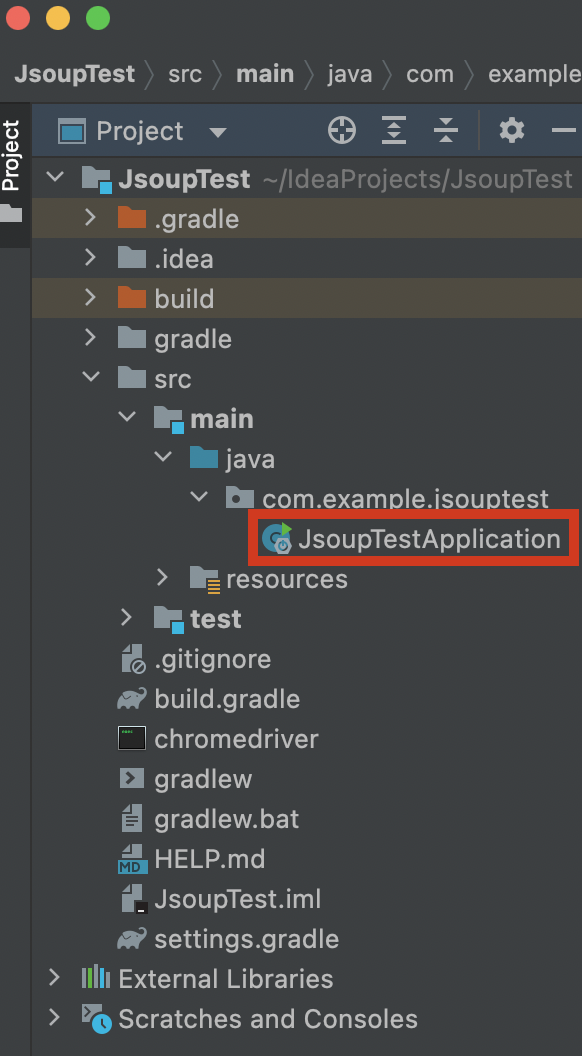
Application으로 가서 코드 입력

getBean 활용
@SpringBootApplication
public class JsoupTestApplication {

    public static void main(String[] args) {
        SpringApplication.run(JsoupTestApplication.class, args).getBean(JsoupTestApplication.class).test();
    }

    public void test(){

    }
크롬 브라우저 버전과 크롬 드라이브 버전의 주 버전과 일치해야 한다.
https://www.selenium.dev/documentation/webdriver/getting_started/open_browser/
@SpringBootApplication
public class JsoupTestApplication {

    public static void main(String[] args) {
        SpringApplication.run(JsoupTestApplication.class, args).getBean(JsoupTestApplication.class).test();
    }

    public void test(){

        //세션 시작
        ChromeOptions options = new ChromeOptions();
        //페이지가 로드될 때까지 대기
        //Normal: 로드 이벤트 실행이 반환 될 때 까지 기다린다.
        options.setPageLoadStrategy(PageLoadStrategy.NORMAL);

        WebDriver driver = new ChromeDriver(options);
        //driver1, 상세보기 페이지 때문에 하나 더 만듦
        WebDriver driver1 = new ChromeDriver(options);
    }
url을 통해 새 페이지로 이동할 때 기본적으로 selenium은 문서의 준비 상태가 “완료”될 때까지 기다린다.
기본적으로 WebDriver는 driver.navigate().get()문서 준비 상태가 될 때까지 탐색 방법 완료를 보류한다.
https://www.selenium.dev/documentation/webdriver/capabilities/shared/

normal로 설정하면 Selenium WebDriver가 전체 페이지가 로드 될 때까지 대기한다.
페이지 이동은 get()이나 navigate().to를 이용한다.
https://www.selenium.dev/documentation/webdriver/browser/navigation/
요소를 가져올 땐 로케이터를 이용한다.
https://www.selenium.dev/documentation/webdriver/elements/finders/
우선, 로그인 페이지 부터 시작
driver.get("로그인페이지url");
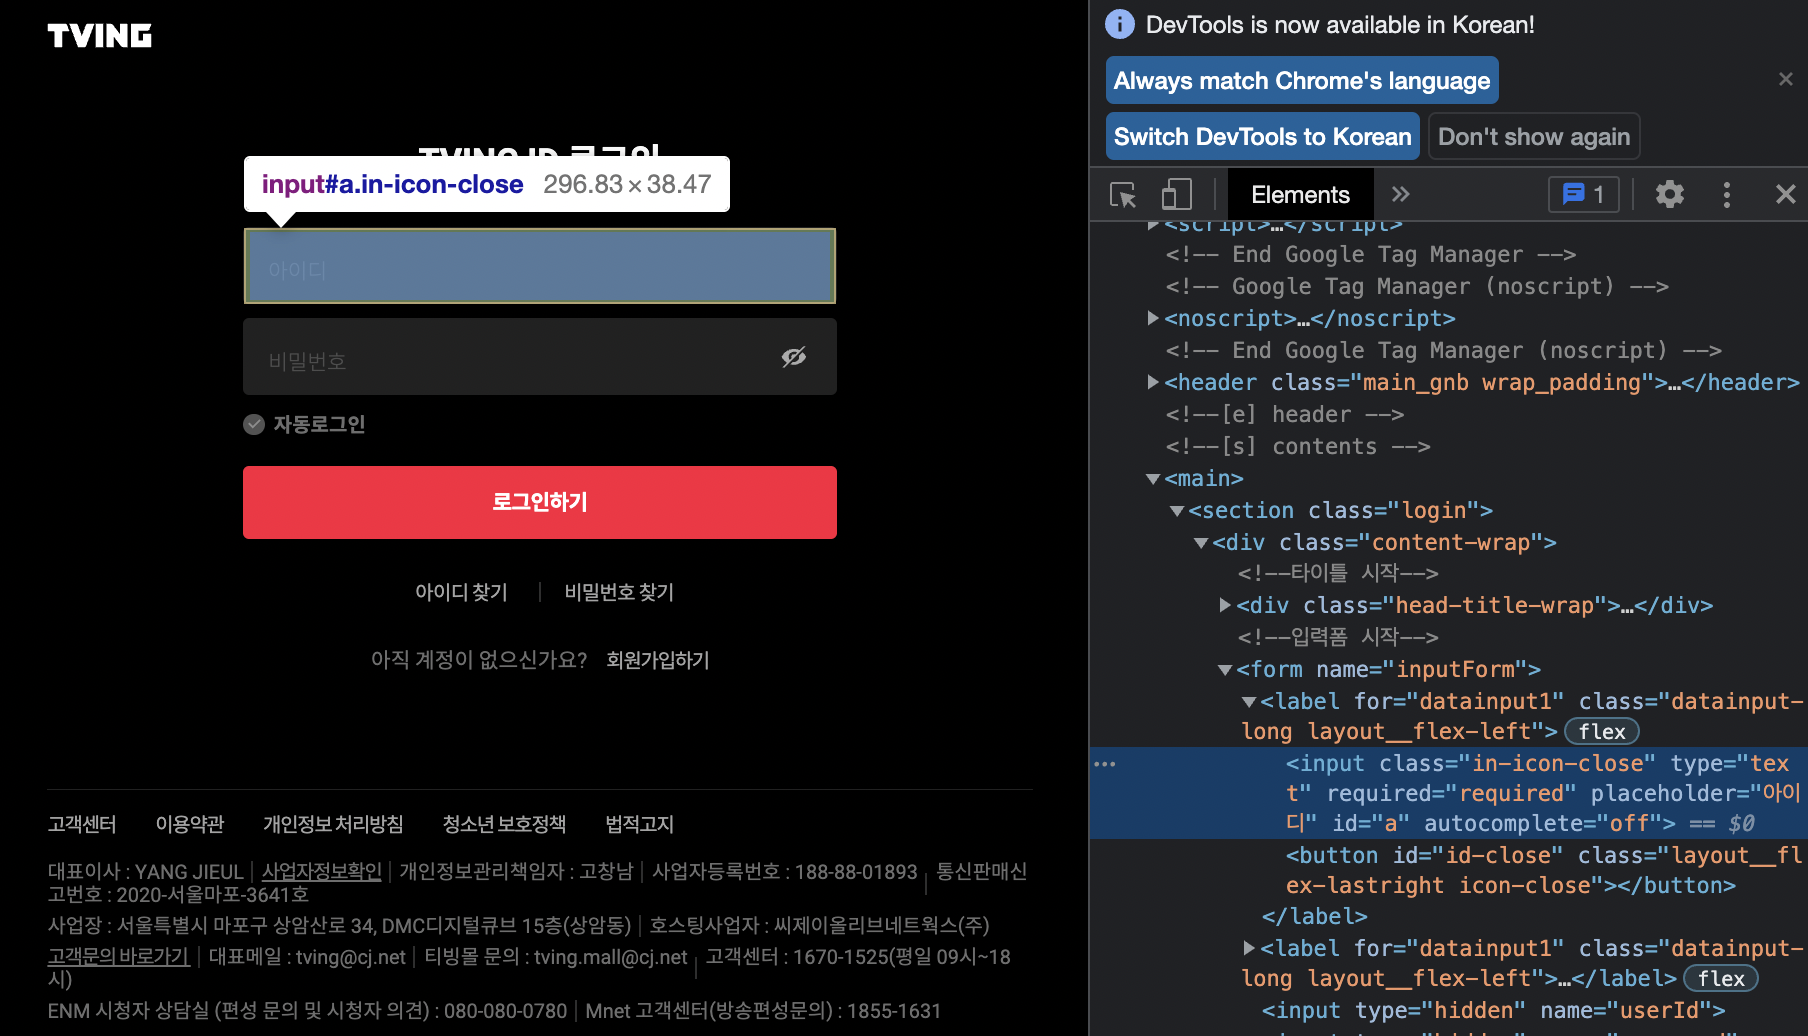
id, pw를 입력하기 위해 로케이터를 사용해 입력창 가져오기
driver.findElement(By.로케이터(입력창의 xpath).sendKeys("id 혹은 pw");
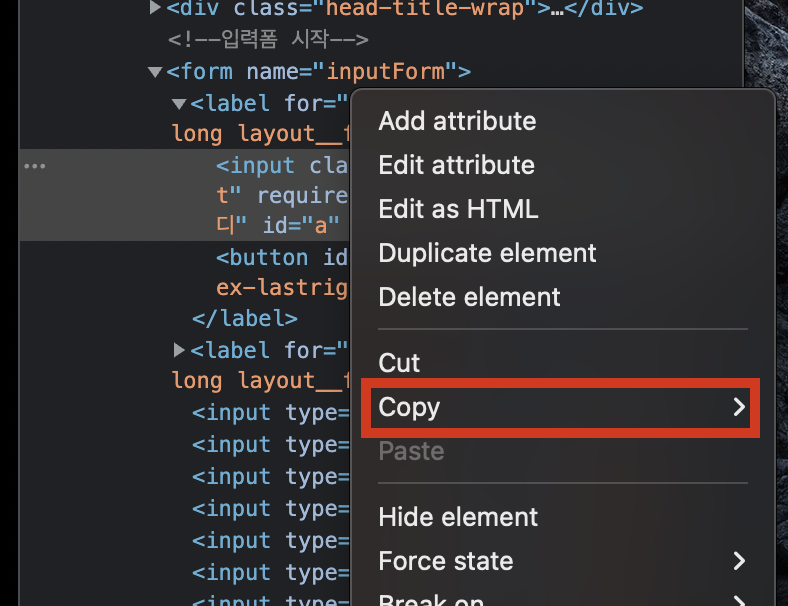
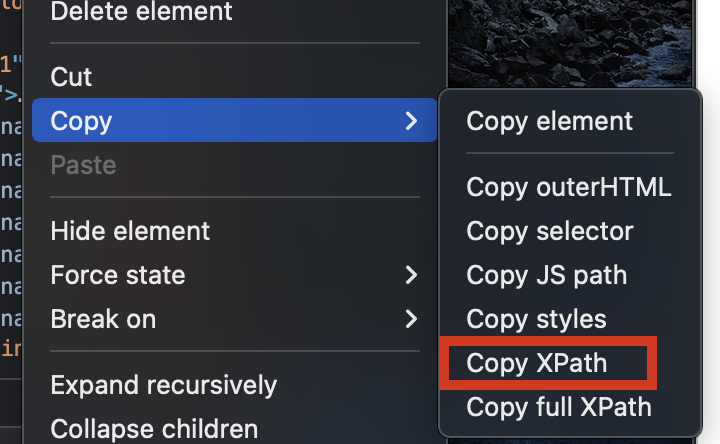
내 경우 로케이터를 xpath로 하였는데, xpath를 간단하게 복사하는 방법이 있다!


 우클릭 > 복사 > xpath복사 하면 간단하게 복사할 수 있다.
이후 입력창의 xpath를 가져왔다면 sendKeys()로 텍스트를 보내줘야 한다.
@SpringBootApplication
public class JsoupTestApplication {

    public static void main(String[] args) {
        SpringApplication.run(JsoupTestApplication.class, args).getBean(JsoupTestApplication.class).test();
    }

    public void test(){

        ChromeOptions options = new ChromeOptions();
        options.setPageLoadStrategy(PageLoadStrategy.NORMAL);

        WebDriver driver = new ChromeDriver(options);
        WebDriver driver1 = new ChromeDriver(options);

        try {
            //login 페이지
            driver.get("https://user.tving.com/pc/user/otherLogin.tving?loginType=20&from=pc&rtUrl=https://www.tving.com&csite=&isAuto=false");
            //id, pw 입력
            driver.findElement(By.xpath("//*[@id=\"a\"]")).sendKeys("ott가입아이디입력");
            driver.findElement(By.xpath("//*[@id=\"b\"]")).sendKeys("ott가입비밀번호입력");
            //버튼 클릭
            driver.findElement(By.xpath("//*[@id=\"doLoginBtn\"]")).click();
            System.out.println("로그인 성공 = " + driver.getCurrentUrl());


            //driver1, 상세보기 페이지 때문에 하나 더 만듦
            //login 페이지
            driver1.get("https://user.tving.com/pc/user/otherLogin.tving?loginType=20&from=pc&rtUrl=https://www.tving.com&csite=&isAuto=false");
            //id, pw 입력
            driver1.findElement(By.xpath("//*[@id=\"a\"]")).sendKeys("ott가입아이디입력");
            driver1.findElement(By.xpath("//*[@id=\"b\"]")).sendKeys("ott가입비밀번호입력");
            //버튼 클릭
            driver1.findElement(By.xpath("//*[@id=\"doLoginBtn\"]")).click();
            System.out.println("로그인 성공1 = " + driver1.getCurrentUrl());


            //페이지 이동
            driver.navigate().to("https://www.tving.com"); //홈페이지
            System.out.println("홈페이지 = " + driver.getCurrentUrl());

            driver.navigate().to("https://www.tving.com/tv"); //tv프로그램
            System.out.println("tv프로그램 = " + driver.getCurrentUrl());

            driver.navigate().to("https://www.tving.com/list/program?genre=PCA"); //tv프로그램>드라마
            System.out.println("tv프로그램>드라마 = " + driver.getCurrentUrl());

        } finally {
            driver.quit();
            driver1.quit();
        }

    }
위에서 언급했듯이 페이지 이동은 get()이나 navigate().to를 이용한다.
https://www.selenium.dev/documentation/webdriver/browser/navigation/
로그인 과정이 다 끝나고 원하는 페이지의 경로로 차례대로 이동 시켜주면 된다.
내 경우엔 tv프로그램 메뉴의 드라마 목록을 크롤링 할 예정이기 때문에, 홈페이지 > tv프로그램 > 드라마 순으로 이동시켜주었다.
세션 종료도 해줘야 한다.
브라우저 세션이 끝나면 닫기 대신 종료를 호출한다.
driver.quit();
https://www.selenium.dev/documentation/webdriver/getting_started/first_script/