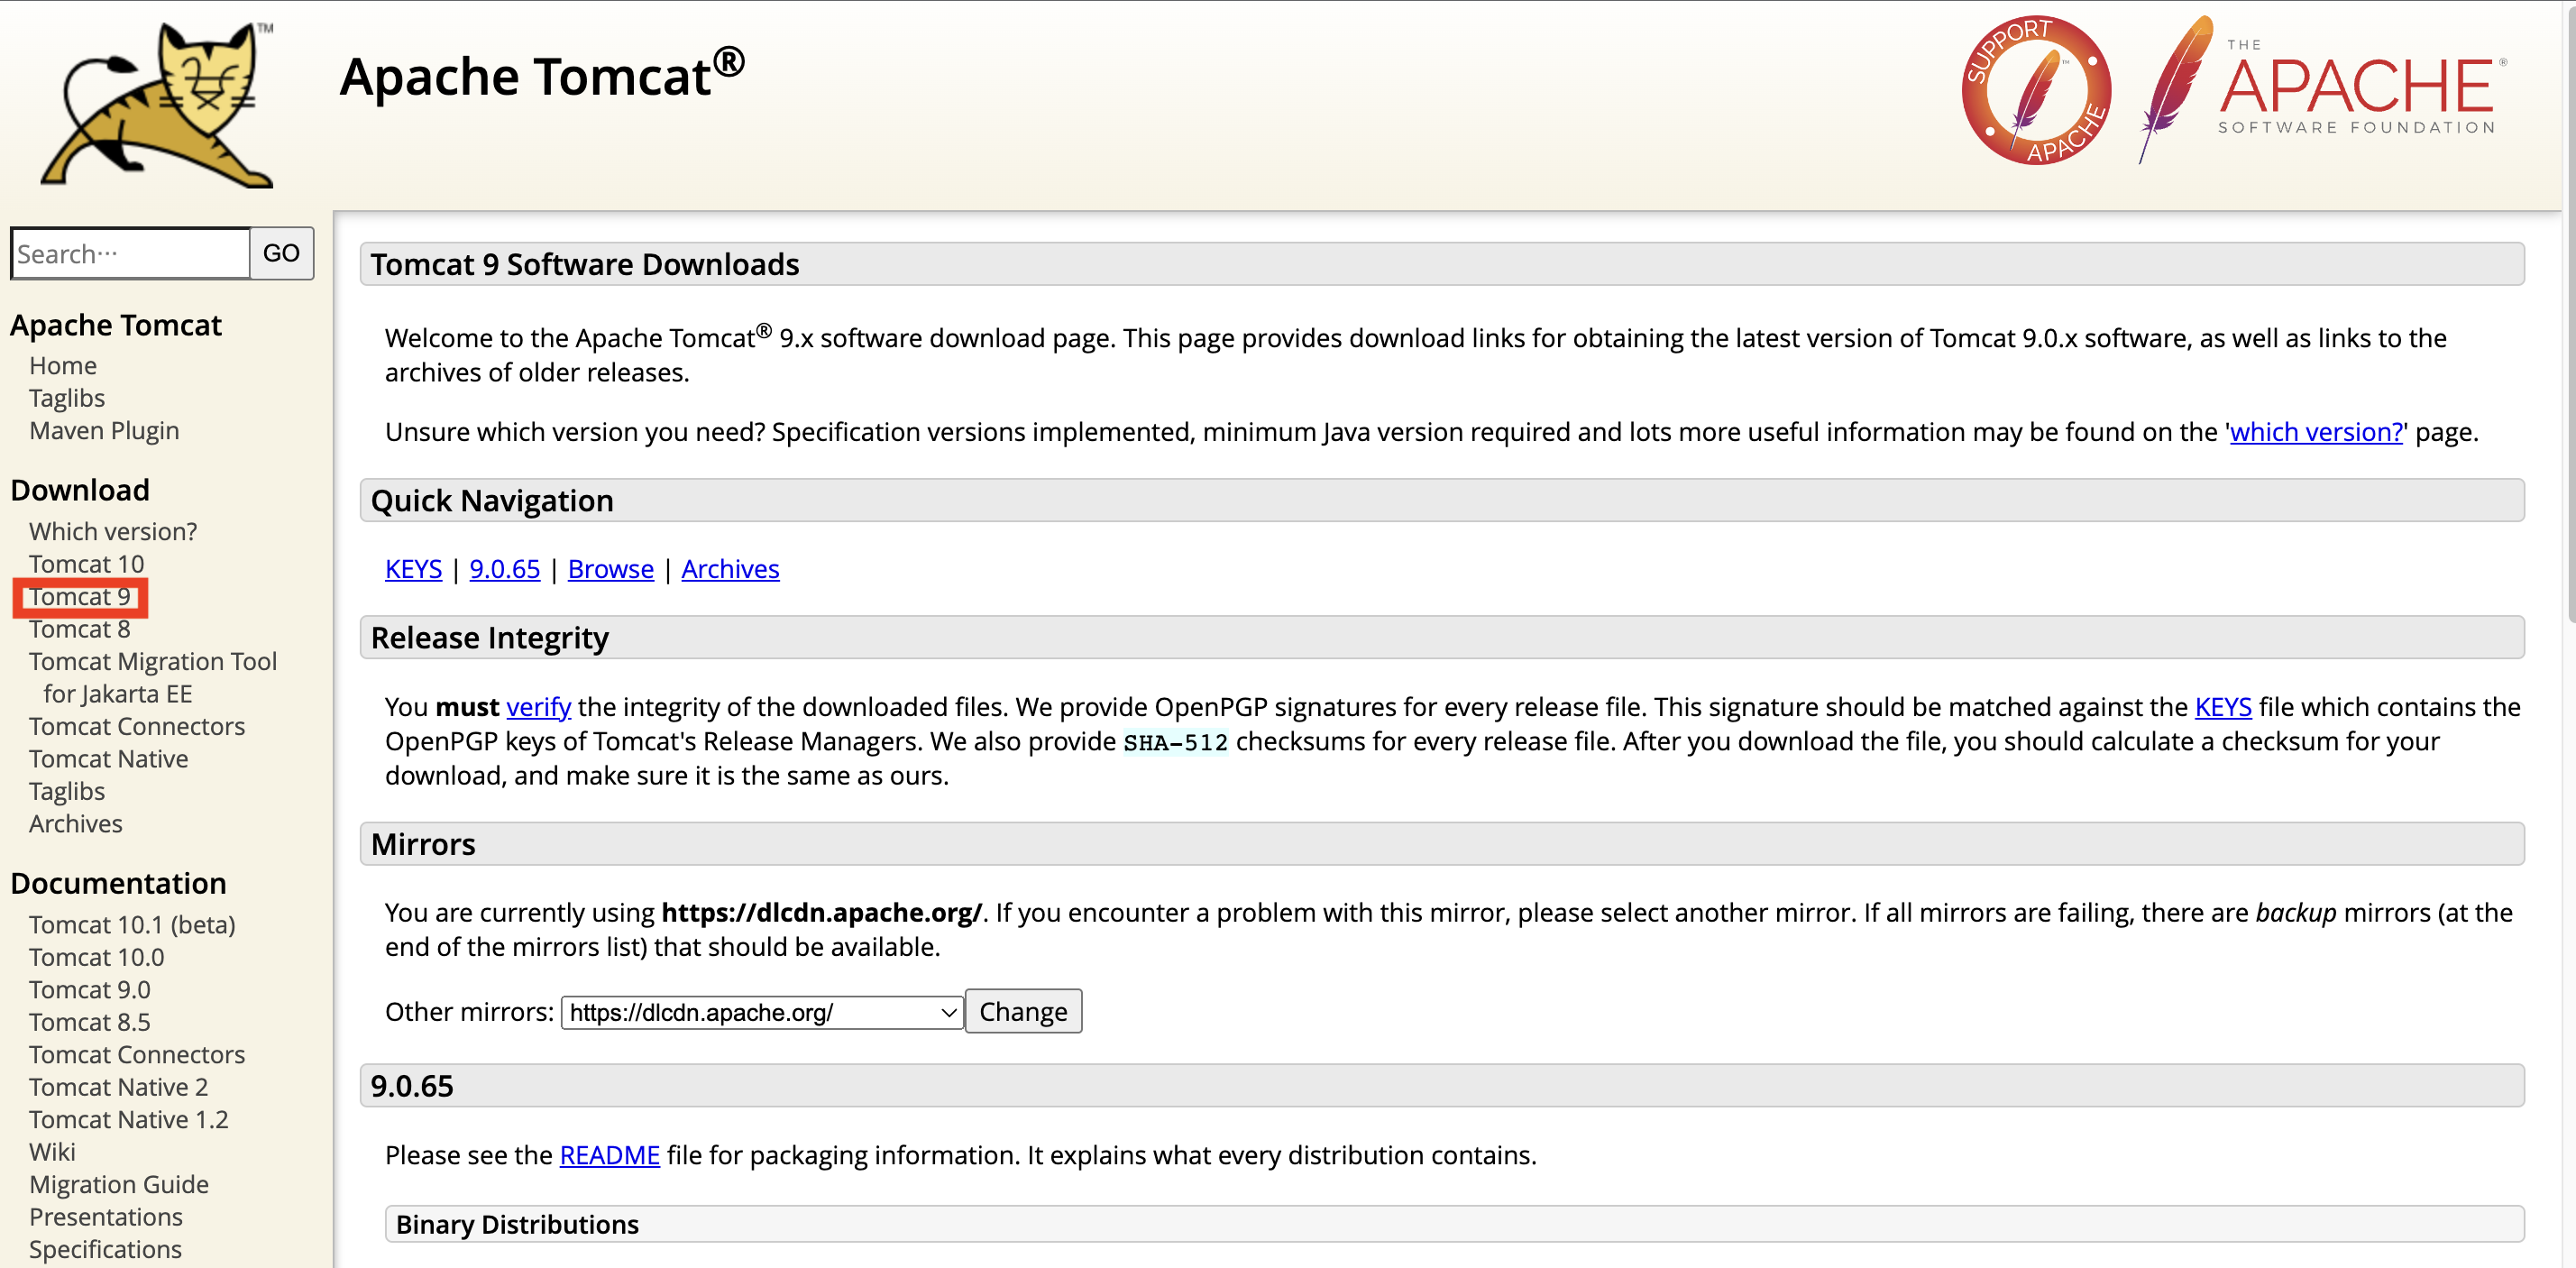
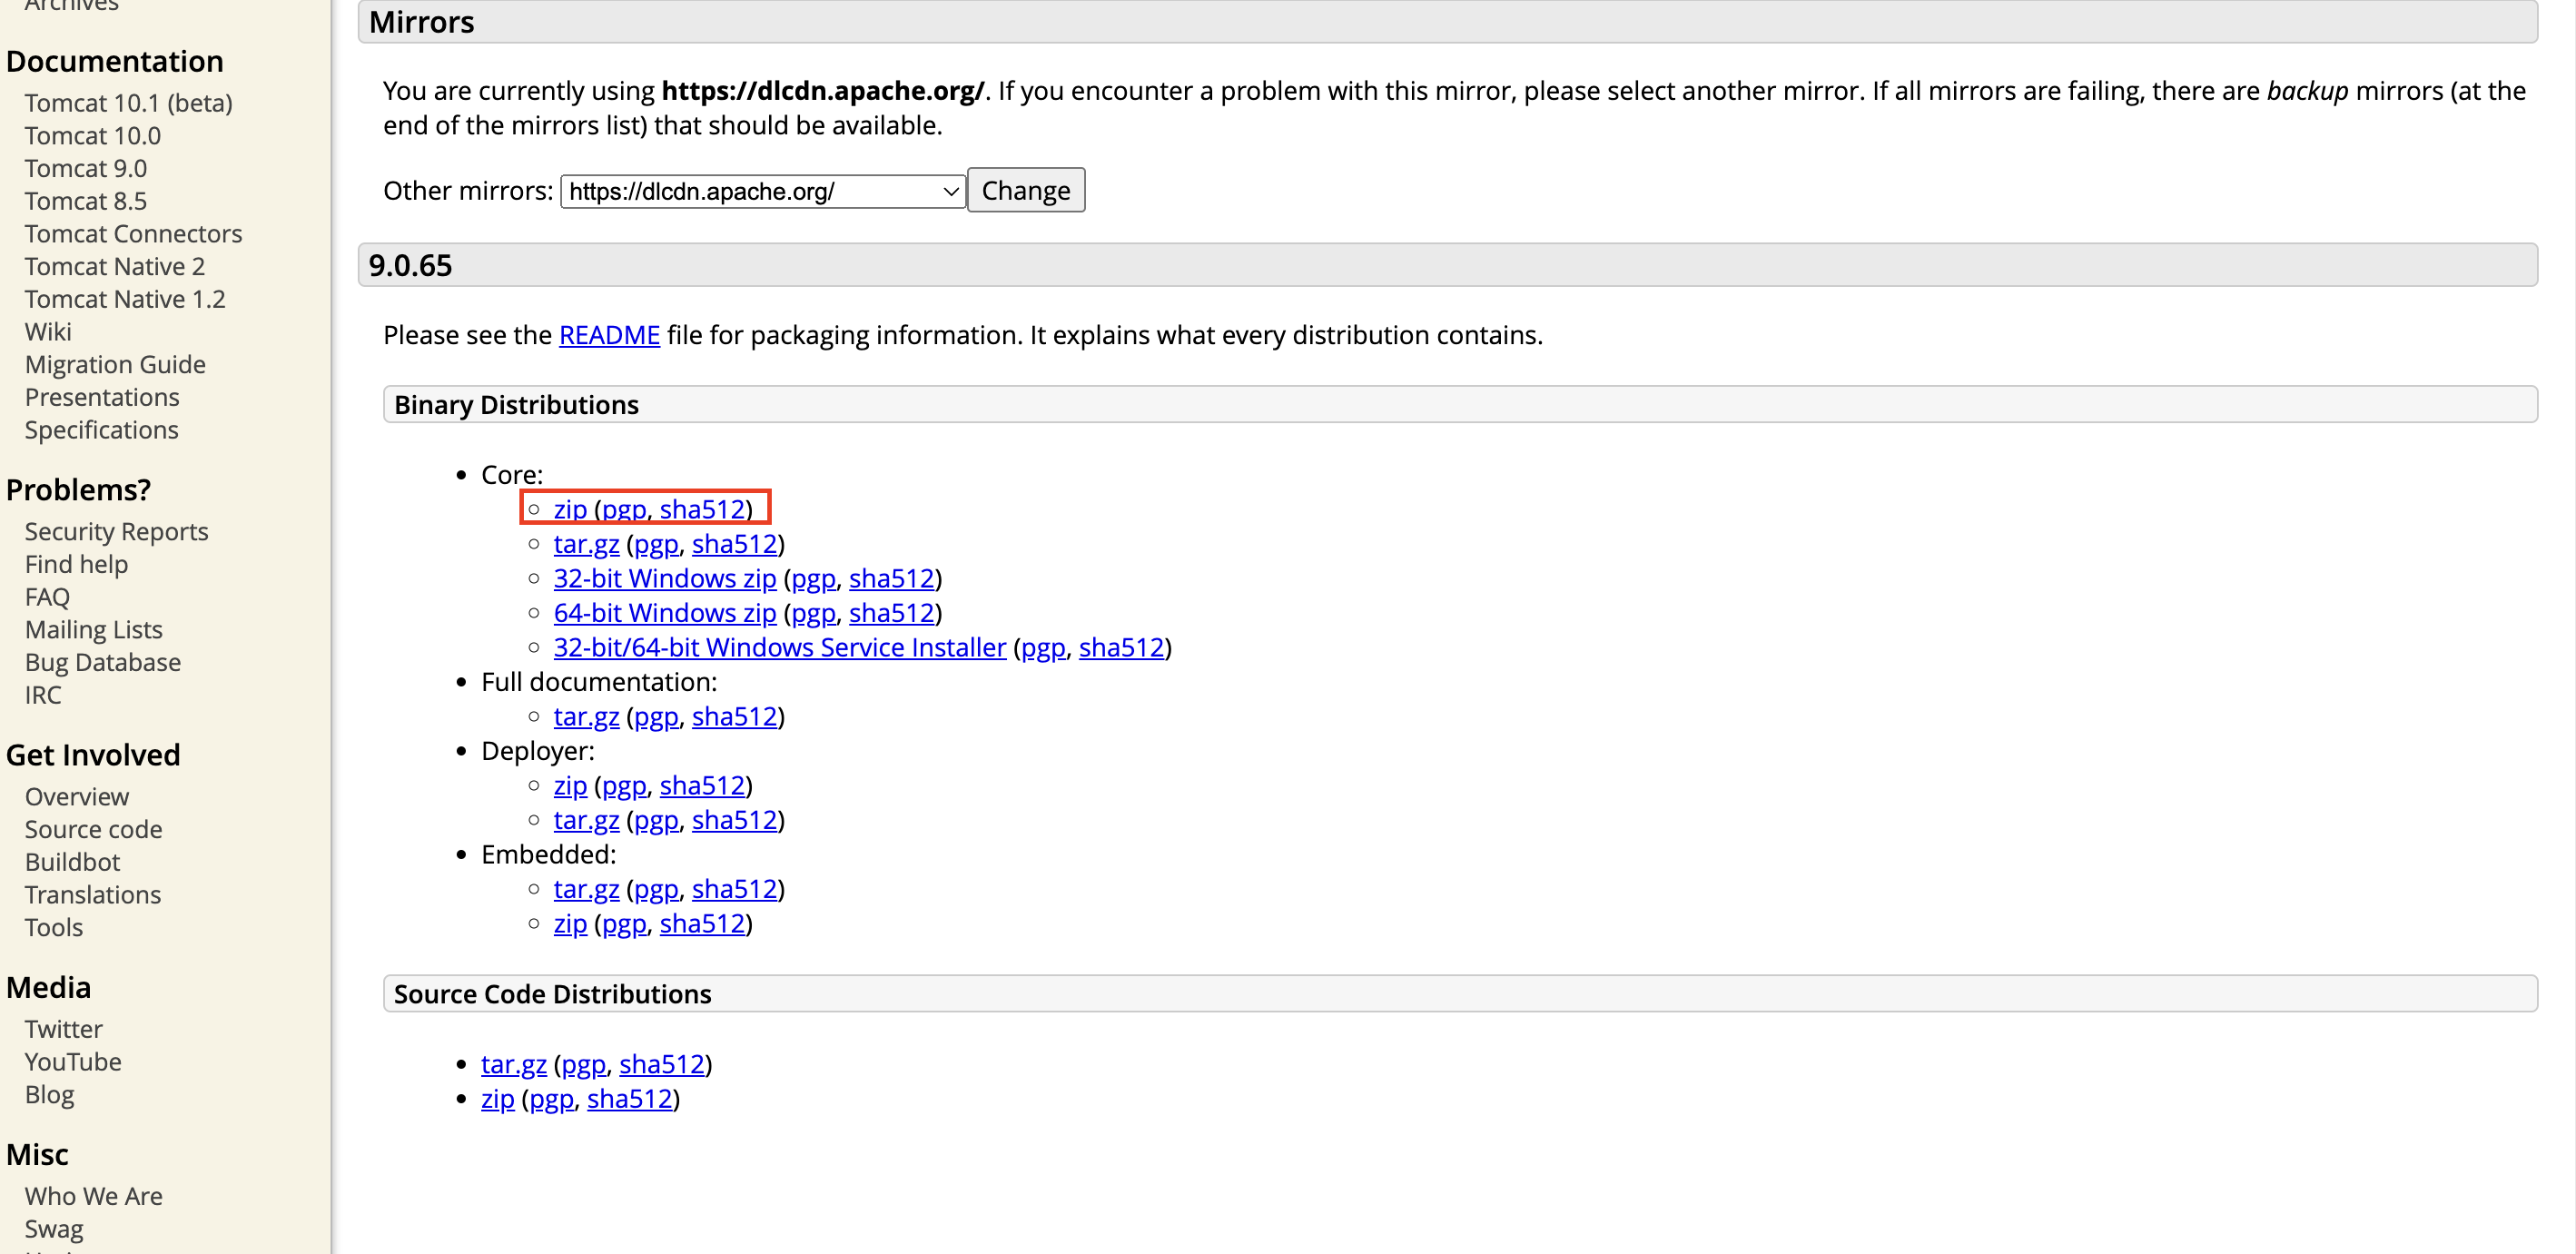
1. 톰캣서버 다운로드하기
- https://tomcat.apache.org/
- Download - Tomcat9 - zip
2. 다운 받은 zip파일 풀기
-
zip파일 사용자 - server 폴더 생성 - server폴더 안에 압축 풀기
-
톰캣은 설치하는게 아니라 압축 파일 풀면 된다.
3. 직접 서버 실행하기
- 압축 풀고서 [터미널] 에서
1) 서버 아래에 server - apache 블라블라 - bin 폴더까지 들어가기
사용자홈폴더@ server % cd apache-tomcat-9.0.65 % bin
2) 권한 설정 하기(chmod 755 .sh입력)
사용자홈폴더@ bin % chmod 755 *.sh
3) 권한 변경된 거 확인하기 (ls -al 입력)
사용자홈폴더@ bin % ls -al
 🔽 권한 변경 전
younga@Joyoungaui-MacBookPro bin % ls -al
total 1784
drwxr-xr-x@ 29 younga  staff     928  7 14 16:28 .
drwxr-xr-x@ 16 younga  staff     512  7 14 16:28 ..
-rw-r--r--@  1 younga  staff   34700  7 14 16:28 bootstrap.jar
-rw-r--r--@  1 younga  staff    1703  7 14 16:28 catalina-tasks.xml
-rw-r--r--@  1 younga  staff   16840  7 14 16:28 catalina.bat
-rw-r--r--@  1 younga  staff   25294  7 14 16:28 catalina.sh
-rw-r--r--@  1 younga  staff    2123  7 14 16:28 ciphers.bat
-rw-r--r--@  1 younga  staff    1997  7 14 16:28 ciphers.sh
-rw-r--r--@  1 younga  staff  211777  7 14 16:28 commons-daemon-native.tar.gz
-rw-r--r--@  1 younga  staff   25410  7 14 16:28 commons-daemon.jar
-rw-r--r--@  1 younga  staff    2040  7 14 16:28 configtest.bat
-rw-r--r--@  1 younga  staff    1922  7 14 16:28 configtest.sh
-rw-r--r--@  1 younga  staff    9100  7 14 16:28 daemon.sh
-rw-r--r--@  1 younga  staff    2091  7 14 16:28 digest.bat
-rw-r--r--@  1 younga  staff    1965  7 14 16:28 digest.sh
-rw-r--r--@  1 younga  staff    3606  7 14 16:28 makebase.bat
-rw-r--r--@  1 younga  staff    3382  7 14 16:28 makebase.sh
-rw-r--r--@  1 younga  staff    3460  7 14 16:28 setclasspath.bat
-rw-r--r--@  1 younga  staff    3708  7 14 16:28 setclasspath.sh
-rw-r--r--@  1 younga  staff    2020  7 14 16:28 shutdown.bat
-rw-r--r--@  1 younga  staff    1902  7 14 16:28 shutdown.sh
-rw-r--r--@  1 younga  staff    2022  7 14 16:28 startup.bat
-rw-r--r--@  1 younga  staff    1904  7 14 16:28 startup.sh
-rw-r--r--@  1 younga  staff   47050  7 14 16:28 tomcat-juli.jar
-rw-r--r--@  1 younga  staff  436593  7 14 16:28 tomcat-native.tar.gz
-rw-r--r--@  1 younga  staff    4574  7 14 16:28 tool-wrapper.bat
-rw-r--r--@  1 younga  staff    5540  7 14 16:28 tool-wrapper.sh
-rw-r--r--@  1 younga  staff    2026  7 14 16:28 version.bat
-rw-r--r--@  1 younga  staff    1908  7 14 16:28 version.sh

🔽 권한 변경 후
younga@Joyoungaui-MacBookPro bin % ls -al
total 1784
drwxr-xr-x@ 29 younga  staff     928  7 14 16:28 .
drwxr-xr-x@ 16 younga  staff     512  7 14 16:28 ..
-rw-r--r--@  1 younga  staff   34700  7 14 16:28 bootstrap.jar
-rw-r--r--@  1 younga  staff    1703  7 14 16:28 catalina-tasks.xml
-rw-r--r--@  1 younga  staff   16840  7 14 16:28 catalina.bat
-rwxr-xr-x@  1 younga  staff   25294  7 14 16:28 catalina.sh
-rw-r--r--@  1 younga  staff    2123  7 14 16:28 ciphers.bat
-rwxr-xr-x@  1 younga  staff    1997  7 14 16:28 ciphers.sh
-rw-r--r--@  1 younga  staff  211777  7 14 16:28 commons-daemon-native.tar.gz
-rw-r--r--@  1 younga  staff   25410  7 14 16:28 commons-daemon.jar
-rw-r--r--@  1 younga  staff    2040  7 14 16:28 configtest.bat
-rwxr-xr-x@  1 younga  staff    1922  7 14 16:28 configtest.sh
-rwxr-xr-x@  1 younga  staff    9100  7 14 16:28 daemon.sh
-rw-r--r--@  1 younga  staff    2091  7 14 16:28 digest.bat
-rwxr-xr-x@  1 younga  staff    1965  7 14 16:28 digest.sh
-rw-r--r--@  1 younga  staff    3606  7 14 16:28 makebase.bat
-rwxr-xr-x@  1 younga  staff    3382  7 14 16:28 makebase.sh
-rw-r--r--@  1 younga  staff    3460  7 14 16:28 setclasspath.bat
-rwxr-xr-x@  1 younga  staff    3708  7 14 16:28 setclasspath.sh
-rw-r--r--@  1 younga  staff    2020  7 14 16:28 shutdown.bat
-rwxr-xr-x@  1 younga  staff    1902  7 14 16:28 shutdown.sh
-rw-r--r--@  1 younga  staff    2022  7 14 16:28 startup.bat
-rwxr-xr-x@  1 younga  staff    1904  7 14 16:28 startup.sh
-rw-r--r--@  1 younga  staff   47050  7 14 16:28 tomcat-juli.jar
-rw-r--r--@  1 younga  staff  436593  7 14 16:28 tomcat-native.tar.gz
-rw-r--r--@  1 younga  staff    4574  7 14 16:28 tool-wrapper.bat
-rwxr-xr-x@  1 younga  staff    5540  7 14 16:28 tool-wrapper.sh
-rw-r--r--@  1 younga  staff    2026  7 14 16:28 version.bat
-rwxr-xr-x@  1 younga  staff    1908  7 14 16:28 version.sh
4) 서버 실행 명령어 (./startup.sh)
사용자홈폴더@ bin % ./startup.sh
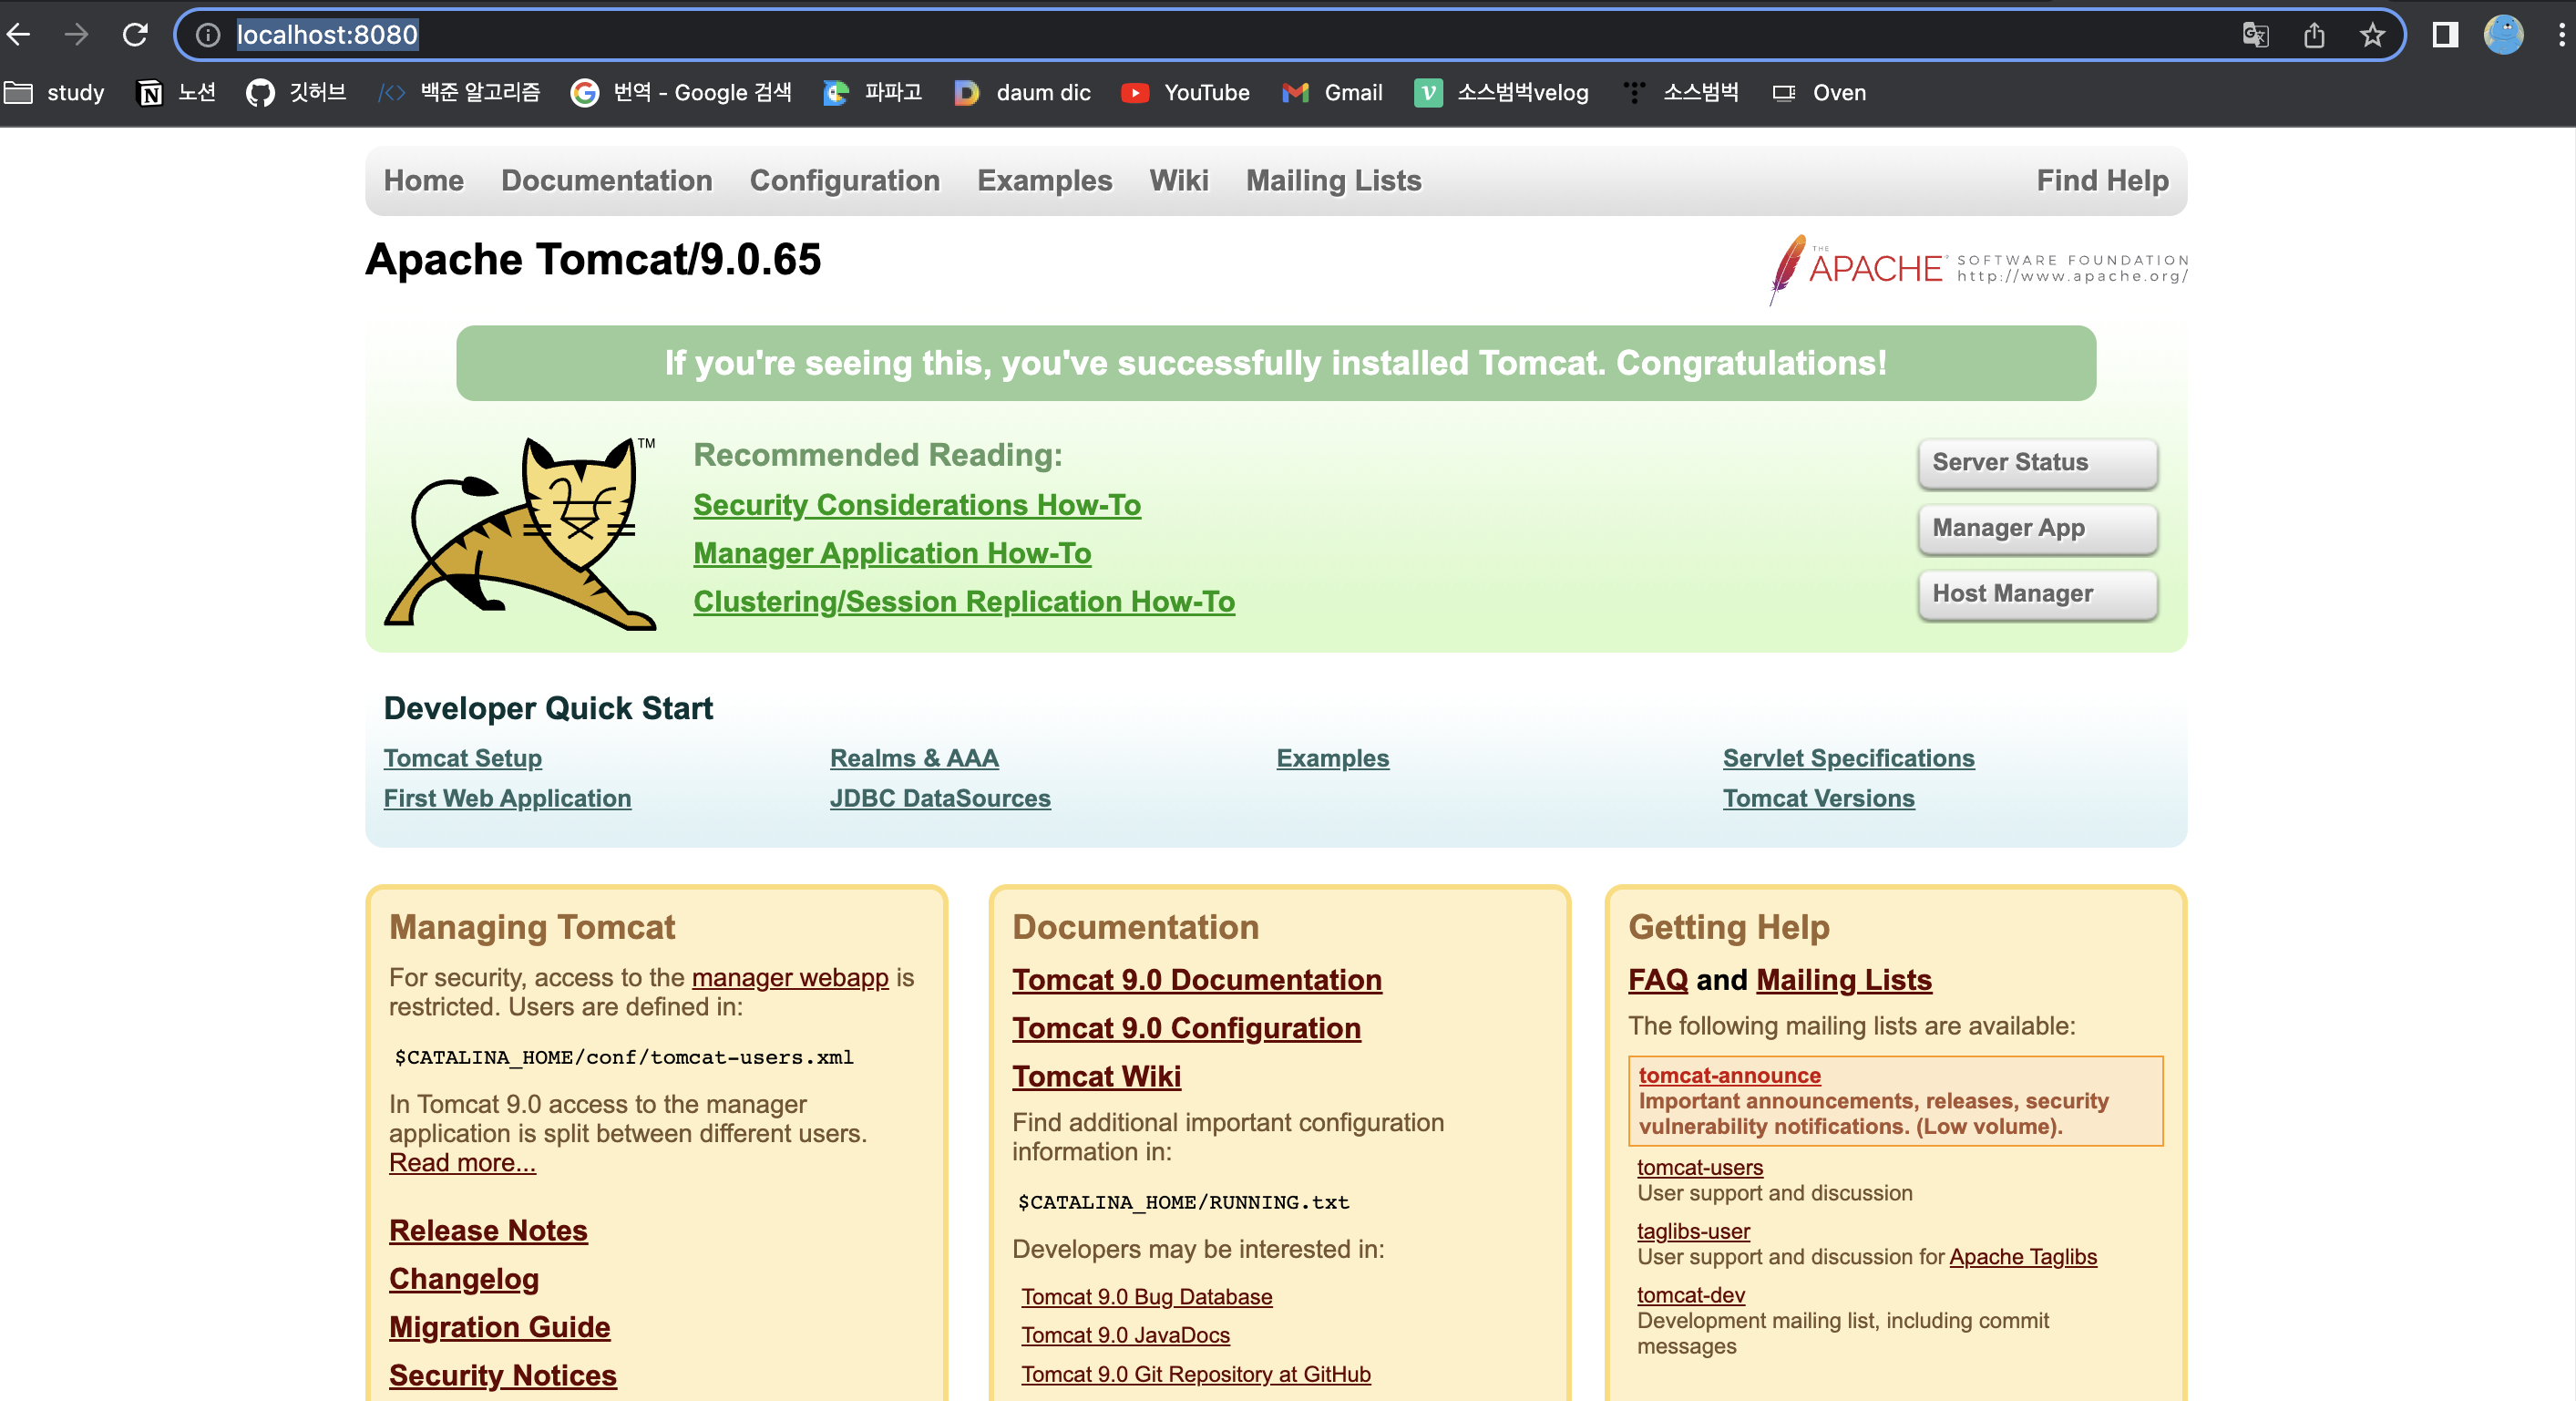
5) 서버에 연결 됐는지 확인하기
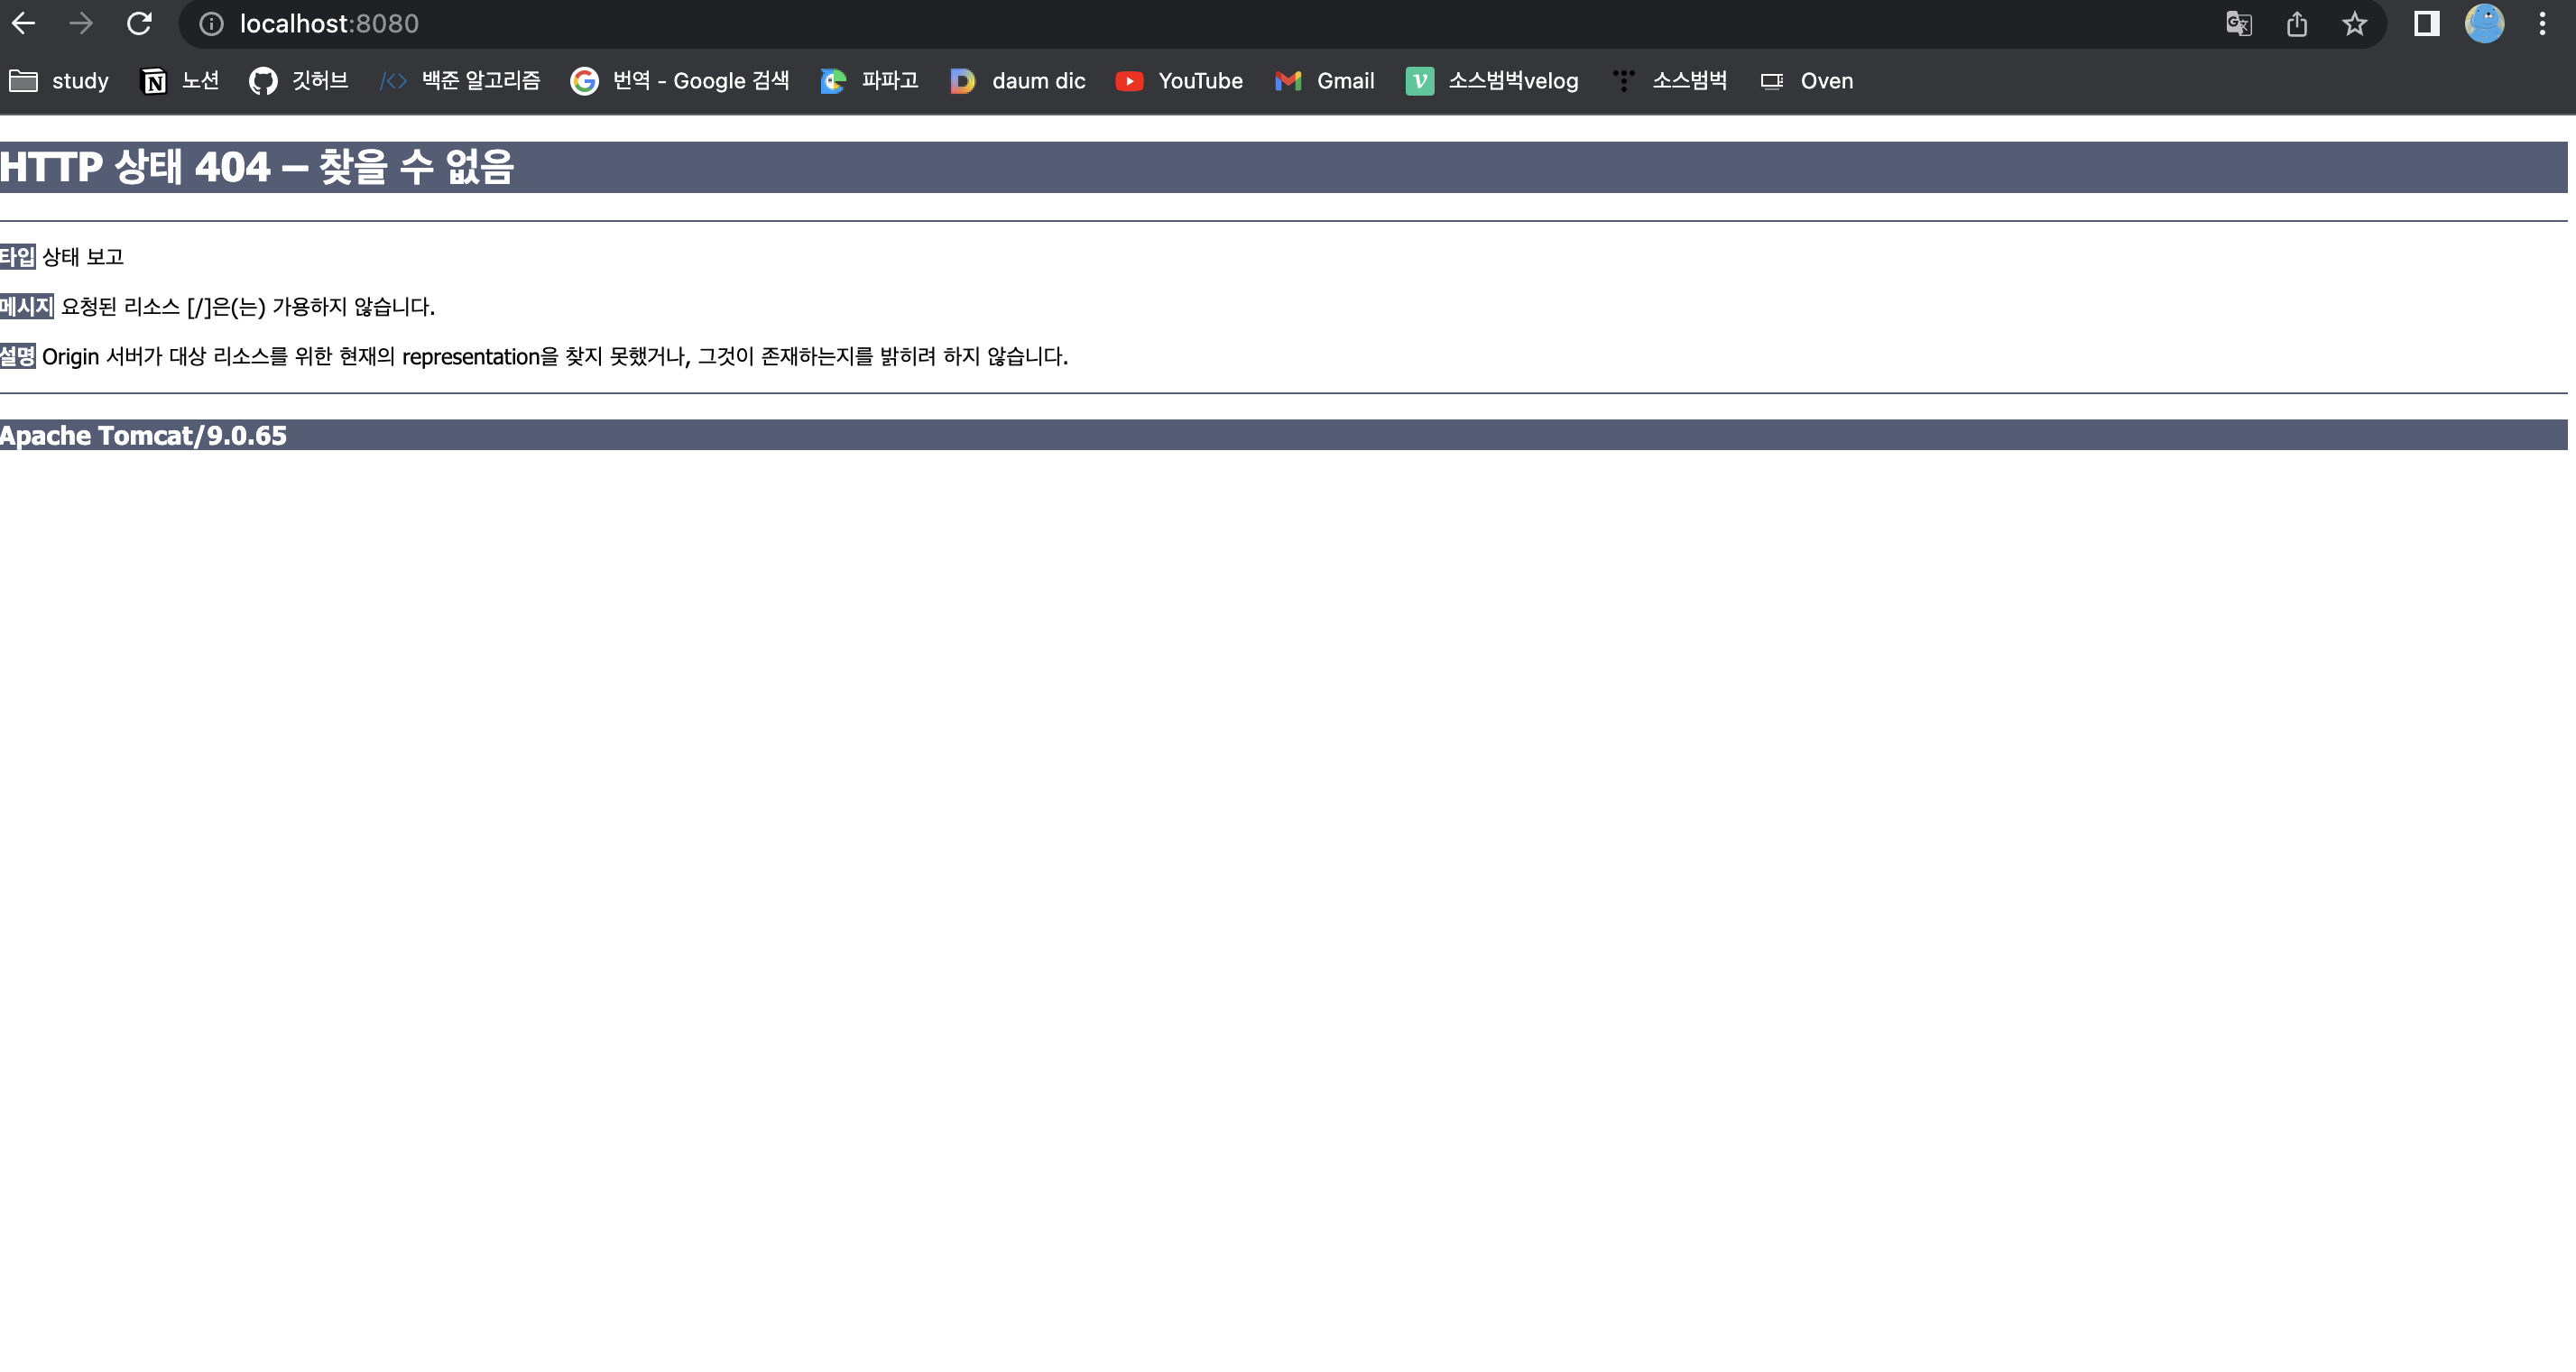
- 웹에 localhost8080 입력
6) 서버 종료 명령어(./shutdown.sh)
사용자 홈폴더@ bin % ./shutdown.sh
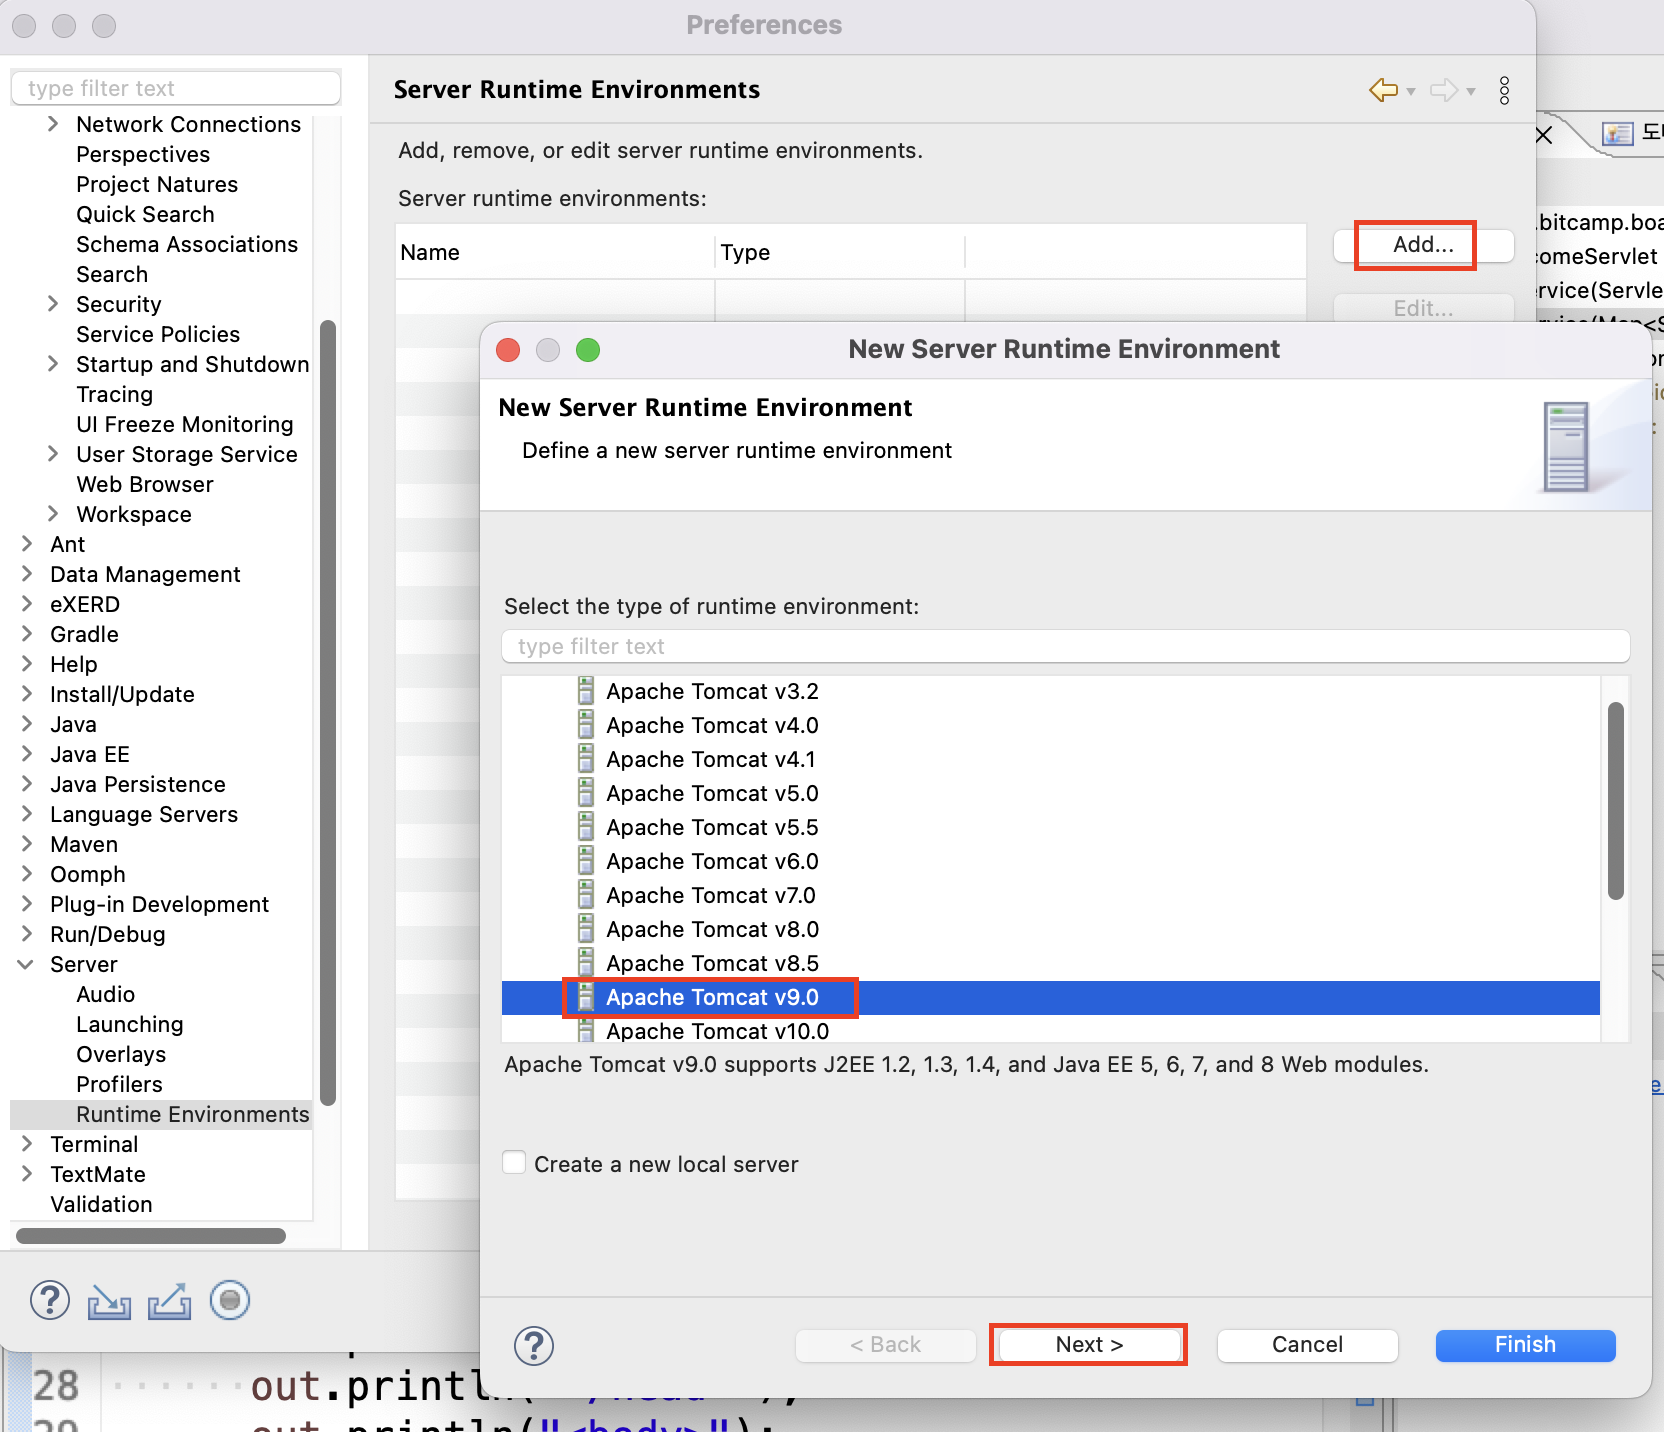
3. 이클립스에 톰캣서버 등록하기
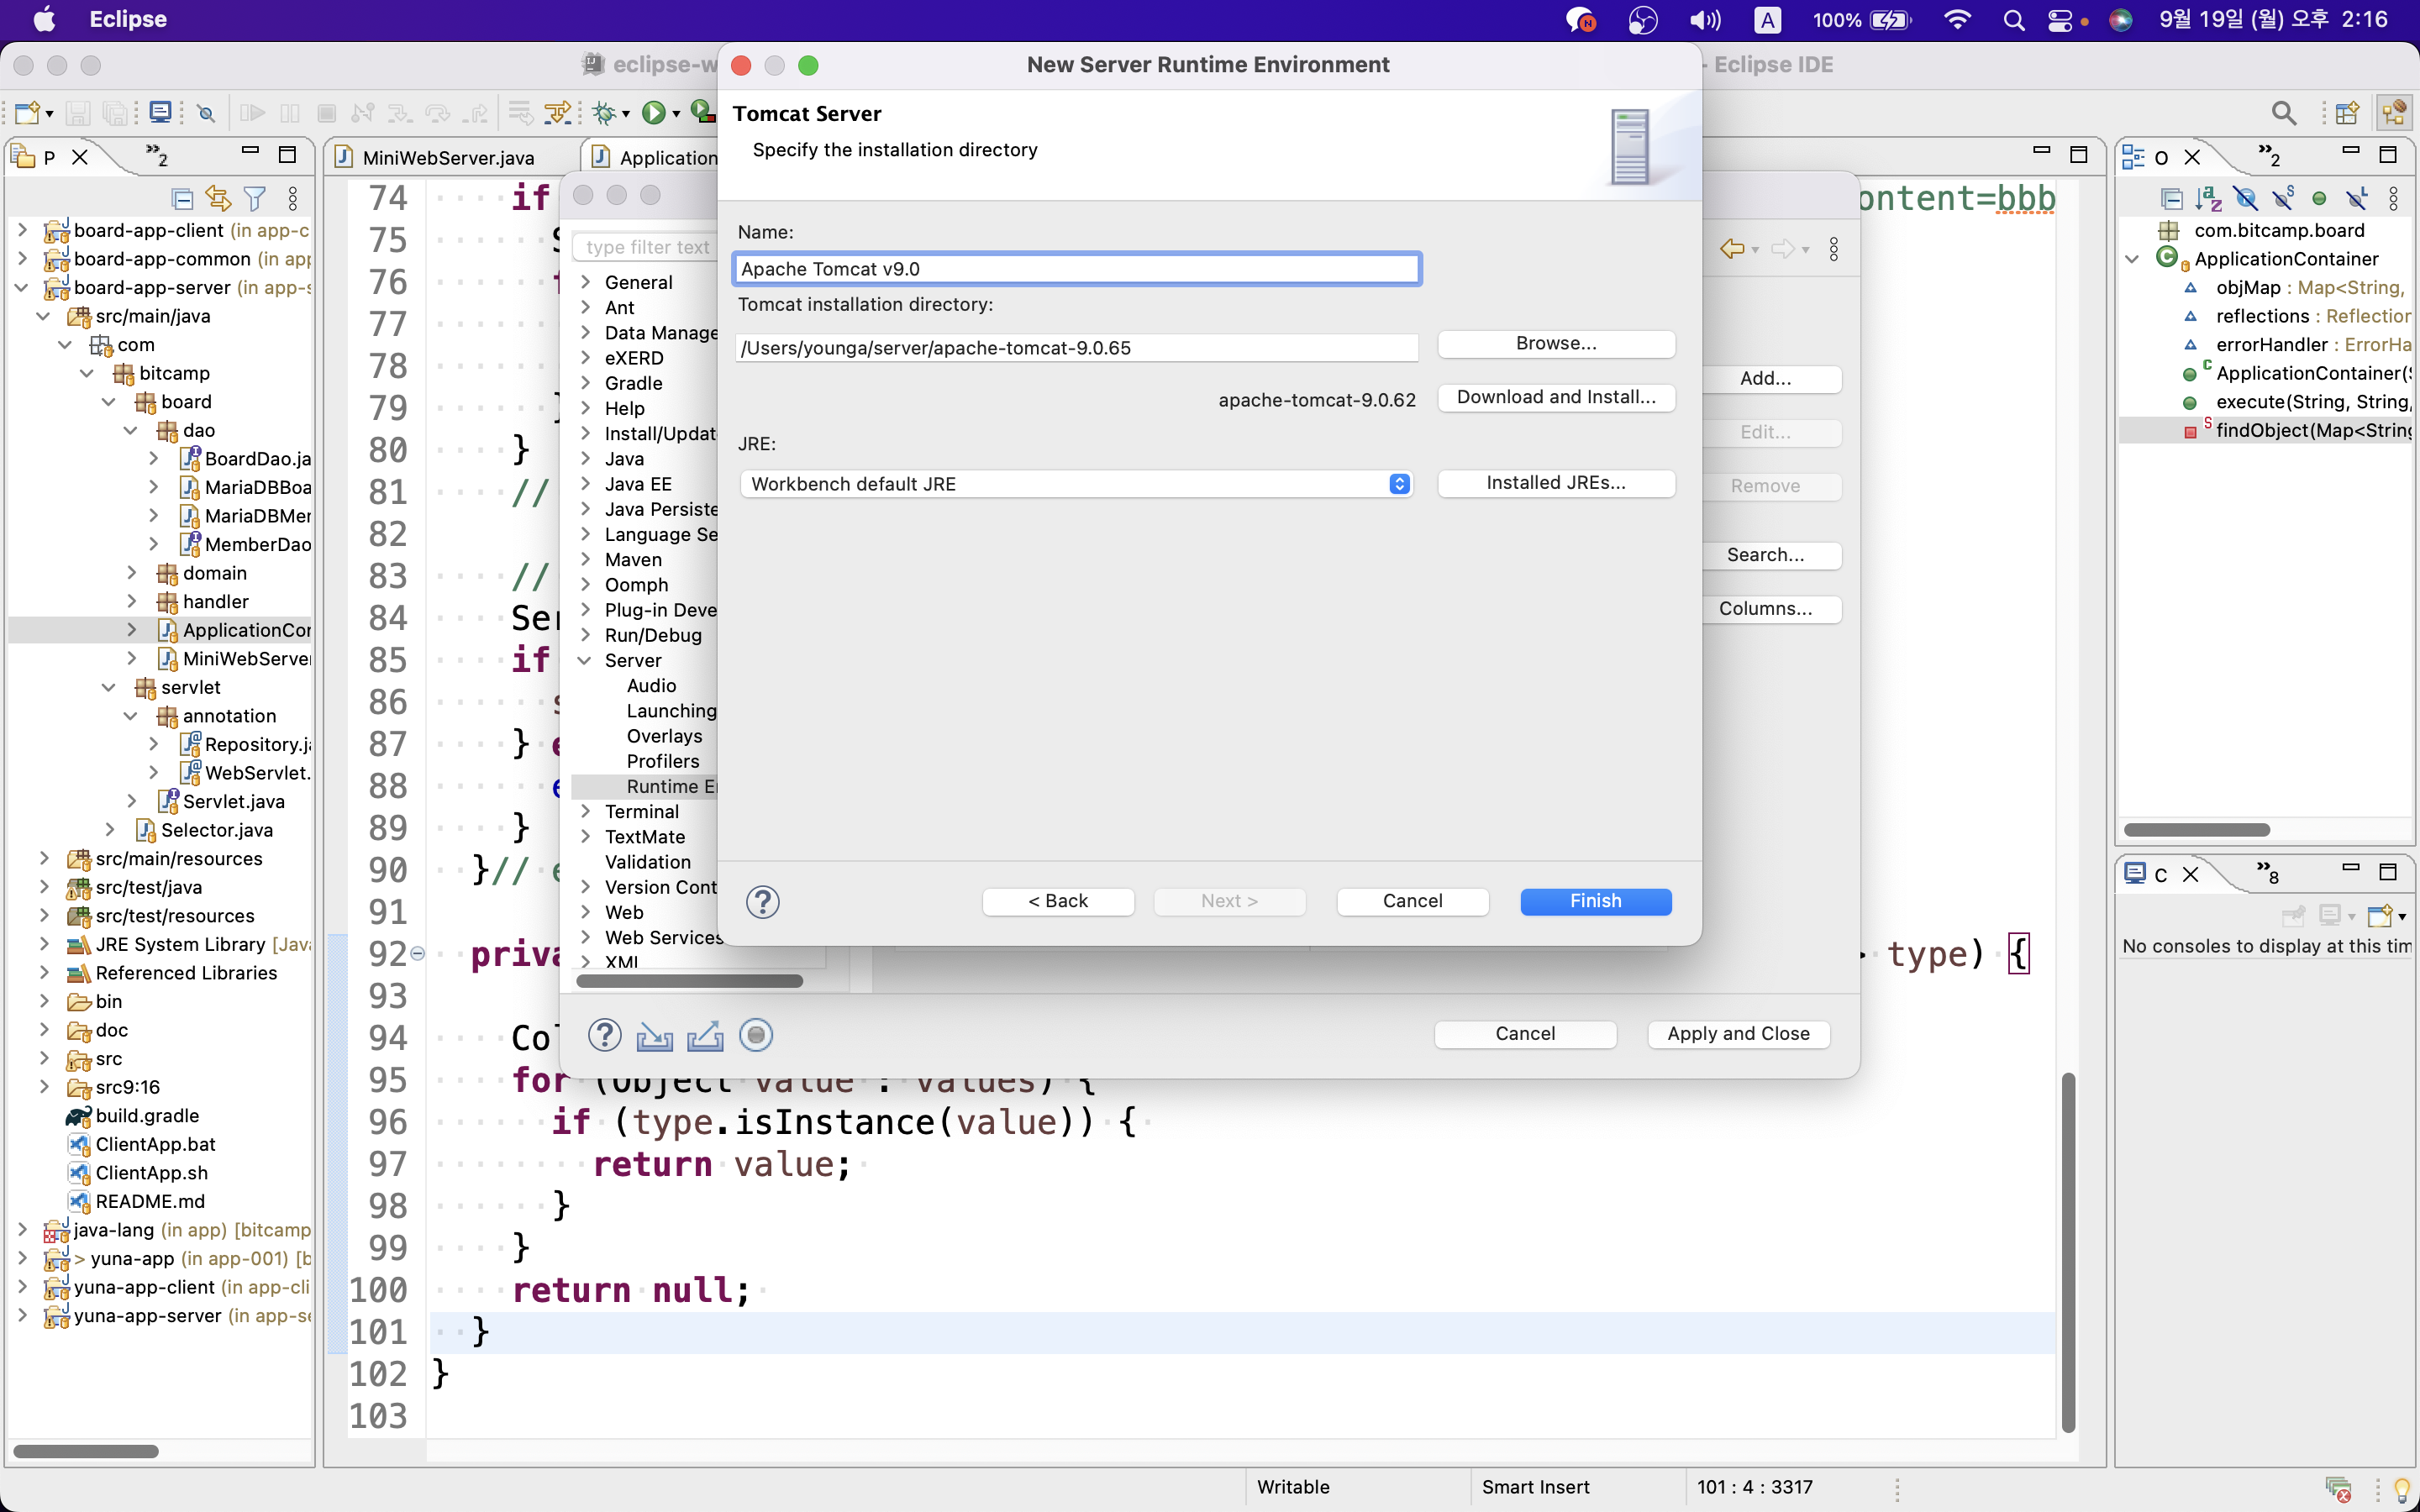
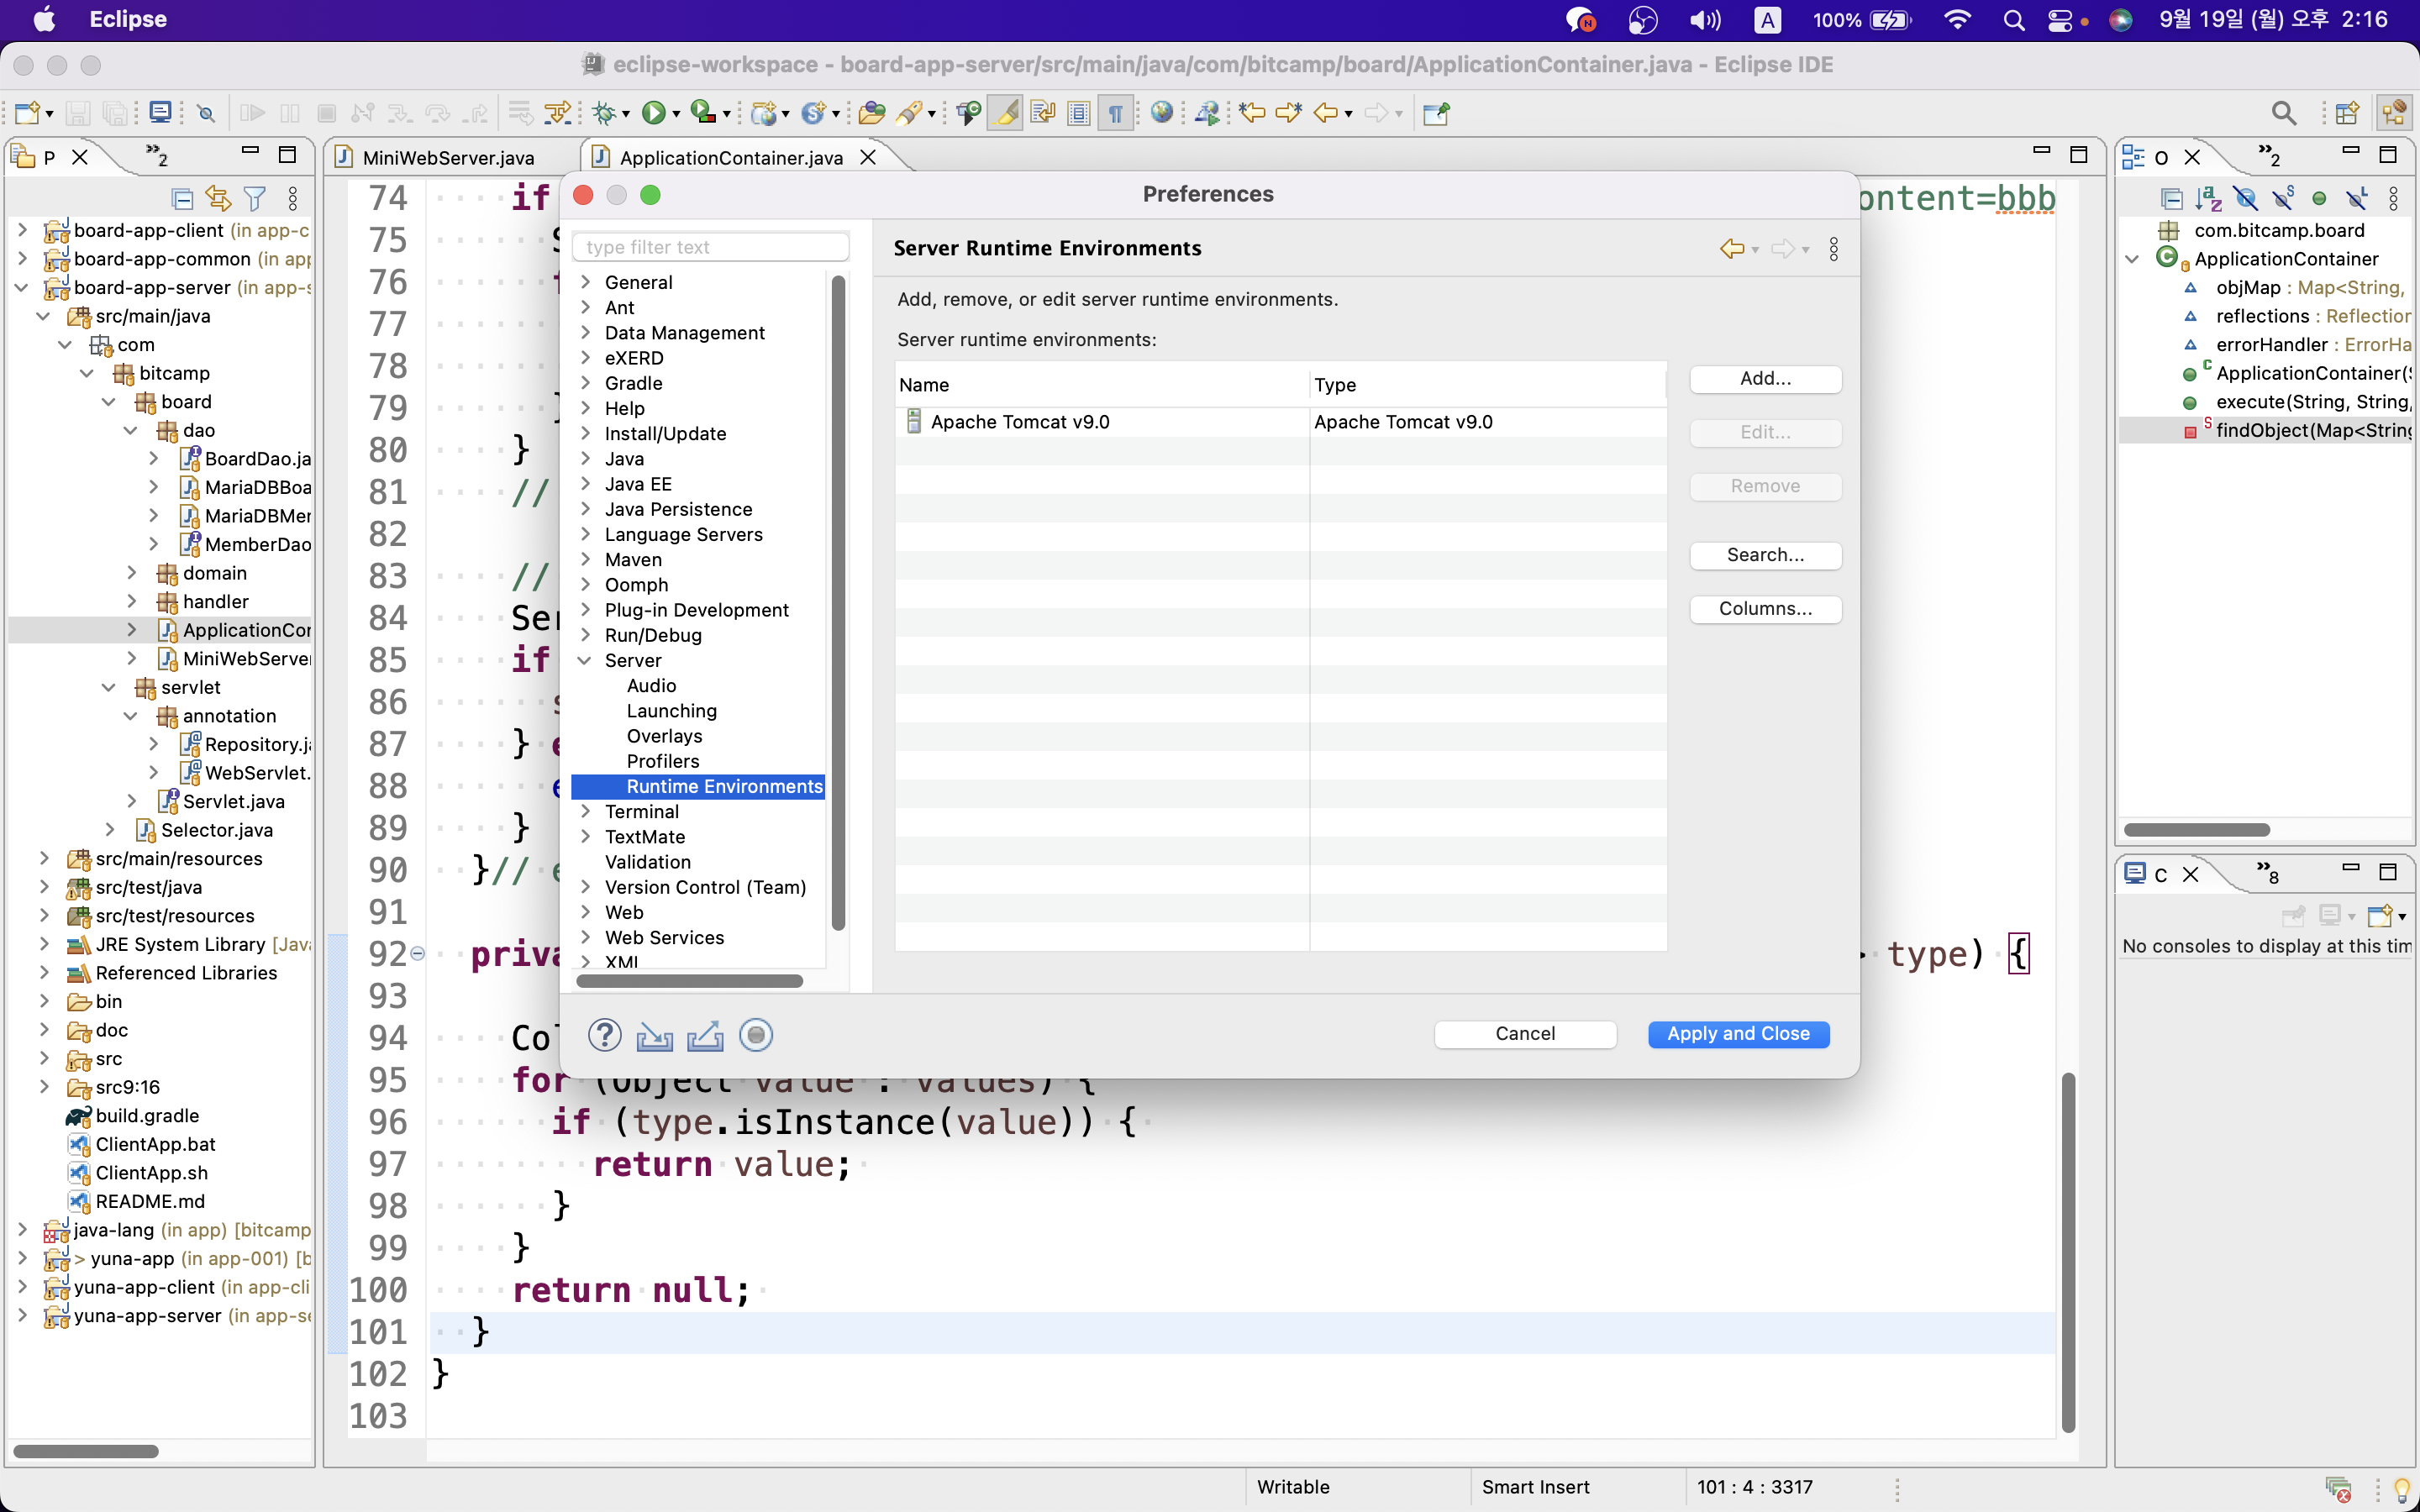
1) Preferences - Server - Runtime Environments - Add...
2) Apache - Apache Tomcat v9.0 - Next - Browse - 톰캣 zip 파일 푼 디렉토리 - "apache-tomcat-9.0.65" 폴더 - open - Finish
4) 아래와 같이 설정되면 성공!
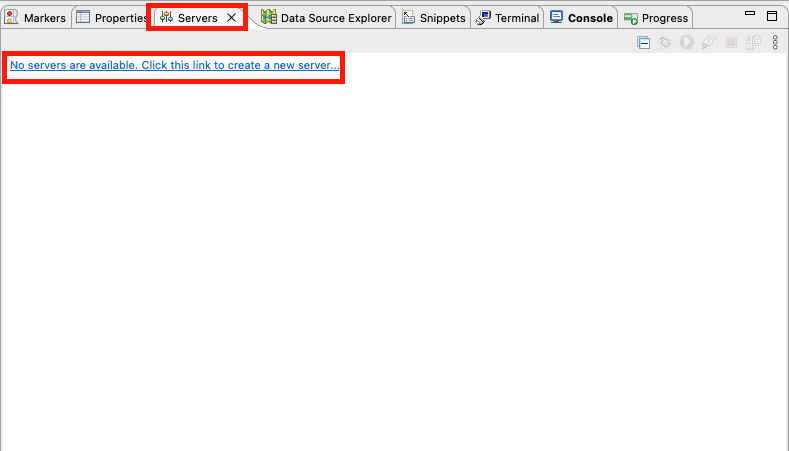
5) servers view 에서 No servers are available. Click this link to creatte a new server ...클릭
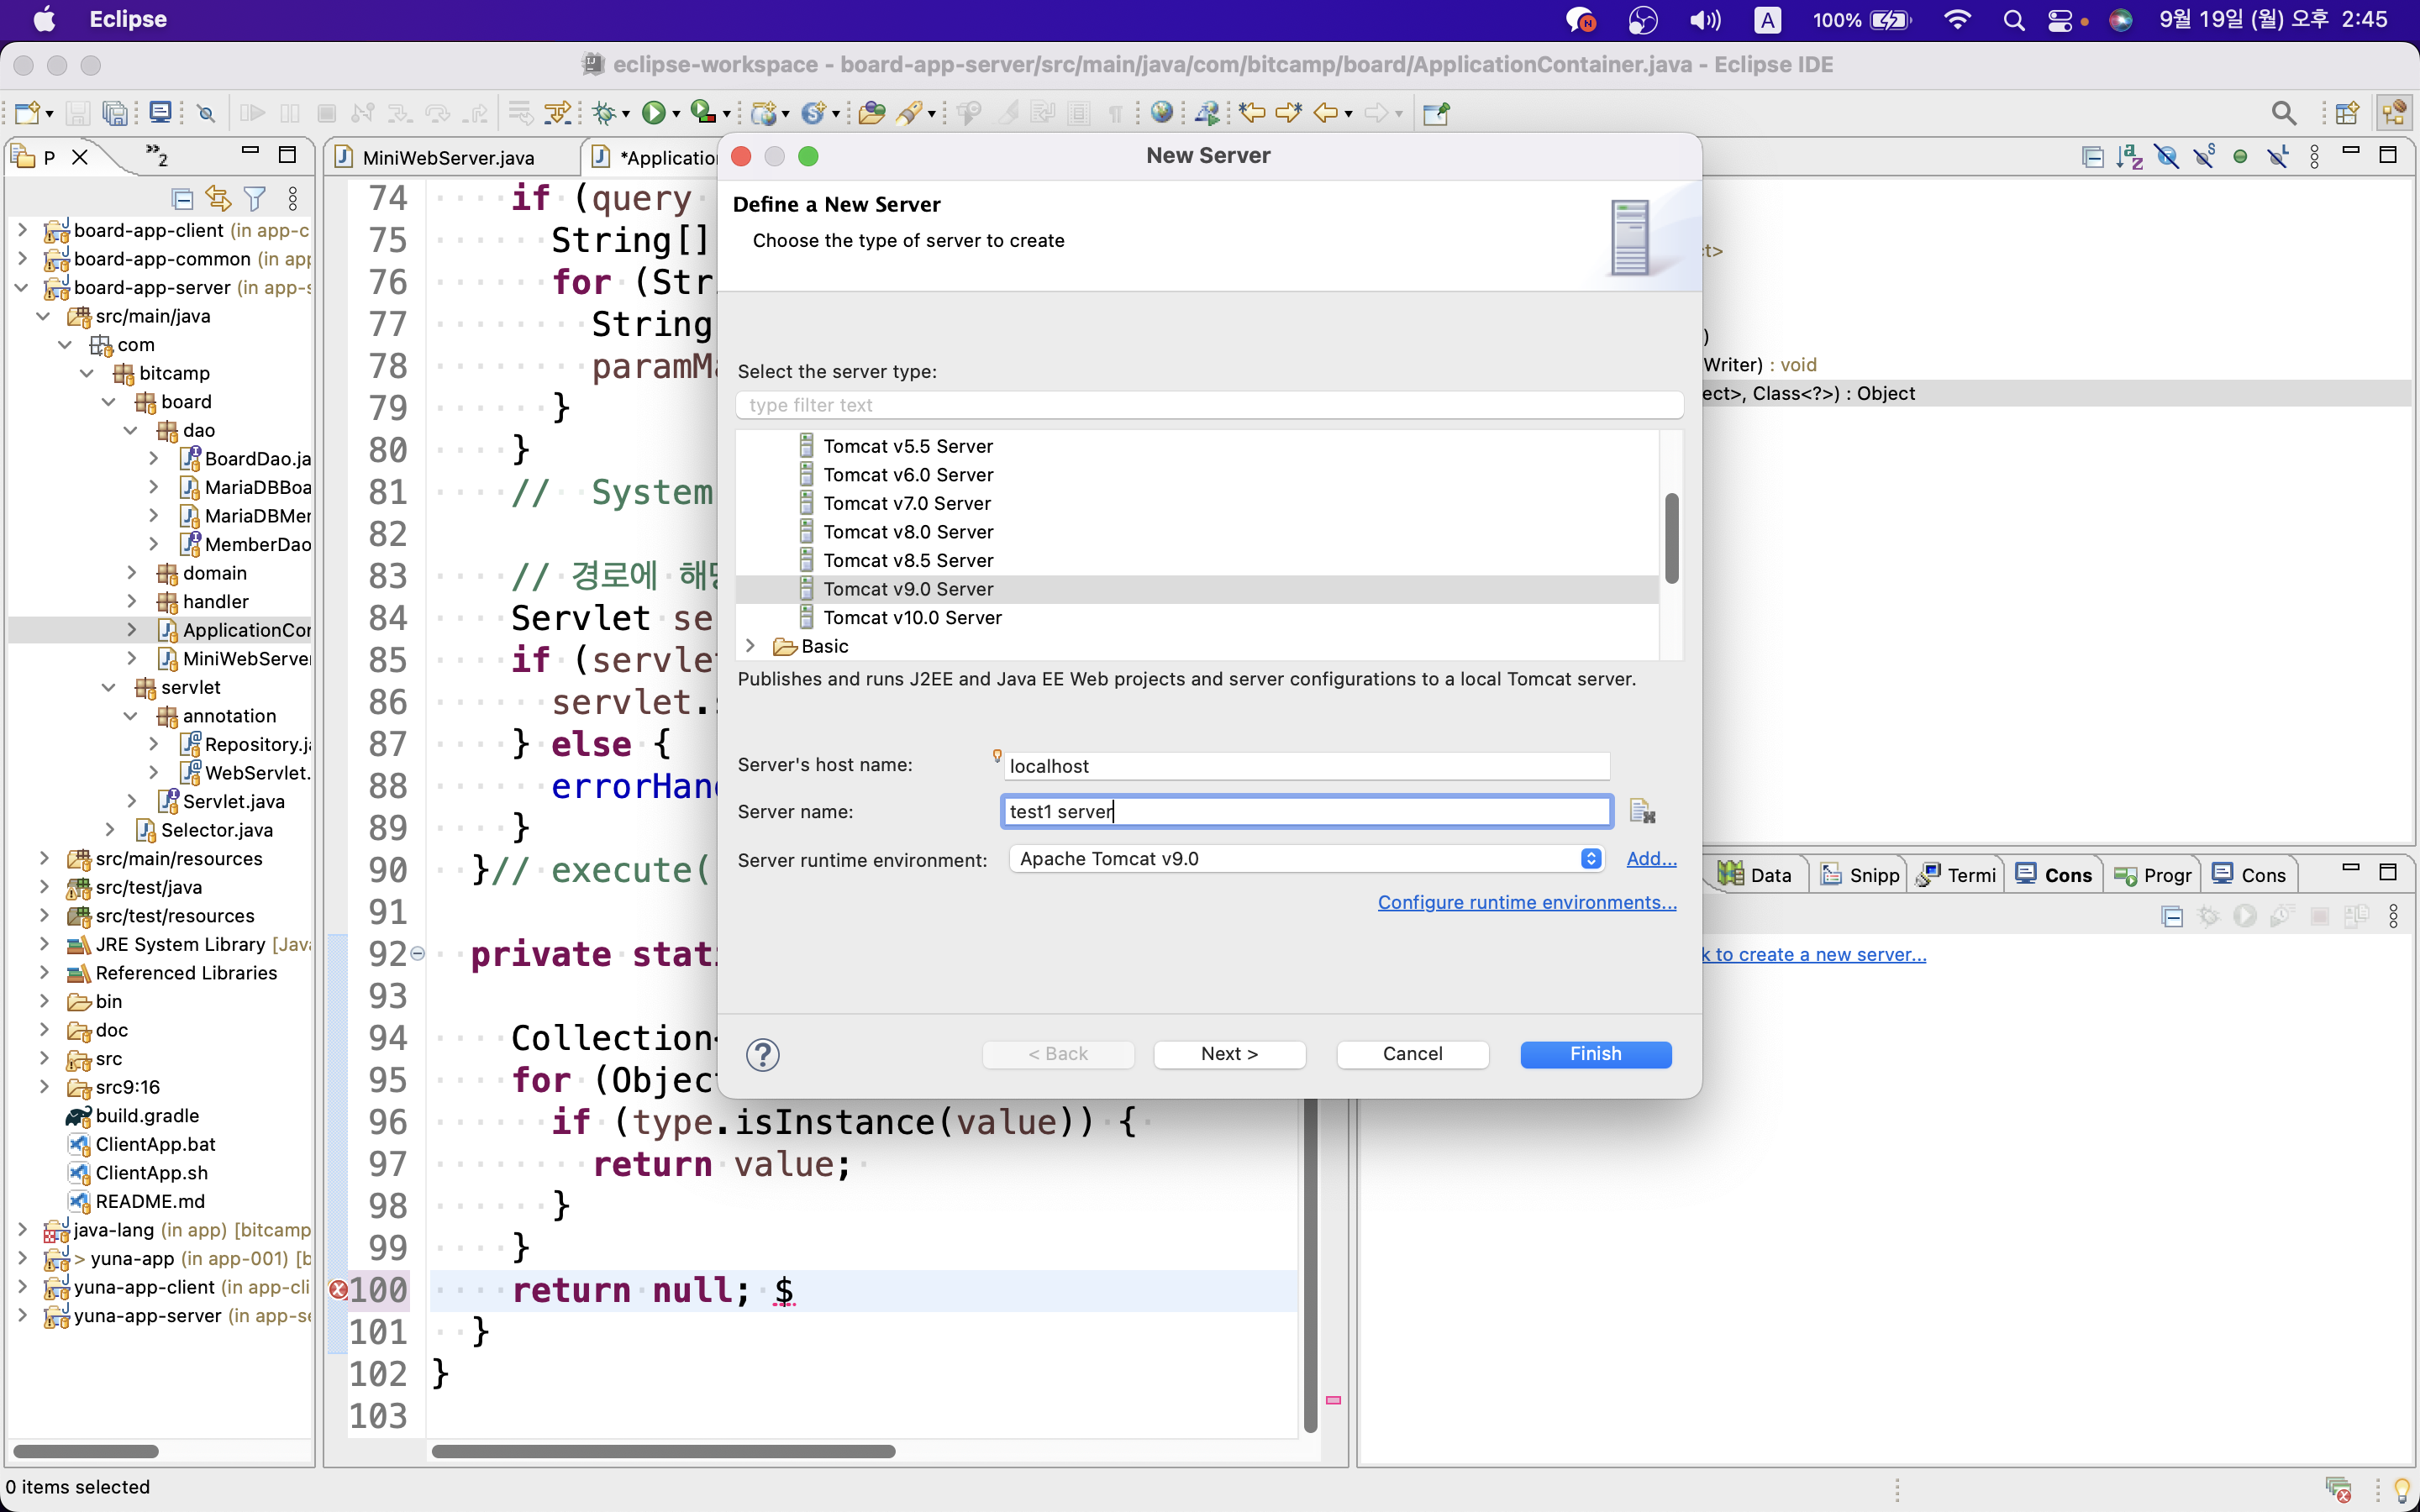
6) Select the server type - Apache - Tomcat v9.0 Server 클릭
7) Server name : test1 server 입력
4. 이클립스로 톰캣서버 연결하기
- 이클립스로 톰캣서버 연결 후 연결 여부 확인하기
1) 오른쪽 하단에 server view 에서 실행 버튼 클릭
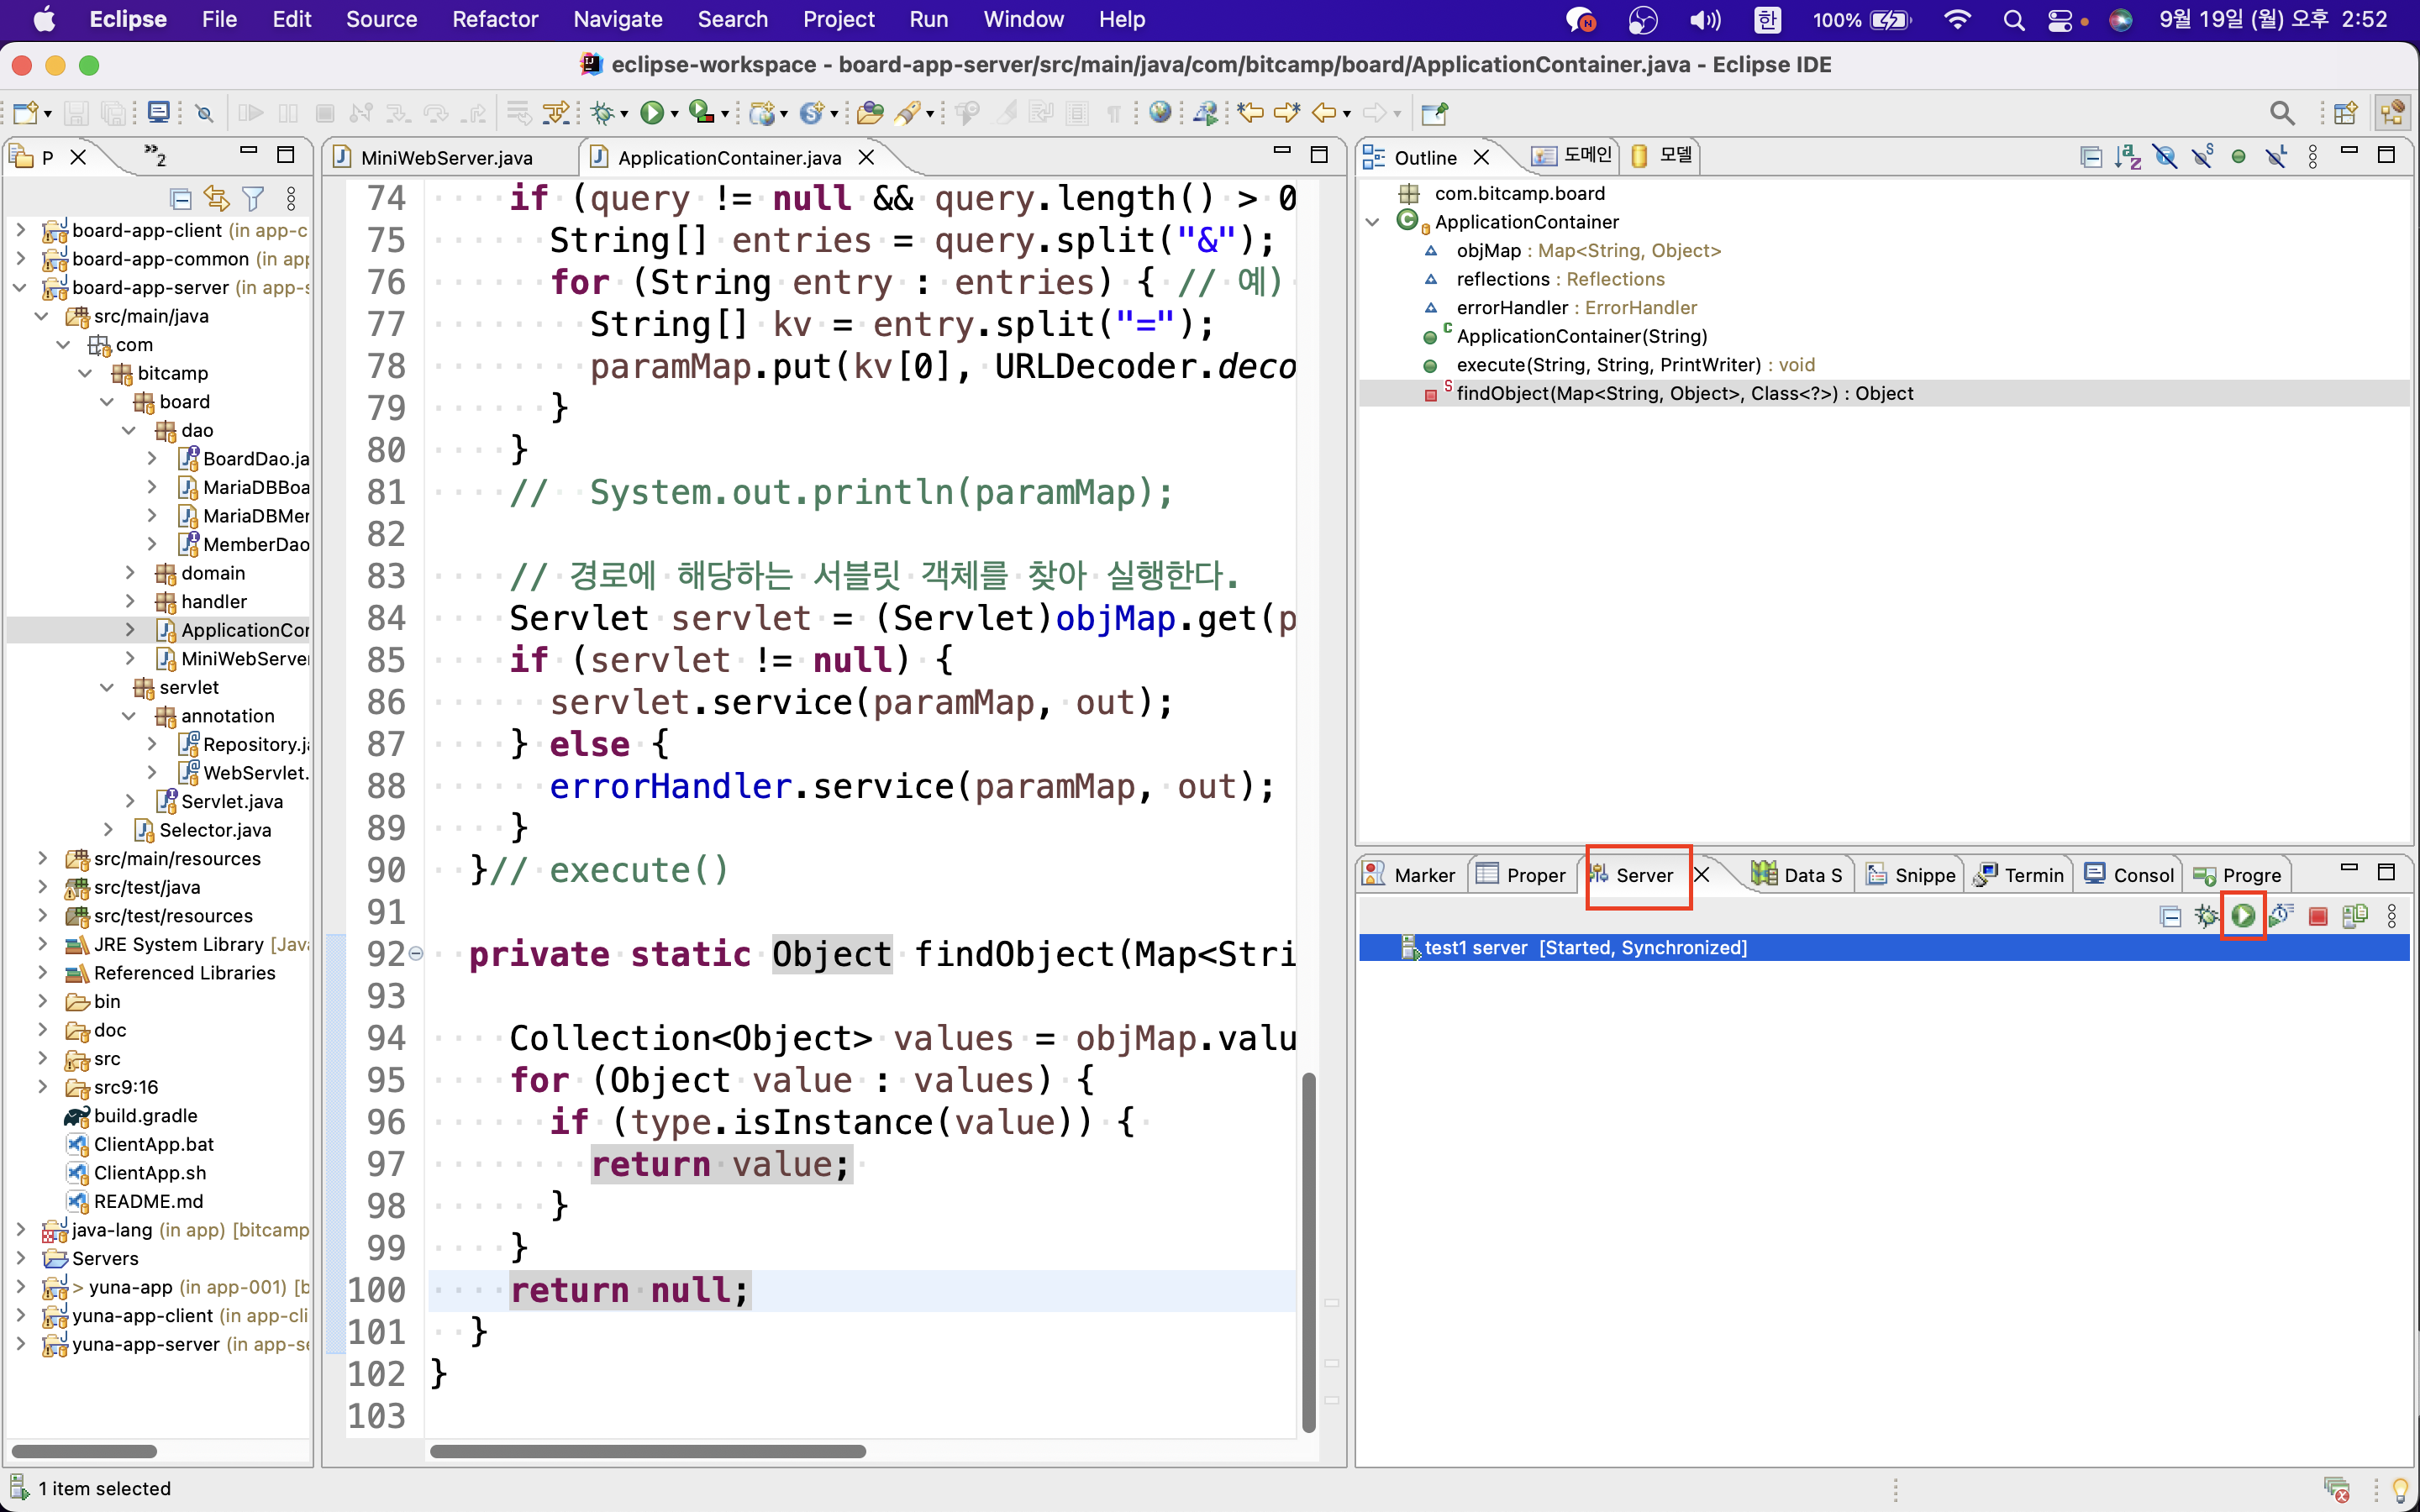
2) consol view 에서 아래 사진과 같이 뜨는지 확인

3) 웹 들어가서 확인하면 아래와 같이 뜨면 -> 정상
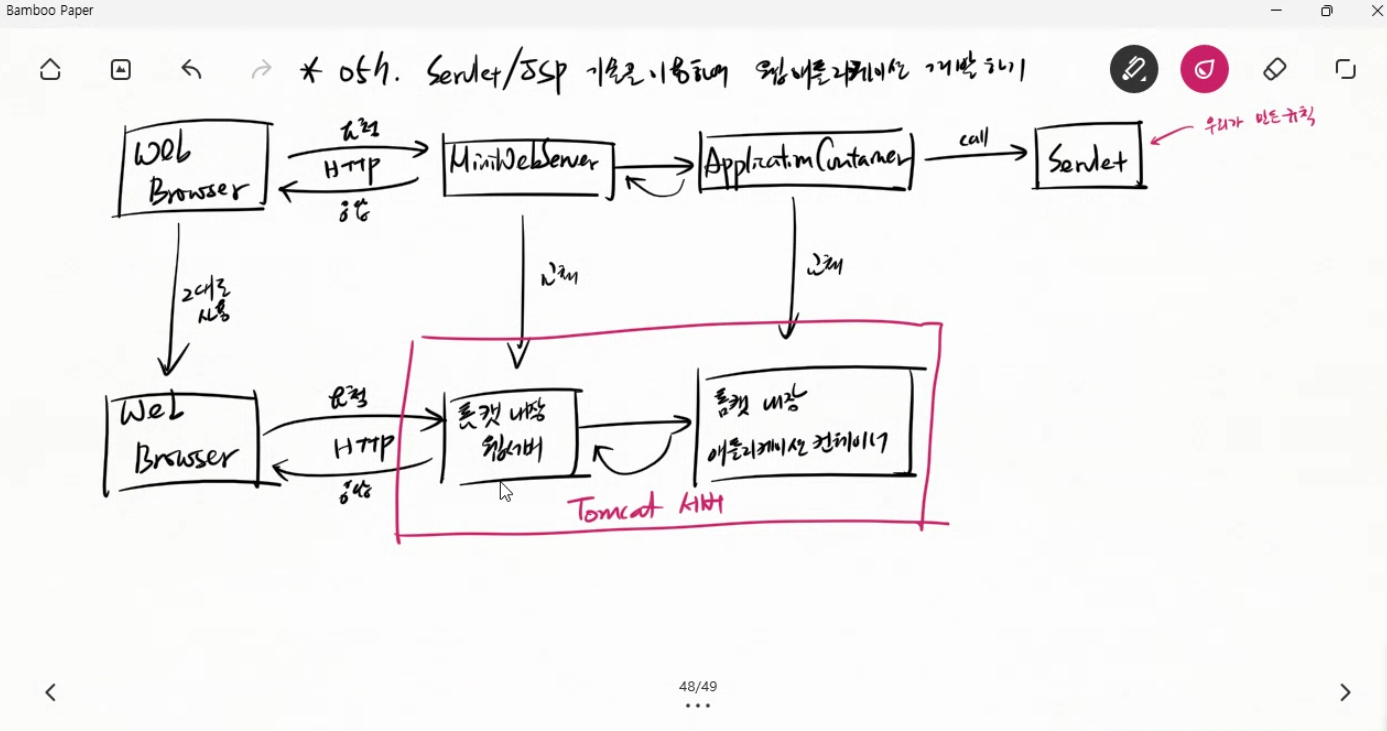
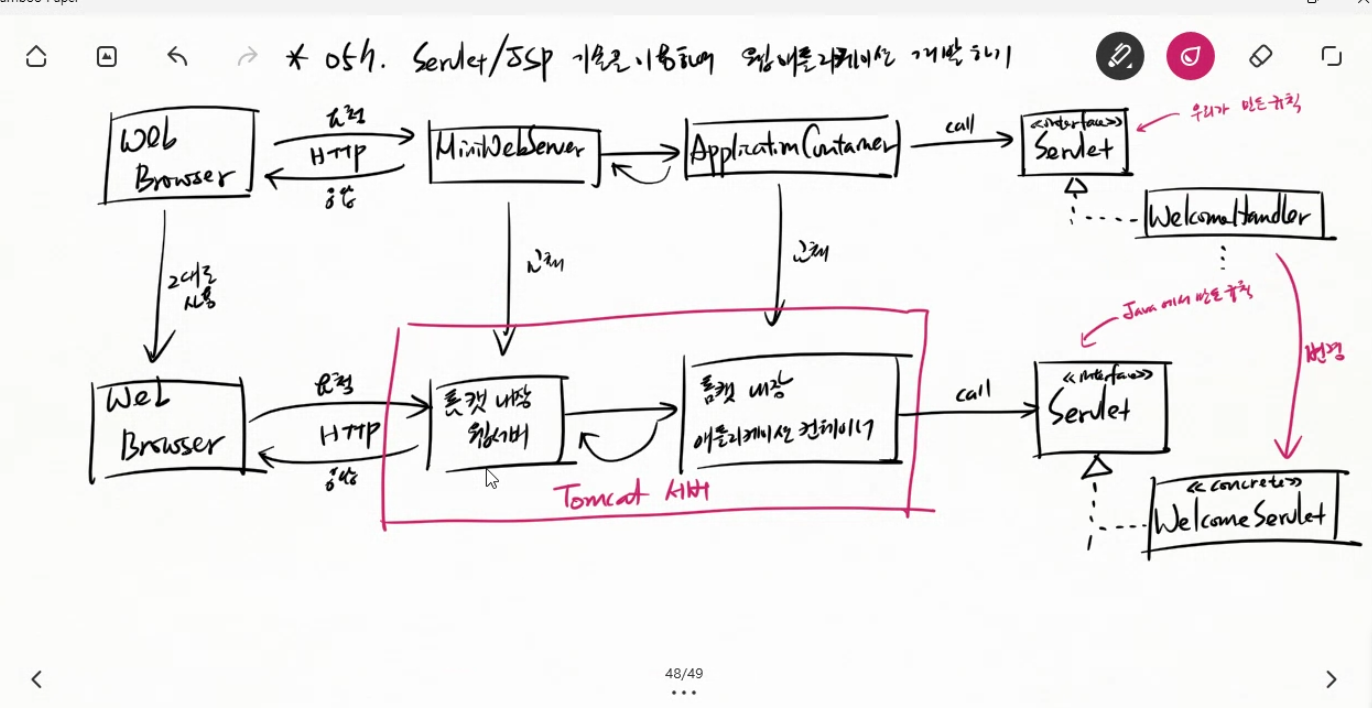
5. 직접 톰캣 실행 vs 이클립스로 톰캣 실행
- 아래 그림과 같이 톰캣을 직접 실행하는 것과 이클립스로 실행하는 것의 톰캣 서버를 설치한 디렉토리의 차이가 있다.
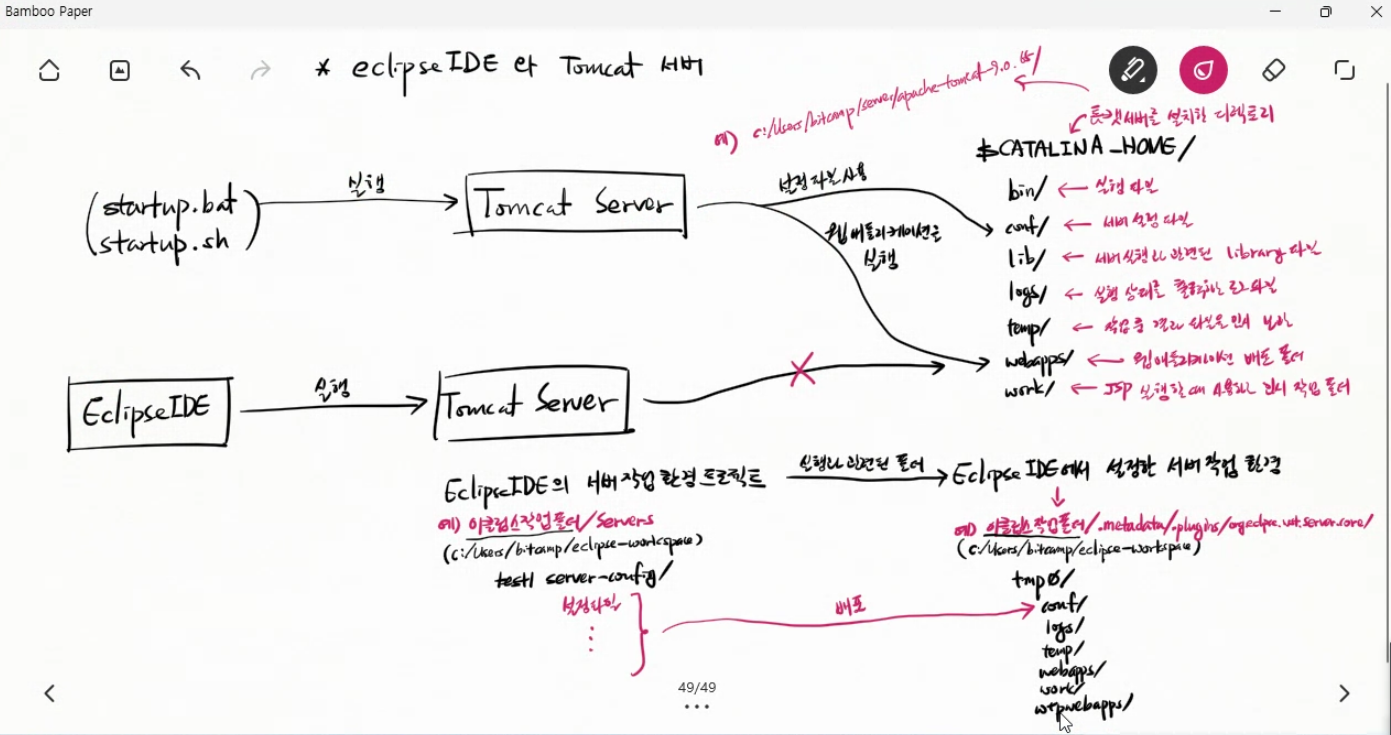
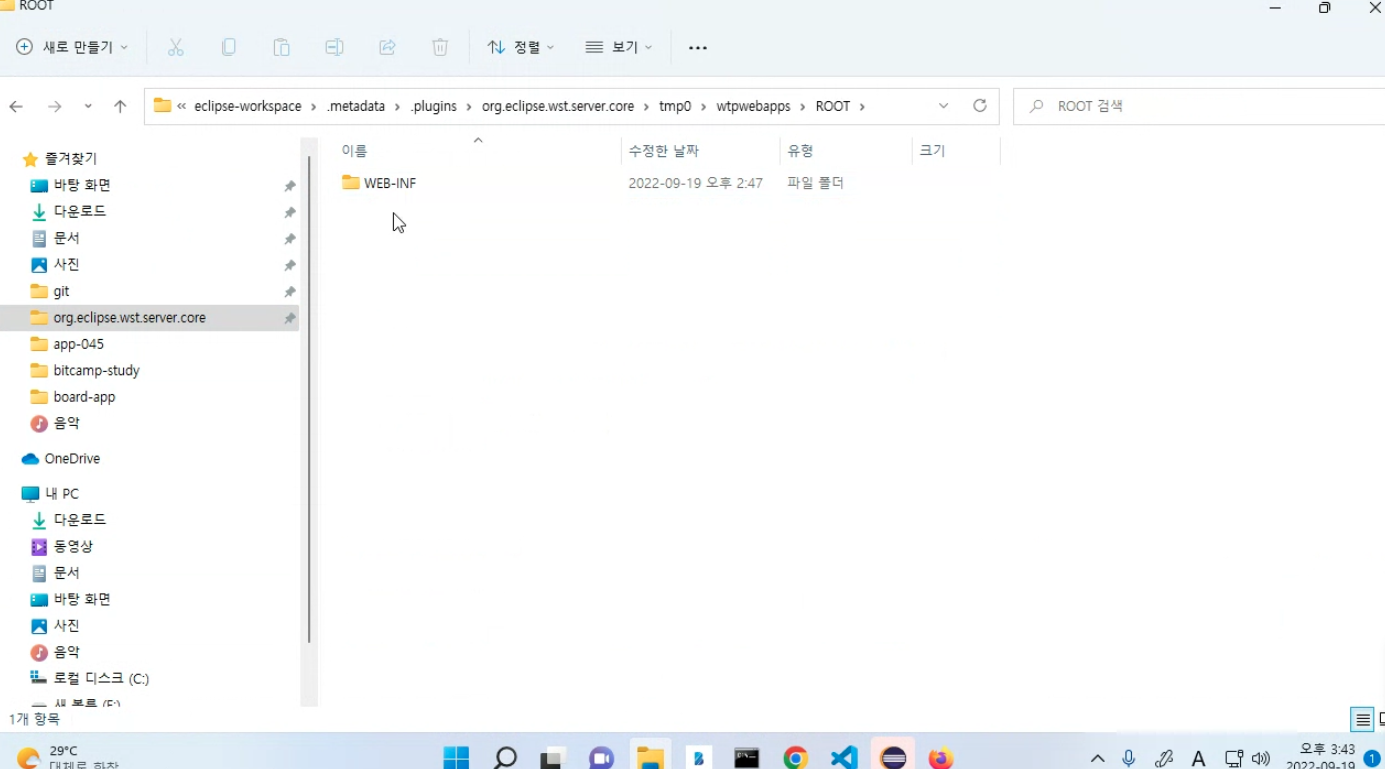
1) 직접 톰캣 실행시 배포되는 폴더
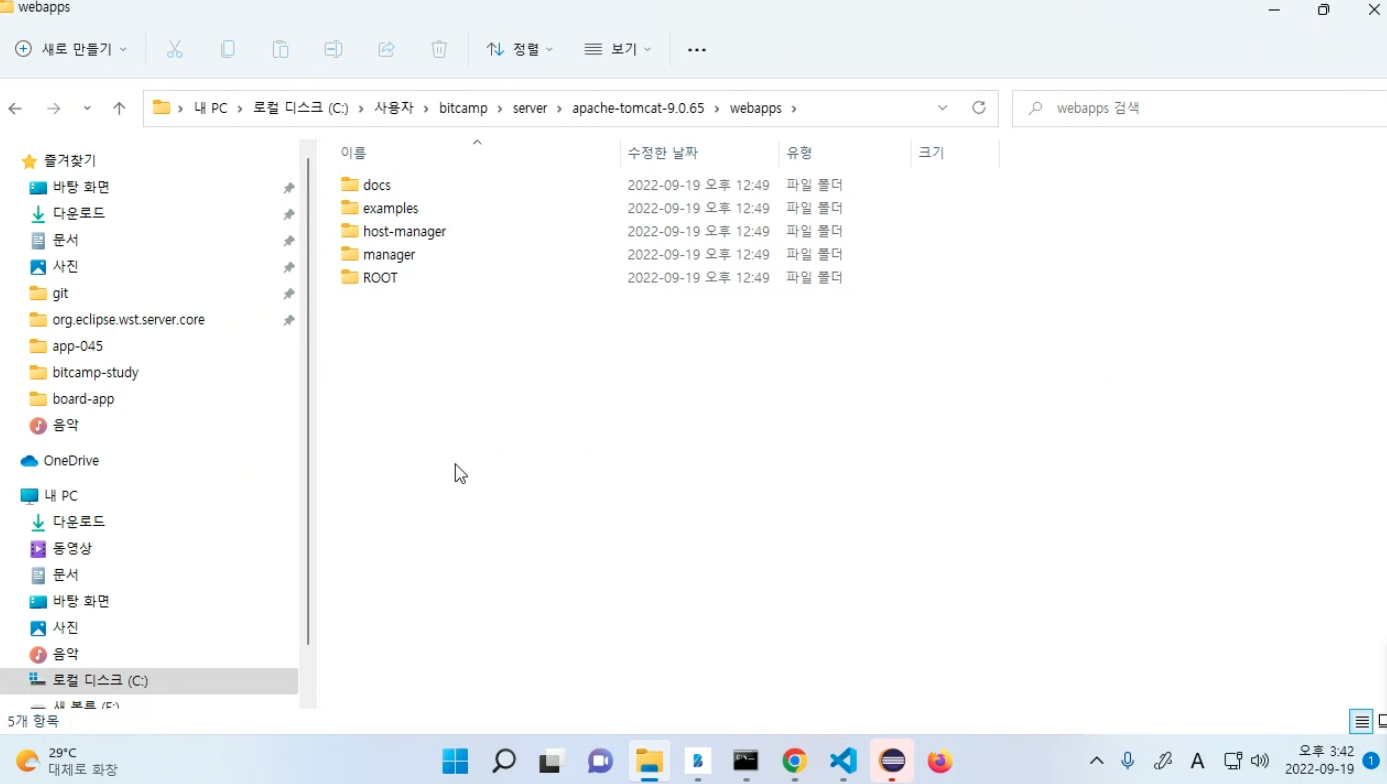
2) 이클립스로 톰캣 실행시 배포되는 폴더
-
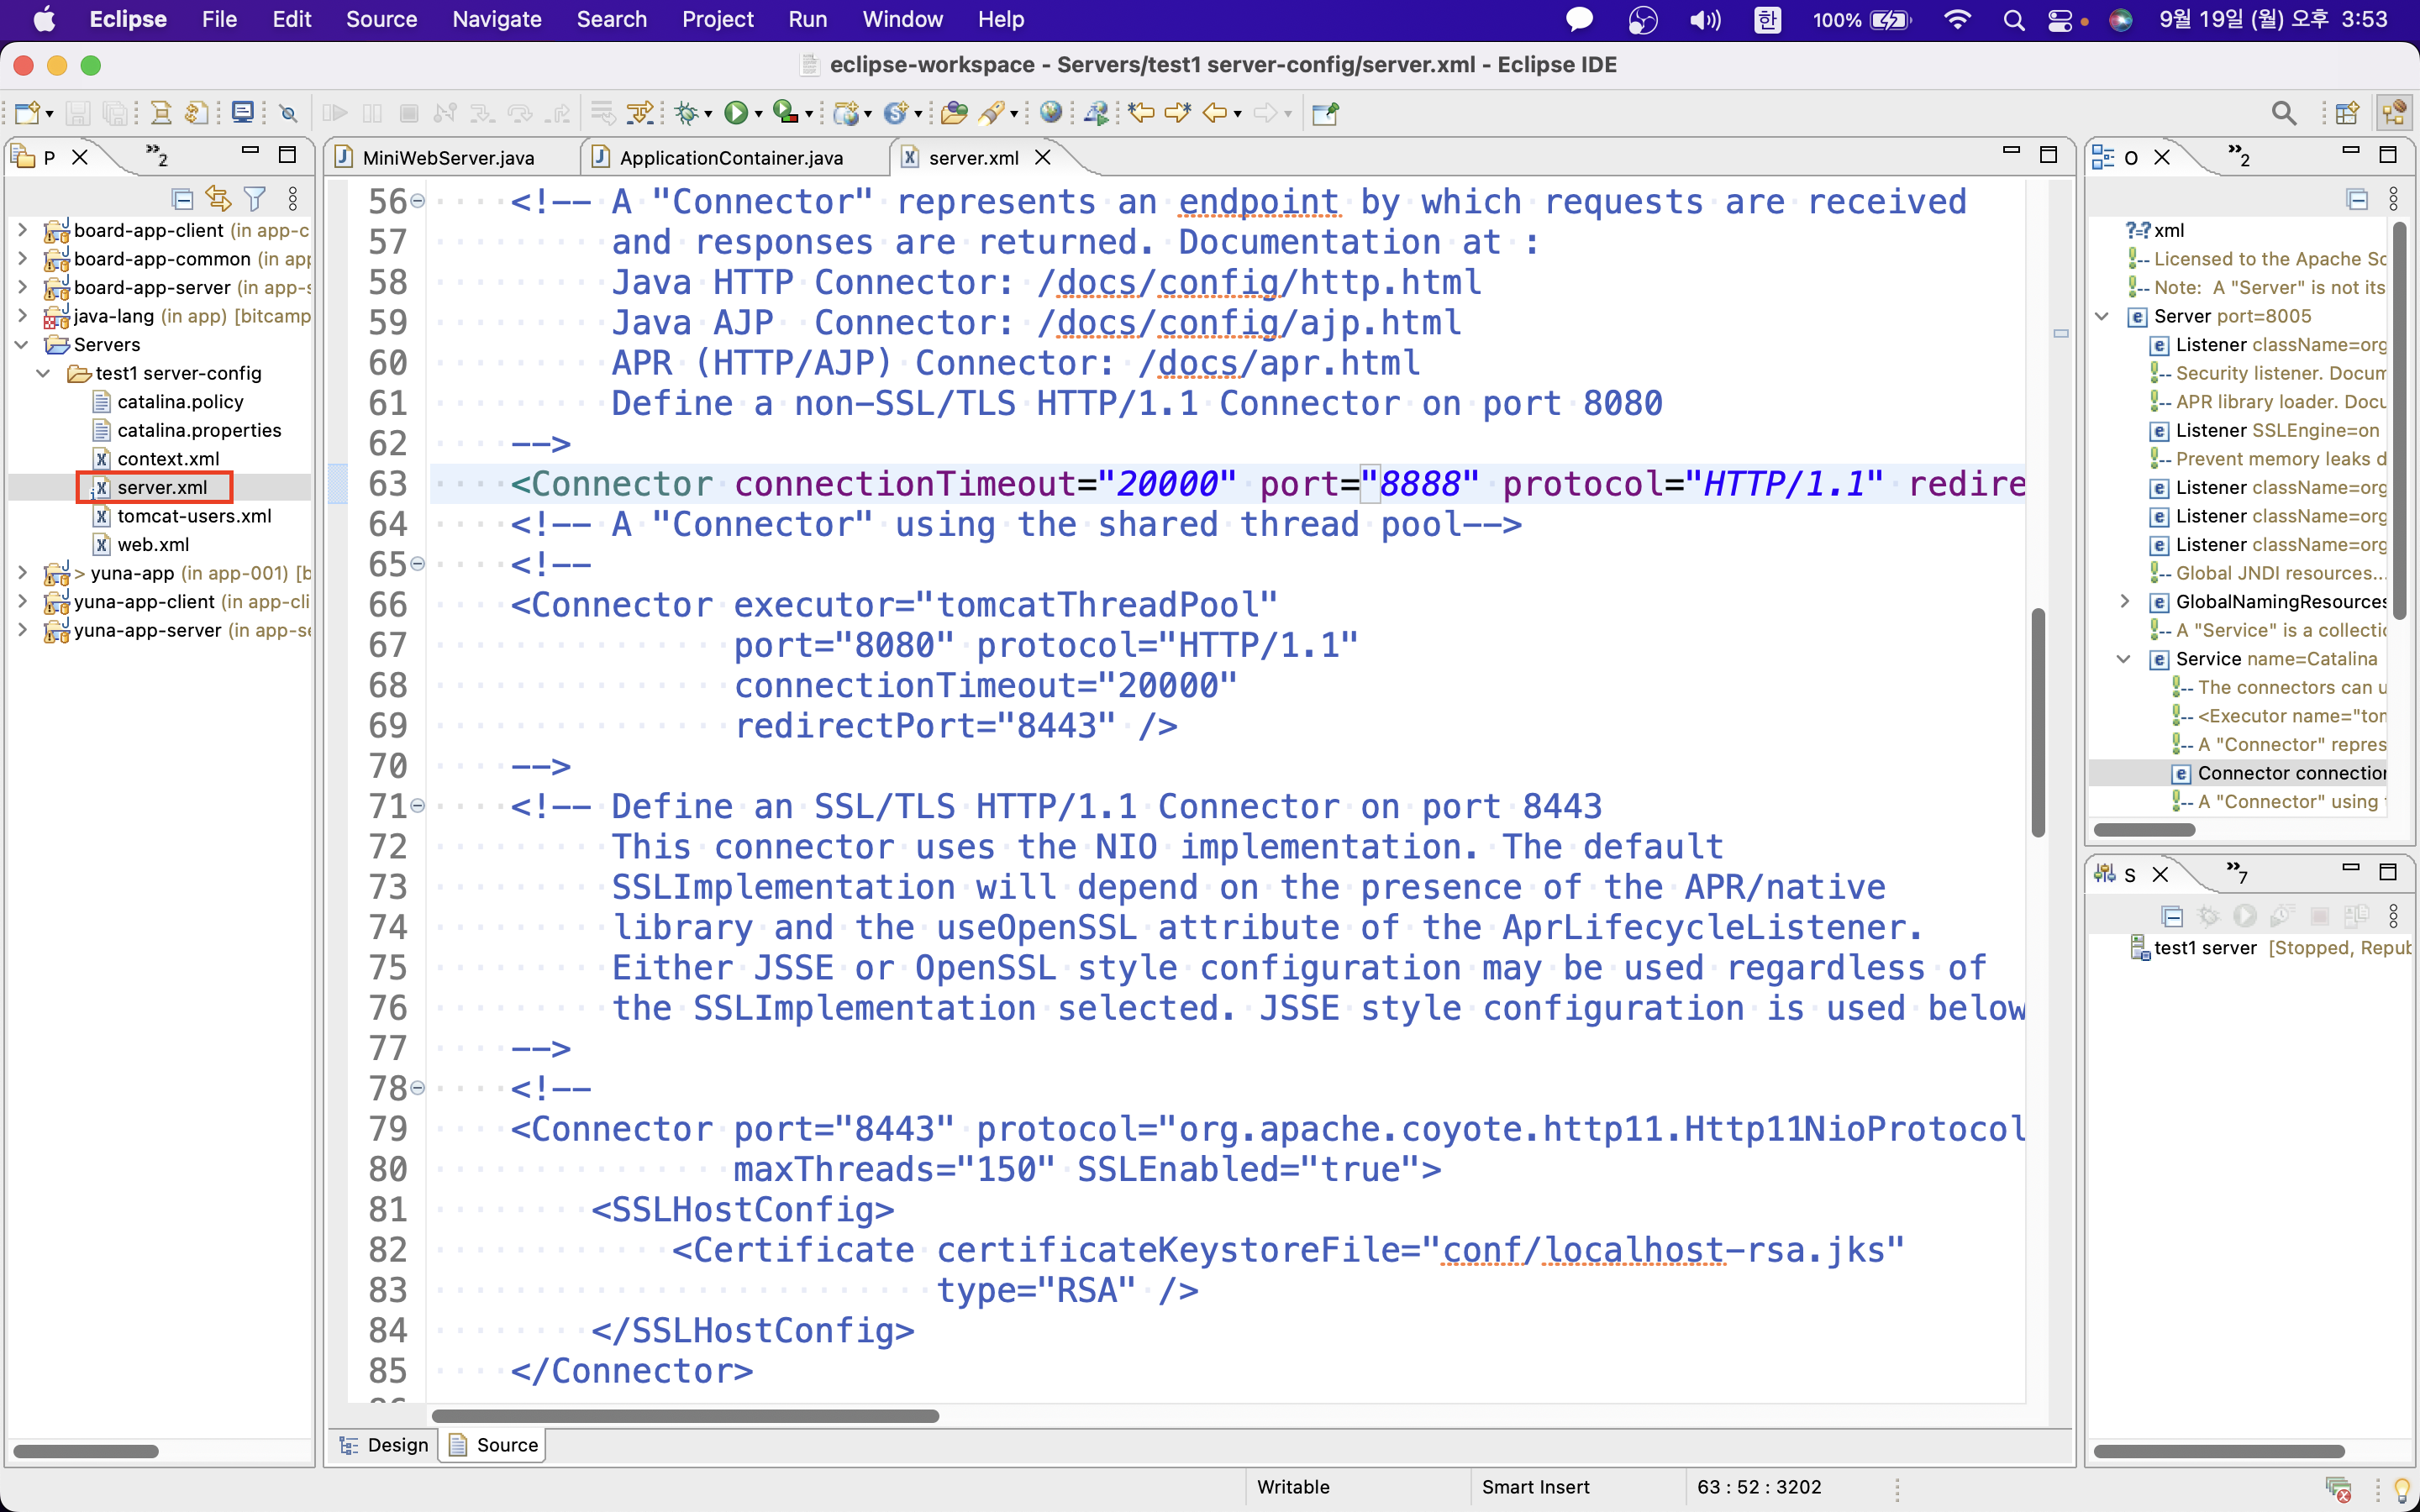
이클립스로 톰캣 실행하는 설정 파일을 변경하고자 할 땐 파일 탐색기 내에 들어가서 파일을 열어 설정하지 말고 이클립스에서 해당 파일을 열어서 수정해라 (아래 사진 참고)
-
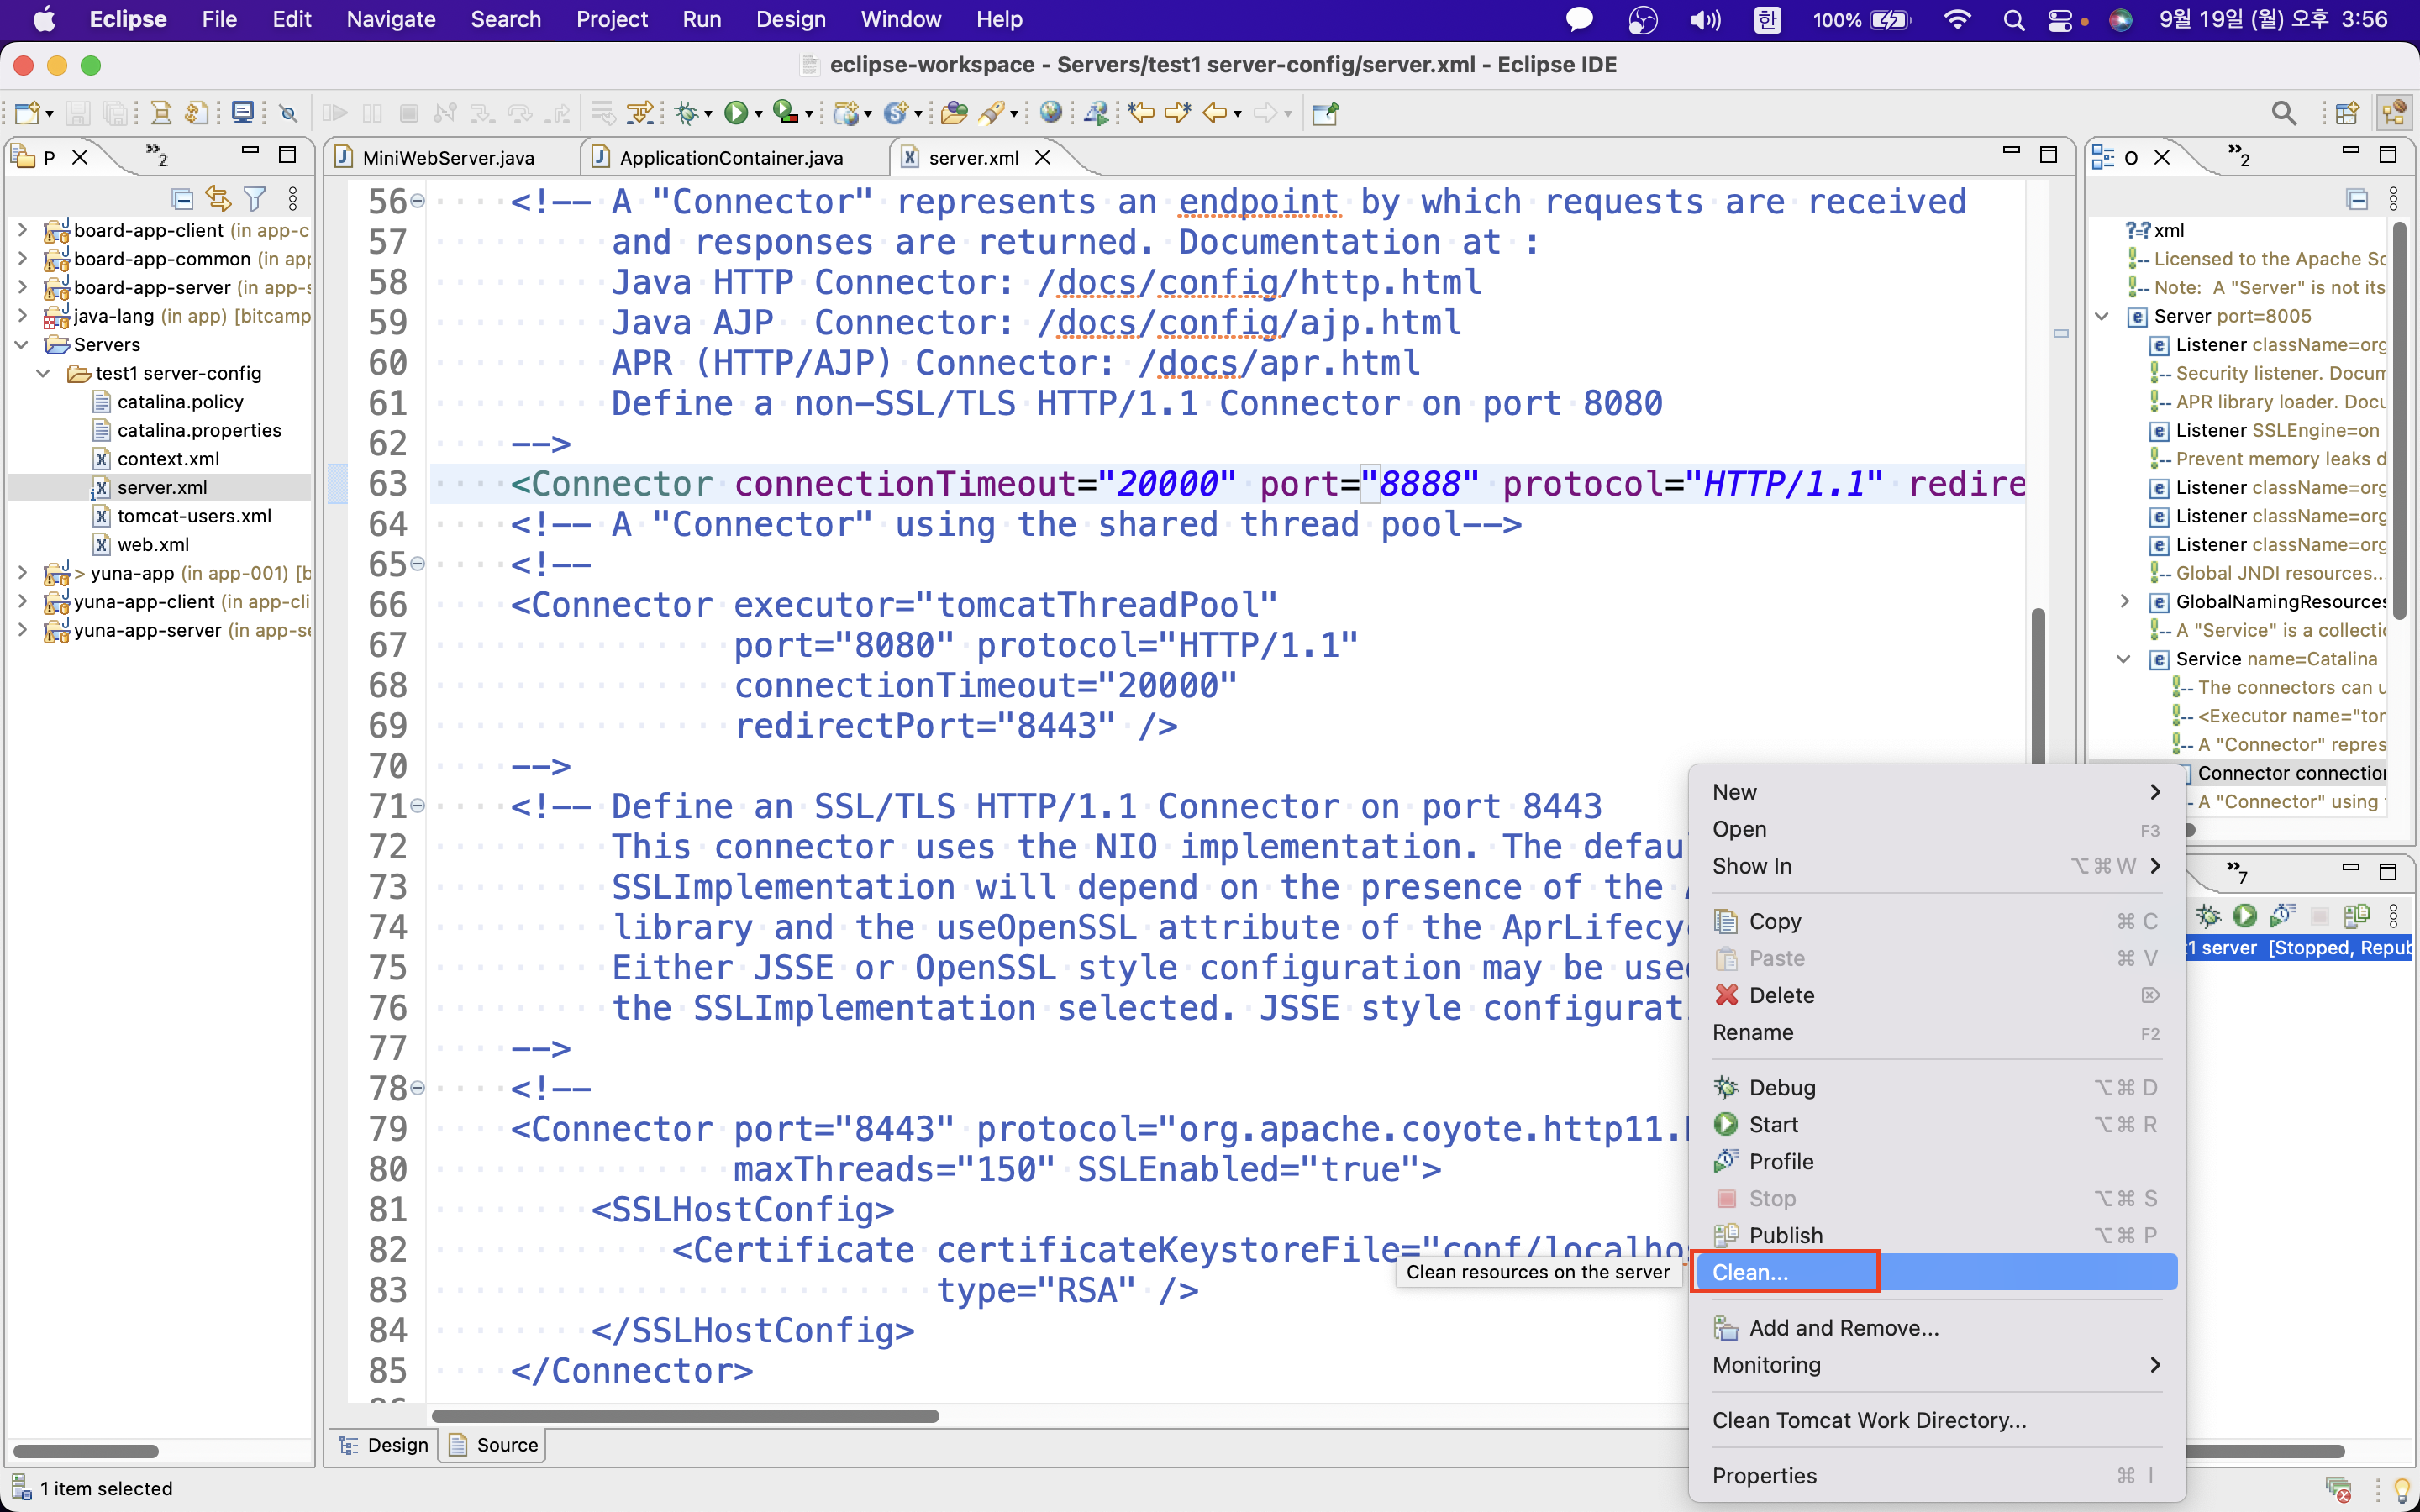
수정하고 clean 누르면 재배포 됨
mac 히든 폴더 보는 법
: (cmd + shift + . ) => 외워라!!!
/Users/younga/eclipse-workspace/.metadata/.plugins- tmp0
tmp1
tmp2 순서를 믿지 말랑~~
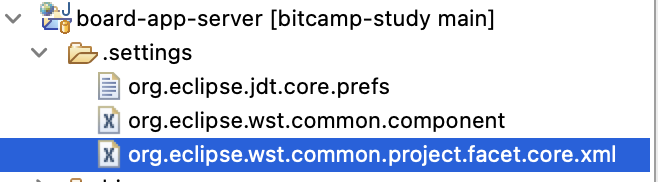
이클립스에서 실행되는 순서대로 폴더가 생성됐다가 서버 삭제하고 다시 새로 생성하면 중간에 빵구난 곳으로 다음 생성한 서버가 들어가기 때문에 번호가 순서대로 안맞게 됨- 이클립스에서 폴더에 빨간색 느낌표가 생기면 설정파일이 잘못된거야
-> gradle cleanEclipse & gradle eclipse 해야만 한다.
3)
-
이클립스
빌드스크립트파일에서 설정해야한다.
// 자바 웹 개발 도구에서 사용할 값을 설정한다.
wtp {
facet {
//you can add some extra wtp facets or update existing ones; mandatory keys: 'name', 'version':
facet name: 'jst.java', version: '11'
}
component {
//you can configure the context path:
//contextPath = '/web'//you can configure the deployName: //deployName = 'web' } }}
저 setting 파일을 설치하려면 build-gradle에 설정해줘야함.
-
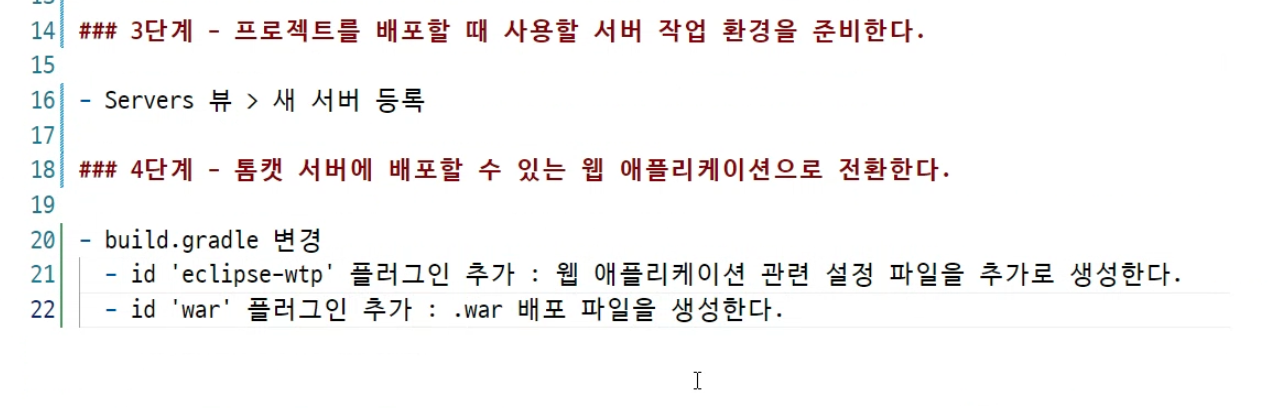
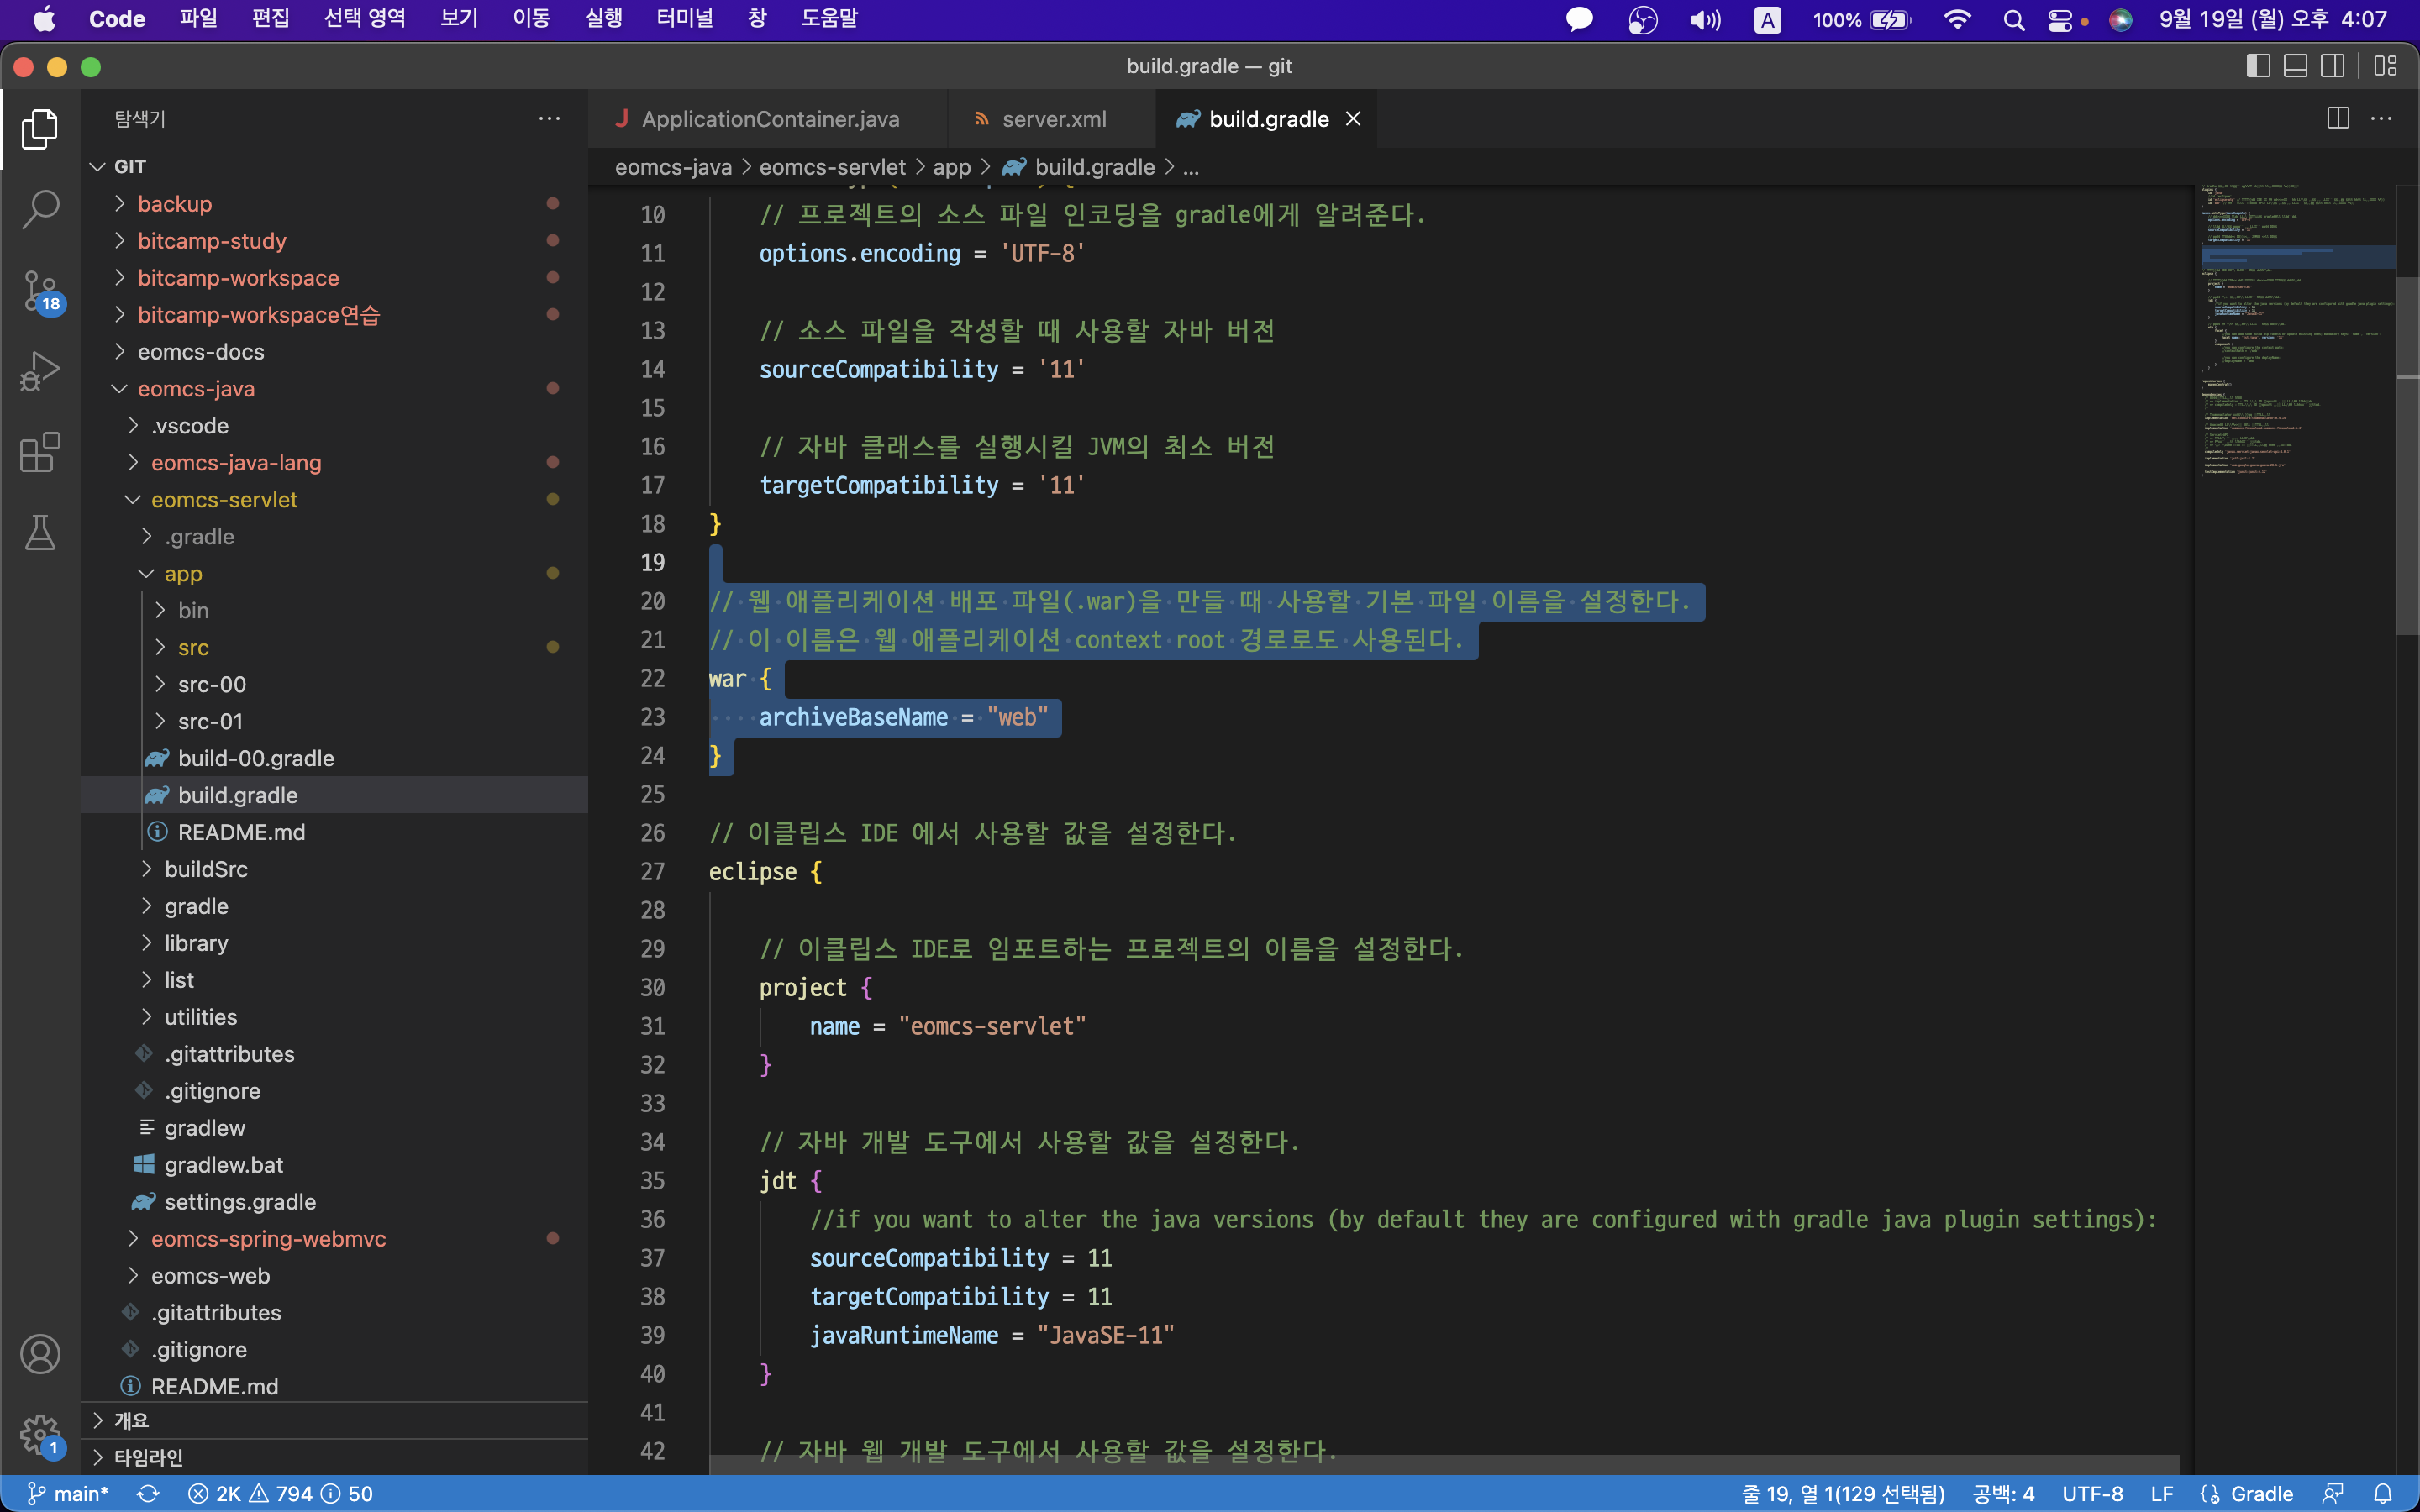
board-app-server/build.gradle 설정하기
plugins {
    id 'application'
//    id 'eclipse'  <-- elipse-wtp플러그인을 추가하면 eclipse 플러그인이 자동으로 추가된다.
    id 'eclipse-wtp'
    id 'war'
}

repositories {
    mavenCentral()
}

dependencies {
    testImplementation 'junit:junit:4.13.2'
    implementation 'com.google.guava:guava:30.1.1-jre'
    implementation 'com.google.code.gson:gson:2.9.1'
    implementation 'org.mariadb.jdbc:mariadb-java-client:3.0.7'
    implementation 'org.reflections:reflections:0.10.2'
   //  implementation project(':app-common')
}

application {
    mainClass = 'com.bitcamp.board.MiniWebServer'
}

// CLI 환경(명령창, 콘솔창)에서 자바 소스를 컴파일 할 때 적용할 옵션
tasks.withType(JavaCompile) {
    // 프로젝트의 소스 파일 인코딩을 gradle에게 알려준다.
    // $javac -encoding UTF-8 ..
    options.encoding = 'UTF-8'

    // 소스 파일을 작성할 때 사용할 자바 버전
    sourceCompatibility = '11'

    // 자바 클래스를 실행시킬 JVM의 최소 버전
    targetCompatibility = '11'
}

// Eclipse IDE에서 사용할 프로젝트 정보 설정하기
eclipse {
    project {
        name = "board-app-server"
        // 프로젝트 이름을 지정하지 않으면 build.gradle 파일이 있는
        // 폴더 이름을 프로젝트 이름을 사용한다.
    }
    jdt {
      sourceCompatibility = 11
      targetCompatibility = 11
      javaRuntimeName = "JavaSE-11"
    }
        // 이클립스 IDE웹 개발 도구에서 사용할 값을 설정한다.
    wtp {
        facet {
        // 웹 애플리케이션의 한경 정보 설정
        // 웹 애플리케이션을 실행할 때 필요한 최소의 자바 버전 설정
            facet name: 'jst.java', version: '11'

            // 웹 애플리케이션에서 사용할 서블릿 버전 설정
            facet name: 'jst.web', version: '4.0'
        }
        component {
            //you can configure the context path:
            //contextPath = '/app'

            //you can configure the deployName:
            //deployName = 'app'
        }
    }
}


// 웹 애플리케이션 배포 파일(.war)을 만들 때 사용할 기본 파일 이름을 설정한다.
// 이 이름은 웹 애플리케이션 context root 경로로도 사용된다.
war {
    archiveBaseName = "web"
}
- lib 파일은 의존 라이브러리를 보여줌
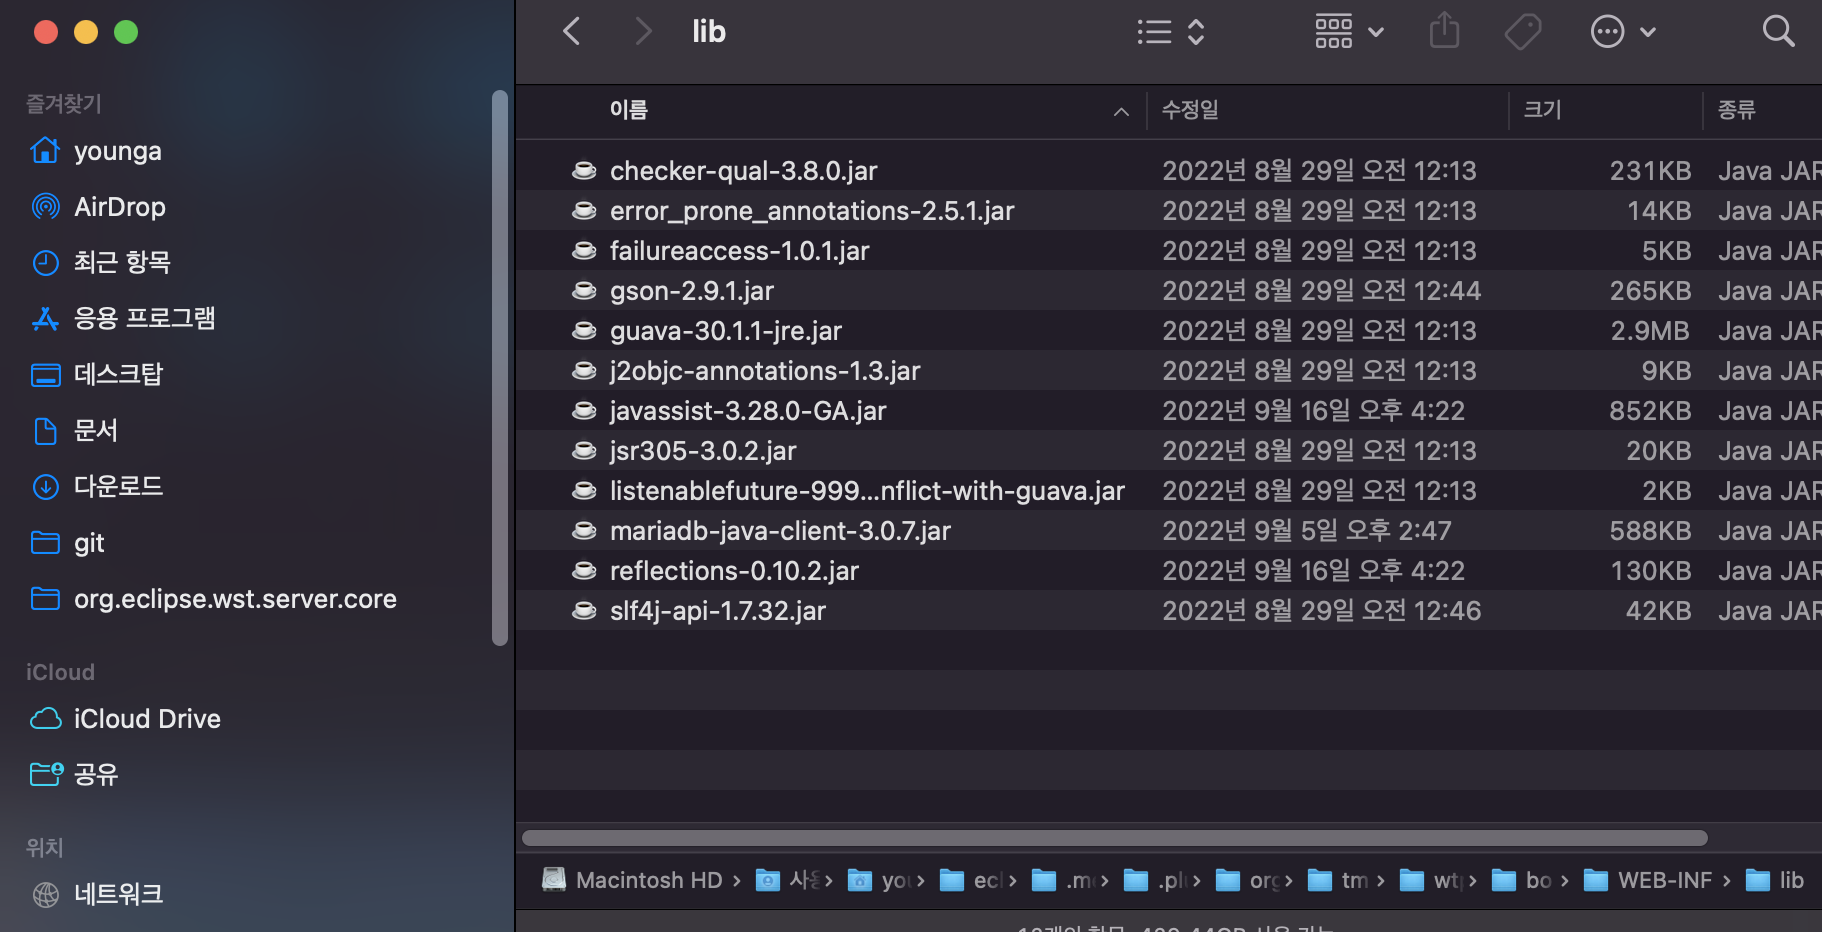
톰캣 서버에서 만든건 자바에서 만든 규칙에 따라 만들어야하기 때문에 변경할거얌~~