BACKEND
GridFSBucket TTL 로직 구현
MongoDB Document
A special TTL index property supports the implementation of TTL collections. The TTL feature relies on a background thread in mongod that reads the date-typed values in the index and removes expired documents from the collection.
코드를 효율적으로 구성하기 위해
const videoSchema = new mongoose.Schema({
  ...
    uploadDate: {
        type: Date,
        default: Date.now,
        required: false,
        // EXPIRE_AFTER_SECOND 환경변수 사용
        expires: process.env.EXPIRE_AFTER_SECOND,
    },
});
위와 같이 videoSchema의 uploadDate 필드를 구성
const conn = mongoose.connection;
const bucket = new mongoose.mongo.GridFSBucket(conn.db, {
	bucketName: 'videos'
});

const uploadStream = bucket.openUploadStream(file.originalname, {
	contentType: file.mimetype,
});

const readableStream = new Readable();
readableStream.push(file.buffer);
readableStream.push(null);

readableStream.pipe(uploadStream);
// uploadStream이 완료되면 videos.files와 videos.chunks가 생성된다
하지만 이는 GridFSBucket이 파일을 저장할 때 자동으로 생성되는 files, chunks 콜렉션에 있는 필드들에 expire 조건을 적용시켜줄 수 없음
MongoDB Indexing
이러한 문제를 각 collection에 접근하여 인덱스를 추가하여 해결할 수 있다
MongoDB Document
Indexes are special data structures that store a small portion of the collection's data set in an easy-to-traverse form. MongoDB indexes use a
B-tree data structure.
The index stores the value of a specific field or set of fields, ordered by the value of the field. The ordering of the index entries supports efficient equality matches and range-based query operations. In addition, MongoDB can return sorted results using the ordering in the index.
즉, DB의 검색을 빠르게 하기 위해서 데이터의 순서를 미리 정리해두는 과정
- 하나의 쿼리에 하나의 index만 유효함
- index는 어떤 데이터가 document에 추가되거나 수정되는 write 작업에서 해당 collection에 생성되어 있는 index도 새로운 document를 포함시켜서 수정함
uploadStream.on('finish', async (uploadedFile) => {
  conn.db.collection('videos.files').createIndex(
    { 'uploadDate': 1 },
    { expireAfterSeconds: process.env.EXPIRE_AFTER_SECOND }
  );
  ...
위와 같이 모든 uploadStream 완료 이후 createIndex를 설정한다면
MongoServerError: An existing index has the same name as the requested index.위와 같이 index conflict 에러가 발생하기 때문에
// indexInformation을 통해 index 유무 확인과 expiredAfterSeconds 추가
indexInfo = await conn.db.collection('videos.files').indexInformation();
	if (!indexInfo['uploadDate_1']) {
		await conn.db.collection('videos.files').createIndex(
				{ 'uploadDate': 1 },
				{ expireAfterSeconds: Number(process.env.EXPIRE_AFTER_SECOND) }
		);
}
위와 같이 indexInformation를 통해 미리 index 존재 여부를 확인한 후 createIndex를 통해 index를 생성하면 files에 TTL을 적용할 수 있다
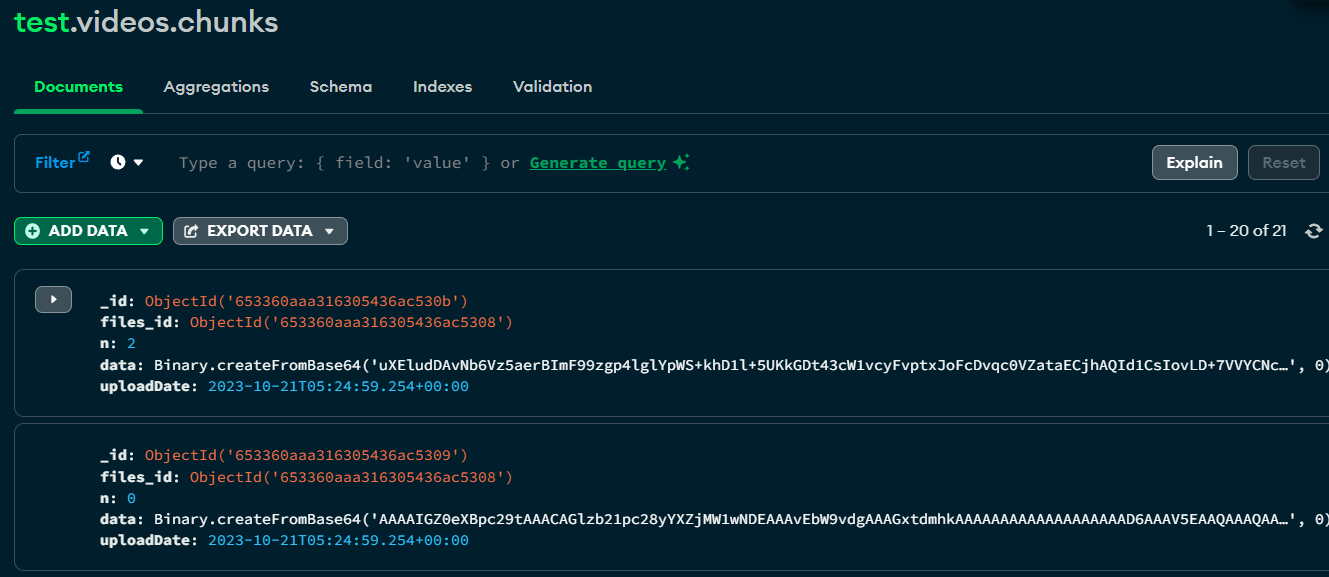
// videos.chunks에서 updateMany와 index 업데이트
conn.db.collection('videos.chunks').updateMany(
	{ files_id: uploadedFile._id },
	{
		$set: {
			uploadDate: new Date(),
		},
	}
);
추가로 videos.chunks의 경우 uploadDate 필드가 존재하지 않기 때문에 위와 같이 $set을 통해 update해준 이후 인덱싱을 진행하면 TTL을 구현할 수 있다.
FRONTEND
AXIOS POST 구성
function generateRandomString(length: number): string {
    const charset = "0123456789abcdefghijklmnopqrstuvwxyzABCDEFGHIJKLMNOPQRSTUVWXYZ";
    let result = '';
    for (let i = 0; i < length; i++) {
      const randomIndex = Math.floor(Math.random() * charset.length);
      result += charset[randomIndex];
    }
    return result;
  }
Frontend의 동영상 처리 (filename) 설정을 위해 랜덤 토큰 생성 함수 구현
...
const videoName = generateRandomString(10) + "_"
+ workoutType + "_" + currentWorkoutSetRef.current + ".mp4";
const newVideoFile = new File(
[blob],
videoName,
{ type: 'video/mp4' }
);
//form-data body
const formData = new FormData();
formData.append("file", newVideoFile);
formData.append("workout", workoutType);
formData.append("set", currentWorkoutSetRef.current.toString());
formData.append("userToken", "TEST_TOKEN");
const transport = axios.create();
transport
.post(process.env.NEXT_PUBLIC_LOCAL_HOST + "/video/upload", formData, {
headers: {
"Content-Type": "multipart/form-data",
},
timeout: 0
})
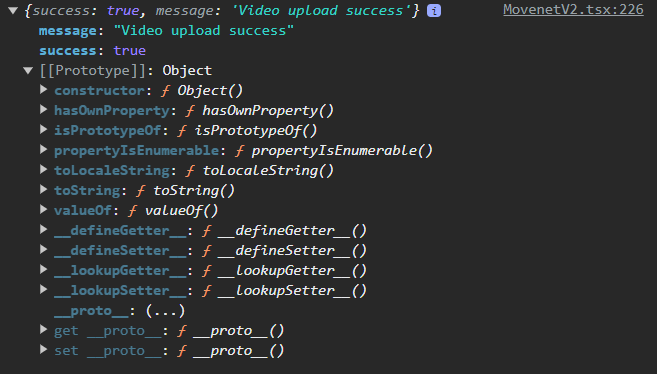
.then(res => {
console.log(res.data);
})
.catch(error => {
console.log(error);
});API에 맞게 formData의 body를 구성하고 axios로 post하는 로직 구현
CORS 오류 해결
axios를 사용해서 백엔드에 요청을 수행할 경우 아래와 같은 오류가 발생

이는 CORS 및 Credential 관련 오류로 CORS 설정과
const corsOptions = {
	origin: "http://localhost:3000",
	credentials: true,
};
app.use(cors(corsOptions));
axios create를 변경하여 해결할 수 있음
const transport = axios.create();

transport
  .post(process.env.NEXT_PUBLIC_LOCAL_HOST + "/video/upload", {
    headers: {
        "Content-Type": "multipart/form-data",
    },
...
백엔드에 정상적으로 데이터가 전달되고 데이터베이스에 들어가는 것을 볼 수 있음