💖 구글 소셜 로그인 설정
Google 웹 서버 애플리케이션용 OAuth 2.0 사용

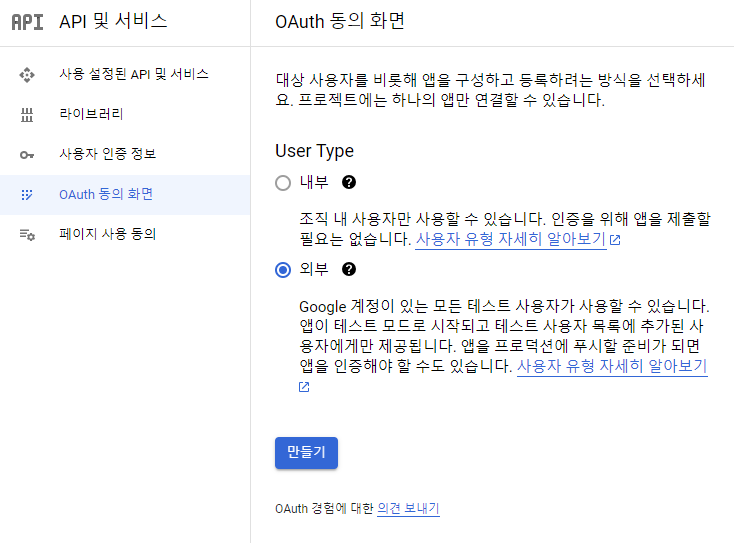
1. 프로젝트 생성
- 'OAuth 동의 화면'에 접속 -> 프로젝트 만들기

- 외부 선택 후 만들기
2. 앱 정보 입력 후 저장
필수 데이터만 입력, 도메인 및 홈페이지 정보는 해당 단계에서 작성하지 않아도 된다

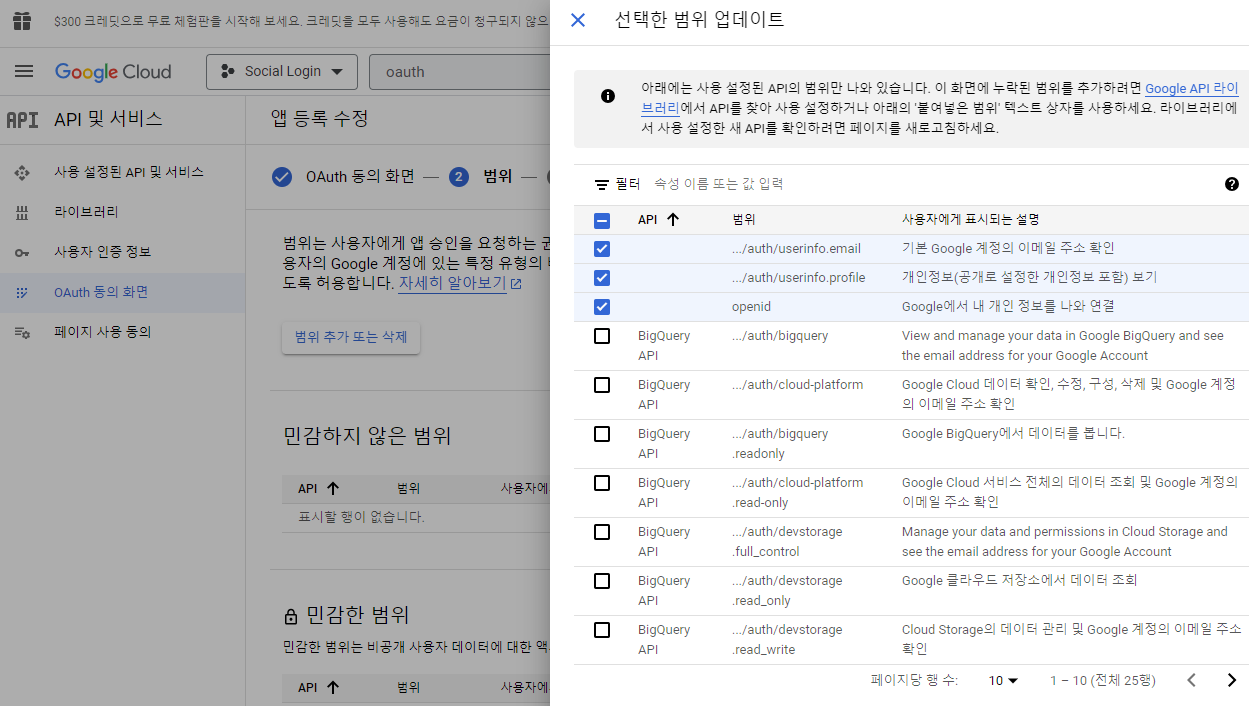
3. 범위 추가 또는 삭제
최상단 3개 항목 선택 후 저장
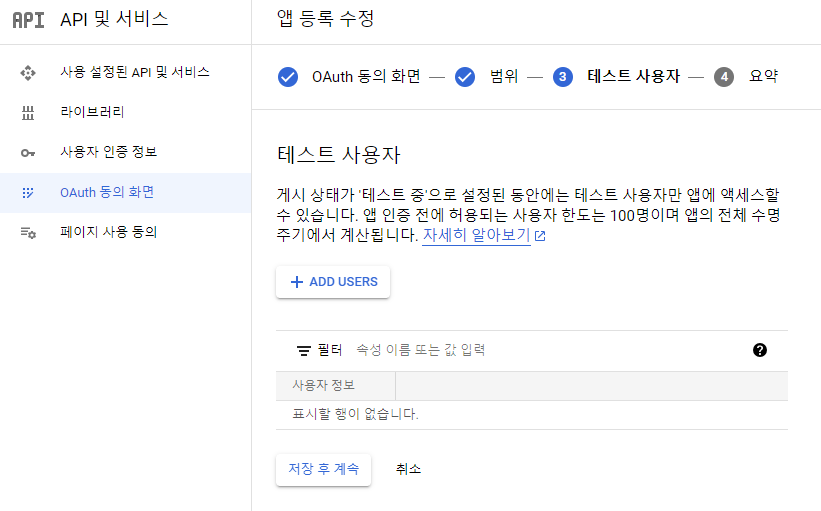
4. 로그인 테스트를 위한 계정 추가
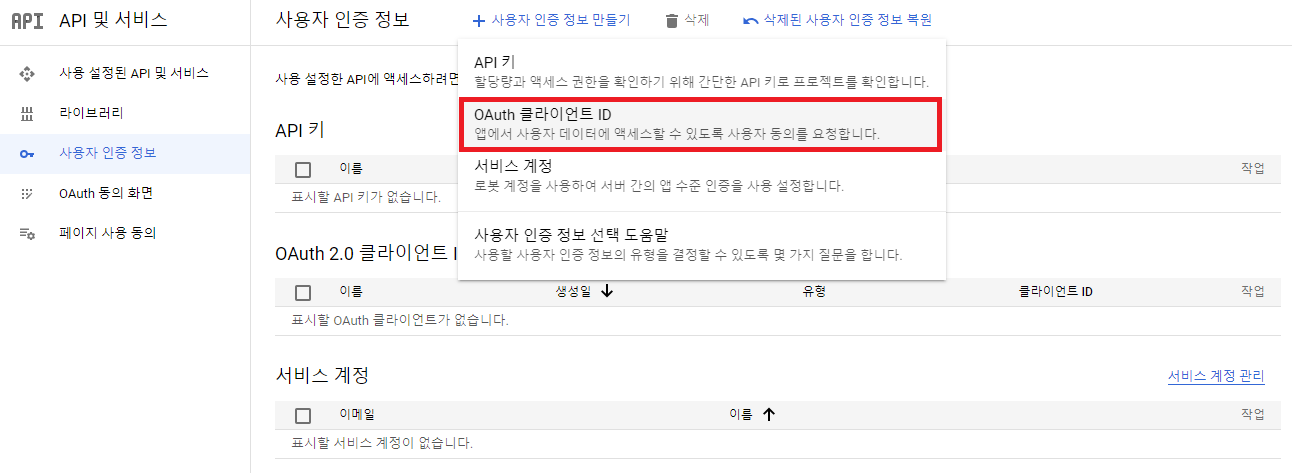
5. 사용자 인증정보
OAuth 클라이언트 ID 생성
필수 정보 입력
- 애플리케이션 유형 : 웹 애플리케이션
- 이름 : 애플리케이션 이름
- 승인된 자바스크립트 원본 : 구글 로그인을 사용할 홈페이지 주소
- 승인된 리디렉션 URI : 구글 로그인 후 Redirect할 주소
💖 구글 소셜 로그인 구현
- 카카오 소셜 로그인을 구현한 방식과 동일
- 기존에 작성했던 카카오 소셜 로그인 코드에서 type이 google일 경우를 추가했다
1. 인가코드 받기
public socialConnection = async (type: string) => {
  try {
    let authorizationUrl: string | undefined;

    if (type === "kakao") {
      authorizationUrl = `https://kauth.kakao.com/oauth/authorize?client_id=${KAKAO_REST_API_KEY}&redirect_uri=${KAKAO_REDIRECT_URI}&response_type=code`;
    } else if (type === "google") {
      authorizationUrl = `https://accounts.google.com/o/oauth2/v2/auth?client_id=${GOOGLE_CLIENT_ID}&redirect_uri=${GOOGLE_REDIRECT_URI}&response_type=code&scope=email profile`;
    }

    return authorizationUrl;
  } catch (err) {
    console.log(err);
    throw new InternalServerError(`${type}-login : 연결 실패`);
  }
};
2. 인가코드를 이용하여 토큰 발급
public getAccessToken = async (code: string, type: string) => {
  try {
    let requestUrl = "";
    let data: any;

    if (type === "kakao") {
      requestUrl = "https://kauth.kakao.com/oauth/token";

      data = {
        grant_type: "authorization_code",
        client_id: KAKAO_REST_API_KEY,
        redirect_uri: KAKAO_REDIRECT_URI,
        code: code,
      }
    } else if (type === "google") {
      requestUrl = "https://oauth2.googleapis.com/token";

      data = {
        grant_type: "authorization_code",
        client_id: GOOGLE_CLIENT_ID,
        client_secret: GOOGLE_CLIENT_SECRET,
        redirect_uri: GOOGLE_REDIRECT_URI,
        code: code,
      };
    }

    // 2-1. 엑세스 토큰 발급
    const response = await axios.post(reqestUrl, data, {
      headers: {
        "Content-Type": "application/x-www-form-urlencoded",
      },
    });

    const ACCESS_TOKEN = response.data.access_token;

    // 2-2. 카카오 로그인인 경우, 이메일 정보가 없을 시 회원가입 불가
    if (
      type === "kakao" &&
      (!response.data.scope || !response.data.scope.includes("account_email"))
    ) {
      return;
    }

    return ACCESS_TOKEN;
  } catch (err) {
    console.log(err);
    throw new InternalServerError(`${type}-login : 토큰 발급 실패`);
  }
};
3. 사용자 정보 취득
public getUserInfo = async (token: string, type: string) => {
  try {
    // 3-1. 토큰을 이용하여 소셜 회원 정보 취득 후
    let requestUrl = "";
    let userData: any;

    if (type === "kakao") requestUrl = "https://kapi.kakao.com/v2/user/me";
    else if (type === "google")
      requestUrl = "https://www.googleapis.com/userinfo/v2/me";

    const res = await axios.get(requestUrl, {
      headers: {
        Authorization: `Bearer ${token}`,
      },
    });

    if (type === "kakao" && res.data) {
      const account = res.data.kakao_account;
      userData = {
        social_id: res.data.id,
        nickname: account.profile.nickname,
        email: account.email,
        type: type,
      };
    } else if (type === "google" && res.data) {
      const account = res.data;
      userData = {
        social_id: account.id,
        nickname: account.name,
        email: account.email,
        type: type,
      };
    }

    // 3-2. 가입여부 확인
    const existingUser = await User.findOne({
      where: { email: userData.email },
    });

    // 3-3. 가입되지 않은 사용자일 경우, 회원가입
    if (existingUser === null) await this.addUser(userData);

    // 3-4. 회원 조회하여 id, nickname 취즉
    const user = await User.findOne({
      where: {
        email: userData.email,
        social_id: userData.social_id,
      },
    });

    const userInfo = {
      id: user?.id,
      nickname: user?.nickname,
      type: type,
    };
    return userInfo;
  } catch (err) {
    throw new InternalServerError(`${type}-login : 사용자 정보 취득 실패`);
  }
};
4. 서비스 전용 토큰 발급
이전 포스팅과 같으므로 생략

🦋개발 공부 기록🦋