
지난 포스팅에서
LinkPresentation으로 URL 미리보기 뷰를 커스텀해보았는데, 궁금하신 분들은 지난 포스팅 먼저 보고 오세요
지난 포스팅 : [iOS] URL 미리보기뷰 커스텀 - LinkPresentation #2
디자인 아이디어
아이폰 홈화면처럼 4열 6행 (아이폰 12 기준)으로 보여지고, 그 이상이면 좌우 스와이프로 넘어가도록 만들고 싶다
우선, 이번 포스팅에서는 4열 6행으로 보여지는 것까지 다뤄보겠다
웹에서는 Grid인데,,,
웹에서는 display: grid; 쓰면 뚝딱 만들 수 있는 아주 간단한 레이아웃이다
swiftUI에서도 과연 뚝딱 만들 수 있을지?
사실 지난 팀 프로젝트 때 2열로 보여지는 컴포넌트를 디자인했어서, LazyVGrid를 사용하면 된다는 걸 알고있다
오랜만에 사용해보려니 어떻게 했었는지 기억이 가물가물해서 기록해두려고 한다
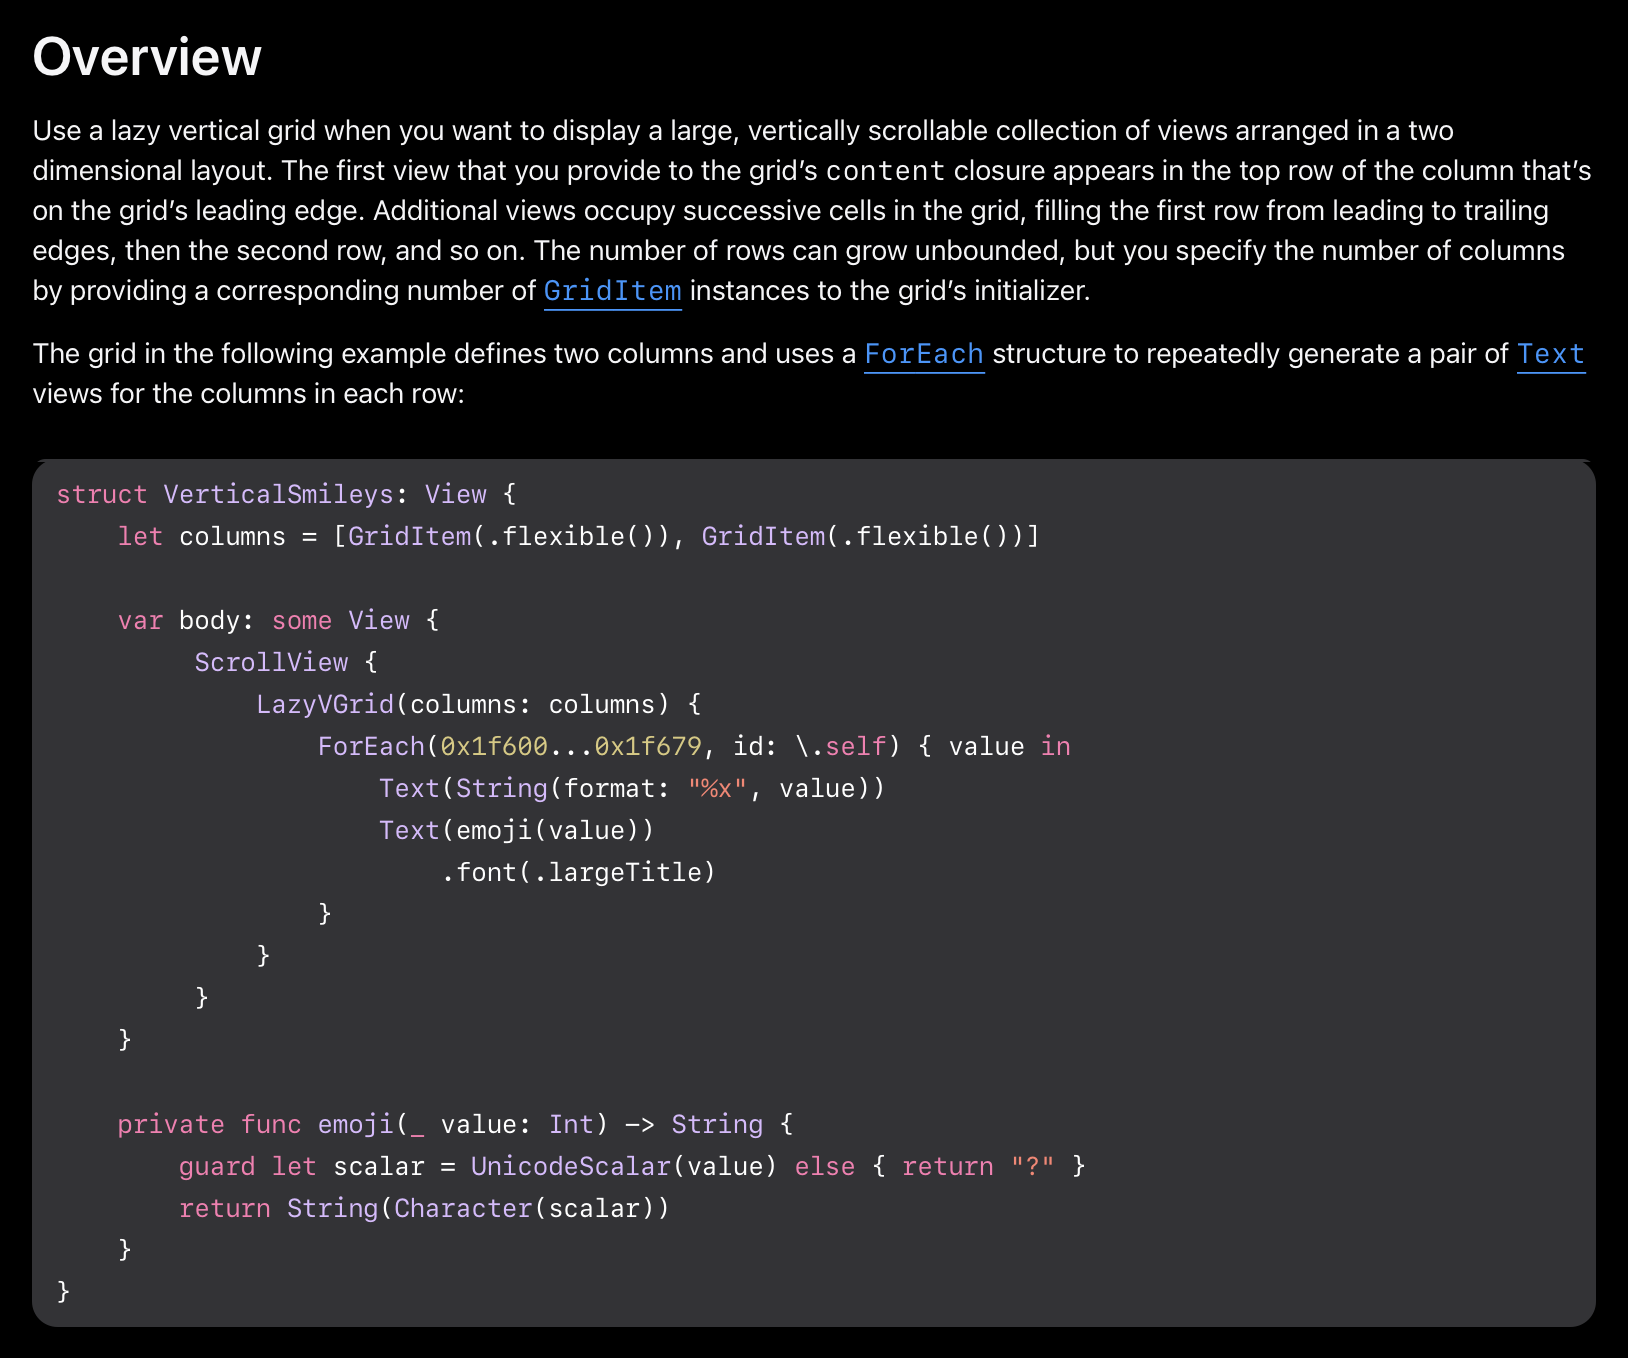
애플 공식문서를 보면, 대충 이렇게 쓰라고 한다
코드에 적용해보자
struct URLPreviewView: View {

    let columns = [GridItem(.flexible()), GridItem(.flexible())]

    let links: [StringLink] = [
        StringLink(id: UUID(), string: "https://www.apple.com"),
        StringLink(id: UUID(), string: "https://naver.com"),
        StringLink(id: UUID(), string: "https://velog.io"),
        StringLink(id: UUID(), string: "https://github.com")
    ]

    var body: some View {

        ScrollView {
            LazyVGrid(columns: columns) {
                ForEach(links, id: \.self) { l in
                    URLPreviewRow(viewModel: PreviewViewModel(l.string))
                }
            }
        }
    }
}
추가로, ForEach에 활용하려면 객체가 Hashable이어야 하므로, StringLink에 Hashable을 추가한다
struct StringLink: Identifiable, Hashable { // Hashable 추가
var id = UUID()
var string: String
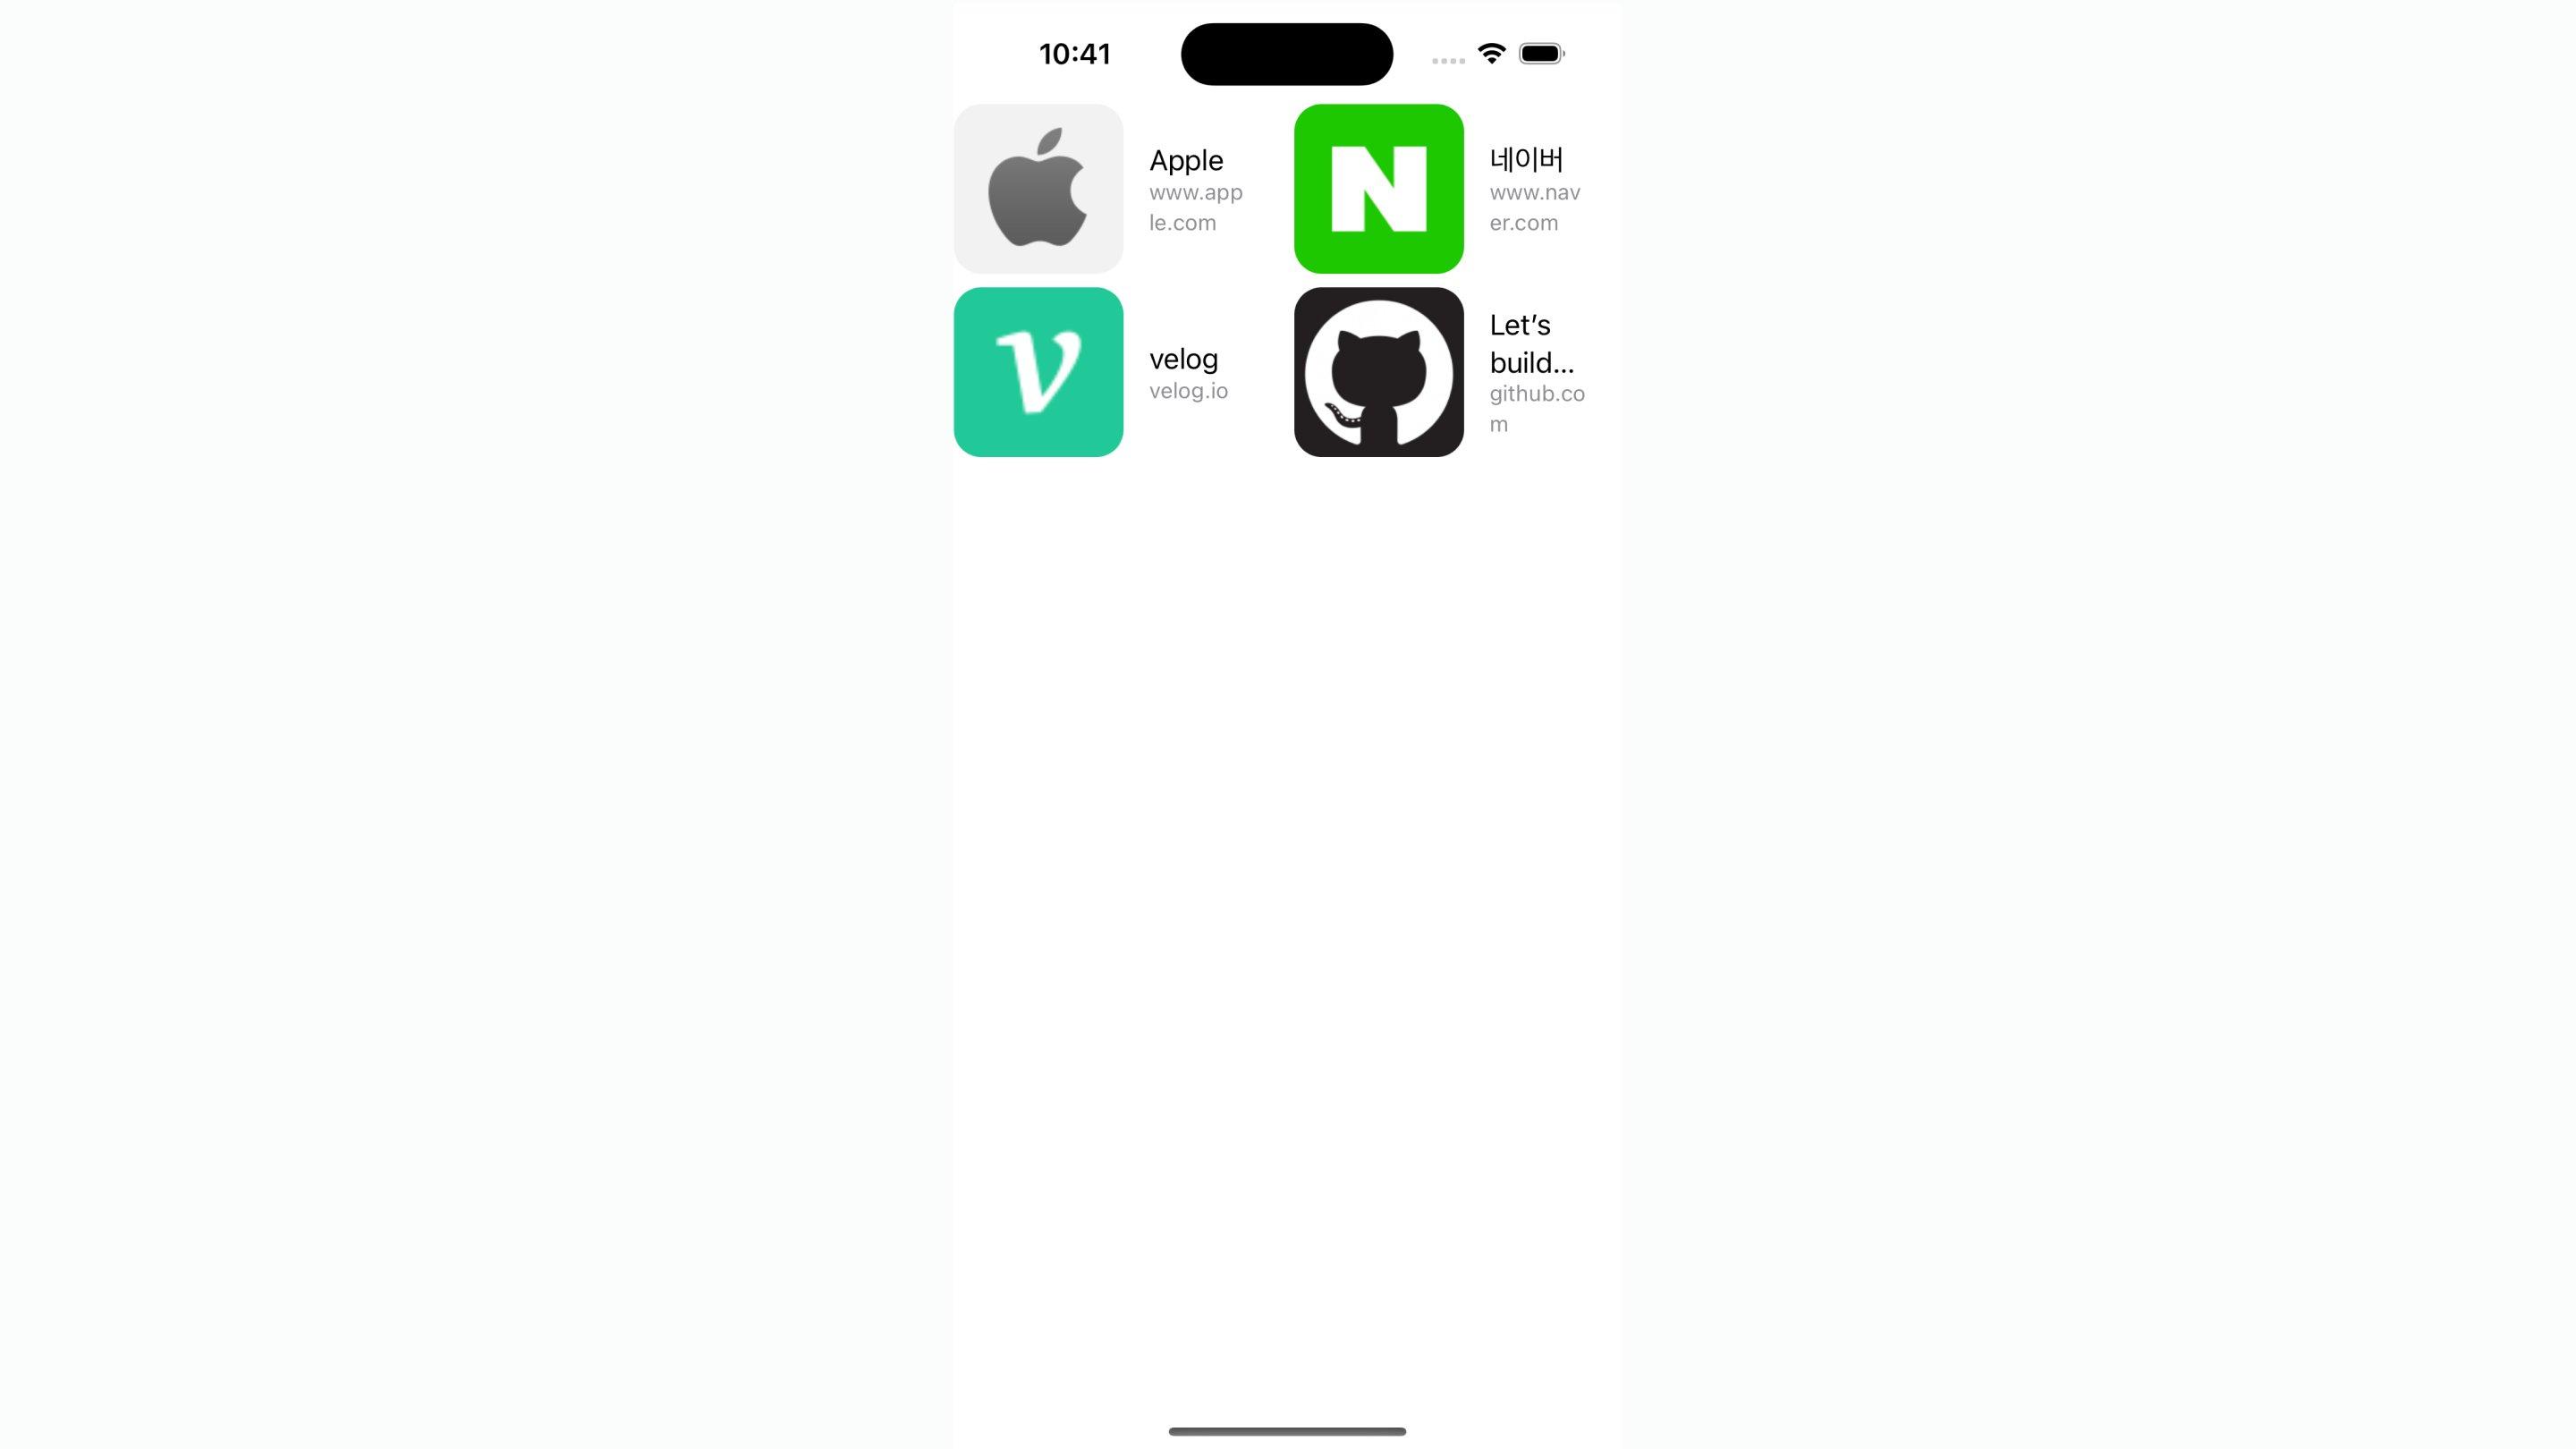
}그러면 다음과 같이 2열로 표시된다
Row 디자인을 조금 변경하고, 4열로 바꾸기만 하면 될 것 같다
디자인하기
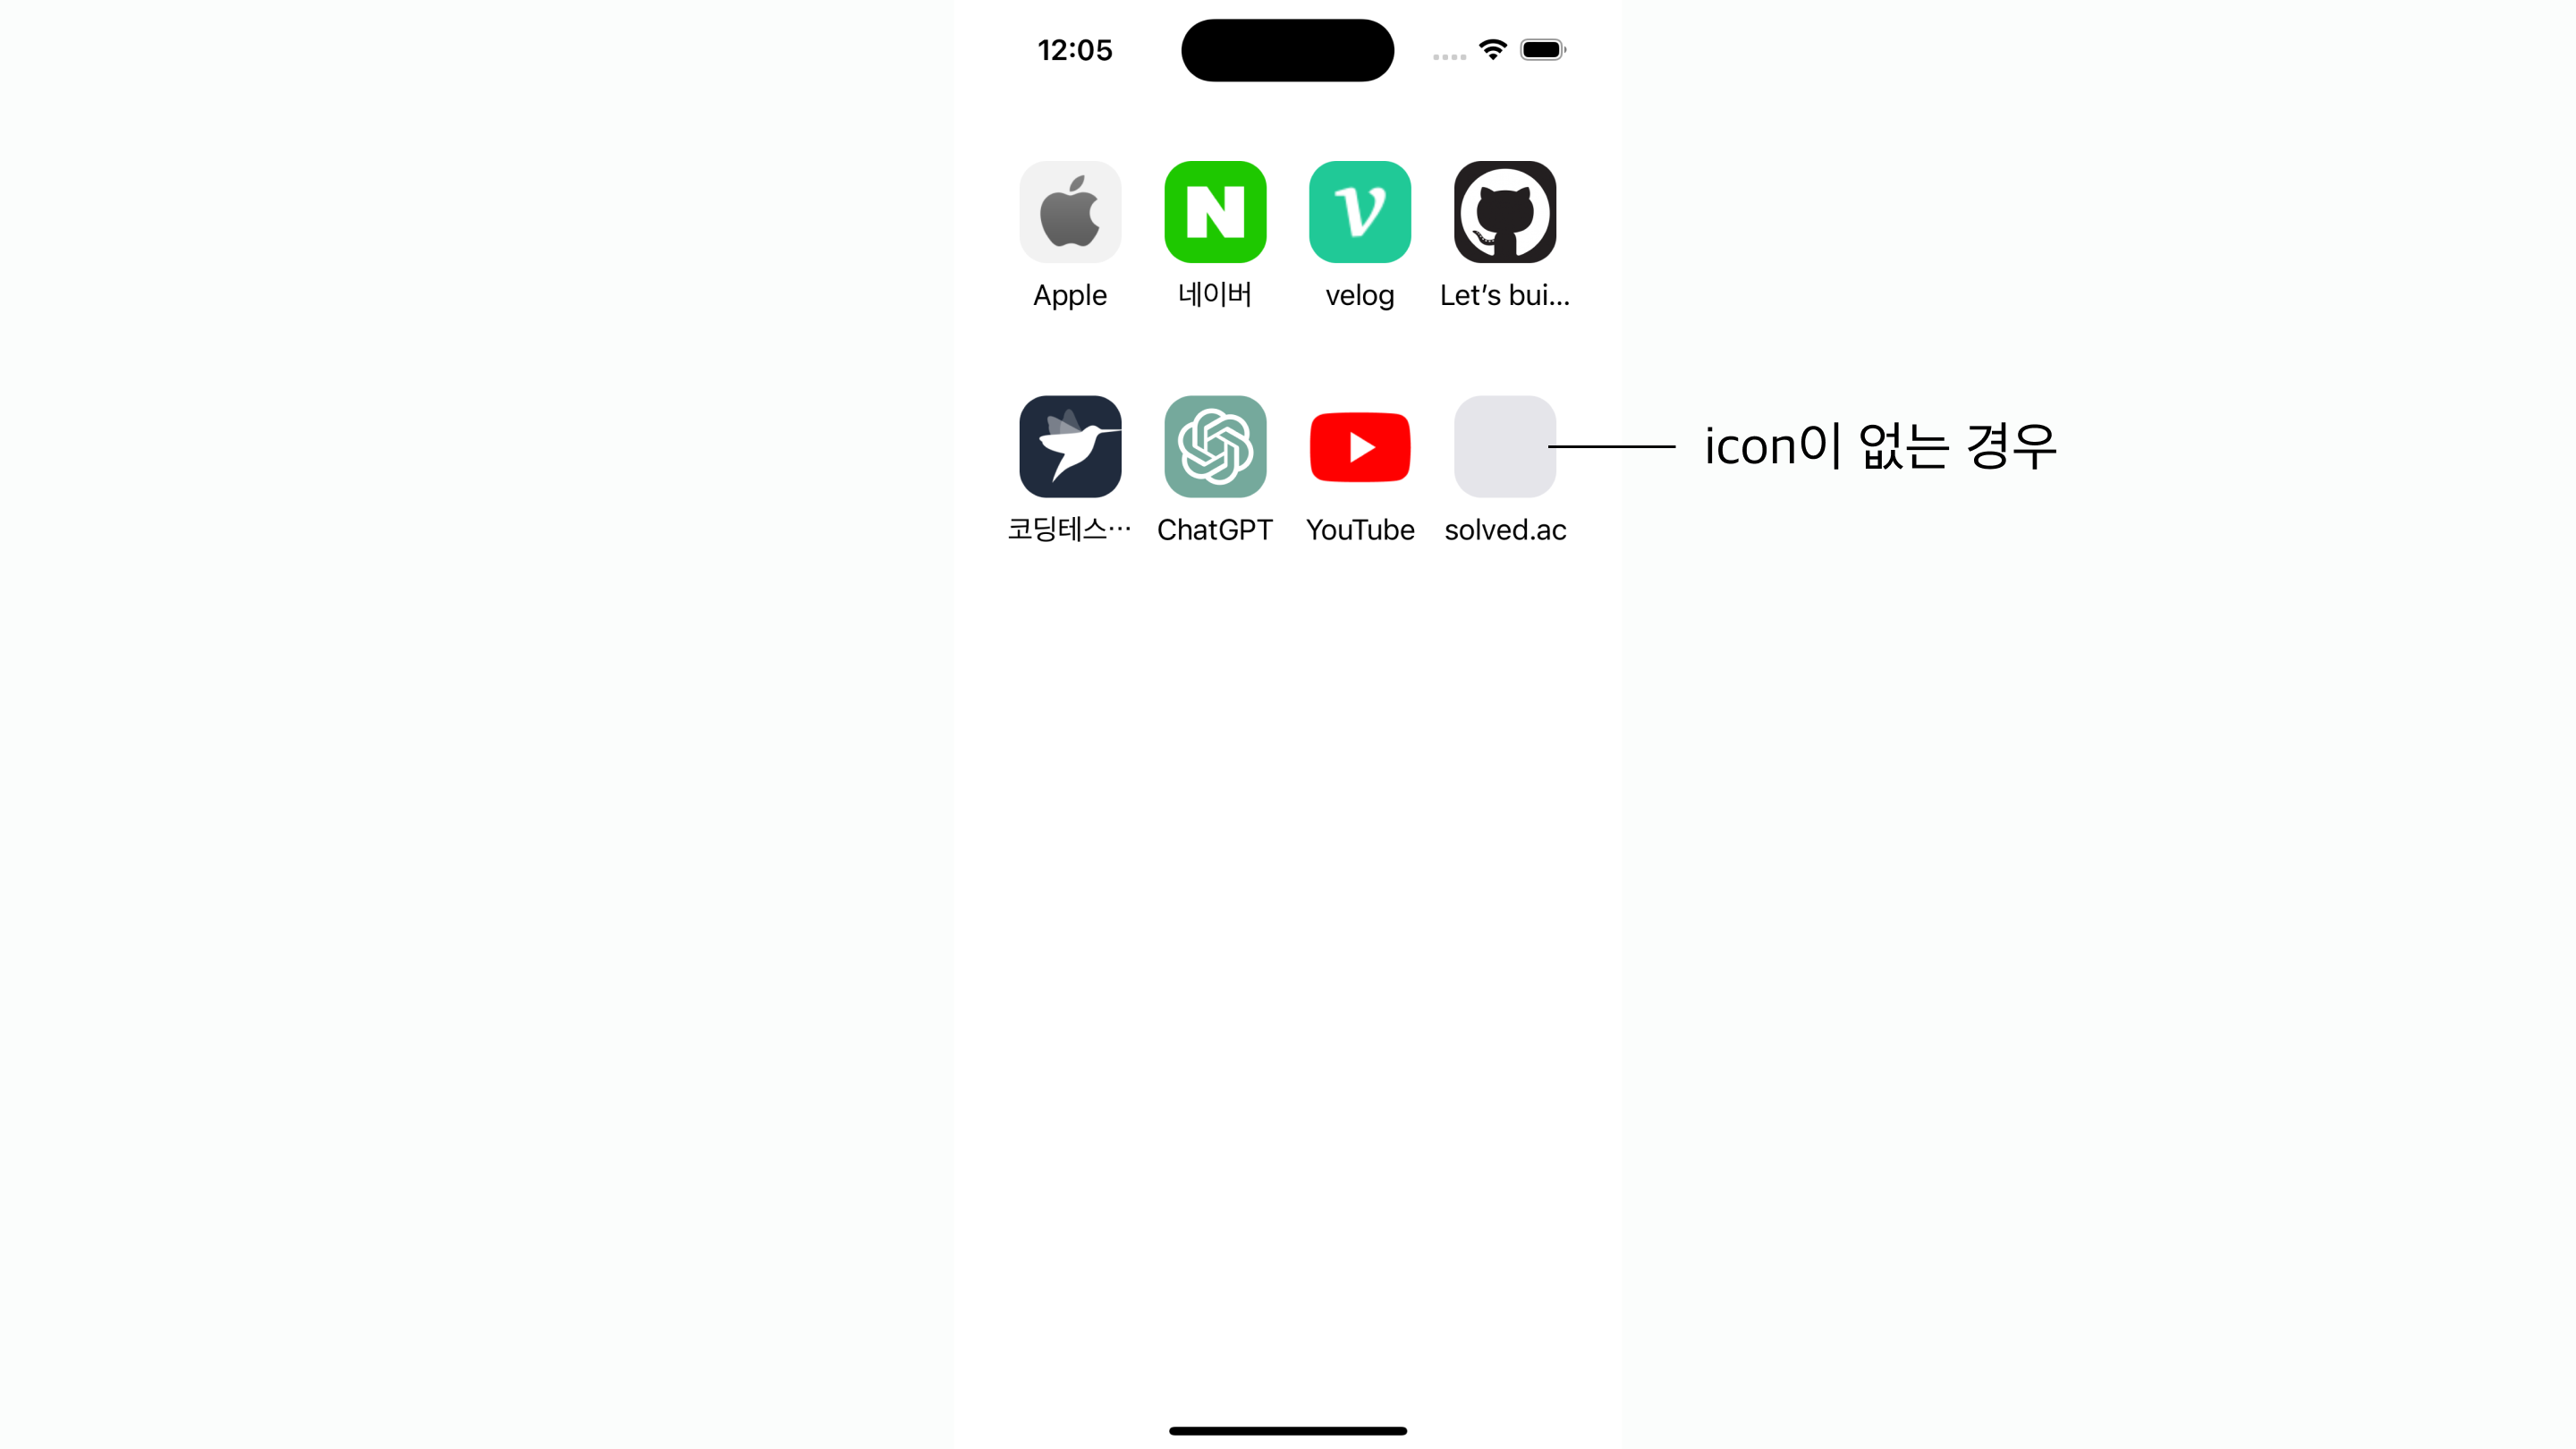
조금 만져주면, 아래와 같이 깔끔하게 된다
메타데이터에 icon이 없는 경우도 있는 것 같아, else 구문으로 처리해줬다
struct URLPreviewView: View {

    let columns = [GridItem(.flexible()), GridItem(.flexible()), GridItem(.flexible()), GridItem(.flexible())]

    let links: [StringLink] = [
        StringLink(id: UUID(), string: "https://www.apple.com"),
        // 생략
    ]

    var body: some View {
        ScrollView {
            LazyVGrid(columns: columns) {
                ForEach(links, id: \.self) { l in
                    URLPreviewGridRow(viewModel: PreviewViewModel(l.string))
                }
                .padding(.bottom, 30)
            }
            .padding(30)
        }

    }
}

struct URLPreviewGridRow: View {

    @ObservedObject var viewModel: PreviewViewModel

    var body: some View {

        VStack {

            if let icon = viewModel.icon {
                Image(uiImage: icon)
                    .resizable()
                    .aspectRatio(contentMode: .fill)
                    .frame(maxWidth: 60, maxHeight: 60)
                    .clipped()
                    .cornerRadius(16)
            } else {
                Rectangle()
                    .frame(width: 60, height: 60)
                    .clipped()
                    .foregroundColor(Color(.systemGray5))
                    .cornerRadius(16)
            }

            VStack(alignment: .leading, spacing: 1, content: {
                if let title = viewModel.title {
                    Text(title)
                        .font(.body)
                        .foregroundColor(.black)
                }
            })
            .frame(maxWidth: .infinity, alignment: .center)
        }
        .frame(maxWidth: .infinity)
        .frame(height: 100, alignment: .leading)
    }
}
참고
여기서 4열을 만들 때, 위에는 이렇게 나열식으로 작성했는데
let columns = [GridItem(.flexible()), GridItem(.flexible()), GridItem(.flexible()), GridItem(.flexible())]↓ 아래처럼 바꿔서 쓸수도 있다
let columns: [GridItem] = Array(repeating: GridItem(.flexible()), count: 4)열이 많아지면, 이 방법이 더 깔끔할 듯 하다
마치며.
아직도 멀었다,,,

디자인하는 개발자