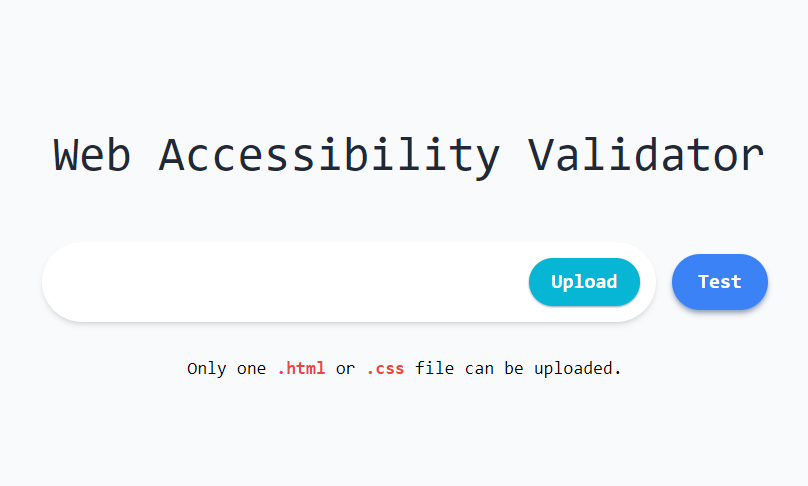
> html 주석
지금까진 태그와 텍스트로만 구분하였다. 그러다 보니 주석 또한 텍스트로 인식하는 일이 일어났다. 이 경우 어떤 문제가 있냐면, 텍스트는 XSS 검사를 하고 있는데 태그를 주석 처리한 경우 해당 주석이 텍스트로 인식되며 XSS 검사에 걸리는 것이었다. 이를 방지하고자 그냥 주석 또한 추가해 주었다.
const _covertChildNodeToHtmlNode = (childNode: ChildNode): CustomElement | CustomText | CustomProcessingInstruction | CustomComment => {
      // Tag
      if (isTag(childNode)) {
        const element: CustomElement = {
          type: 'Element',
          name: childNode.name,
          attribs: childNode.attribs,
        }
        if (childNode.children !== undefined && childNode.children.length > 0) {
          element.children = covertChildNodeToHtmlNode(childNode.children);
        }
        return element;
      }
      // ProcessingInstruction
      if (isDirective(childNode)) {
        const processingInstruction: CustomProcessingInstruction = {
          type: 'ProcessingInstruction',
          name: '!doctype',
          data: '!DOCTYPE html',
        }
        return processingInstruction;
      }
      // Comment
      if (isComment(childNode)) {
        const comment: CustomComment = {
          type: 'Comment',
          data: childNode.data,
          comment: true,
        }
        return comment;
      }
      // Text
      const text: CustomText = {
        type: 'Text',
        data: (childNode as Text).data,
      }
      return text;
    }
const CommentNode = ({ data, tabStack }: { data: string, tabStack: number }) => {
const MyTab = <span>{'\u00A0\u00A0'.repeat(tabStack - 1)}</span>;
return (
<>
{MyTab}
<span
className='text-green-600'
>
<-- {data} -->
</span>
<br/>
</>
);
}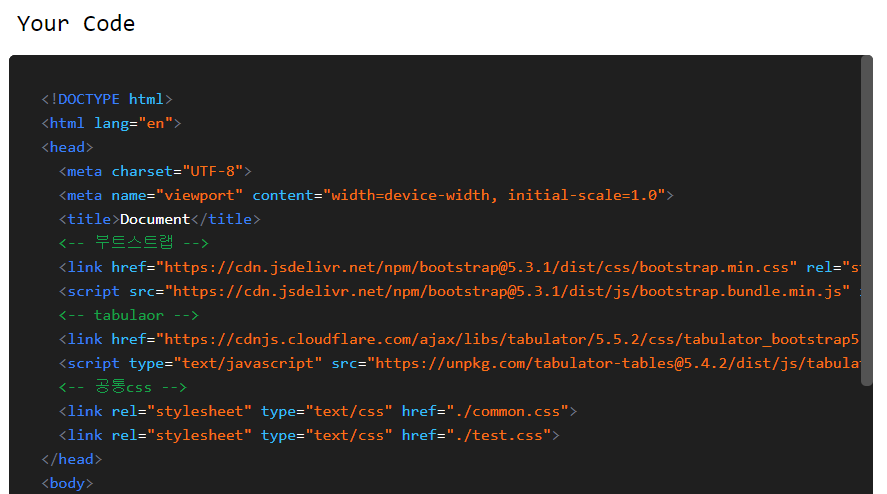
결과물은 이러하다. vscode 화면을 캡쳐한 것이 아니라 직접 구현한 하이라이터를 캡쳐한 것이다.
> 헤더, 모달
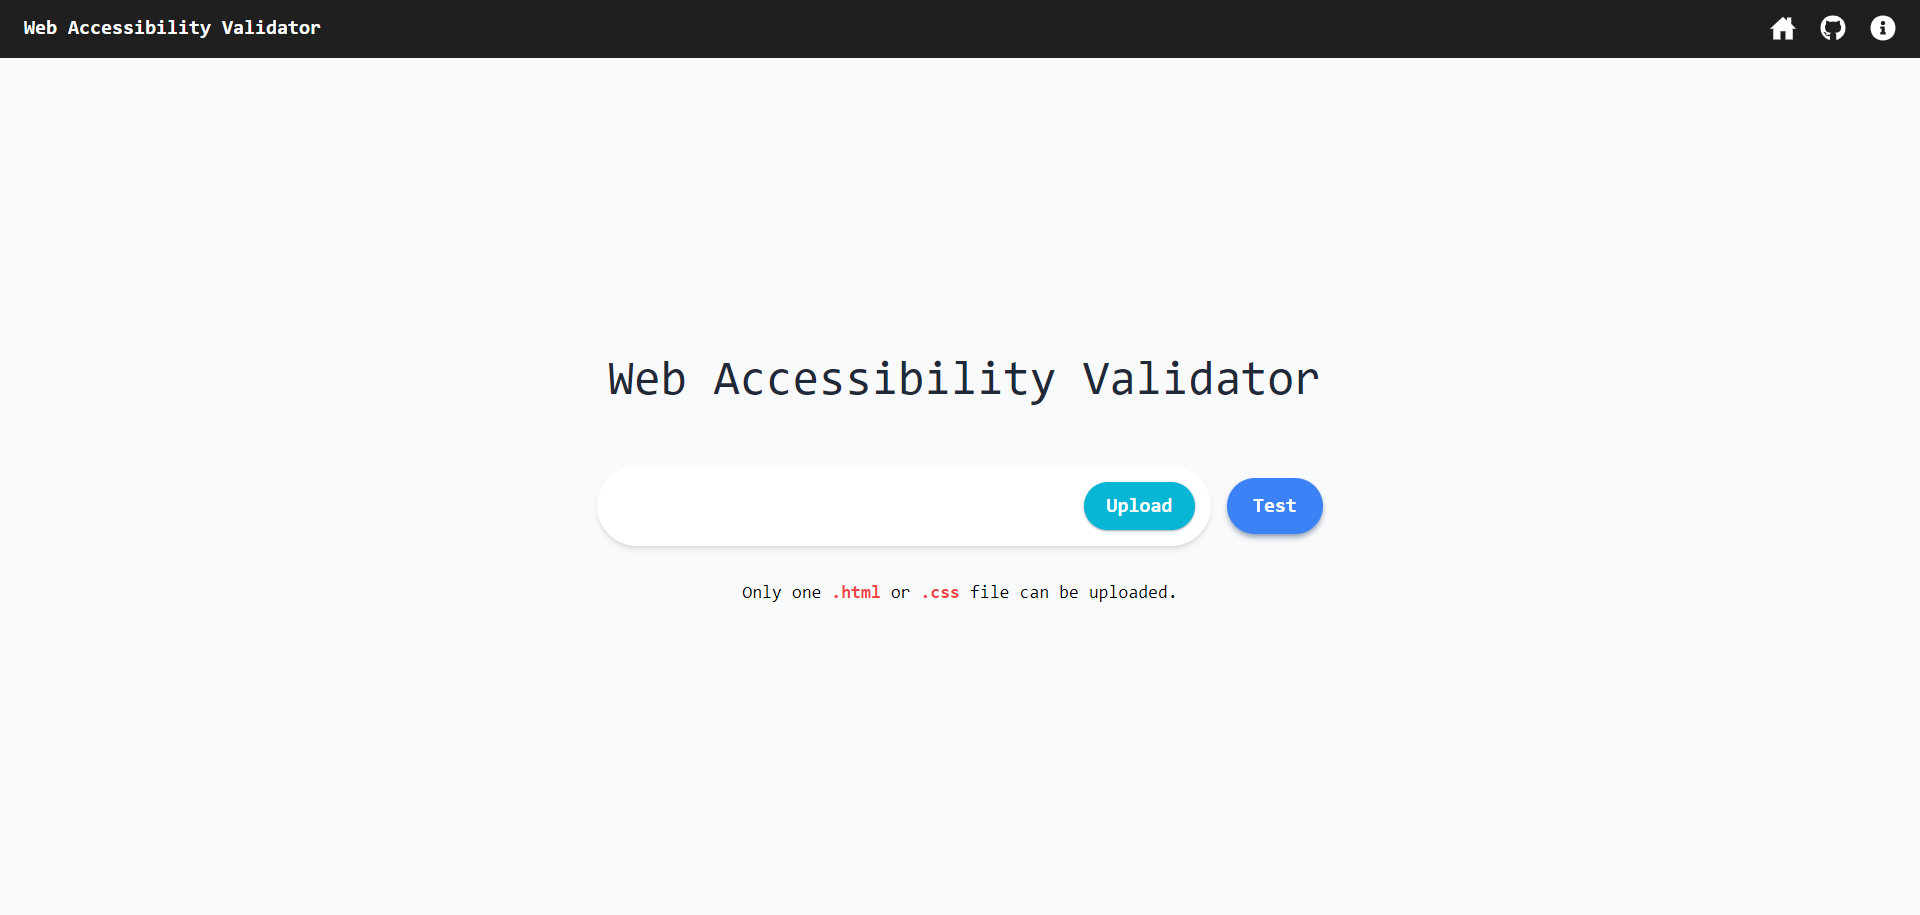
그 다음은 헤더를 약간 수정하였다. About을 git 아이콘으로 변경하였고 사이트에 대한 간단한 정보를 출력하는 아이콘 또한 추가하였다.
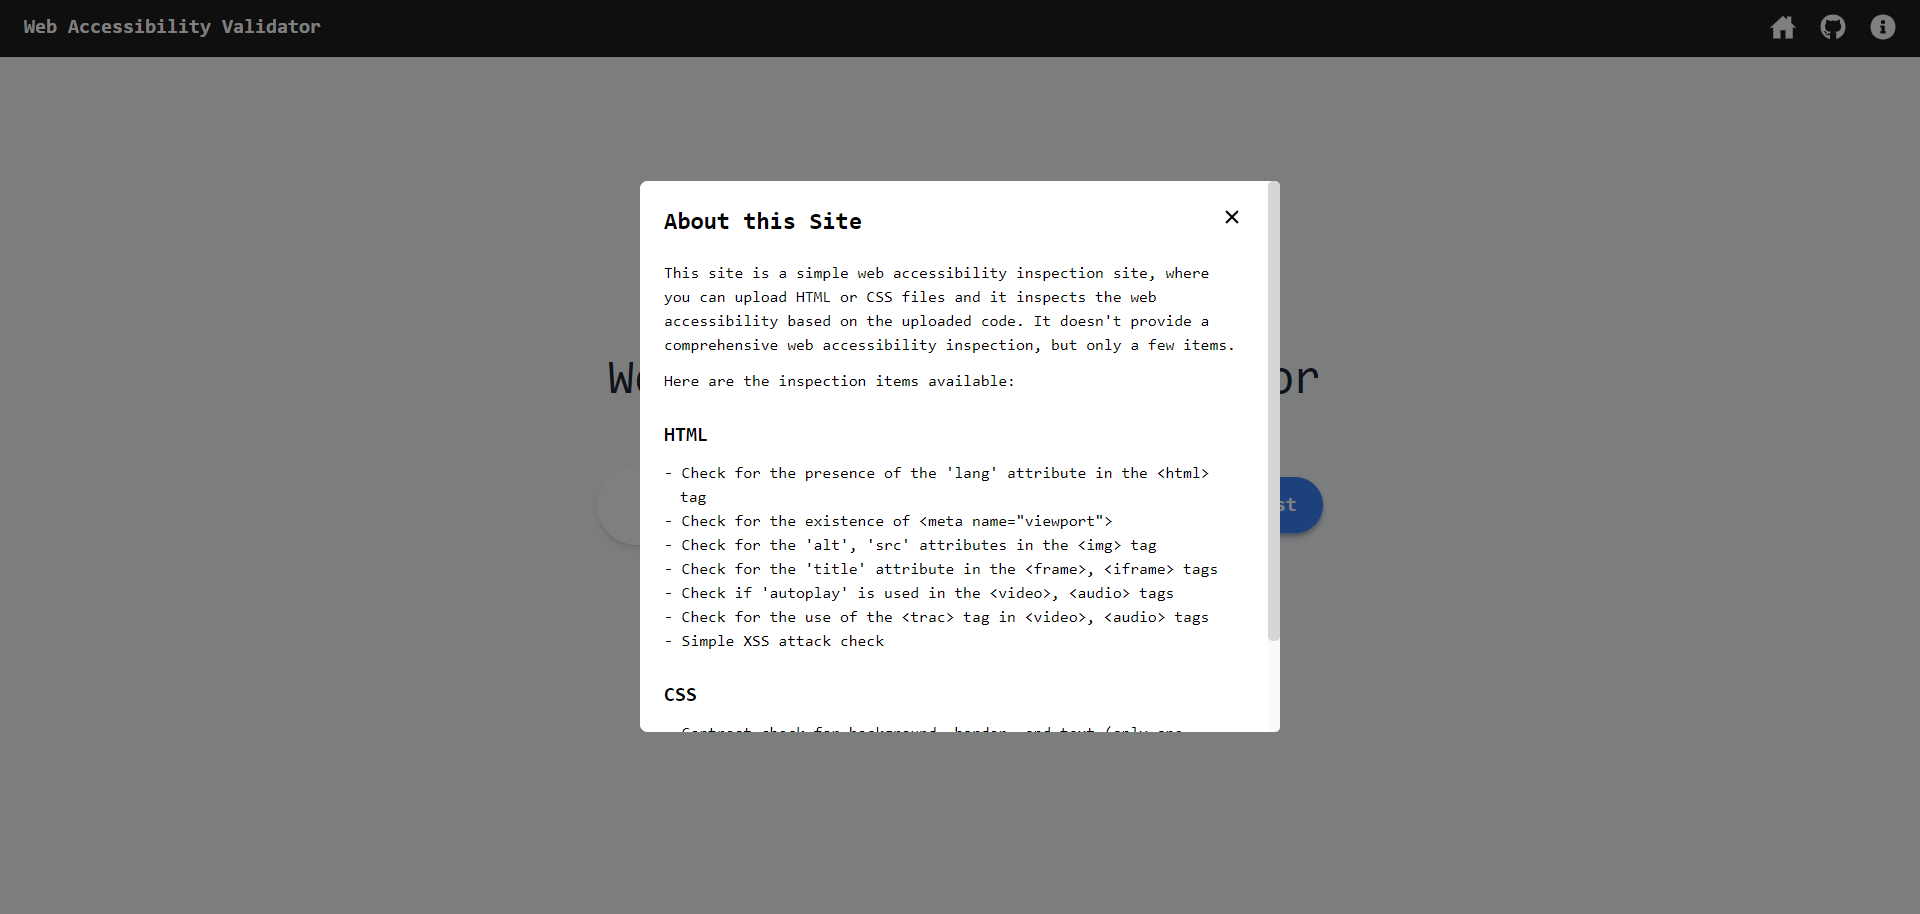
모달은 정말 간단하게 만들어서 사실 조금 부끄럽기도 한데 나름 감성있는 것 같기도 하다.
> 끝
이제 배포만 남았다. 배포는 따로 aws 강의를 듣고 진행할 예정이다. aws로 프로젝트를 올려 본 경험은 있지만 제대로 학습 후 진행해 보고 싶다. aws는 아니지만 실무에서 경험해 본 ci/cd 경험을 바탕으로 학습하면 처음 aws를 사용할 때보다 더 넓은 시야를 가질 수 있을 것 같다.

행복하세요.