jscode 3-2~3-8정보 가져오기.event.listen
강의 3-2)
<JavaScript에서 HTML element를 가져오고 검색하는 방법>
!!!!getElementById
getElementsByClassName >array를 줌.
getElementsByTagName >array를 줌.
html에서
!!!!!!!!queryselector 사용. css 방식으로 html 요소 불러오기
const title=document.querySelector(".hello h1); >class선택자
const title=document.querySelector(".hello h1:first-child);
const title=document.querySelector(".hello: first-child h1);
const title=document.querySelector("#hello); >id선택자
=== document.getElementById("hello");
console.log(title);
querySelector
- 단 하나의 element를 return 해줌, (단, 첫번째 것만)
- 찾고 싶은 선택자 하위의 요소들을 가져올 수 있음. (getElementById로는 할 수 없음.)
(ex/ hello라는 클래스 내부에 있는 h1이라는 요소)
!!querySelectorAll. 조건에 부합하는 모든 element를 return해줌
강의 3-3) listen event ㅠㅠㅠㅠ
document는 HTML이 app.js를 load하기 때문에 존재함.
element의 내부를 보고 싶으면, console.dir(title);
입력을 끝내거나, 이름을 적거나, enter를 누르는 것>click event
정리//
html에서 정보를 가져오고, 변경할 수 있다. title의 색깔을 가져올 수 있고, 변경할 수 있다.
event를 listen(반응?)하는 방법 배움.
click event(when user 가 클릭하면)
(); >실행하는 거
event: click,무언가 입력,엔터를 누르거나 등등등
강의 3-4)
/////element의 내부를 보고 싶으면, console.dir(title);
on이 붙여져 있는거. 사용가능한 event 찾기
강의 3-5)event listen 하는 방법
addEventListener();
oneventname property에 event listener 할당하기.
!!!!title.addEventListener("click", handleTitleClick);
title.onclick=handleTitleClick;
funtion handleWindowResize () {
document.body.style.backgroundColor="tomato";
};
window.addEventListener("resize", handleWindowResize);
window.addEventListener("offline", handleWindowOffline);
결론: 타깃. addEventListener("기능",function object);
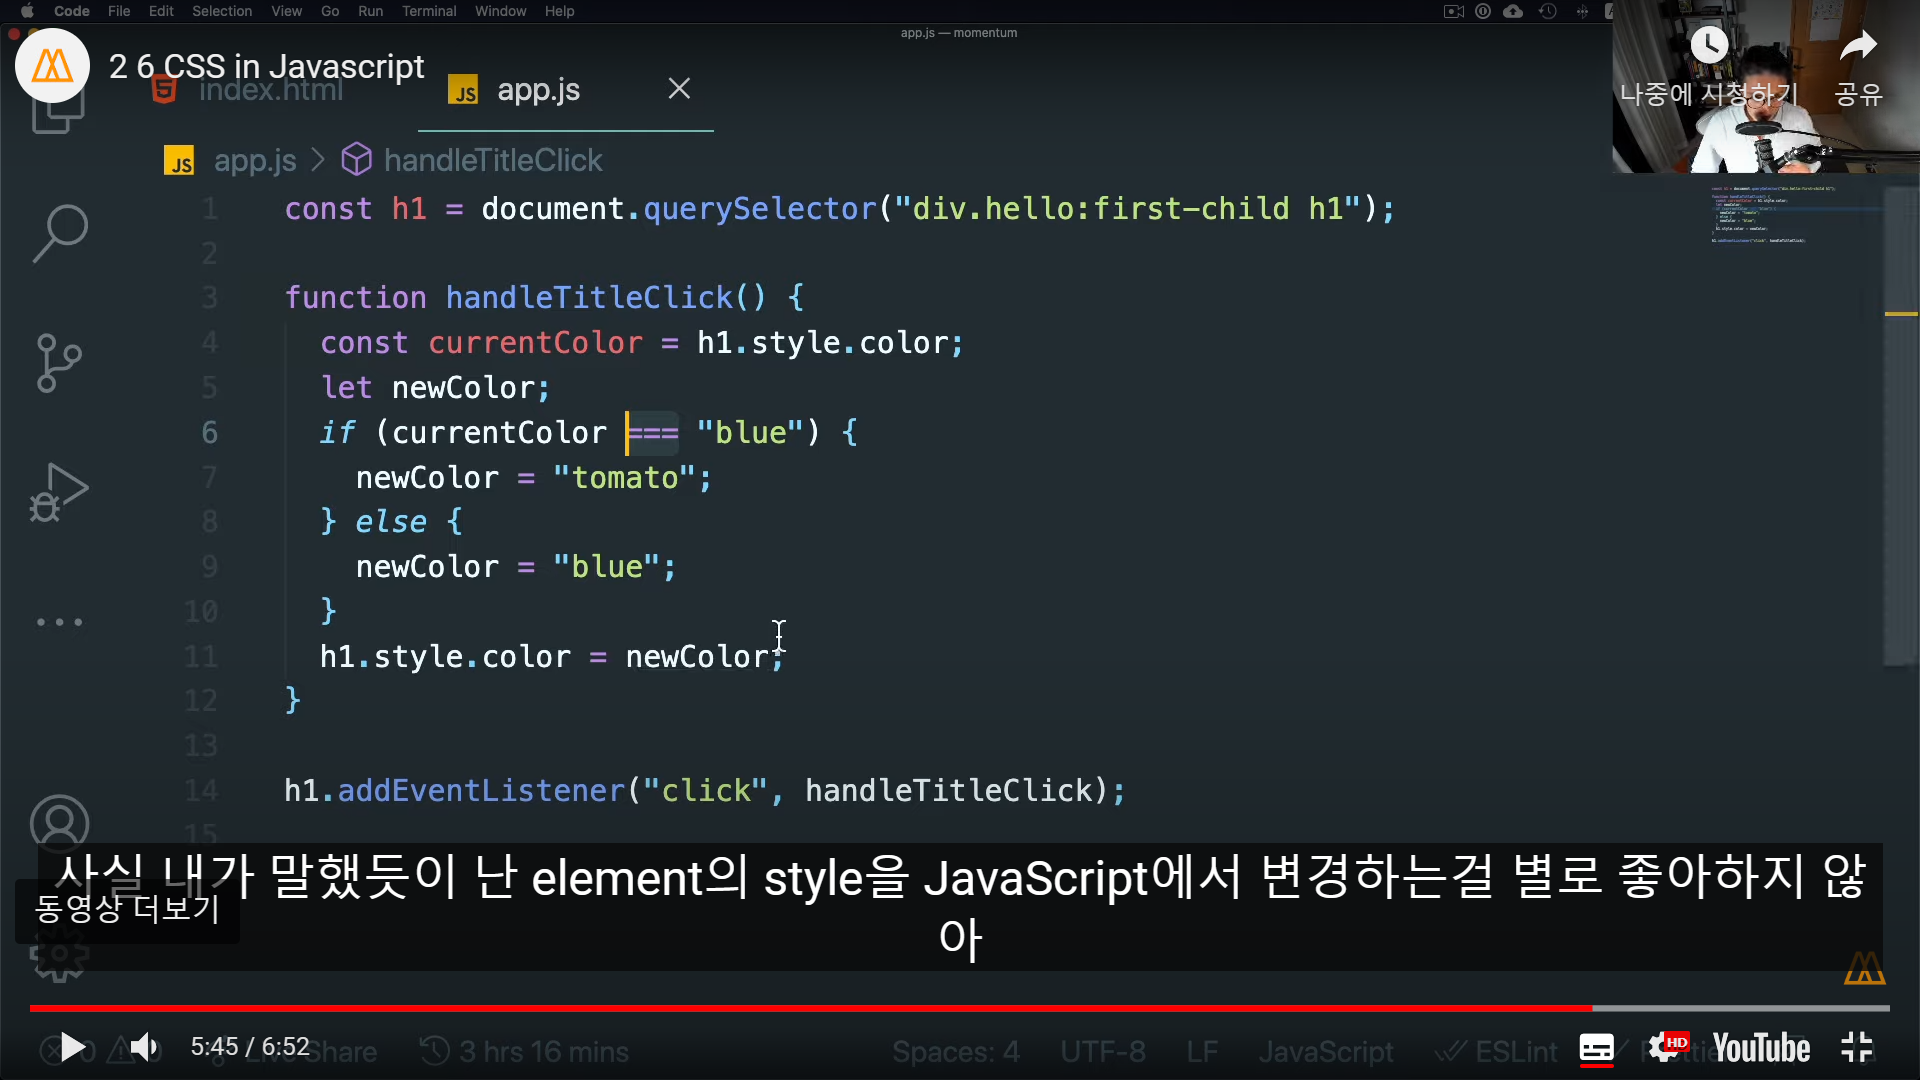
3-6) function 이용해서 style 변경
3-7)ㅠㅠㅠㅠㅠㅠㅠ
string을 변수에 저장해라. 오류 뜨면 변수가 정의되지 않았다고 알려줄꺼
3-8)
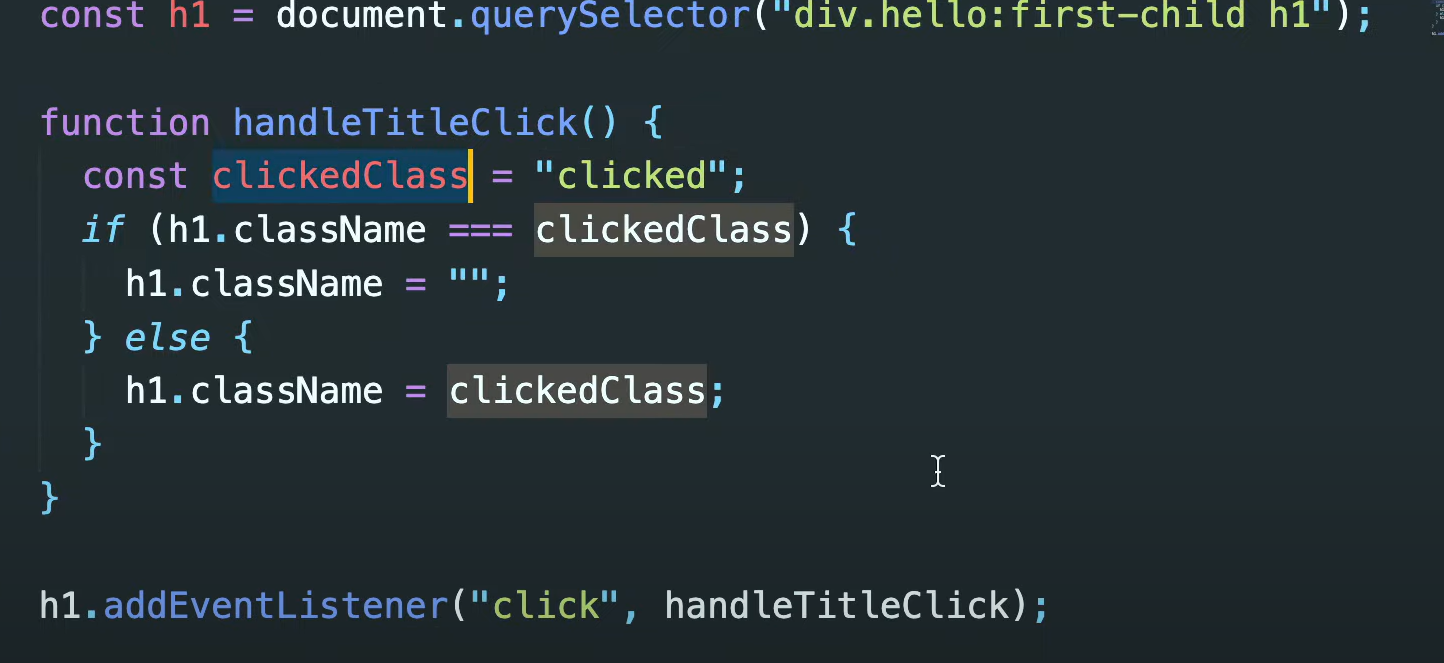
classname
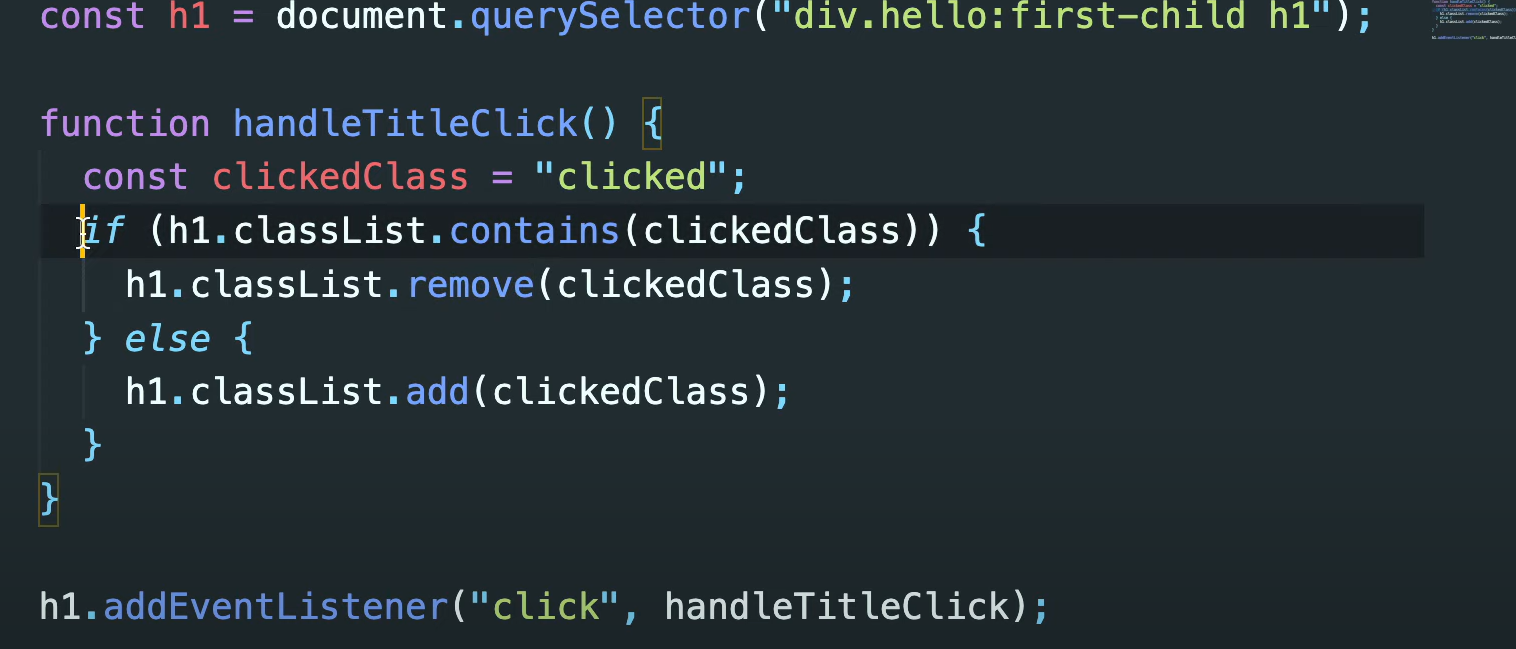
classList
h1.classList.contains(clickedClass) clickedClass를 포함하고 있는지 확인.
h1.classList.remove(clickedClass) clickedClass를 제거
h1.classList.add(clickedClass) clickedClass를 추가
toggle. class name이 존재하는지 확인.
존재하면 제거. 존재 안하면 추가해줌. 다섯줄을 한줄로 줄일 수 잇음.
h1.classList.toggle("clicked");
string을 반복하는 순간, 그때가 const를 생성할 순간.
하나만 있으면 string 써도 됨.
css에 정의된 class name들로 html element에서 숨기고 표시하는 방법,toggle을 사용하는 방법.
